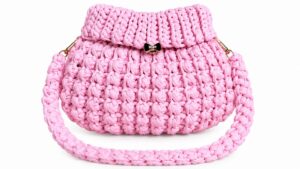
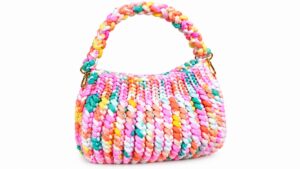
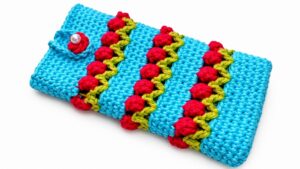
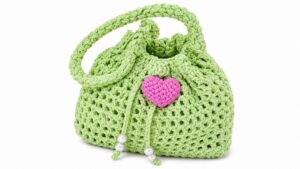
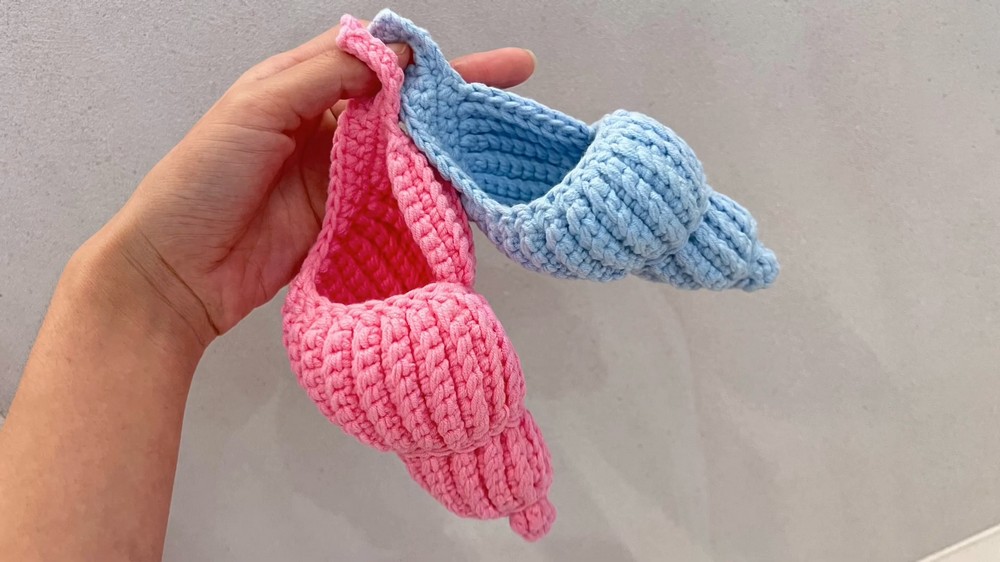
Design your own conch storage bag with this free crochet pattern, a perfect way to store candies, dried flowers, or accessories while adding a coastal touch to your home.
A charming bag shaped like a seashell that’s both decorative and practical—it’s a delightful project anyone can enjoy. The Free Crochet Conch Storage Bag pattern lets you create a unique, handmade conch-shaped storage bag with a lovely spiral texture and elegant details. Its design is not just beautiful—it’s versatile too. You can use it to store small items like candies, accessories, or dried flowers to decorate your home with a coastal vibe. Crafted with five-strand milk cotton yarn and a 2.5mm crochet hook, the bag is both durable and soft to the touch, ensuring it lasts while retaining its delicate look.
Free Crochet Conch Storage Bag Tutorial for Beginners
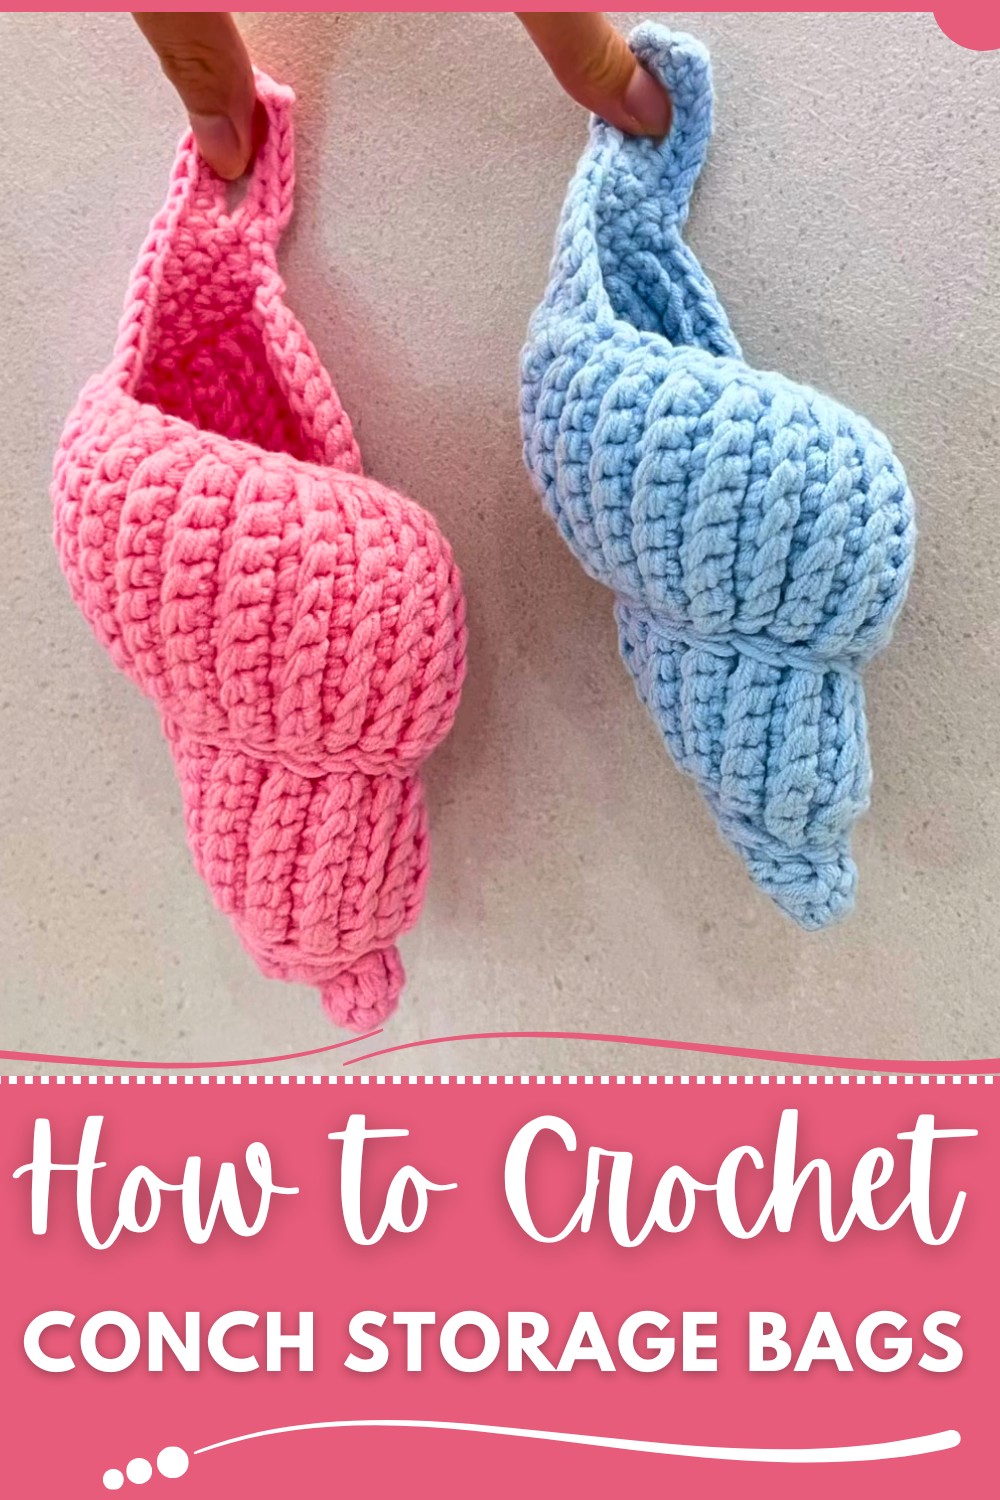
The structure starts with a pointed base, worked in rounds, and gradually grows into the classic conch spiral, showcasing intricate and textured stitches. Its compact size makes it perfect as a children’s carrying bag or as a standout decorative piece. The hanging rope adds to its functionality, allowing easy portability.
Available in different tension options, you can make a tighter or looser design to suit your preferences. Whether in pastel pink for a soft, feminine feel or cool blue for an ocean-inspired touch, this bag adds a whimsical and personal touch to any space.
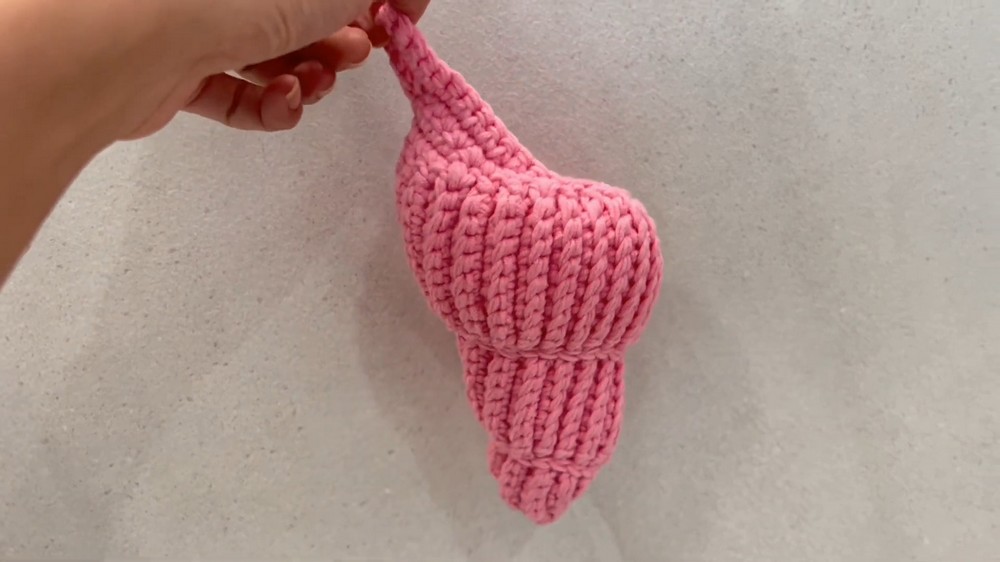
Crochet Conch Shell Storage Bag Pattern
Finished Size:
- Approximate size depends on the tension:
- Tighter stitches: Width ~10 cm, Height ~15 cm.
- Looser stitches: Width ~12 cm, Height ~17 cm.
Materials Required:
- Yarn:
- Five-strand milk cotton: Choose your preferred color (e.g., blue or pink).
- Crochet Hook:
- 2.5mm crochet hook.
- Additional Supplies:
- Stitch markers (optional).
- Tapestry needle (to hide loose ends).
- Scissors.
Gauge:
- With a 2.5mm hook and milk cotton yarn: 10 single crochets = ~4 cm (1.6 inches).
Special Techniques Used:
- Magic Ring: A flexible and adjustable foundation for tightly structured shapes.
- Single Crochet (SC): The foundational stitch for parts of the conch shell.
- Slip Stitch (SS): Used for joining edges and adding structure.
- Double Crochet (DC): Creates height and increases stitch counts.
- Spiral Crocheting: Continuously crocheting without joining rounds for a seamless design.
- Back Loop Crocheting: Adds texture and defines the conch’s structure.
Pattern Instructions:
Part 1: Pointed Bottom of the Conch
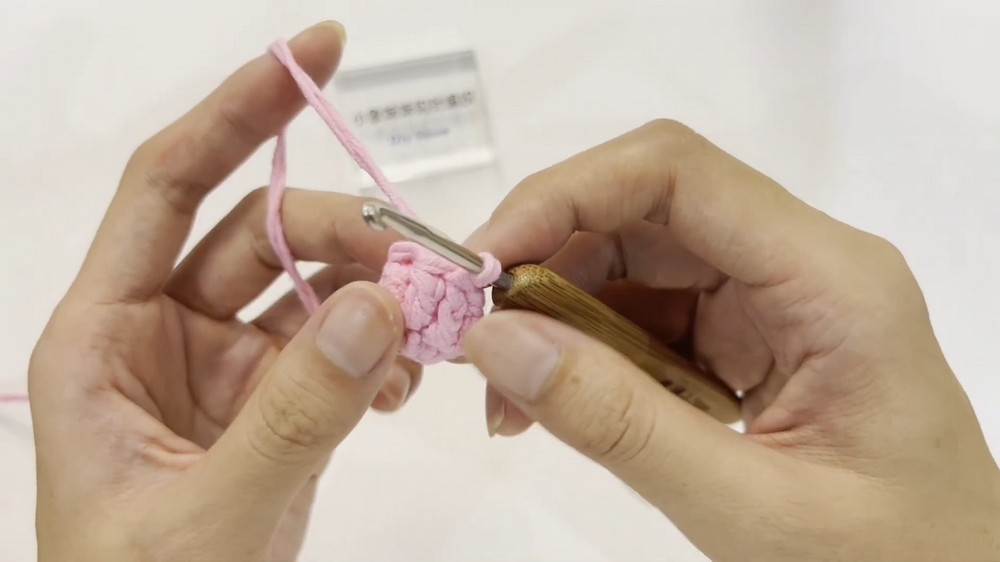
- Magic Ring:
- Wrap yarn twice around your finger to create a ring.
- Insert hook, pull up a loop, and chain 1 to secure.
- Round 1:
- Crochet 6 SC into the Magic Ring.
- Tighten by pulling the yarn tail.
- Join with Slip Stitch (SS) into the first SC.
- Round 2:
- Chain 2, then crochet 6 DC, one in each stitch.
- Turn the piece to the right side.
- Join with an SS.
- Round 3:
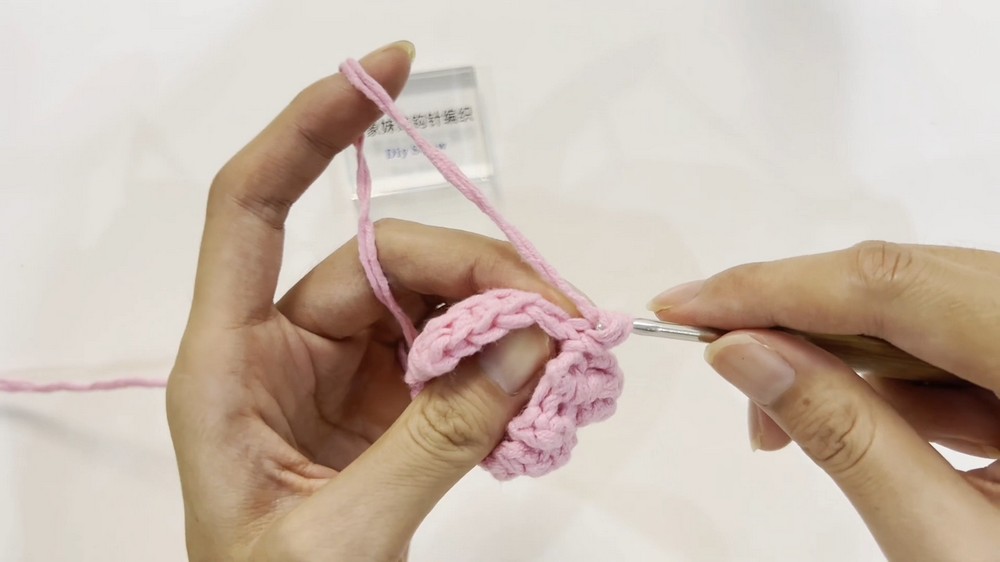
- Work in a spiral without joining rounds.
- Chain 2, then pick up the back loop of the second-to-last stitch and crochet 1 SC.
- In the next stitch, crochet 1 SS to join.
- Repeat the pattern for structure.
- Subsequent Rounds:
- Turn the fabric after each row.
- Crochet slip stitches and single crochets into the designated stitches, gradually building up the conch’s shape.
- Add 1 stitch incrementally every few rows (following the 1-2-1 pattern described in the transcription).
- Continue until the bottom shape is fully structured.
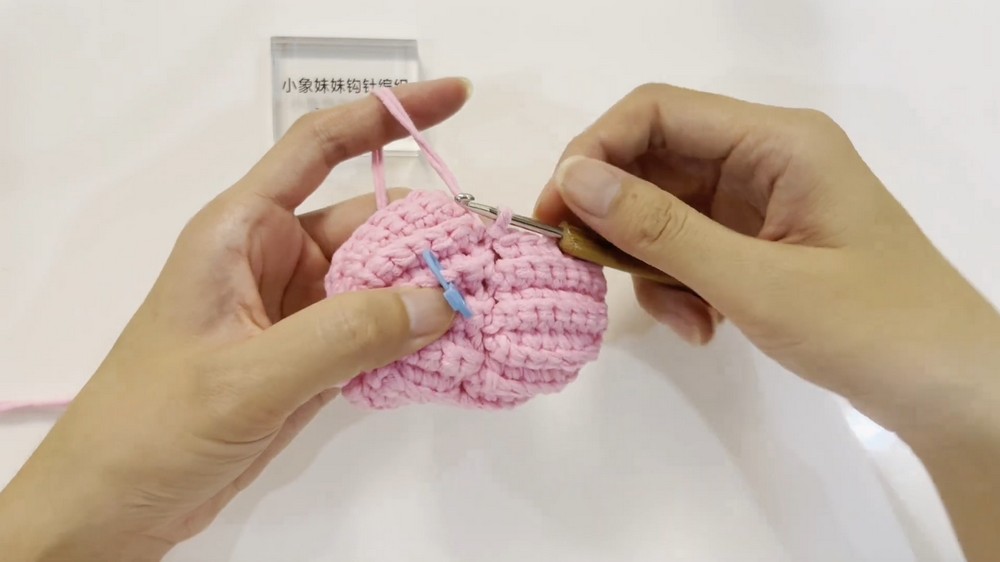
Part 2: Body of the Conch Shell
- Begin Spiral Crocheting:
- Start working continuously in spirals without chaining up, and build the body texture.
- Row Progression:
- Each row increases by 1 stitch, following the pattern of: single crochet, slip stitch, turn, and repeat.
- Skip 1 stitch at the start of the row as the structure builds outward.
- Texture Formation:
- Use back loop only technique in some rows to emphasize the texture resembling a conch shell.
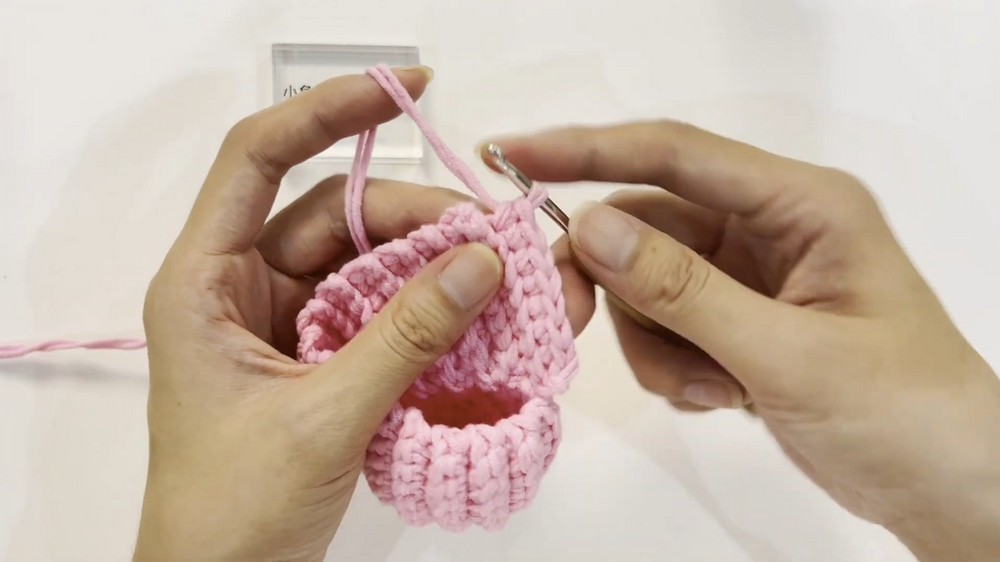
Part 3: Handle or Hanging Rope
- Foundation:
- Chain enough stitches to achieve the desired handle length (~20 cm or adjust based on your preference).
- Rows:
- Skip the first stitch and crochet single crochets in each subsequent stitch.
- Flip the fabric after every row until the rope reaches your desired thickness (e.g., repeat for 6 rows).
- Attach the Handle:
- Crochet or sew the handle securely to the shell’s opening, ensuring symmetry.
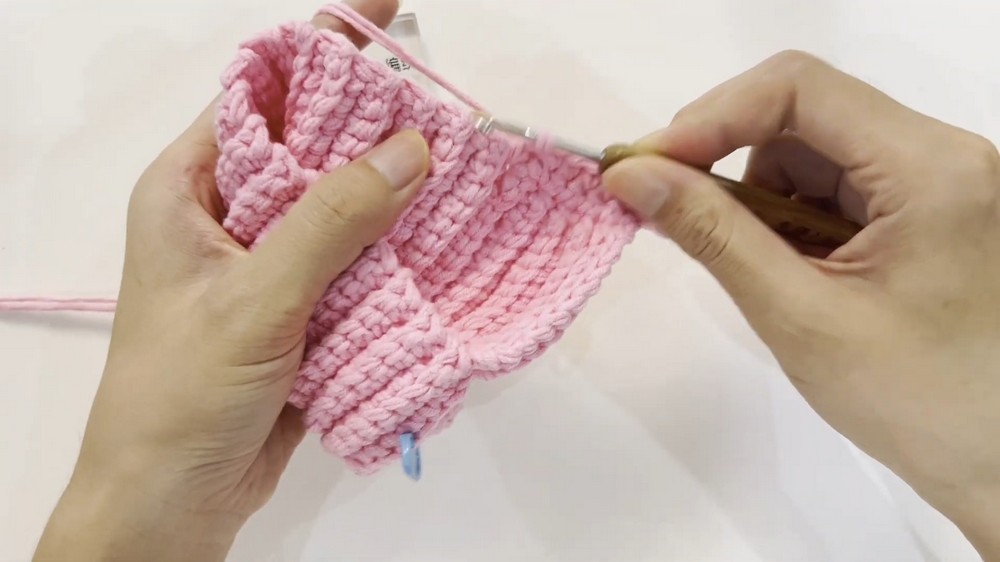
Part 4: Edging and Finishing
- Shell Opening Edging:
- Crochet single crochets and slip stitches along the conch shell's opening to create a polished edge.
- Final Touches:
- Weave in all loose ends using a tapestry needle.
- Trim excess yarn neatly.
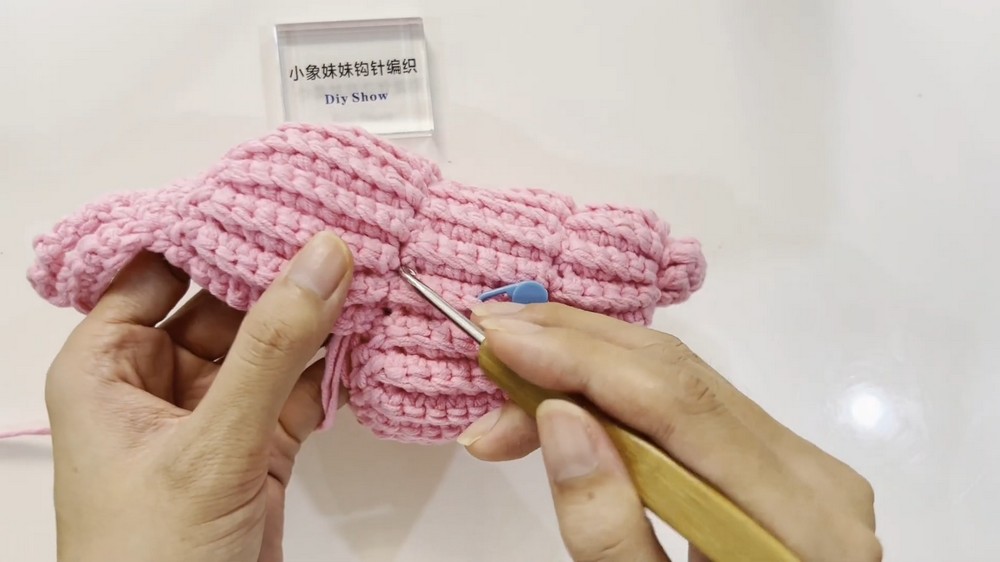
Customization Ideas:
- Alternate Colors: Use gradient yarn for a natural conch look or bright colors to make it playful for children.
- Size Adjustment: Increase or decrease the number of rows as needed to customize the shell’s overall size.
- Decorative Add-ons: Use beads or embroidery to mimic seaweed or pearls attached to the shell.
- Multiple Uses: Fill the shell with dried flowers, candies, or small keepsakes—the perfect gift or room accent.
Tips for Success:
- Maintain Tension: Consistent tension ensures the shell’s structure is evenly shaped.
- Mark Rows: Use stitch markers if you find it hard to keep track of spiral rows.
- Work Slowly: Pay attention to the stitch count when increasing in each row.
- Keep it Tight: For dried flowers or decorations, crochet tighter stitches to retain the shape; for candies, looser stitches may work better.
Conclusion and Final Remarks:
By following this detailed pattern, you can now create a conch shell storage bag that is both functional and aesthetic. Whether used as a decorative piece with dried flowers or as a candy storage bag for children, this design is versatile and eye-catching. Feel free to experiment with yarn colors and textures to make the project uniquely yours.