There’s nothing quite like the satisfaction of making something both beautiful and practical with your own hands. As the weather starts to cool, a free crochet scarf pattern is the perfect way to blend creativity with functionality. Whether you’re layering up for a brisk autumn stroll, adding a stylish touch to your outfit, or gifting something handmade and heartfelt, scarves are wonderfully versatile.
You can choose soft, cozy yarns for warmth, lightweight fibers for a breezy accessory, or even play with bold colors to suit your wardrobe. Crocheting a scarf doesn’t just keep winter chills at bay, it’s a relaxing and rewarding crochet that allows you to experiment with different stitches and textures.
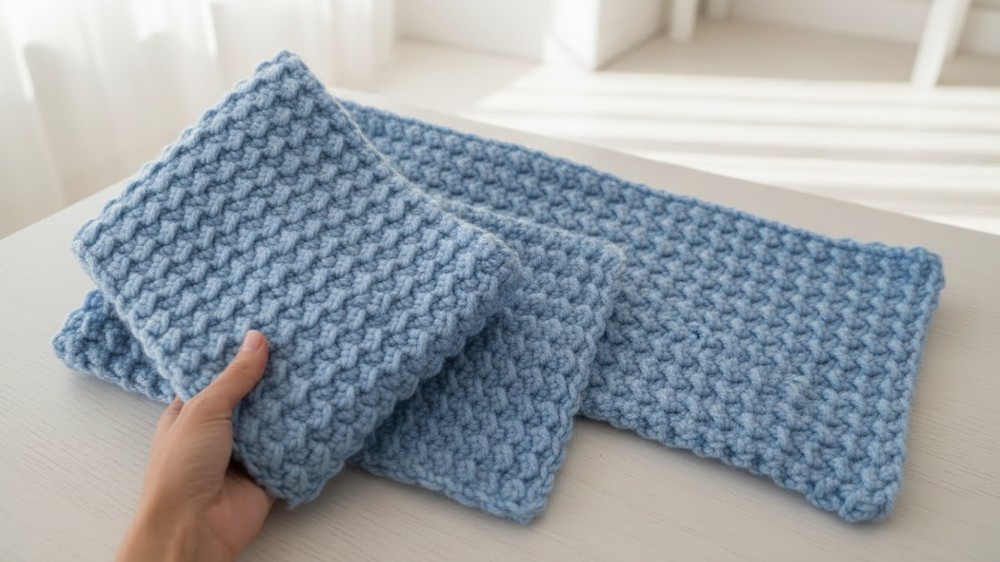
Soft & Stylish Crochet Scarf Pattern for Cooler Days
Essential Materials
- Yarn:
- Alize Superlana Maxi yarn (or equivalent bulky yarn).
- Yarn composition: 75% acrylic, 25% wool.
- Weight: 100 g (100 m per skein).
- Color used in the tutorial: 207.
- Quantity:
- For a standard length scarf (145 cm): 3 skeins.
- For a longer scarf (up to 180 cm with two turns): 4 skeins.
- Alize Superlana Maxi yarn (or equivalent bulky yarn).
- Crochet hook:
- Hook size: 7 mm.
- A larger hook can be used if you tend to crochet tightly.
- Scissors
- Tapestry Needle:
- Used for weaving in yarn ends.
Detailed Crochet Pattern for Relieved Scarf
Welcome to this master class! In this step-by-step guide, you’ll learn how to crochet a beautiful scarf with a textured relief stitch pattern, suitable for both men and women. The instructions outline the materials required, the technique used, tips for finishing, customization options, and pattern variations to help you make your ideal scarf.
Final Dimensions
- Width: 20 cm
- Length: 145 cm (standard) or 180 cm (longer version).
Step-by-Step Crochet Instructions
Foundation Chain
- Make the width of your scarf first:
- For a width of 20 cm, chain 22 air loops (the number of loops must be even).
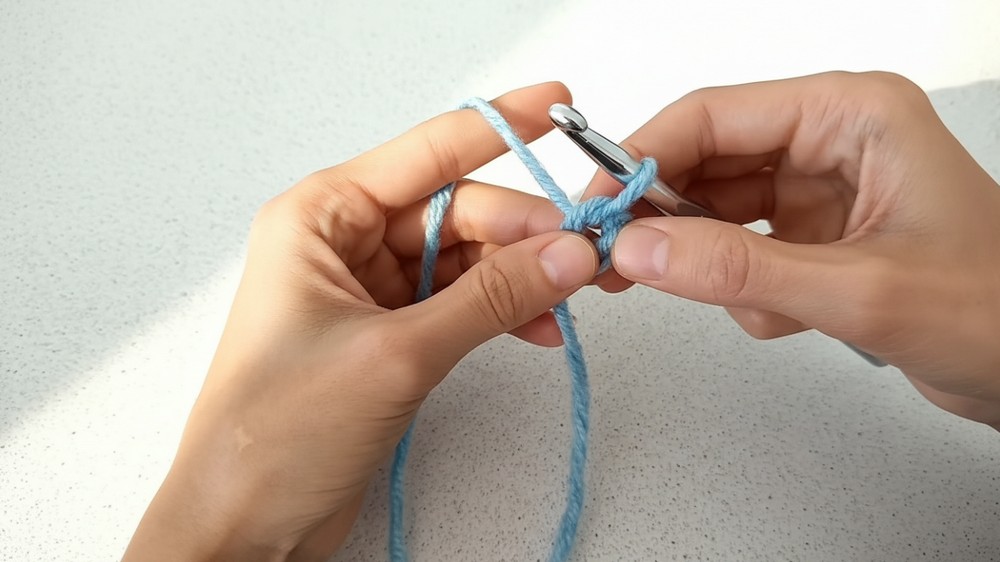
- Instructions for Foundation Chain:
- Begin with a slip knot.
- Yarn over and pull through to create each chain stitch.
- Count loosely 22 chains. (Avoid tight chains to prevent the fabric’s edge from tightening after the first row.)
Row 1: Starting Relief Pattern
- Work into the underside of the chain:
- Turn your chain over so the "bumps" (underside loops) are visible.
- Yarn over the hook and skip the first two bumps (lifting loops).
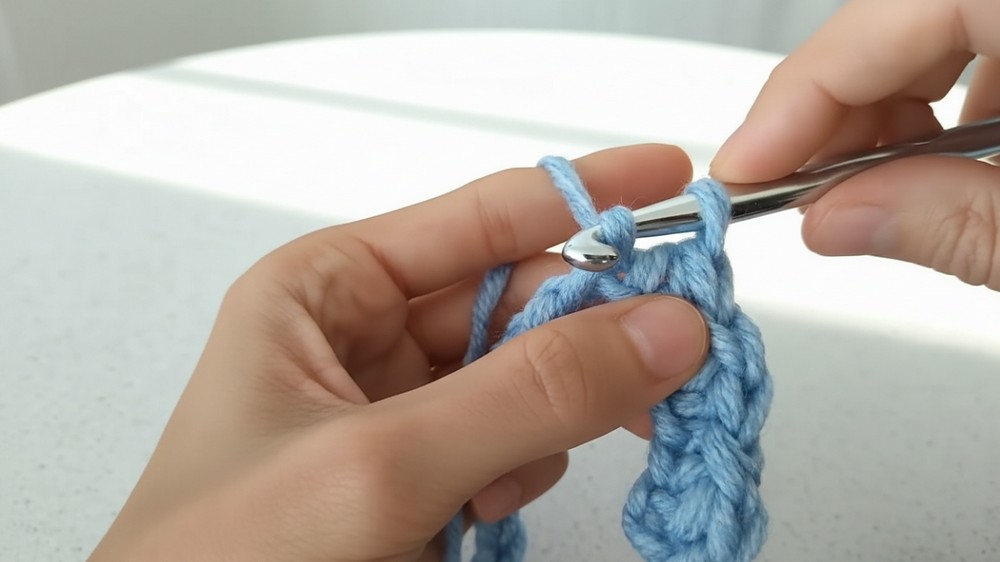
- Pattern Alternation:
- Insert the hook into the third loop (under bump loops).
- Yarn over and pull up your loop, keeping it loose to match the height of the stitch.
- Yarn over again and pull through all three loops on your hook. This completes a half-double crochet (HDC).
- In the next loop, work a slip stitch (pull yarn through the loop on the fabric and the loop on your hook).
- Continue alternating HDC and slip stitches throughout the row.
- End with a slip stitch on the last bump loop.
- Insert the hook into the third loop (under bump loops).
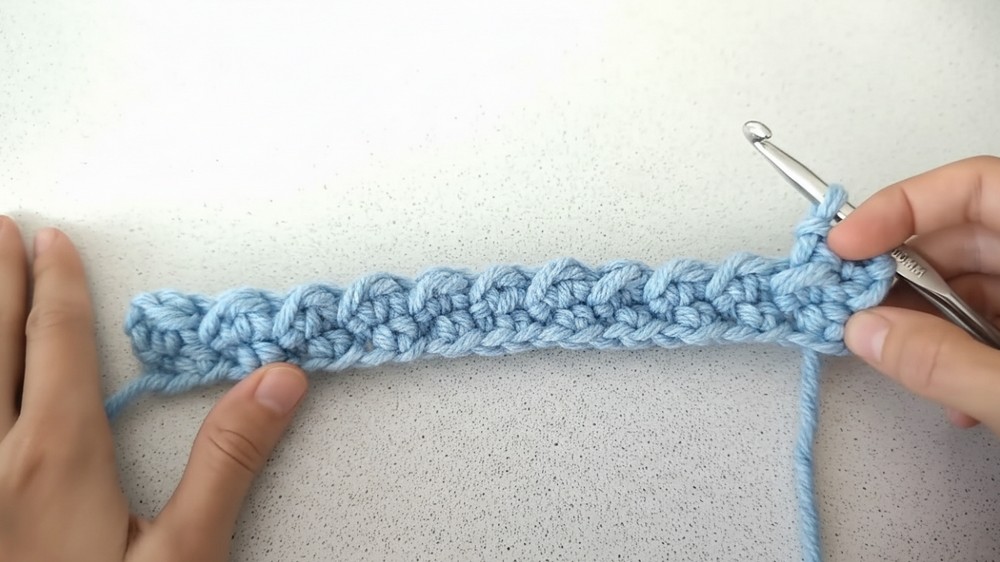
- At the end of Row 1:
- Measure the width to confirm it measures 20 cm. Adjust as needed by undoing/adding foundation chains if the width isn’t accurate.
Row 2 (and All Subsequent Rows)
- Work 2 lifting chains:
- At the end of every row, chain 2 air loops to begin a new row.
- Turn the work:
- Flip your fabric so the top stitches (braid-like loops) are visible.
- Continuation of the Relief Stitch:
- Skip 2 top loops and insert your hook under the third loop.
- Work HDC under the third loop.
- In the next loop, work a slip stitch.
- Alternate HDC and slip stitches until the end of the row.
- End each row with a slip stitch.
- Repeat Rows:
- Continue repeating the relief stitch pattern for 145 cm (standard) or your desired scarf length.

Joining Yarn for a New Skein
- When you finish a skein:
- Begin a new skein without tying knots for a smoother finish.
- Steps for Joining:
- When working the final HDC of the skein, pull up a loop as usual.
- Switch to the new yarn skein and yarn over with the new thread to complete the stitch.
- Align the tails from the two skeins along the fabric and crochet over them (HDC, slip stitch).
- Trim and weave in any loose ends after finishing the scarf.
End of the Scarf
- Close the last stitch:
- At the end of the final row, pull the yarn tail through the last loop.
- Tighten gently to secure.
- Hide loose ends:
- Use a tapestry needle or crochet hook to weave in the tail along the loops.
Tips for Success
- Use Even Tension:
- Loose and consistent tension is key to achieving a polished, textured finish.
- Check Width Early:
- Confirm the scarf width after Row 1 to avoid mismatches as the project grows.
- Yarn and Hook Compatibility:
- Ensure your yarn and hook size match for smooth stitching. Switch to a larger hook if needed.
- Avoid Knots in Yarn Joins:
- Crochet over yarn ends instead of tying bulky knots, especially when working with thicker yarn.
Customization Ideas
- Adjusting Width:
- Change the foundation chain stitches to create narrower scarves for children or wider ones for taller individuals.
- Using Different Colors:
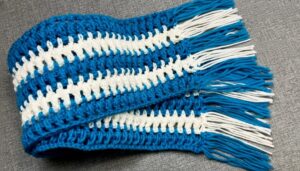
- Try multi-colored yarn for a dynamic look or use alternating skeins to create a striped effect.
- Adding Fringe:
- Attach fringe to the edges of the scarf after finishing for added flair.
- Cut yarn strips (10–12 cm long) and loop them through the stitches along the short ends.
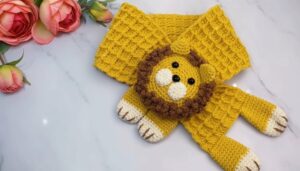
- Decoration:
- Add pom-poms or sew buttons to one edge for a decorative look.
- Matching Set:
- Create a matching hat or gloves with the same relief stitch for a coordinated winter set.
Pattern Variations
Color
- Neutral Options: Use black, grey, or beige for unisex scarves.
- Vibrant Colors: Choose red, blue, or teal for a playful touch.
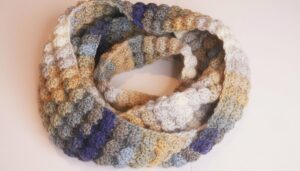
- Self-Striping or Gradient Yarn: Automatically create color shifts for dynamic designs.
Size
- Wider Scarf: Chain an even number greater than 22 for a broader fabric.
- Shorter Scarf: Adjust the length of Rows to craft a neck warmer or small wrap.
- Infinity Scarf: Join short ends together after finishing the scarf to create an infinity loop.
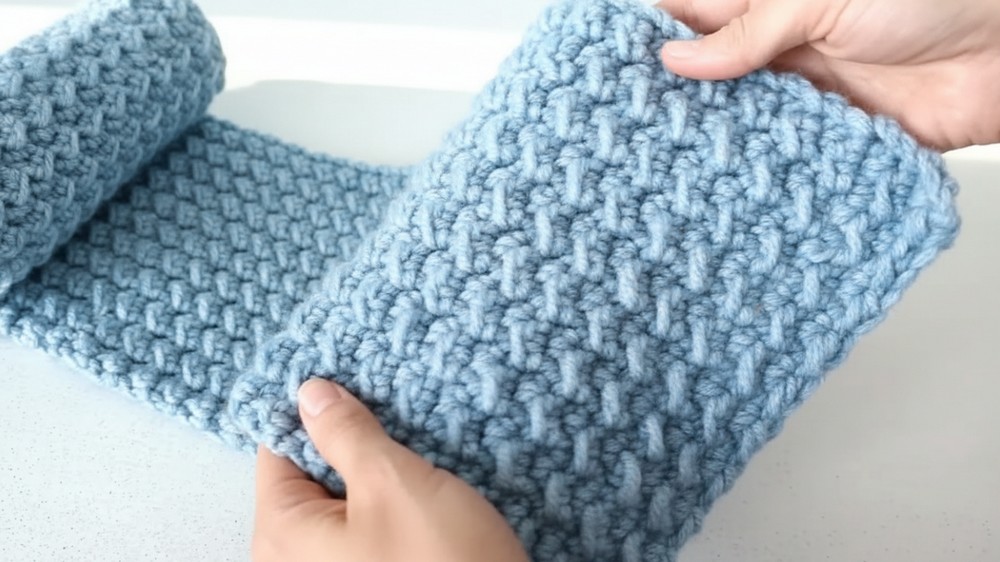
Conclusion and Final Remarks
The textured relief stitch adds depth and style to the scarf, making it suitable for both casual and formal wear. Its clean aesthetics and versatility create a timeless accessory that can serve as a thoughtful handmade gift or as part of your winter wardrobe. Whether you crochet it in bold or neutral colors, enhance it with fringes, or adjust the size to suit personal needs, this scarf is an excellent project for all crocheters.