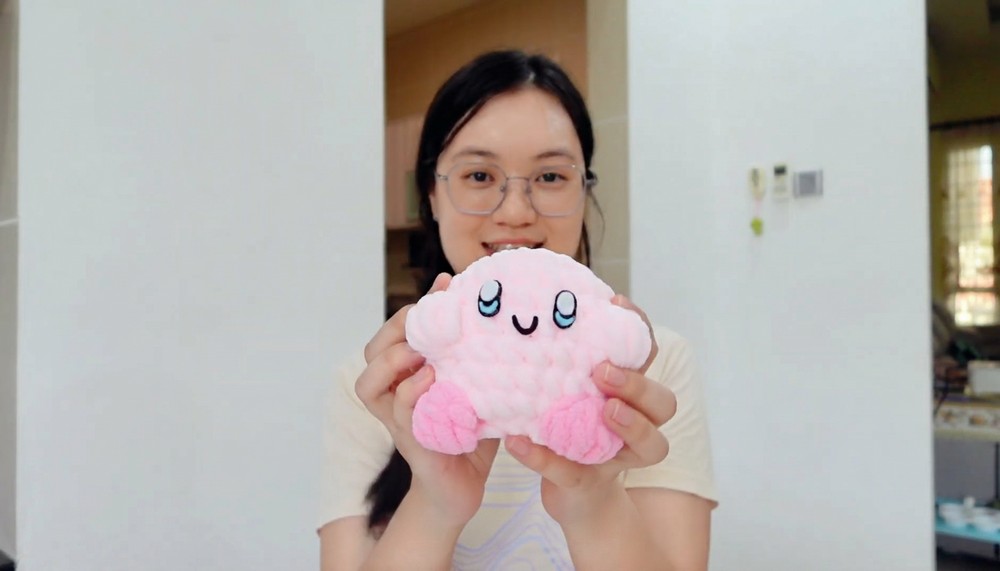
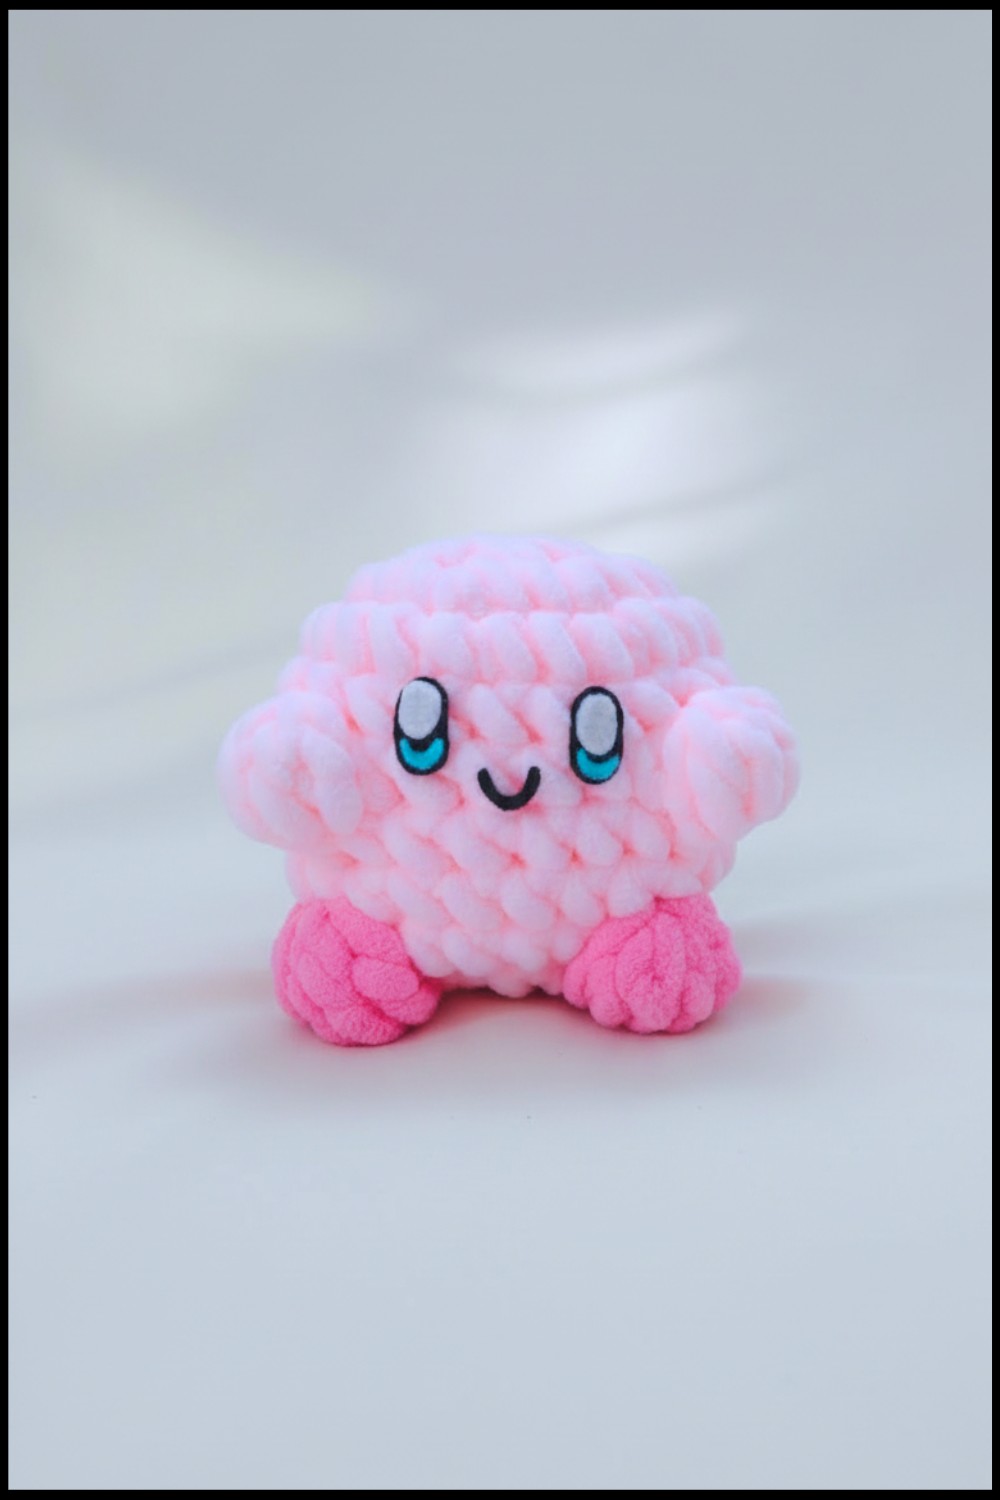
Turn yarn into a cuddly Crochet No Sew Kirby with this easy free pattern is full of fun and perfect for anyone who loves cute and simple projects.
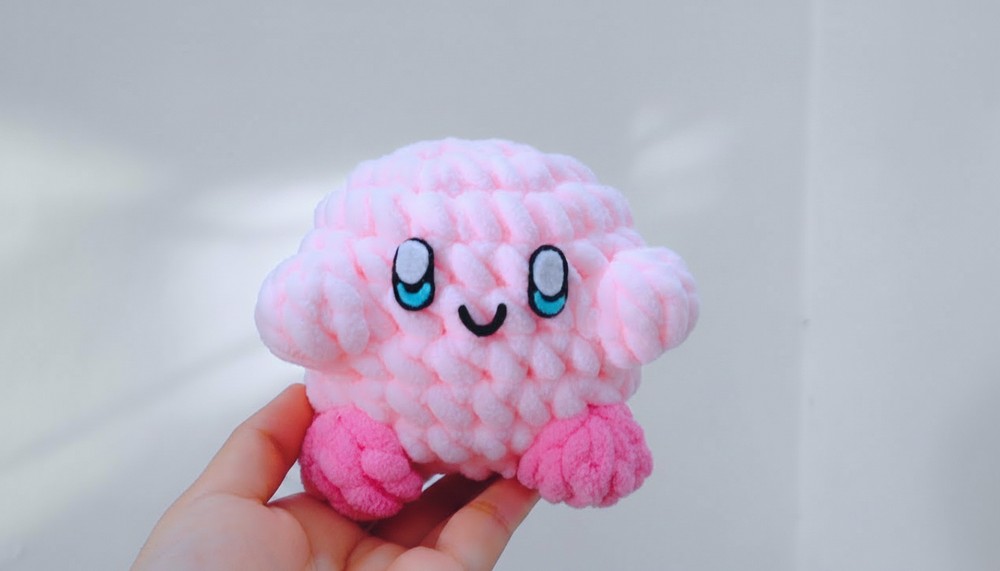
Have you ever wanted to make something soft, simple, and full of charm? This no-sew Kirby crochet piece is a delightful project that’s as easy as it is adorable. With its round pink body, bright red feet, and cheerful expression, it’s hard not to fall in love with its playful look. Its compact size makes it perfect for decorating small spaces, giving as a thoughtful gift, or even as a cute buddy for kids to keep nearby.
Free Crochet No Sew Kirby Pattern for Your Next Project
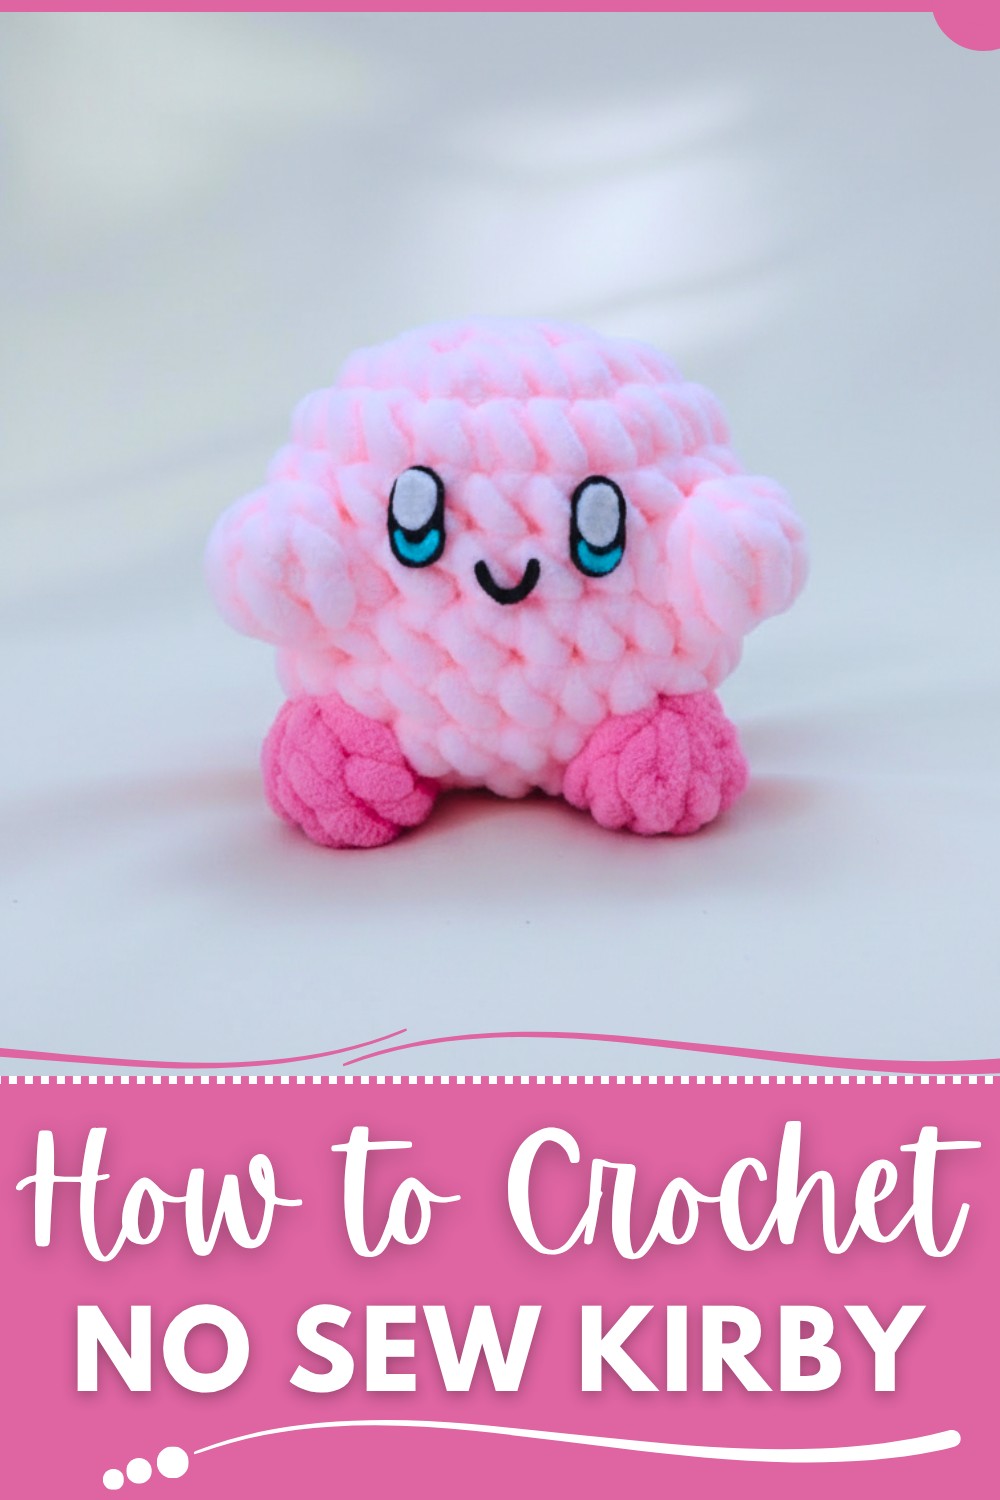
The best part about this design is its simplicity — there’s no need to stitch separate parts together, so it’s beginner-friendly and fuss-free. Its lightweight feel makes it easy to carry around or place wherever you like. This cheerful Kirby figure is an ideal choice for anyone who enjoys fun, easy, and heartwarming projects that add a touch of happiness to every day.
Kirby Stress Ball Crochet Pattern
Skill Level
Intermediate: This pattern includes techniques such as the magic ring, increases, decreases, color changes, bubble stitches, and creating features with felt.
Finished Size
Approximately 4–5 inches in diameter, depending on yarn choice and stuffing.
Materials
- Yarn:
- Light Pink Yarn for Kirby’s body.
- Dark Pink Yarn for Kirby’s arms and feet.
- Hook Size:
- 4.0 mm Crochet Hook.
- Additional Supplies:
- Stitch Markers: To track rounds.
- Poly-fil Stuffing: For filling the plush.
- Scissors.
- Tapestry Needle: For weaving in ends.
- Felt: Black, white, and red (for Kirby’s face).
- Fabric Glue or Hot Glue Gun: To attach facial features.
Key Abbreviations (US Terminology)
- ch: Chain
- sc: Single Crochet
- inc: Increase (2 sc in the same stitch)
- dec: Decrease (work two stitches together)
- sl st: Slip Stitch
- MR: Magic Ring
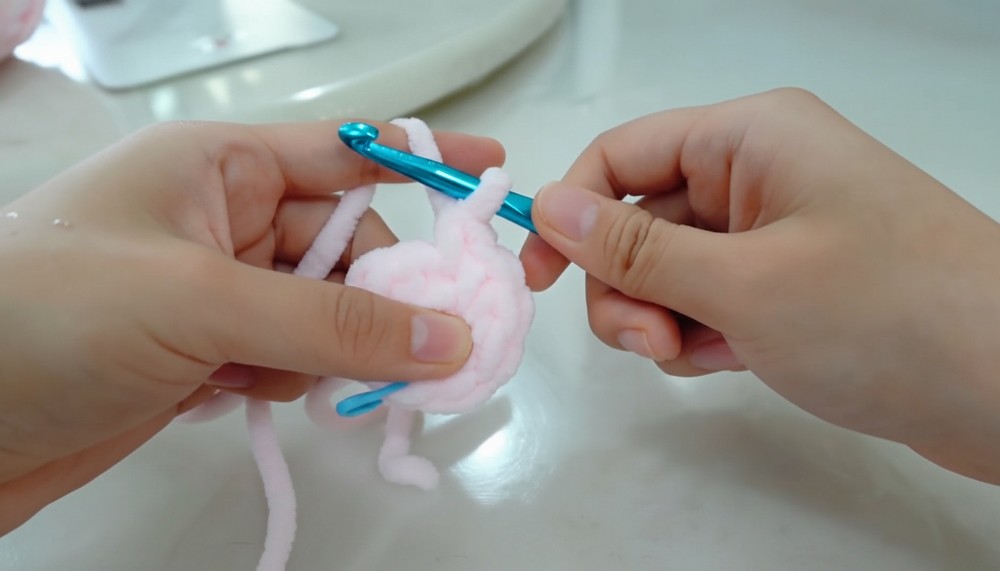
Special Techniques
Magic Ring (MR):
Used to create a tight, seamless start for the Kirby ball. If unsure how to make a magic ring, review tutorials for proper placement into the stitches.
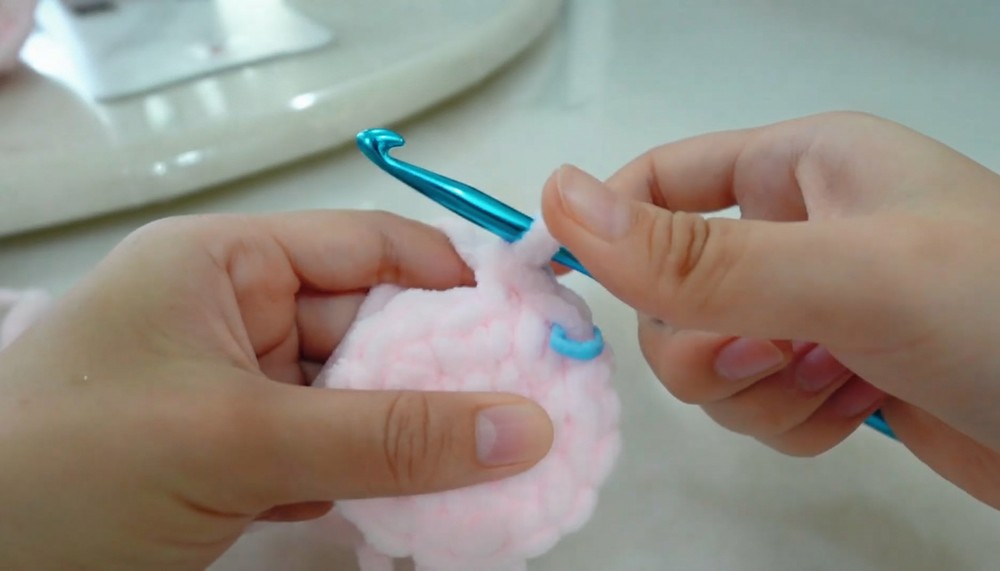
Bubble Stitch:
Creates dimensional features such as arms and feet for the plush. To make a bubble stitch, yarn over multiple times in the same stitch before pulling through all loops.
Pattern Instructions
Step 1: Kirby's Body
Round 1:
- Begin with a magic ring (MR).
- Crochet 8 sc into the ring.
- Pull the tail tightly to close the ring. Place a stitch marker to mark the end of the round.
- Stitch Count: 8 sc
Round 2:
- Work 8 inc (2 sc in each stitch around).
- Stitch Count: 16 sc
Round 3:
- [1 sc, inc] – repeat around for 8 repetitions.
- Stitch Count: 24 sc
Round 4–5:
- Work 1 sc into each stitch for two rounds.
- Stitch Count per round: 24 sc
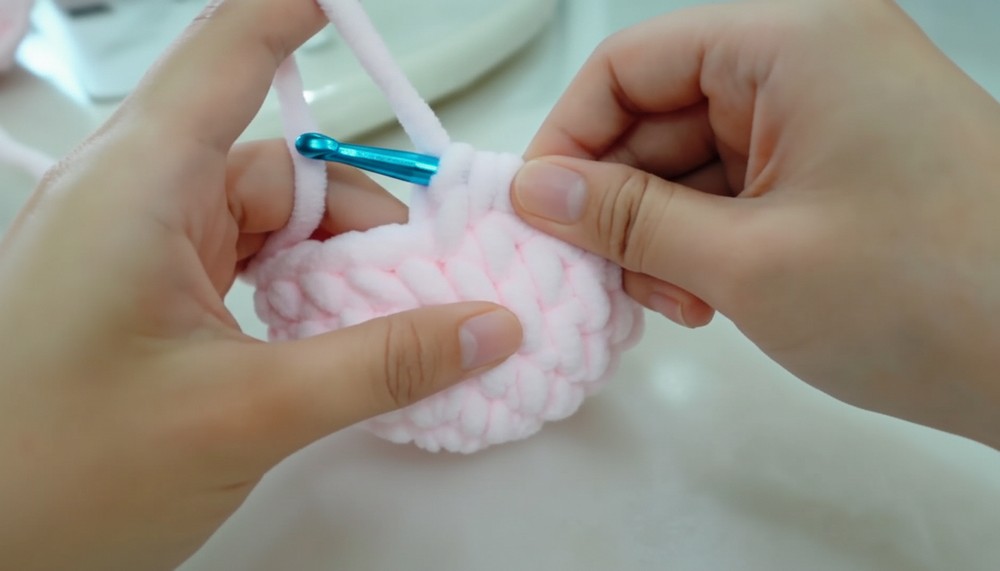
Round 6:
- Begin working Kirby’s arms:
- Start by crocheting 5 sc.
- Make a bubble stitch: Yarn over multiple times in the same stitch until 7 loops are on the hook, then pull through all loops to create one bubble stitch.
- Continue by working 6 sc.
- Repeat the bubble stitch for the second arm.
- Finish the round with 6 sc.
- Stitch Count: 24 sc
Round 7–8:
- Work 1 sc into each stitch around for two rounds.
- Stitch Count per round: 24 sc
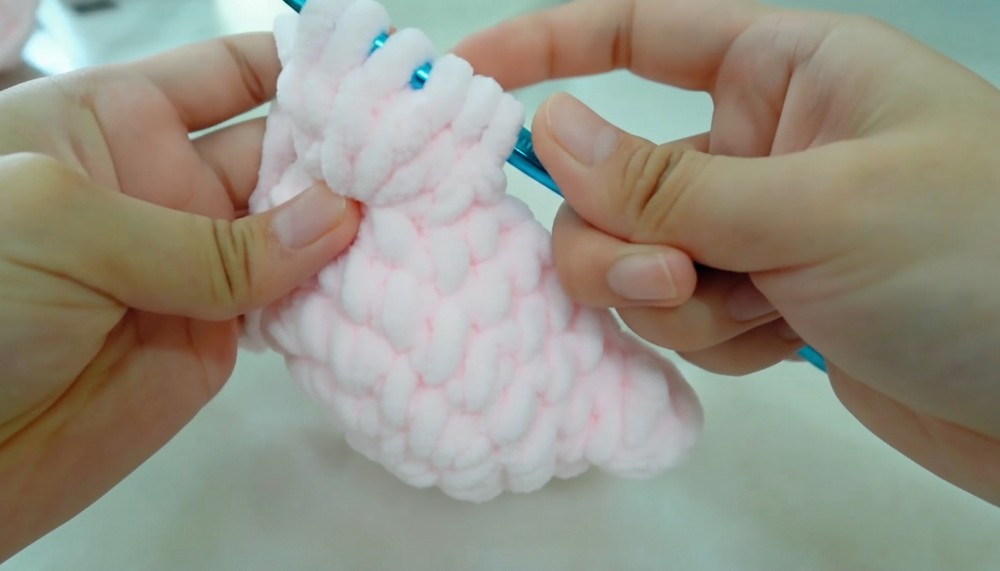
Step 2: Kirby's Legs (Color Change)
Round 9:
- Work 5 sc.
- Perform a color change to dark pink yarn for the feet.
- Make a bubble stitch using the dark pink yarn to form Kirby’s first foot.
- Continue with 6 sc, hiding the pink yarn underneath to transition seamlessly.
- Perform a second bubble stitch for Kirby’s second foot.
- Finish the round with 11 sc.
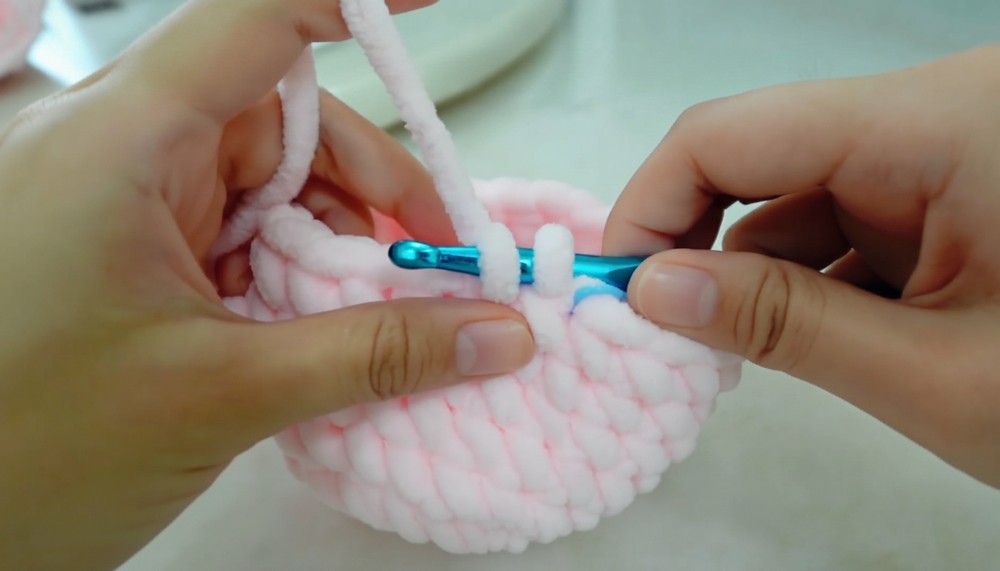
Round 10:
- Perform 12 decreases around to shape Kirby’s body.
- Stitch Count: 12 sc
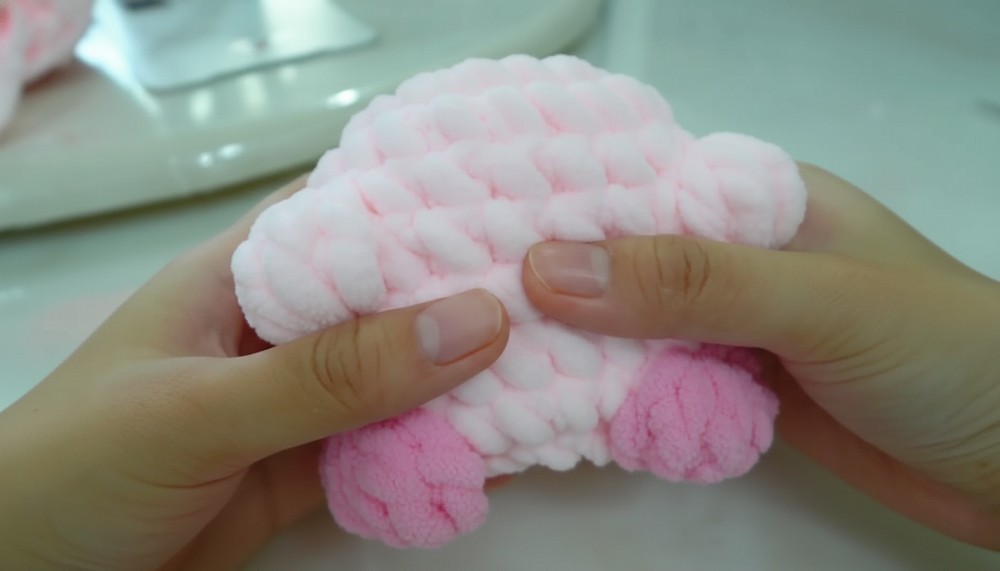
Step 3: Stuff the Plush
- Fill the Kirby plush with poly-fil stuffing, shaping it into a firm yet squeezable ball.
- Use your hands to test the texture and squeeze until the desired softness is achieved.
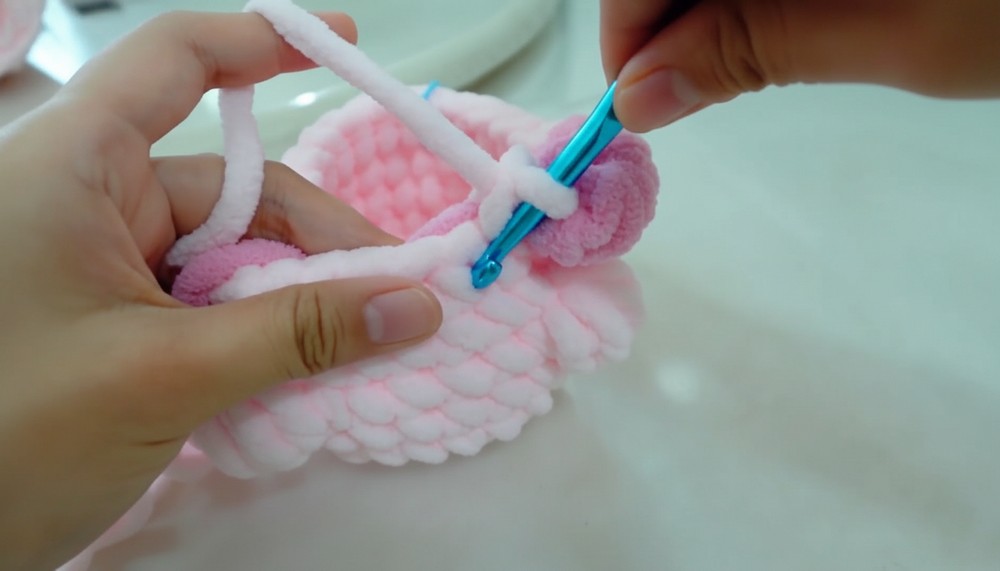
Step 4: Close the Top Hole
- Cut a long yarn tail and thread it through a tapestry needle.
- Use the tail to weave through the remaining 12 stitches and pull tightly to close the opening securely.
- Tie a knot and weave in the loose ends.
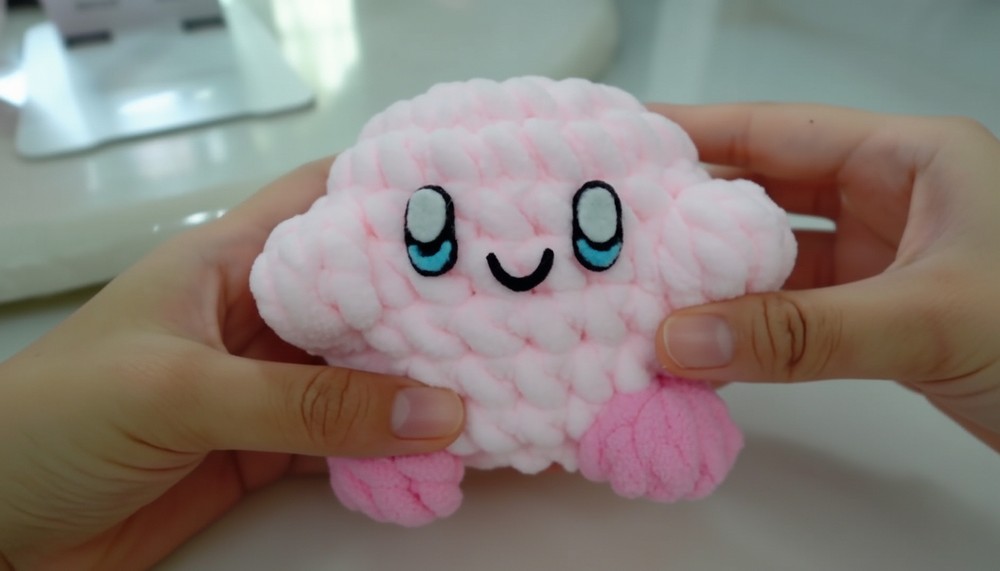
Step 5: Kirby's Face
Facial Features (Using Felt):
- Eyes:
- Cut two oval shapes in black felt, slightly larger than Kirby's typical eyes.
- Add white circles inside for highlights.
- Glue the felt pieces onto the center of the ball between Kirby’s arms.
- Mouth:
- Cut a small smiling mouth using red felt. Glue this below the eyes.
- Cheeks:
- Cut small red circles using red felt. Attach them below each eye for blush cheeks.
Finishing Steps
Inspect and Adjust:
- Ensure all pieces are visually symmetrical. Adjust stuffing to even out shape if necessary.
Optional Attachments:
- If desired, sew or attach a loop of yarn at the top to turn the plush into a keychain charm.
Final Words and Tips
Congratulations on completing your Kirby Stress Ball Plush! This no-sew crochet design is perfect for fans of Kirby and makes a fun, stress-relieving addition to your accessories or desk setup.
Tips for Success:
- Bubble Stitch Consistency: Focus on creating even bubble stitches so Kirby's arms and feet match symmetrically.
- Facial Placement: Test the positioning of felt features before gluing them on for accuracy.
- Stuffing: Stuff gradually to achieve the perfect firmness without overstuffing.
Customization Ideas:
- Experiment with different colors to create a unique Kirby, such as yellow (Kirby’s friend Keeby).
- Use embroidery thread to create facial features if felt is unavailable.
- Add a small embroidered expression, like a winking eye or surprised mouth, for extra personality.