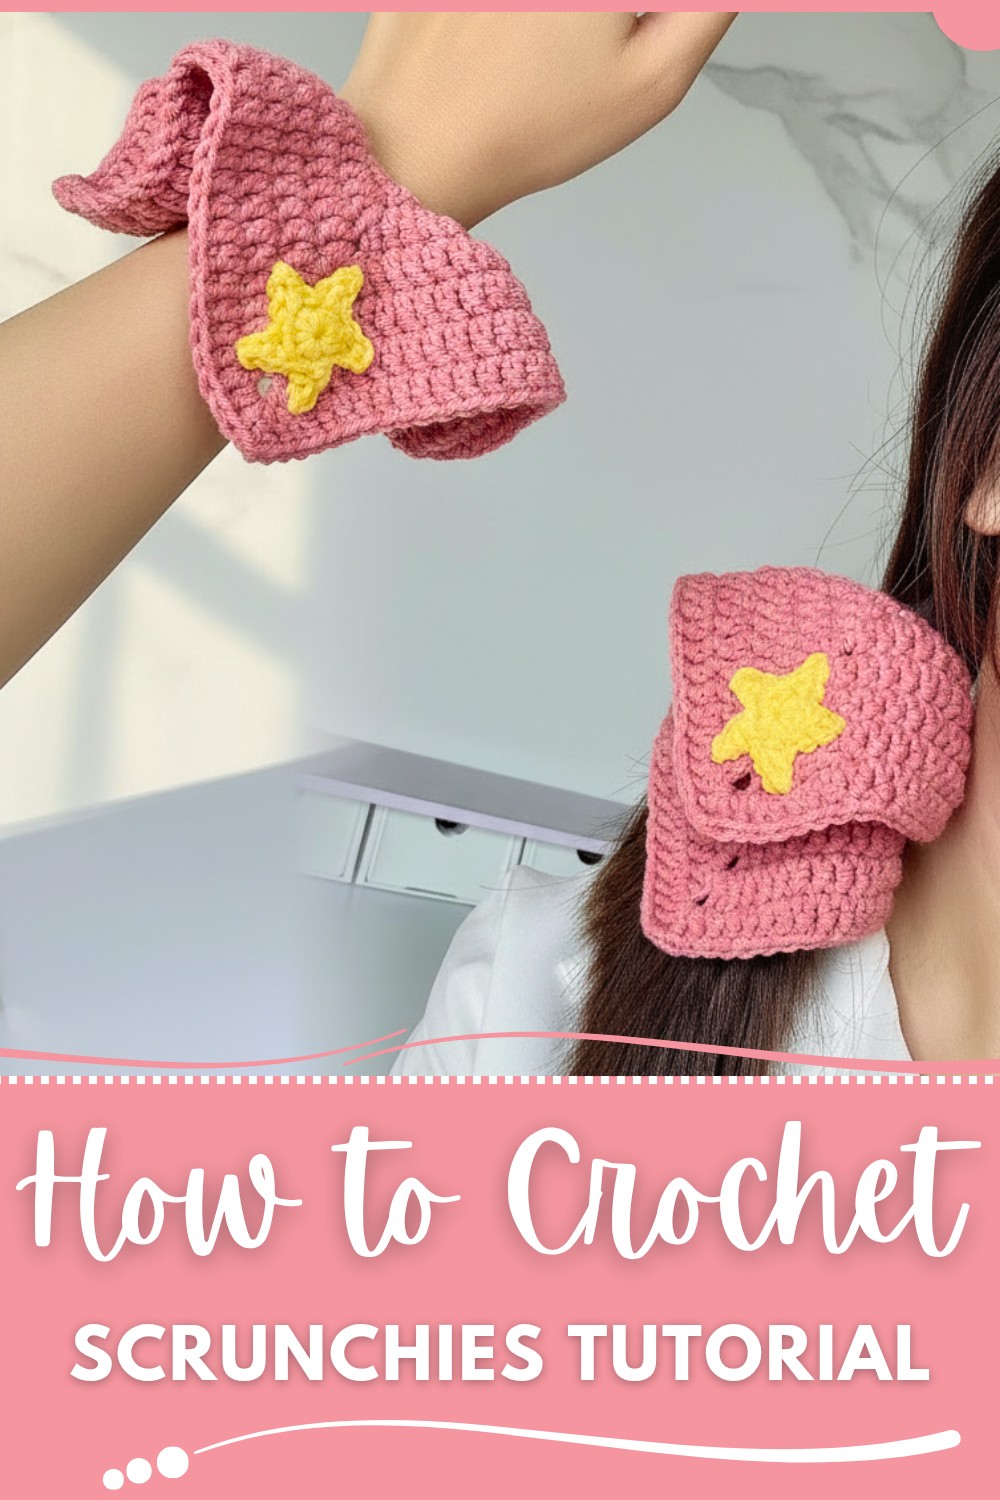
Keep enjoying simple hair styling ideas with Free Crochet Scrunchies Pattern that helps you make soft colorful scrunchies for daily use and fun gifting at home.
A soft and colorful hair tie can make simple hair look neat and pretty. The Free Crochet Scrunchies Pattern gives an easy way to turn yarn into a gentle and useful hair accessory. It is made by covering an elastic band with soft stitches, which makes it comfortable to wear and kind to the hair. The scrunchie looks full and round, with small folds that give it a fluffy and stylish shape.
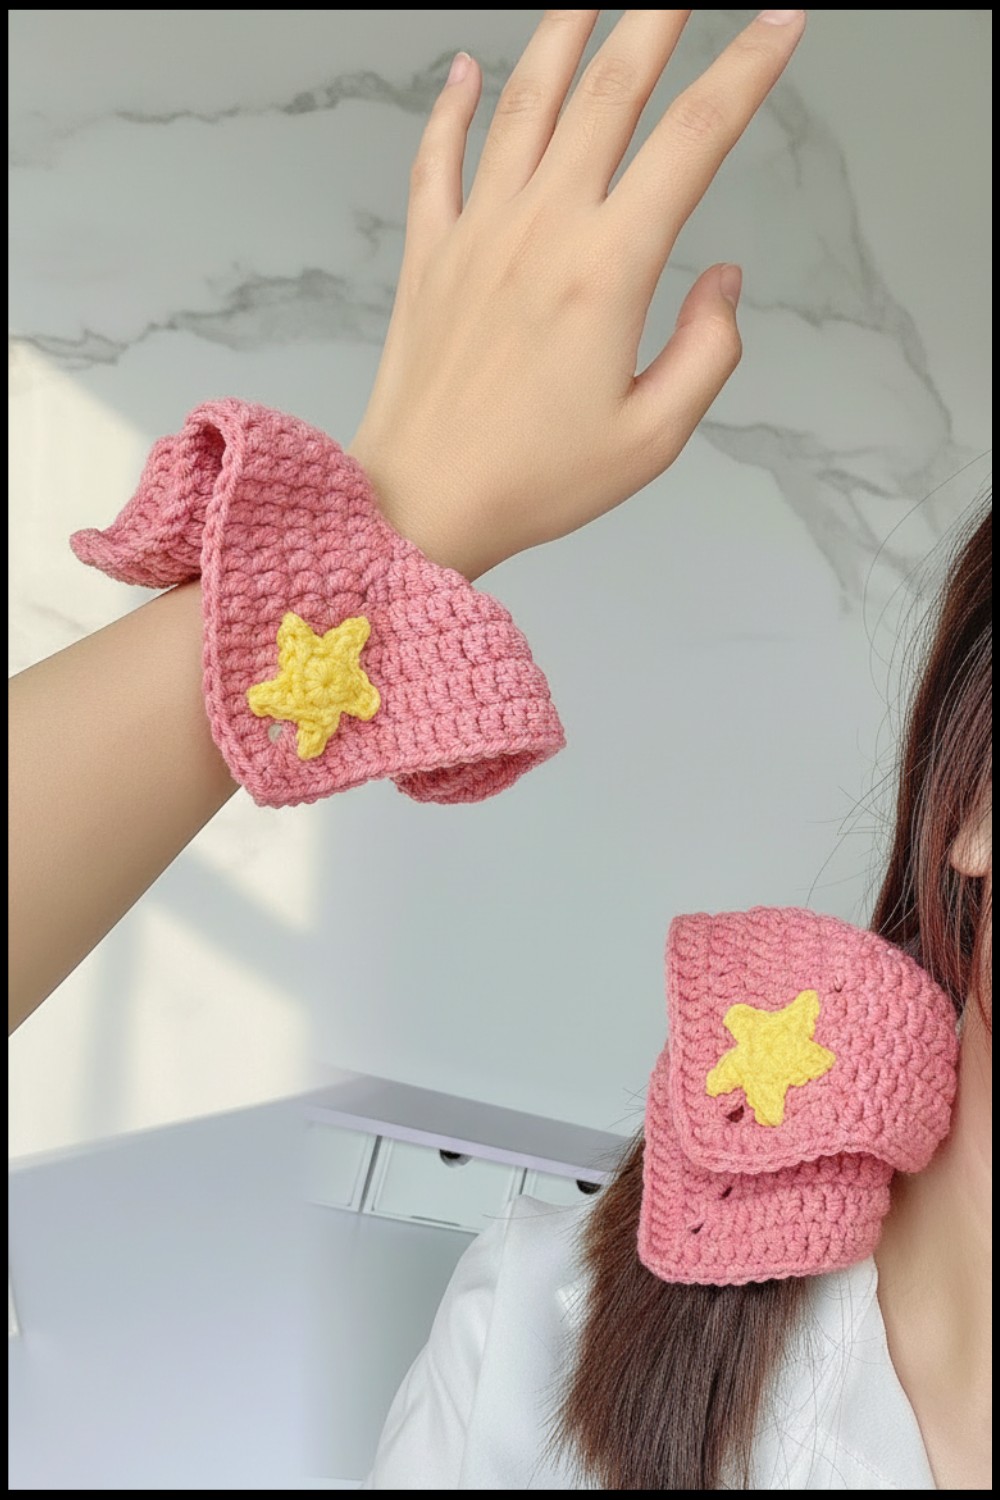
Cute Free Crochet Scrunchies Pattern for simple style
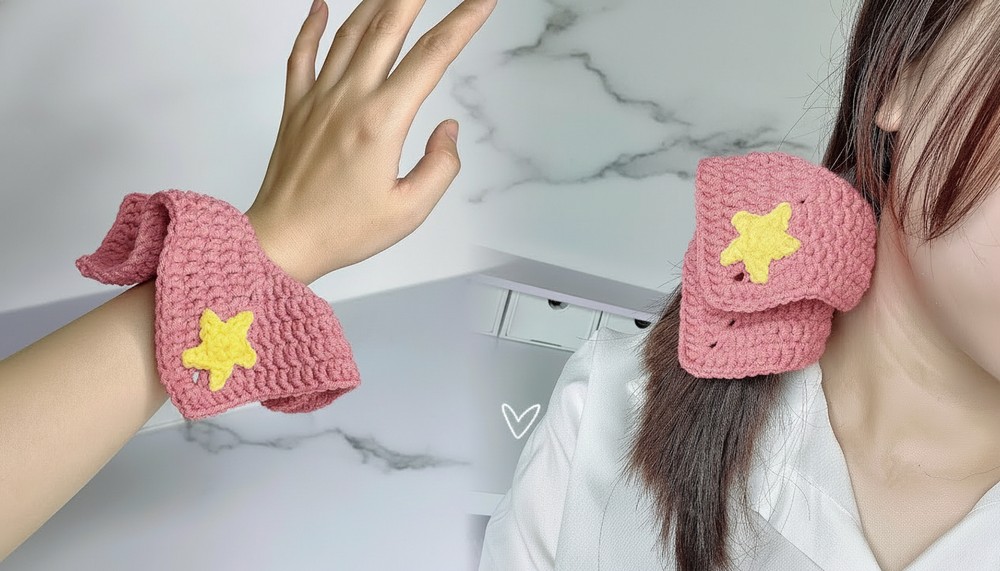
It can be used for tying hair, decorating a bun, or even wearing on the wrist as a cute band. The beauty of this piece comes from its soft texture and bright color choices that match different outfits. One special feature is that it does not pull or damage hair like some tight bands do. It is simple to make and does not need many materials, which makes it a good choice for beginners. Each scrunchie can look a little different, giving a personal touch to every handmade piece.
Red Flag Hair Tie Crochet Pattern
Skill Level
Intermediate: This project includes techniques such as single crochet, slip stitches, attaching yarn to elastic bands, and crocheting a magic ring. Prior experience with crocheting evenly around an object (elastic band) and shaping decorative pieces is recommended.
Finished Size
- About 2.5–3 inches wide excluding the star.
- The elastic tie width and number of rows can be adjusted for different sizes.
Materials
- Yarn:
- light Rose Yarn Color: 2 mm thread size, ideal for the base hair tie.
- Yellow Yarn: To create the star.
- Hook Size:
- 3.5 mm Crochet Hook.
- Additional Supplies:
- Elastic Hair Band: Strong and durable.
- Stitch Markers: For marking the beginning of rounds.
- Scissors.
- Tapestry Needle: For sewing the star onto the base.
Key Abbreviations (US Terminology)
- ch: Chain.
- sc: Single Crochet.
- sl st: Slip Stitch.
- inc: Increase (2 sc in one stitch).
- MR: Magic Ring.
- st: Stitch(es).
Special Notes
- Working Around an Elastic Band: Be sure to crochet tightly and evenly around the elastic, ensuring good coverage.
- Magic Circle for Star: Use the magic ring method to create the center of the star for neatness.
- Customization: Adjust the size of the star and base by adding or reducing rounds/stitches.
Pattern Instructions
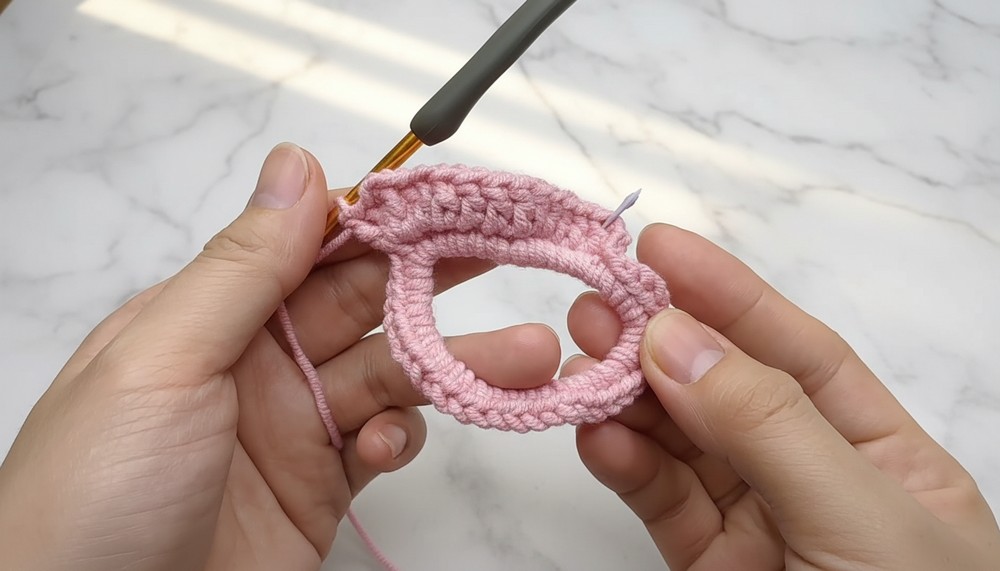
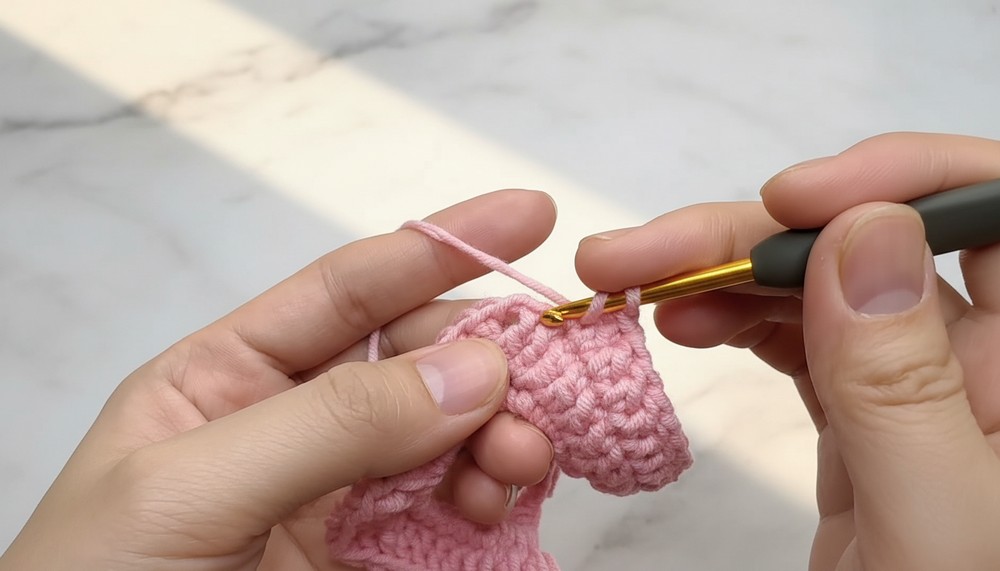
Step 1: Creating the Base Hair Tie
- Attach Red Yarn to Elastic Band:
- Pull the yarn through the elastic band and secure it with a sl st.
- Round 1:
- Work sc tightly around the elastic band. Crochet around any loose ends to hide them.
- Total: 44 sc.
- Use a stitch marker to mark the beginning of the round.
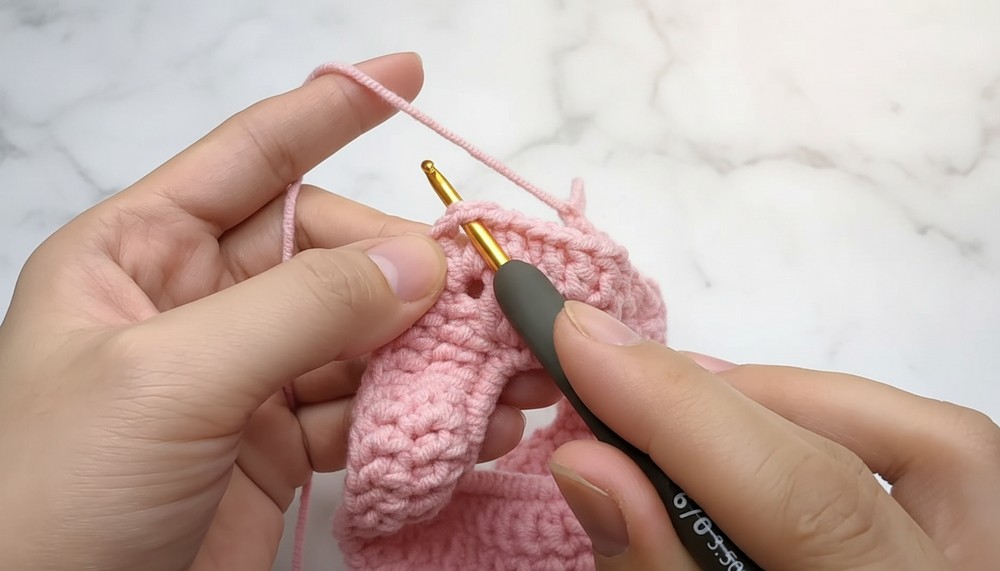
- Round 2:
- Begin with a sl st into the first stitch to close the round.
- Work 2 ch, then:
- [1 dc, 1 sc] into each stitch for a total of 10 stitches.
- Continue until the end of the round.
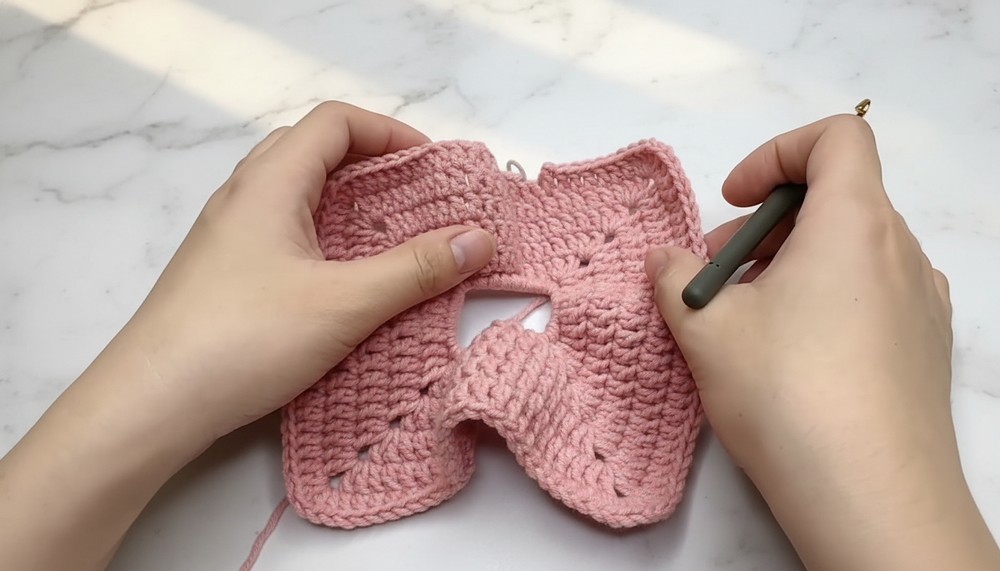
- Repeat Additional Rows:
- Work 1 dc and 1 sc into each stitch for as many rows as needed to achieve the desired coverage of the elastic band (typically 4–6 rows).
Step 2: Crocheting the Star
- Magic Ring:
- Create a magic ring using yellow yarn and secure with a ch 1.
- Round 1 (Base):
- Crochet 10 sc into the ring.
- Pull the tail to close the ring, and join the round with a sl st to the first sc.
- Star Points:
- Work five points by repeating the following pattern:
- Ch 3, skip the first stitch, work sl st in the second stitch, and sc in the third stitch.
- Skip the next stitch, then sl st into the next stitch (base of the point) to secure.
- Work five points by repeating the following pattern:
- Repeat for Remaining Points:
- Repeat the steps until all 5 points of the star are complete.
- Fasten Off:
- Cut the yarn, leaving a long tail for attaching the star to the base.
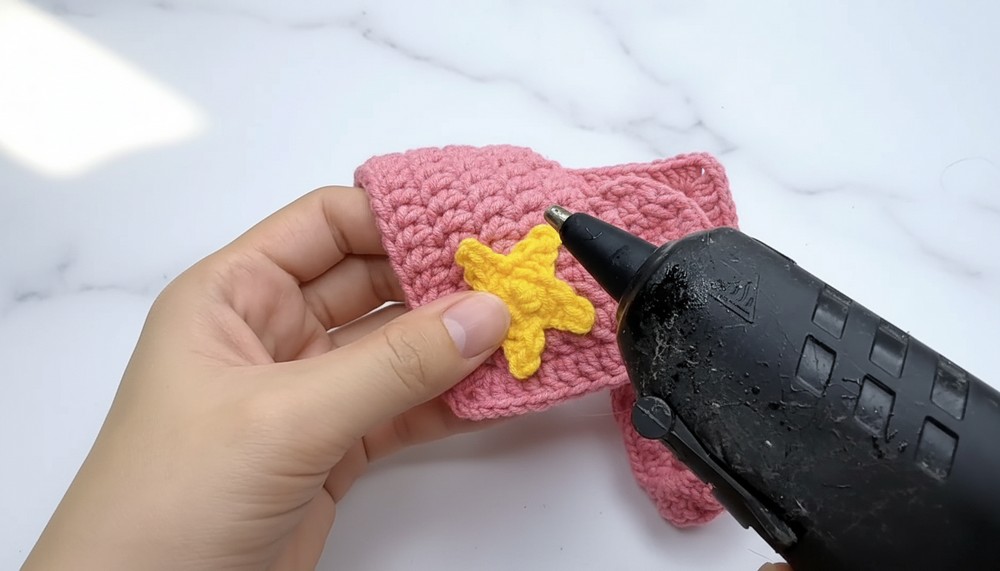
Step 3: Attaching the Star
- Positioning:
- Position the star in the center of the hair tie (or any desired spot). Be sure to align one point upward for symmetry.
- Sew the Star:
- Using a tapestry needle, sew the star securely onto the hair tie base using the long tail.
- Ensure even stitching and tuck in any loose ends after weaving them through the back of the piece.
Finishing Touches
- Weave in Loose Ends:
- Use a tapestry needle to neatly hide any remaining tails or strands.
- Shape the Star:
- Flatten the star and adjust any uneven points.
Conclusion
Congratulations on completing your Red Flag Hair Tie with Golden Star! This meaningful and festive accessory is perfect for holidays or personal use. Wear it proudly as a functional hair tie or a stylish bracelet.
Pattern Corrections
- Ensure stitch counts are accurate for a seamless finish.
- Modify tension if the stitches appear too tight or loose, particularly when crocheting around the elastic band.
Tips for Success
- Elastic Band Coverage:
- Use tight and even stitches to prevent gaps in the coverage around the band.
- Secure Star Stitching:
- Sew the star firmly to prevent it from detaching during use.
- Experiment with Colors:
- Consider using contrasting or complementary colors for a different look.