Inspire cozy ambiance naturally with this Free Crochet Pumpkin Pattern that's featuring inviting colors and shapes perfect for autumn decorating ideas.
If you enjoy making fun and creative projects, you’ll love this free crochet pumpkin pattern. Found on the YouTube channel Márcia Souza Crochê, this easy project is perfect for adding a cozy, handmade touch to your fall decorations. The pumpkin is a small crocheted item that’s great for celebrating autumn, Halloween, or Thanksgiving. It’s simple to make, even for beginners, and you can use it in many different ways around your home.
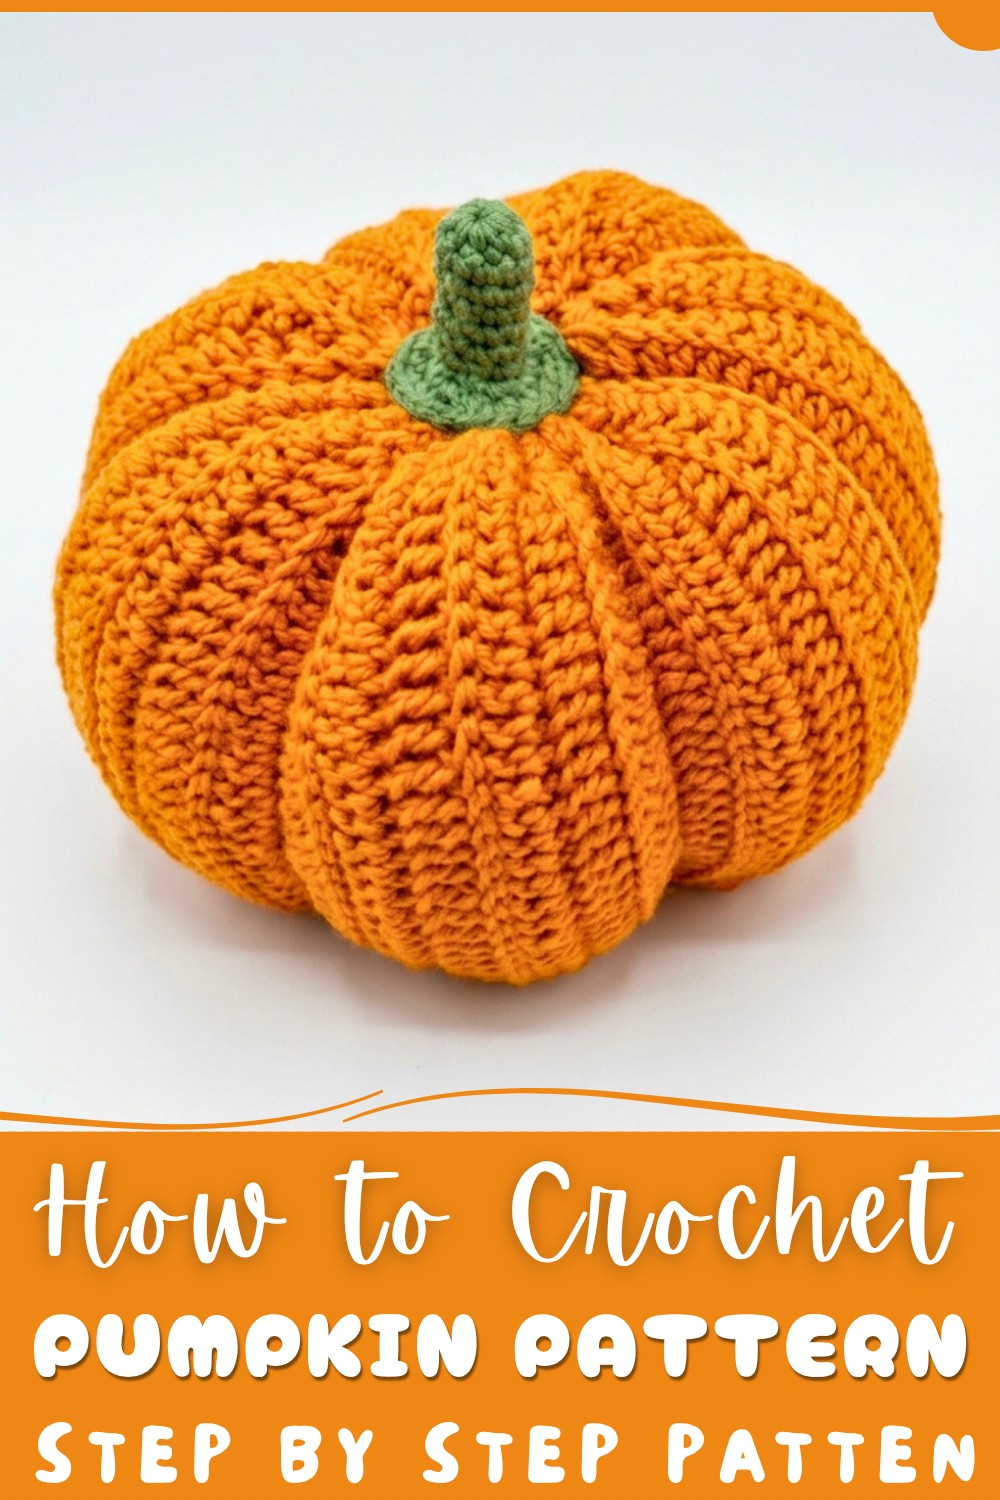
Free Pumpkin Pattern for Charming Autumn Decor
This crochet pumpkin looks warm and inviting with its round shape and classic orange color. The stitches create a soft but firm texture that holds the pumpkin’s shape nicely. A little green stem on top adds a cute finish, making it look just like a real pumpkin. The style is simple and sweet, with just the right amount of detail to catch the eye without being too complicated. Whether you place it on a table, bookshelf, or mantel, it adds a lovely touch of fall charm wherever it goes.
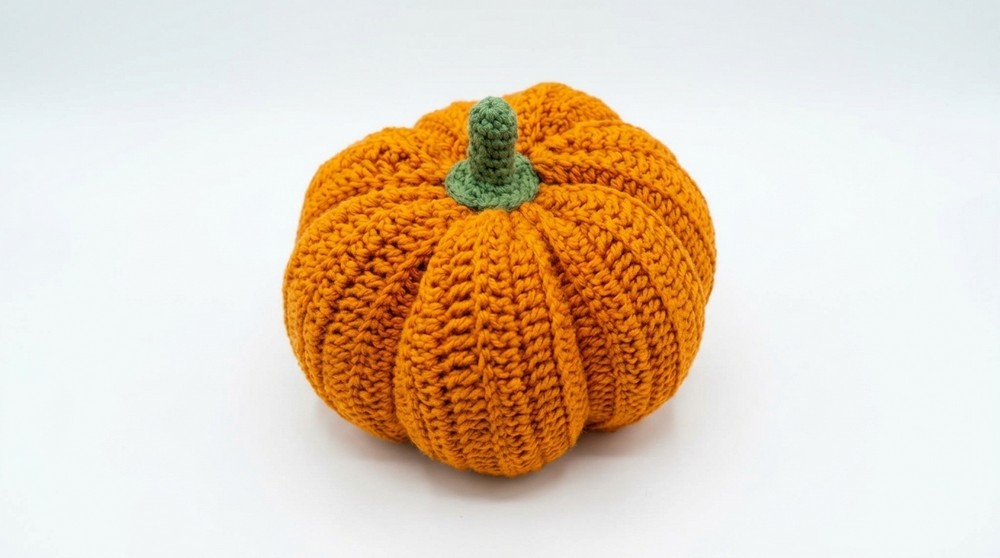
Apart from decorating your home, this pumpkin is a wonderful gift idea. It’s small and light, making it easy to give to friends, family, or coworkers as a thoughtful present. You can also collect several in different sizes or colors to create a festive set that everyone will enjoy. This free crochet pumpkin pattern from Márcia Souza Crochê is not just a fun project but also a way to bring warmth and happiness to your space and loved ones during the autumn season.
Crochet Pumpkin Doorstop Pattern
This detailed pattern guides you through making a cozy and functional crochet pumpkin doorstop. The pumpkin is sturdy and weighted, perfect for holding doors open while adding a charming seasonal accent to your home décor. Worked predominantly in textured double crochet stitches with carefully crafted segments and topped with a crocheted stem and base cover, this design captures the classic pumpkin look in yarn. The pattern uses medium-weight Barroco yarn in vibrant orange for the body and green for the stem and accents.
Quick Overview Of Pattern
- Rectangular panel crocheted in double crochet stitches worked in back loops only for texture
- Panel folded and slip-stitched to form a cylinder shape
- Gathered and stuffed base and top edges form the pumpkin shape
- Weighted with a sandbag inside for doorstop functionality
- External yarn wraps to create signature pumpkin segments (gomos)
- Crochet magic ring circles create the pumpkin base cover and stem details
- Assembly glued and seamed to finish
Notes
- Stitch tension should be consistent to maintain shape and size
- Use tapestry needle for all joining and finishing to achieve neat seams
- Weigh down with sandbag safely encased inside fiberfill for weight and stability
- Fabric glue secures pieces in place for durability
- Gauge and row counts are approximate; small adjustments may be needed based on yarn brand and hook size
- Keep ends long when joining and assembling to facilitate secure finishing
Skill Level
This project is ideal for intermediate crocheters experienced with:
- Working in double crochet (dc) stitches and back loop only crochet
- Magic ring foundations and increases in rounds
- Continuous rounds and slip stitch joins
- Shaping crochet pieces through gathering and stuffing
- Assembly and finishing techniques including sewing, gluing, and securing yarn
Materials
- Yarn: Barroco size 6, Orange (for pumpkin body), Green (for base cover and stem)
- Crochet Hook: 3.5 mm
- Other Supplies:
- Tapestry needle
- Scissors
- Fabric glue
- Tape measure
- Fiberfill stuffing (acrylic recommended)
- Small bag of sand for weight
Measurements / Sizing
- Panel size before assembly: approx. 50 cm long x 23 cm wide
- Finished pumpkin diameter approx. 20–25 cm depending on stuffing and wrapping
- Height including stem varies depending on stuffing and stem length
Gauge and Stitch Pattern
- Gauge is approximate and based on Barroco yarn with 3.5 mm hook
- Fabric textured using double crochet (dc) worked in back loop only (BLO) to create ribbed effect
- Rectangular panel formed by 40 rows of dc BLO, 38 stitches wide (after skip chains)
Stitch Abbreviations
| Abbreviation | Meaning |
|---|---|
| ch | Chain |
| dc | Double Crochet |
| sl st | Slip Stitch |
| sc | Single Crochet |
| BLO | Back Loop Only (work stitches only into back loop of stitch) |
Special Stitches
- Magic Ring: Adjustable loop used to start rounds with multiple stitches, tightened after initial stitches worked.
The Crochet Pattern
1. Pumpkin Base (Orange Yarn)
Foundation Chain
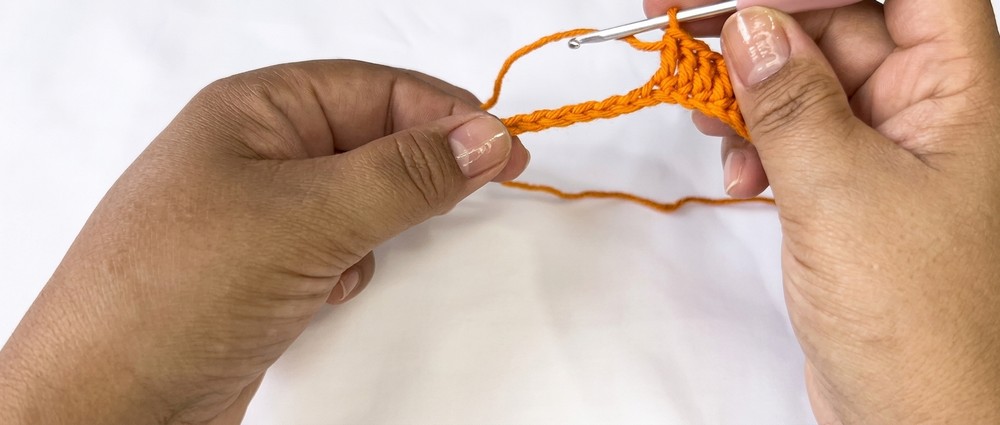
- Chain 40 chains (ch 40).
Row 1
- Skip the first 2 chains from hook (counts as first dc).
- Work 38 double crochet (dc) stitches across the remaining chains.
Rows 2 to 40 (Body Texture)
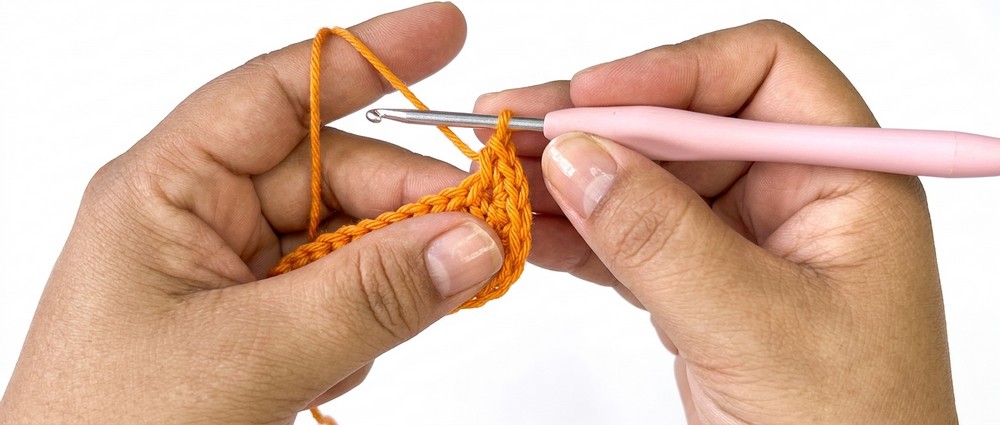
- Chain 2 to turn (does not count as a stitch).
- From this point on, work only in the back loop only (BLO) of each stitch in every row.
- Work 38 dc BLO stitches in each row across, repeating this for a total of 40 rows to create the textured ribbed fabric.
Size Check
- The rectangular panel should measure approximately 50 cm long x 23 cm wide.
2. Assembly and Shaping
Joining Edges
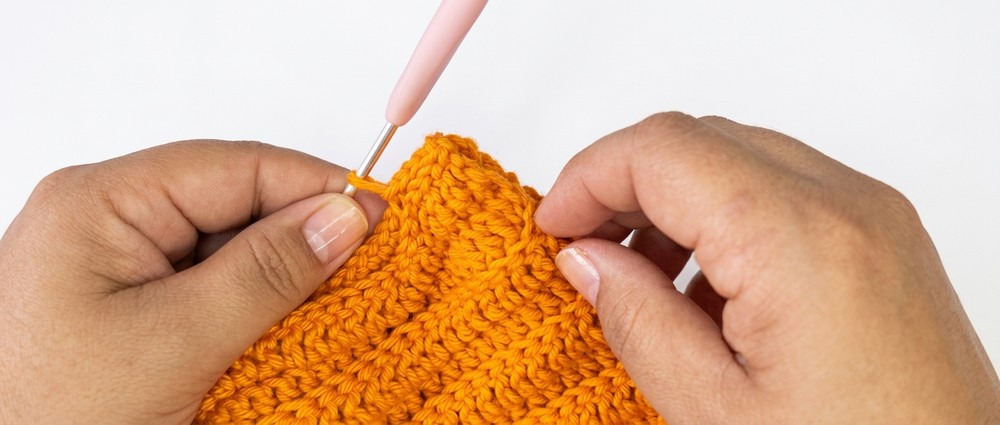
- Fold the rectangular panel lengthwise to align short edges.
- Join the two edges with slip stitches (sl st) to form a cylinder.
Gathering Top Edge
- Thread a tapestry needle with a long length of yarn.
- Weave through the top edge stitches of the cylinder, gathering by pulling tightly to close the top circular opening.
- Knot securely to prevent loosening.
Stuffing
- Fill the bottom portion with fiberfill stuffing for shape.
- Insert a small sandbag inside the fiberfill to add necessary weight for doorstop functionality.
- Fill the remaining space up with fiberfill to the top.
Gathering Bottom Edge
- Repeat the gathering process on the bottom edge by weaving yarn through stitches and pulling tightly to close.
- Secure firmly with knots.
Creating Pumpkin Segments (Gomos)
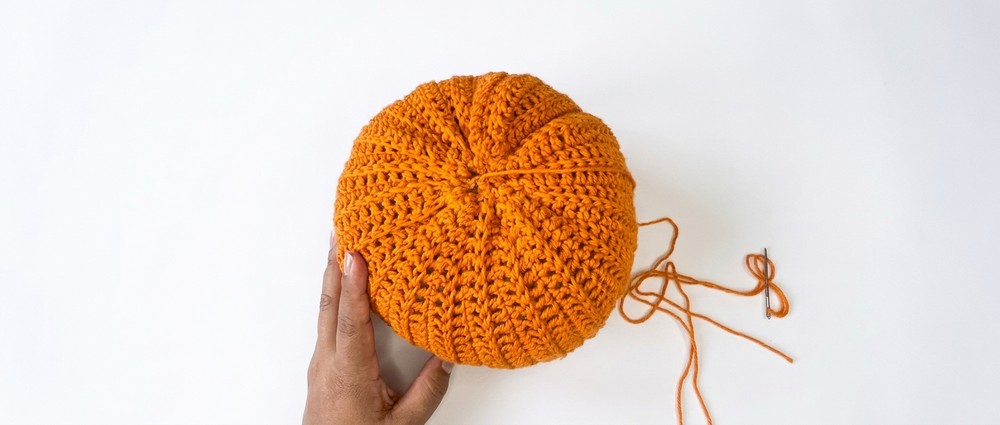
- Using yarn, wrap around the outside of the stuffed pumpkin.
- Pull the yarn tightly through the gaps created every 2–3 rows vertically around the pumpkin.
- This forms defined segments and ridges characteristic of a pumpkin.
- Knot or secure yarn ends discreetly after completing desired segments.
3. Details (Green Yarn)
Base Cover
- Create a magic ring with green yarn.
- Work 8 single crochet (sc) stitches into the magic ring.
- Pull ring tight.
- In the second round, work increases to double the stitch count to 16 sc.
- Fasten off and leave a long tail.
- Glue or sew this circular piece over the base of the pumpkin to cover the bottom stitching.
Stem
Stem Foundation
- Start another magic ring with green yarn.
- Work 8 single crochets (sc) into the ring.
Stem Construction
- Work in continuous spiral rounds for 8 rows of sc.
- Then work rounds of increases:
- Increase to 16 sc stitches evenly distributed.
- Increase again to 24 sc stitches to widen the stem as desired.
- Lightly stuff the stem with fiberfill to hold shape.
- Fasten off with a long tail to sew or glue the stem securely atop the pumpkin.

Assembly & Finished Size
- The finished pumpkin stands approximately 20–25 cm in diameter once stuffed and gathered.
- Height will vary depending on stem size and stuffing but typically measures around 28–30 cm including stem.
- The sandbag adds stability and weight, making the pumpkin functional as a doorstop.
- Lobed segments created by yarn wrapping add texture and authentic pumpkin appearance.
- Green base cover hides stitches and neatly finishes the bottom.
- Stem attaches firmly to the top for a full, finished look.
Conclusion
You have now completed your crochet pumpkin doorstop, a practical and decorative project that blends texture, shape, and functionality. This design features thoughtful detail from the ribbed body to the distinct pumpkin segments, finished with a sturdy weighted base and a charming crocheted stem. Perfect for fall and holiday décor, it combines cozy crochet artistry with everyday use.