Bring festive cheer to your holiday décor with the Free Crochet Santa Claus Pattern that offers a charming and playful touch for seasonal celebrations.
About The Channel: Rhonda Butler’s YouTube channel provides clear and easy instructions to help you crochet this Santa. Her friendly videos make the process enjoyable, guiding you step-by-step through the pattern. With her help, anyone can create their own charming crochet Santa just in time for the holidays.
Holiday decorations made by hand always bring extra joy. The free crochet Santa Claus pattern lets you create a cute Santa figure that’s perfect for decorating your home or giving as a special gift. This little Santa is full of the holiday spirit and easy to make.
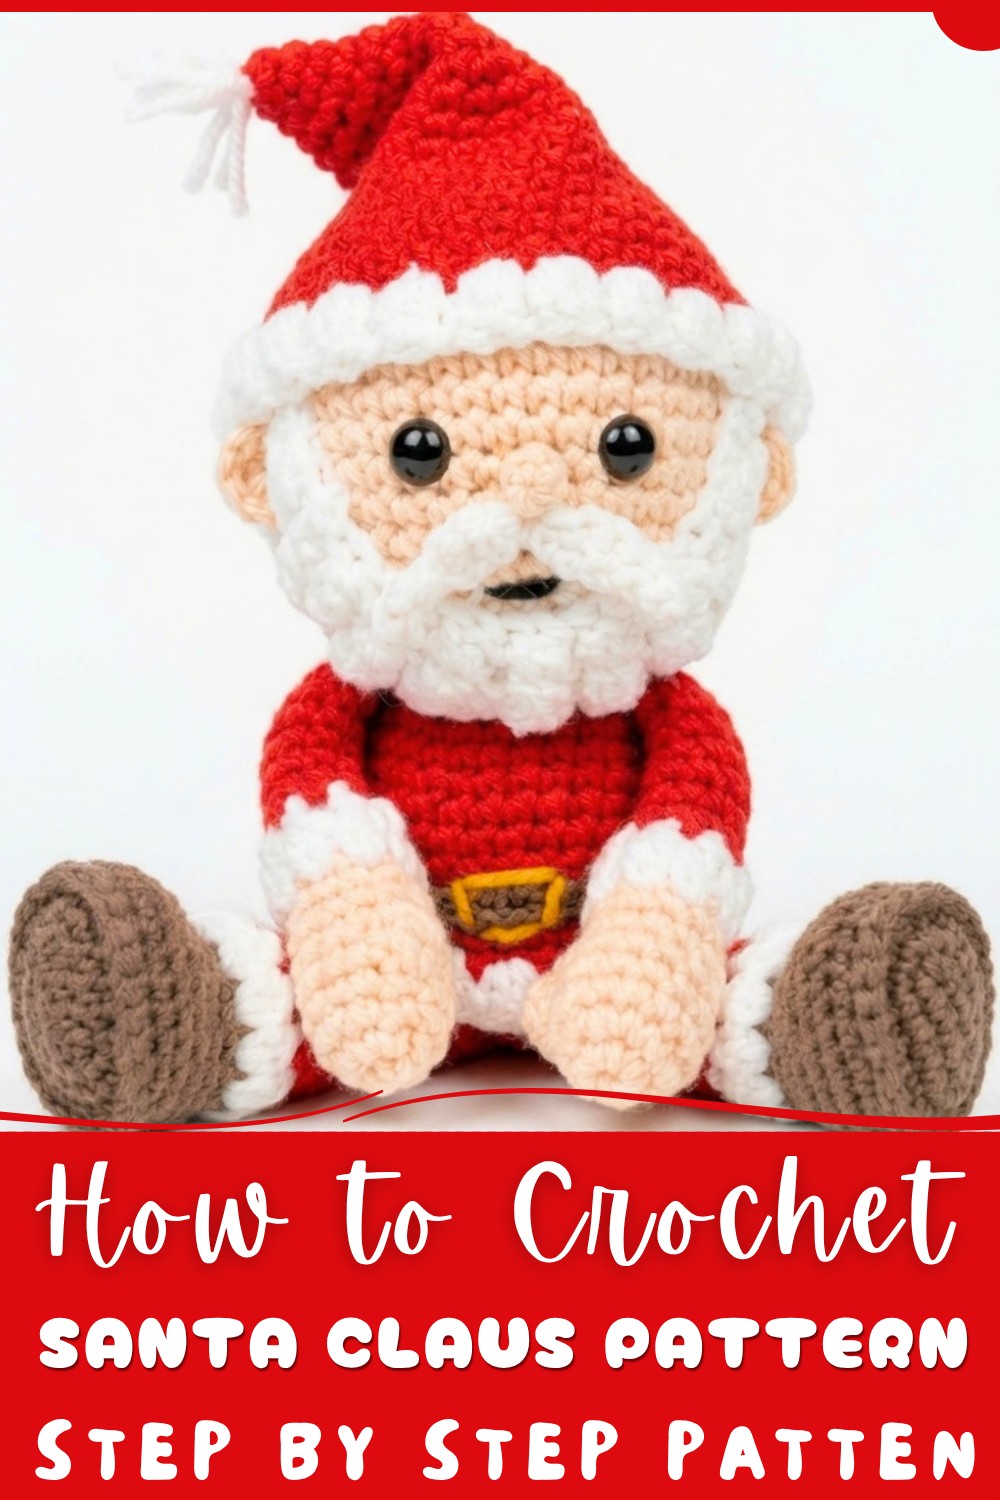
Santa Claus Crochet: Free Pattern for Festive Fun
The Santa Claus you crochet with this pattern wears the classic red suit with white trim. He has a fluffy white beard and a round, cheerful face. The soft yarn and neat stitches make him feel warm and cuddly. His small size means you can use him as a tree ornament, table decoration, or a fun toy for kids during Christmas time.
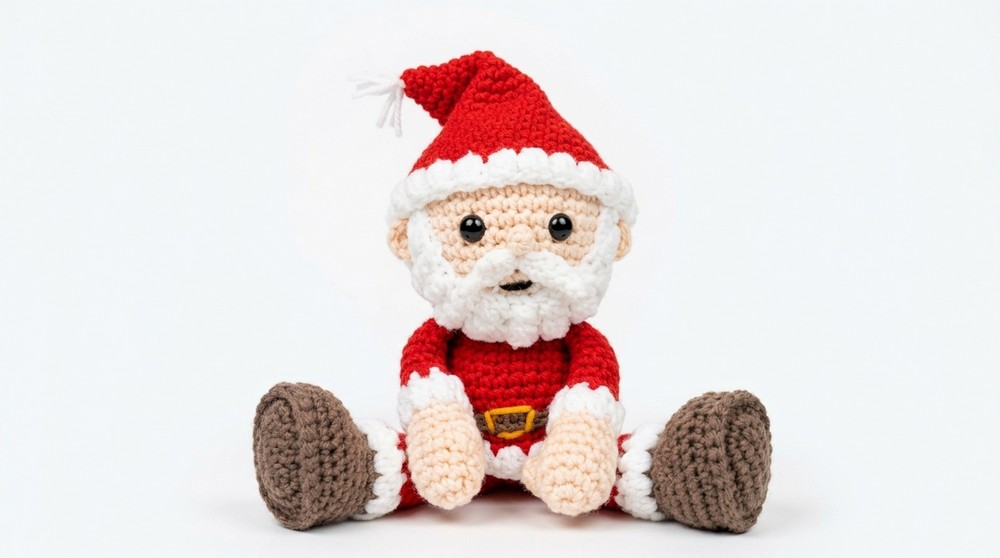
This project is a fun way to add a handmade touch to your holiday celebrations. It’s simple enough for beginners but detailed enough to make a beautiful finished piece. You’ll love displaying your Santa or giving it to someone special as a thoughtful, handmade gift.
Little Santa Claus Crochet Along Pattern
This project guides you through making a small crocheted Santa Claus figure including head, arms, body, legs, and details such as the beard, mustache, ears, and hat. Most parts are crocheted in the round with no sewing until final assembly, which focuses on attaching facial features. This crochet-along style tutorial allows you to work along stitch by stitch in real time for a comprehensive experience.
Pattern Highlights
- Full amigurumi Santa Claus figure from head to limbs.
- No-sew construction for head, arms, body, and legs; minimal sewing for facial features.
- Uses medium weight yarn and 4.25 mm hook.
- Detailed stitch counts and rounds with increases, decreases, and cluster stitches.
- Color changes incorporated for face and clothing.
- Safety eyes placement and attachment instructions.
- Optional detail work on facial features including beard, mustache, and nose.
- Includes finishing touches with sewing on ears, hat, and belt buckle.
Notes
- Work tightly to maintain figure shape.
- Use stitch markers to track rounds accurately.
- Color changes are strategically placed for clean transitions.
- Be patient with stuffing sections to keep shape firm yet flexible.
- Invisible decreases provide smoother shaping but regular decreases work well too.
- Attach safety eyes securely; size preference recommended is 14 mm for best effect.
- Sewing facial features is done carefully to prevent distortion and ensure durability.
Skill Level
Intermediate. Recommended skills:
- Magic ring and working in continuous rounds.
- Increases, decreases, and cluster stitch techniques.
- Color changing in crochet.
- Embroidery and sewing with yarn needle.
- Stuffing and shaping amigurumi parts.
Materials
- #4 medium worsted weight yarn: White, Red, Face tone, Black (for details), Yellow (for buckle).
- Crochet hook size 4.25 mm.
- 14 mm safety eyes recommended (12 mm acceptable).
- Stitch markers.
- Yarn needle.
- Polyester fiberfill for stuffing.
- Scissors.
Measurements (Optional)
- Figure height approximately 20–25 cm after assembly (dependent on tension and yarn).
- Head circumference corresponds to 24 to 48 stitch rounds detailed below.
- Limbs proportionate to body size for classic Santa figure look.
Gauge and Stitch Pattern
- Gauge is flexible, but consistent tension advised for uniform shaping.
- Works primarily in single crochet (SC), half double crochet (HDC), double crochet (DC).
- Cluster stitches used to create texture on beard and body.
Stitch Abbreviations
| Abbreviation | Meaning |
|---|---|
| CH | Chain |
| SC | Single Crochet |
| DC | Double Crochet |
| HDC | Half Double Crochet |
| SL ST | Slip Stitch |
| MR | Magic Ring |
| INC | Increase (2 SC in one stitch) |
| DEC | Decrease (invisible or regular) |
| DCC | Double Crochet Cluster |
Special Stitches
- Double Crochet Cluster (DCC): Yarn over, insert hook, pull yarn through stitch, yarn over, pull through two loops on hook; repeat three times in the same stitch, then yarn over and pull through all loops on hook. Creates raised cluster texture.
- Invisible Decrease: Insert hook as if to single crochet, but pick up front loop only, then insert hook into front loop of next stitch and pull through all loops to decrease without visible gap.
The Crochet Pattern
Arms (Make 2)
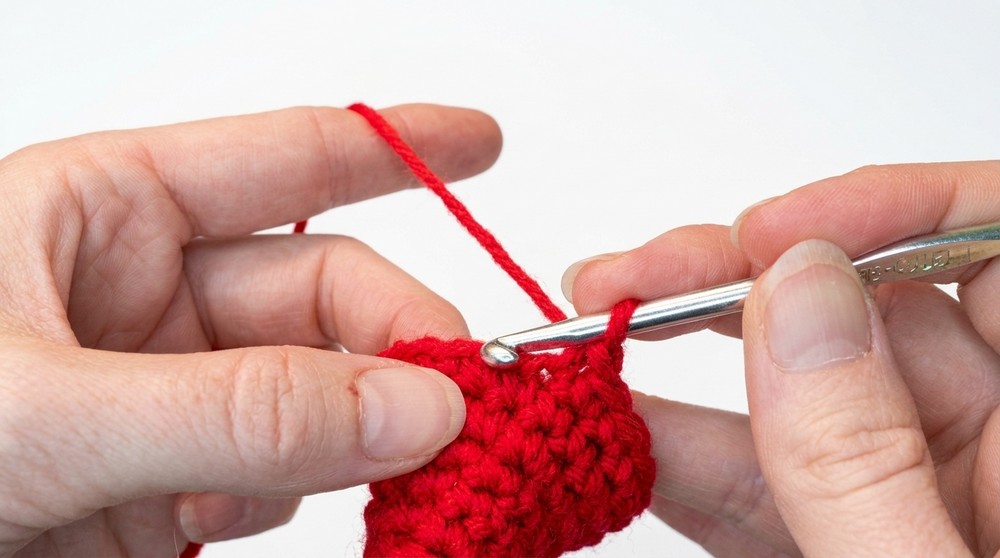
- Row 1: Create a loop with slip knot, chain 1; 6 SC into loop.
- Row 2: 6 INC (2 SC in each stitch) = 12 SC.
- Rows 3-4: 2 rounds of 12 SC.
- Row 5: Make a DCC of 4 in one stitch (yarn over and pull through partial loops 4 times, end by pulling through all 5 loops), then 11 SC (count cluster as 1 stitch), total 12 stitches.
- Row 6: 12 SC.
- Row 7: 1 SC, 1 DEC around = 8 stitches.
- Work 5 single crochets away from front so that color changing will be less visible near thumb.
- Change color to White by tying yarn onto 5th SC.
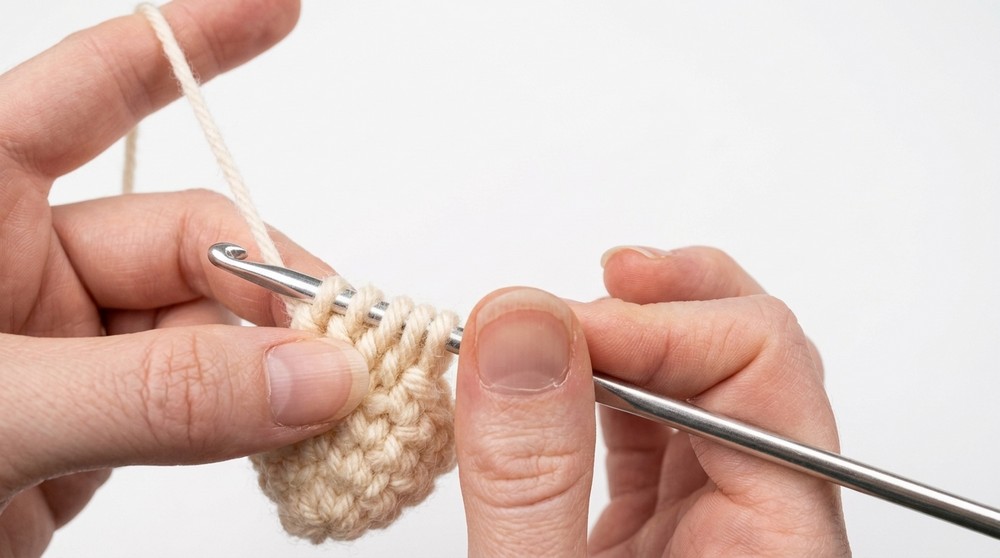
Thumb - Color Change
- Row 8: Work 8 DCCs of 3 clusters each, all in White yarn. Change to Red at end of row.
Rows 9-17: Work 9 rounds of 8 SC in Red (72 stitches total). Flip marker every 8 to keep track.
Stuff the arm lightly, with firm stuffing at hand and softer in arm to avoid stiff-out look.
Closing Off Arms
- Single crochet 3 times over opening stitches; tie off leaving tail for assembly.
Legs (Make 2)
- Chain 6.
- Row 1: Starting in 2nd chain from hook, 1 SC, 3 SC across chain, then 3 SC in last chain turning upward; 3 SC across opposite side chain, 2 SC in last stitch (total 14 stitches approx).
- Row 2: Mark with stitch marker; 1 INC in last stitch of one side, 3 SC across chain, and 3 INC around last stitches on the other side; 3 SC across chain again.
- Row 3: 1 SC, 1 INC at ends; 3 SC across; repeat on other end; finishing with SC.
- Rows 4-5: 24 SC in Front loops only (FLO).
- Rows 6-7: 24 SC in Back loops only (BLO).
- Row 8: 6 SC, 6 invisible DECs, 6 SC.
- Row 9: 3 SC, 3 invisible DECs, 3 SC.
- Row 10: 12 SC.
- Change color to White at 12th SC; tie new yarn in.
- Row 11: 12 DCCs of 3 clusters each; change back to Red at last cluster.
- Rows 12-20: 12 SC rounds.
- Stuff foot firmly; ensure shaping as per thumb rules.
- Closing rounds decrease to shape bottom; invisible decreases preferred.
Head
- Begin with MR; 6 SC in loop (Row 1).
- Row 2: 6 INC = 12 SC.
- Row 3: 1 SC, 1 INC around = 18 SC.
- Row 4: 2 SC, 1 INC around = 24 SC.
- Row 5: 3 SC, 1 INC around = 30 SC.
- Row 6: 4 SC, 1 INC around = 36 SC.
- Row 7: 5 SC, 1 INC around = 42 SC; change to face color on last stitch.
- Rows 8-14: 42 SC in face color.
- Row 15: 5 SC, 1 DEC around = 36 SC.
- Row 16: 4 SC, 1 DEC around = 30 SC.
- Row 17: 3 SC, 1 DEC around = 24 SC.
- Row 18: 2 SC, 1 DEC around = 18 SC; change color to Red on last stitch.
- Stitch 19: Work arms to head: 3 SC through arm and head, 6 SC across front, 3 SC through arm and head, remaining SC.
- Row 20: 2 SC, 1 INC around = 24 SC.
- Row 21: 24 SC.
- Row 22: 3 SC, 1 INC around = 30 SC.
- Row 23: 4 SC, 1 INC around = 36 SC.
- Rows 24-26: 36 SC.
- Rows 27-28: 36 SC with front loops/back loops pattern for belt; switch back to Red.
- Row 29-30: 36 SC with front loops/back loops pattern.
- Row 31: 3 SC, 1 DEC around = 24 SC.
- Row 32: Position legs: 8 SC, then 6 SC through foot/body, repeat for other leg.
- Rows 33-34: Decrease rounds shaping top of head.
- Stuff head firmly, shaping cheeks and neck.
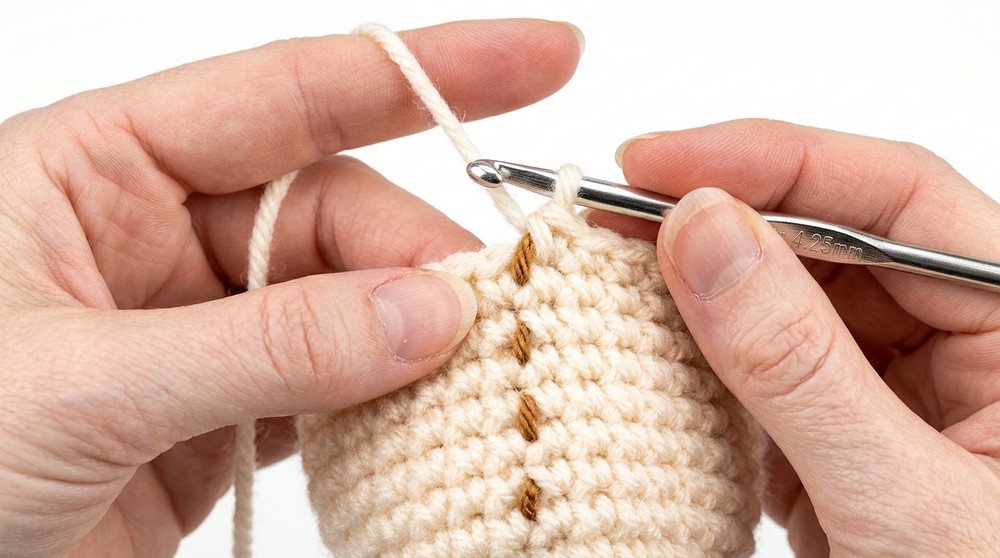
Nose
- MR; 3 SC in loop; SL ST join, leave tail for sewing.
Mustache
- Chain 10; starting 2nd chain from hook: SL ST, SL ST, SC, HDC INC, SL ST, 2 HDC, SC, 2 SL ST; tie off with tail for sewing.
- Use wrong side as facing side for better look.
- Gather ends at center and wrap yarn to form shape.
Beard
- Chain 27; 3 SC in second chain from hook, 4 HDC, then repeat DCC (3 clusters) and SC six times; finish with 4 HDC, 3 SC; turn work.
- Back side: 3 SL ST, 3 SC, 2 HDC, 5 DCC with SC in between, 2 HDC, 3 SC, 3 SL ST; tie off with tail.
Ears (Make 2)
- MR; chain 1; 6 SC into loop; tie off leaving tail for tying on.
- Sew onto head aligned near eyes, securing with stitches around edges and center to avoid twisting.
Hat
- MR, 6 SC, 2 rounds 6 SC, increase round to 12 SC; continue increases as hat grows.
- Add pom-pom at top by wrapping yarn multiple times around fingers and tying ends.
- Attach hat by sewing securely around head base aligning with face color transitions.
Assembly
- Insert safety eyes between rows 11 and 12; place evenly spaced approx. 4 holes apart.
- Stuff each part firmly, using scissors or tool to distribute fiberfill evenly inside limbs and head.
- Attach arms and legs to body using slip stitch or sewing method described.
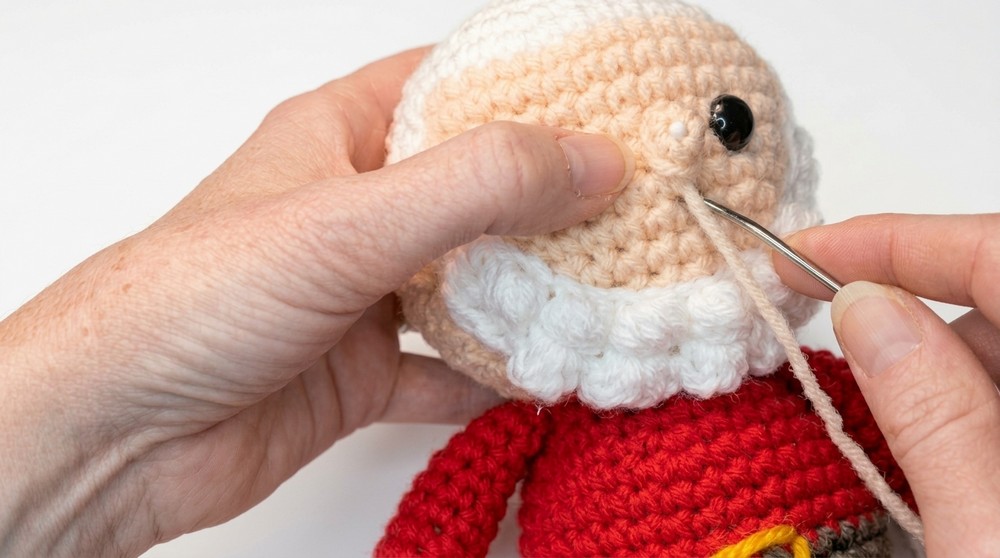
- Position nose, mustache, and beard carefully; use pins before sewing to confirm placement.
- Sew mustache and nose securely with yarn needle.
- Tie arm strings around neck to set position and secure.
- Attach ears and hat by sewing carefully to avoid misalignment.
- Add belt buckle detail with yellow scrap yarn sewn around three stitches on body.
Assembly & Finished Size
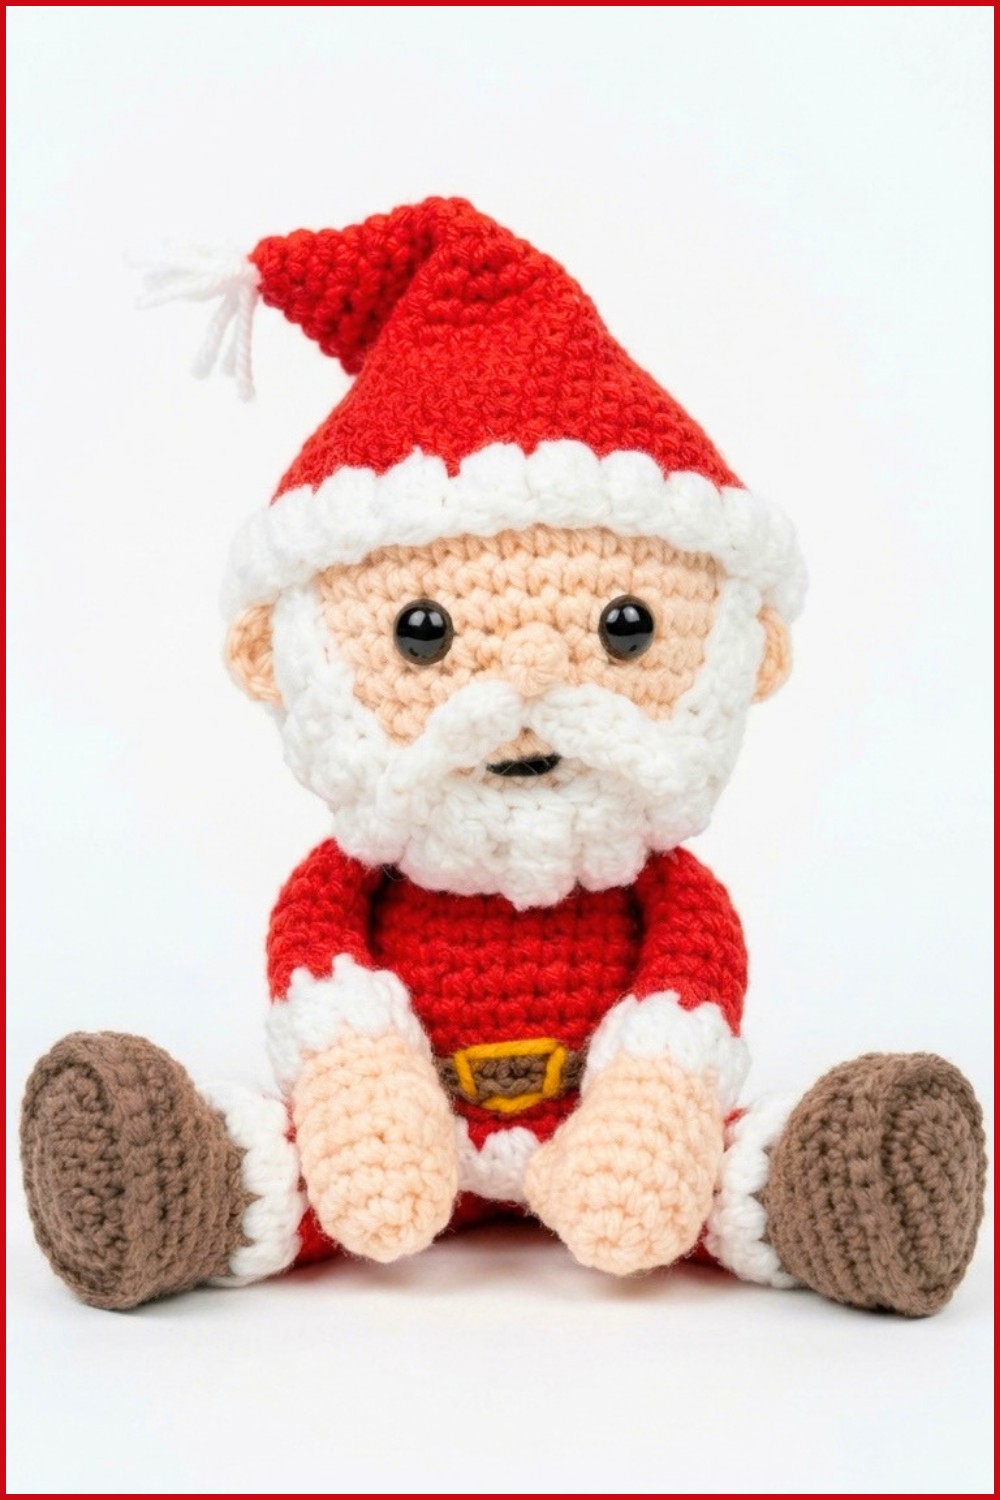
- Final Santa measures approximately 20–25 cm tall.
- Proportioned limbs with firm stuffing give good stability.
- Face details positioned to give expressive look.
- Attached hat and accessories complete seasonal appearance.
Conclusion
This detailed amigurumi Santa Claus crochet pattern covers crafting every part from limbs to facial features with comprehensive stitch breakdowns and assembly tips for an adorable finished project. Styled for intermediate crocheters, it focuses on shaping through well-recognized techniques including cluster stitches and efficient color changes. The final figure delights with expressive details, textured beard, and a finished hat making it a perfect holiday decoration or gift.