Ring in the festive spirit with this free crochet Christmas bell pattern that adds charming details and cheerful vibes to your holiday decorations.
Christmas decorations can make a home feel warm and joyful, and a handmade bell adds a lovely festive touch. The Free crochet Christmas Bell Pattern is a charming holiday decoration with a soft texture, pretty shape, and classic Christmas feel. The bell has a rounded top and a wider lower edge, giving it the look of a real Christmas bell.
Cozy Crochet Love shares this sweet crochet idea for adding a handmade touch to holiday decorating. The bell can look lovely on a Christmas tree, wreath, mantel, shelf, wall, or holiday table. Its small size also makes it easy to hang in different places around the home.
Christmas Bell Ornament Pattern with a Cute Bow
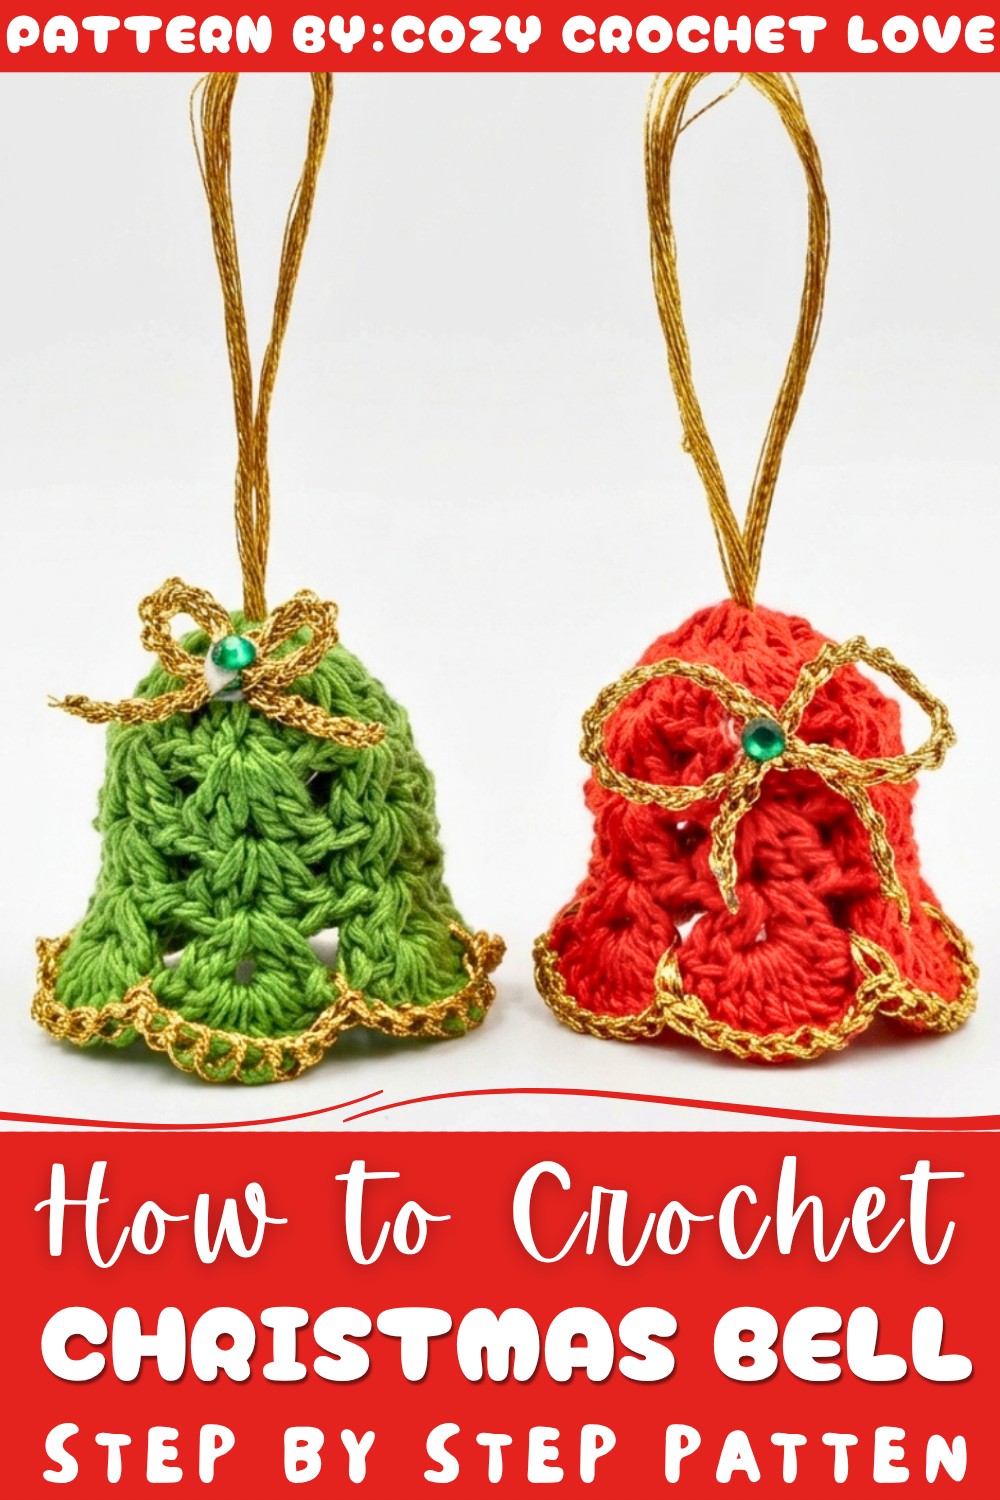
The soft crochet surface gives the bell a cozy handmade look, while its simple shape keeps the design neat and beautiful. Several bells can be grouped together to create a cute hanging display. It can also make a thoughtful Christmas gift for friends, family, teachers, or neighbors. A few bells together can become a lovely little holiday set.
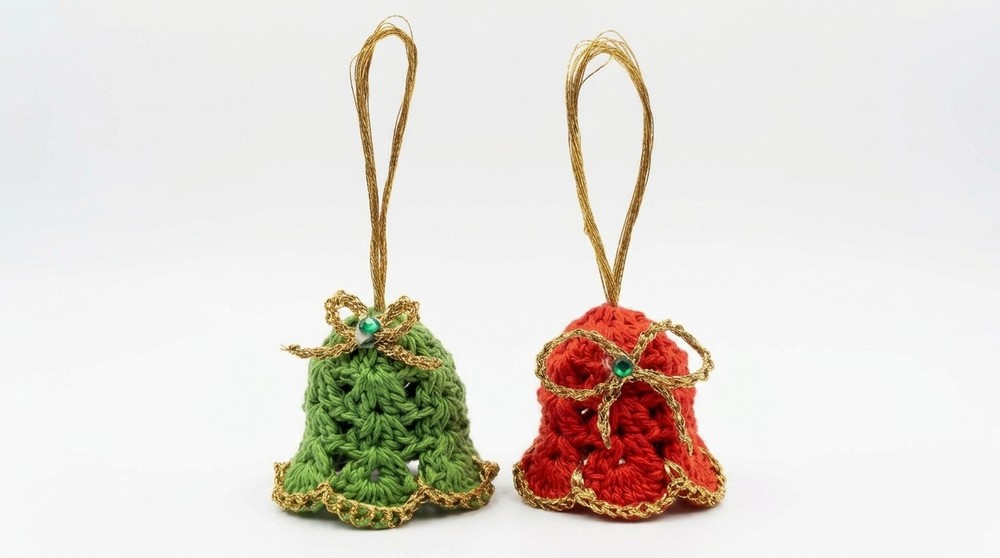
This festive piece is useful as both a decoration and a keepsake. It can be packed away after the holidays and brought out again each year, making it a lasting part of Christmas traditions. The Free crochet Christmas Bell Pattern is a lovely choice for anyone who enjoys handmade decorations and wants to add warmth, charm, and a personal touch to their holiday home.
Festive Christmas Bell Ornament Crochet Pattern
Create a beautiful and delicate Christmas bell ornament perfect for holiday decorations. This beginner-friendly pattern uses fine cotton yarn and a small crochet hook to craft an elegant bell with a shimmering gold border and a charming hanging loop.
Materials Needed
- Cotton Yarn in your preferred color
- Crochet Hook: 0.75 mm to 1 mm
- Gold Thread (or shimmery yarn for the decorative border)
- Big Eye Needle (for finishing and sewing)
- Scissors
Pattern Highlights
- Begins with a Magic Ring (MR) base.
- Worked in continuous rounds using double crochet (dc) and chain (ch) stitches.
- Increases made by working stitch clusters into chain-1 spaces to shape the bell.
- Features a ruffled arch edge for a decorative flare.
- Finished with a gold thread single crochet border for sparkle.
- Completed with a gold hanging loop and a small chain bow.
Notes for Beginners
- Use a stitch marker to keep track of each round start.
- Work with consistent tension to maintain neat stitches and proper shape.
- Carefully switch yarn colors or threads as instructed without twisting strands.
- When working into chain spaces, carefully locate the correct stitch space.
- You may adjust the number of rounds in step 2 to change bell size.
Skill Level
Beginner to Intermediate
You should be familiar with:
- Magic Ring start (MR)
- Double Crochet (dc)
- Chain stitch (ch)
- Slip Stitch (sl st)
- Working rounds
- Increasing by working multiple stitches into one space
- Basic finishing with yarn needle
Stitch Abbreviations
| Abbreviation | Explanation |
|---|---|
| MR | Magic Ring |
| ch | Chain |
| dc | Double Crochet |
| sc | Single Crochet |
| sl st | Slip Stitch |
Special Techniques
- Magic Ring (MR): Creates a tight closure center for starting the bell base.
- Working in Chain-1 Spaces: Insert the hook into spaces created by chains rather than individual stitches, allowing increases and shaping.
- Ruffled Edge: Multiple double crochets worked into the same chain space to create a flared, decorative effect.
Step-by-Step Crochet Pattern
Step 1: Magic Ring & Base
- Create a Magic Ring (MR).
- Chain 3 (this counts as the first double crochet (dc)).
- Work 12 dc total inside the ring, arranged as follows:
- 2 dc in the ring,
- Chain 1 (ch 1) to create a small gap,
- 2 dc again,
- ch 1,
- Repeat until you have 6 pairs of 2 dc clusters separated by 6 chain-1 spaces.
- Pull the tail of the magic ring tightly to close the center hole.
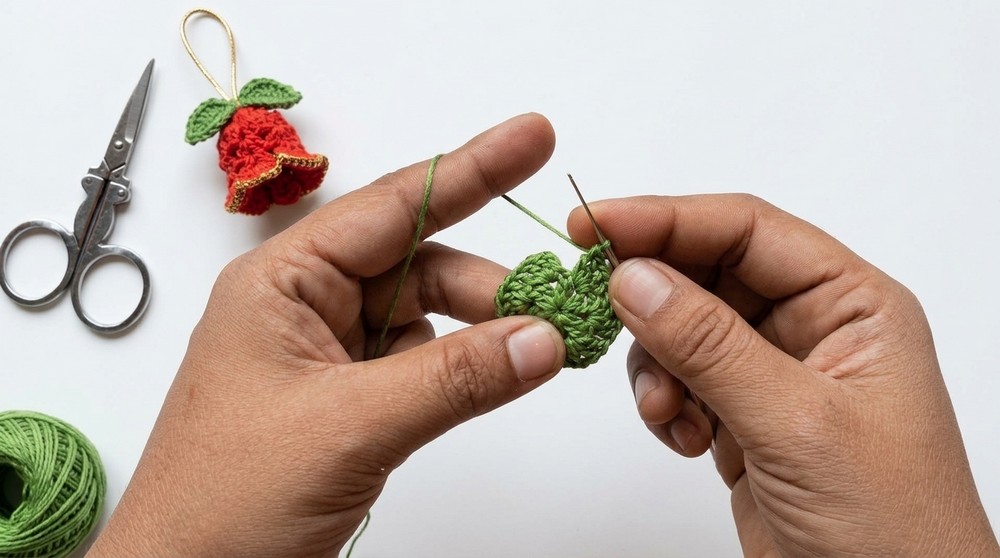
This forms the base with paired double crochets separated by chain gaps, shaping the round foundation of the bell.
Step 2: Growing the Bell (Working in Rounds)
- Join with a slip stitch (sl st) to the first chain-1 gap to start round 2.
- For each chain-1 gap around, work the following cluster:
- 2 dc,
- ch 1,
- 2 dc
- After completing all chain-1 spaces, slip stitch to join the round.
- Repeat this round pattern, working into every chain-1 space created in the previous round to gradually increase the width of the bell.
- Continue until the bell size meets your preference.
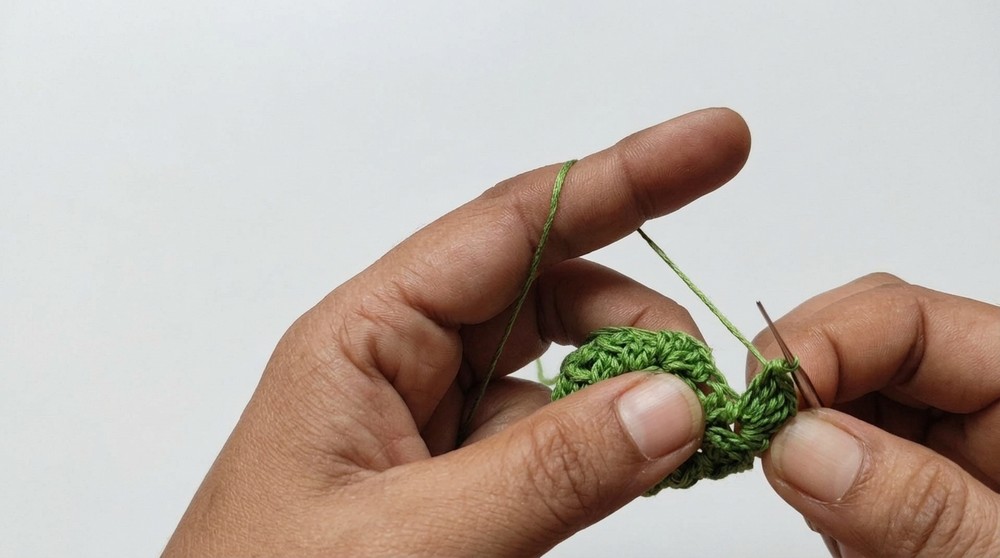
This step expands the bell’s diameter evenly while maintaining open spaces for the delicate lace look.
Step 3: Creating the Arch / Ruffled Edge
- In this decorative round, work 7 double crochets (7 dc) into each chain-1 space around the bell.
- Slip stitch to join the round once all chain spaces have a cluster.
- Chain 1 and cut your main yarn, finishing this part of the bell.
The 7 double crochets per space flare out the edge, creating a charming ruffled, scalloped effect around the bell’s opening.
Step 4: Adding the Gold Border
- Attach your gold thread to the bell’s edge where you just finished the ruffle.
- Work single crochet (sc) stitches evenly all around, inserting into the spaces created by chains at the edge.
- Slip stitch to finish the round, chain 1, and carefully cut the gold thread, weaving in the ends neatly.
This gold border adds sparkle and festive elegance to the ornament.
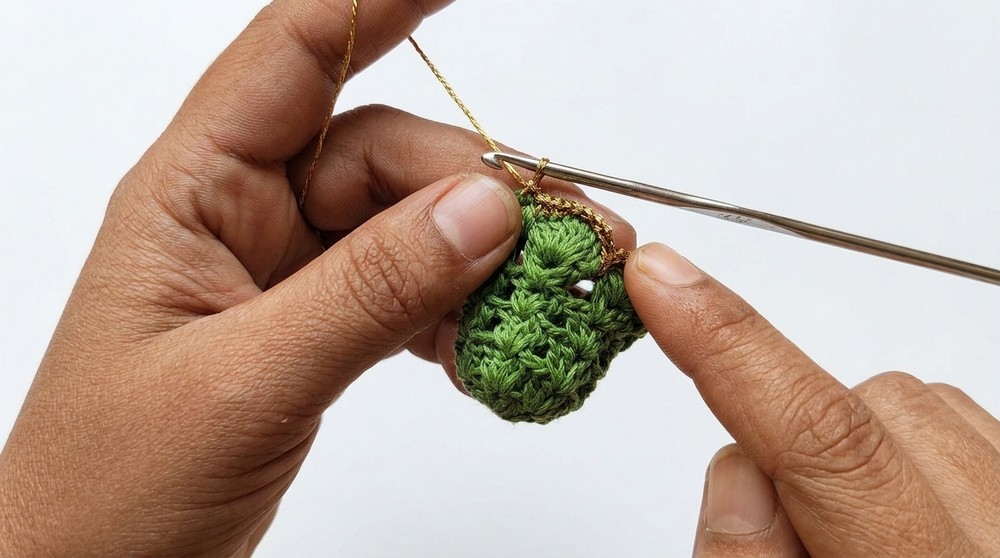
Step 5: Final Touches – Hanging Loop & Bow
- Using the gold thread, create a hanging loop by chaining a length suitable for hanging (approx. 10–15 chains, or as needed).
- Attach the loop securely to the top edge of the bell using slip stitches or sewing with a needle.
- Make a small bow by chaining 30 stitches and shaping it into a bow form.
- Sew or glue the bow onto the top of the bell near the hanging loop to complete the ornament.
The hanging loop and bow finalize the festive look and functionality of the decoration.
Assembly & Finished Size
- Assemble the bow and loop securely.
- Weave in all yarn ends tidily.
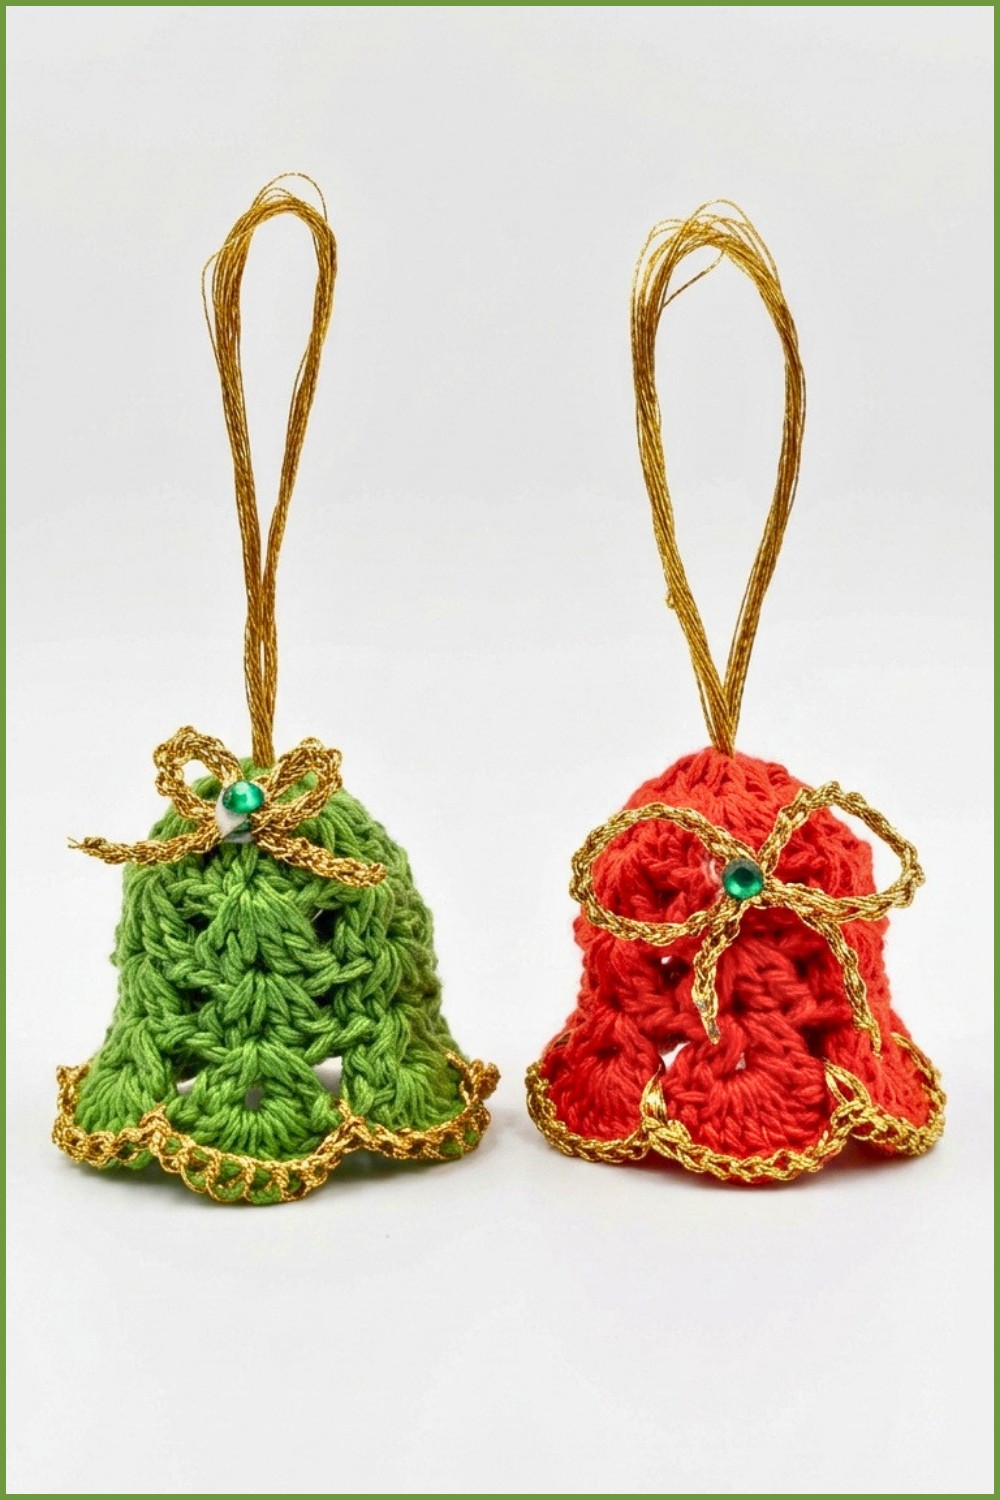
- Finished bell ornament measures about 6 to 8 cm tall with a width of about 4 to 6 cm depending on size preferences and yarn tension.
- Perfectly sized for hanging on a Christmas tree or using as a gift topper.
Conclusion
This Christmas bell ornament pattern blends simple stitches with fine detailing to create an elegant and festive decoration. The use of chain spaces and clusters allows the bell to flare beautifully, while the gold thread border adds a touch of shimmer. With patience and careful stitching, beginners can confidently produce a professional-looking ornament that will brighten up your holiday decor.