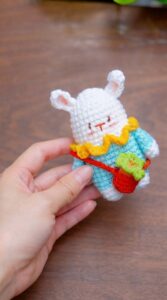
Soft and cute Crochet Watermelon Doll pattern helps you make a special and fun handmade toy that is great for gifts or to keep for yourself.
Indian Crochet Toys shares a cute project that is perfect for kids fun or toy . This lovely Crochet Watermelon Doll comes from their YouTube tutorial and is perfect for anyone who wants to try making a soft, colorful toy.
Mini Crochet Watermelon Doll Free Pattern for Amigurumi
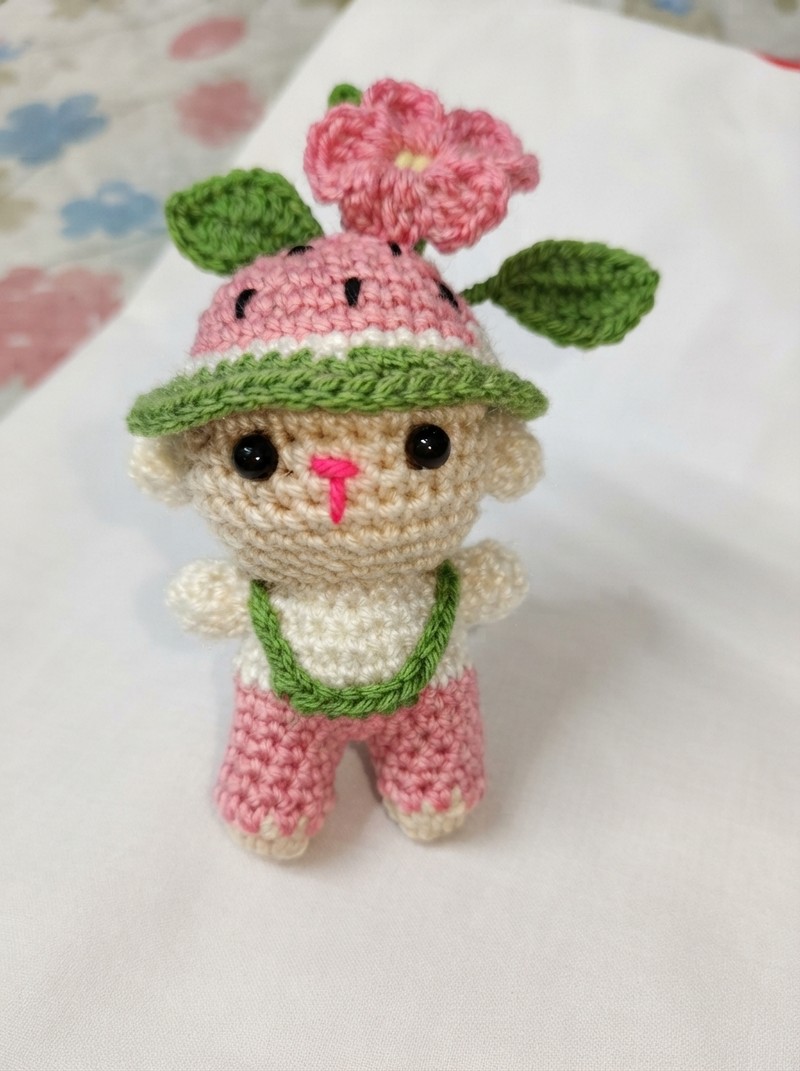
The Watermelon Doll looks like a slice of watermelon, with bright green edges and a pink middle with little black seeds. It has a sweet, happy face that makes it very cute and friendly. This doll is great as a gift, a decoration for kids’ rooms, or just a fun piece to keep.
What’s nice about this project is that it is simple to make but can be changed in many ways. You can use different yarn colors or add small details like bows or new faces to make your doll special and unique. This makes the project personal and fun.
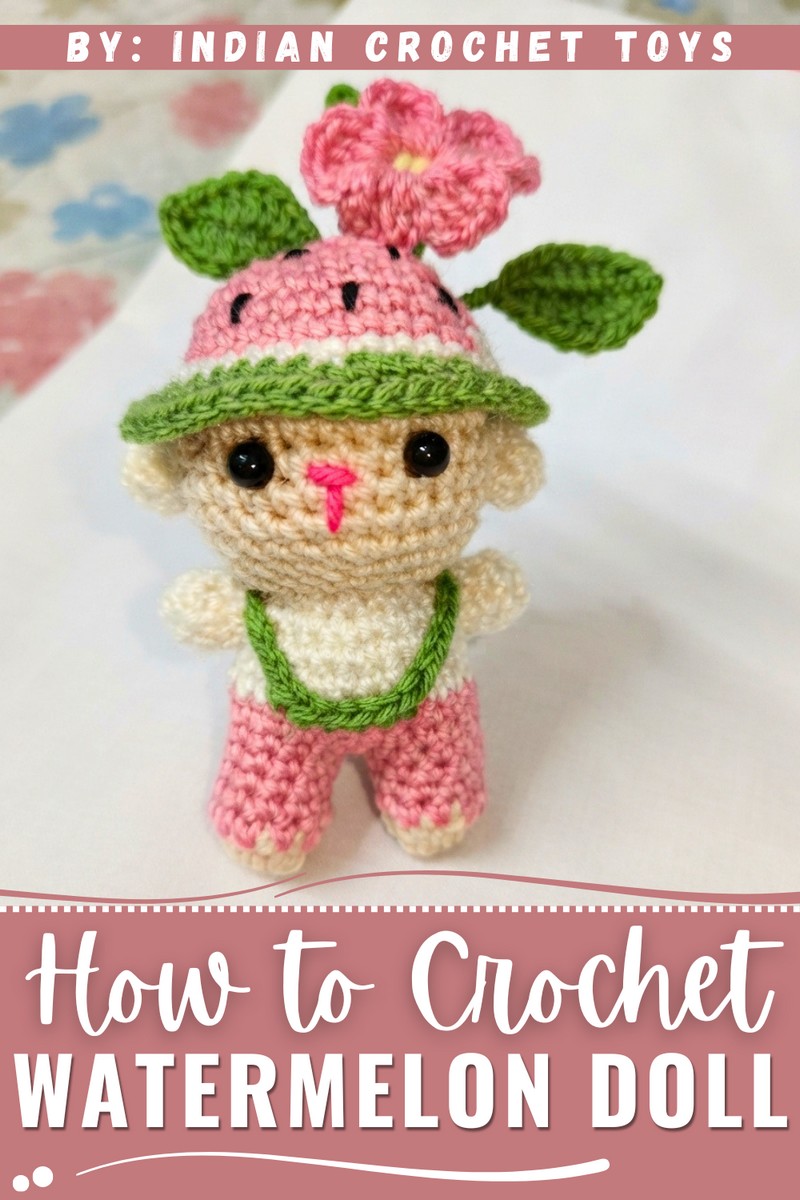
Indian Crochet Toys gives clear instructions that help beginners learn crochet easily. With their help, anyone can start this project and make something beautiful.
The Doll has many uses. It can be a soft toy for children to play with, a cute decoration on shelves or desks, or even a keychain or bag charm if made smaller. It also works well as a handmade gift for friends and family, showing care and creativity.
In short, the Crochet project from Indian Crochet Toys is a great way to enjoy crochet, create a happy toy, and bring some summer fun into your home. It is cute, easy, and a wonderful crochet to try.
Watermelon Doll Crochet Pattern
We have made this very cute doll that looks like a little Watermelon. It's quick to crochet, perfect for kids, and a delight for anyone who loves playful, amigurumi-style projects. Let’s get started and make this adorable Watermelon Doll from start to finish.
Pattern Highlights
What Makes This doll Special?
- Watermelon Motif: The main body and hat reflect the look of a fresh Watermelon, complete with seeds and a leafy cap rim.
- Amigurumi Construction: Worked in continuous rounds for a seamless finish and soft, squishy feel.
- All-in-One: The pattern covers all core components: head, body, legs, arms, ears, and even the cute strawberry hat!
- Assembly Simplicity: All parts are stitched together for durability. Beads or embroidery are used for the eyes, and facial details are easily sewn on.
- Size Option: Small enough to use as a keychain, car mirror charm, or as a soft toy for children.
Notes
- Use a stitch marker to mark the start of each round; this keeps your increases and decreases perfectly aligned.
- The doll and hat are made separately, then assembled.
- For the ‘seeds’ (beads or embroidery) and facial expression, follow your own taste for positioning.
- Stuff firmly but not overly tight, as too much stuffing can distort the roundness.
- All rounds are worked in a spiral (do not join at the end of a round unless otherwise indicated).
- The arms, legs, and ears are all simple tubes or circles, ideal for beginners.
Skill Level
Beginner to Confident Beginner:
You need to know how to work in spirals, increase, decrease, and basic assembly. Even if this is your first amigurumi project, it’s approachable with patience.
Materials
- Yarn: 4-ply wool or acrylic in strawberry red/pink, white, cream, green, and a little black
- Crochet hook: 3.5 mm
- Stuffing: Cotton or polyester fiberfill
- Needle: Yarn (tapestry) needle for assembly and embroidery
- Eyes: Black beads or embroidery thread for eyes, optional safety eyes
- Scissors
Measurements / Sizing
- Height (with hat): 10–12 cm (approx. 4–5 inches)
- Width: 6–7 cm (approx. 2.5 inches)
- Keychain option: Scale is perfect for hangings and charms
Gauge (and Stitch Pattern)
- Gauge is not critical but should be tight enough to avoid stuffing showing between stitches.
- For reference: 5 rounds of sc = 2 cm diameter.
Stitch Abbreviations
| Abbreviation | Meaning |
|---|---|
| ch | Chain |
| sc | Single crochet |
| inc | Increase (2 sc in st) |
| dec | Decrease (sc2tog) |
| sl st | Slip stitch |
| st(s) | Stitch(es) |
| BLO | Back loop only |
| FLO | Front loop only |
Special Stitches
- Invisible Decrease (dec): Insert hook into front loops of next two stitches, yarn over, pull through both loops, yarn over again and pull through last two loops.
- Back Loop Only (BLO): When indicated, work only into the back loop of the stitch instead of both loops for defined ridges.
The Crochet Pattern
1. Head
- Round 1: With main color (strawberry red or pink), make a magic ring, work 6 sc into the ring. [6]
- Round 2: Inc around (2 sc in each st). [12]
- Round 3: (sc in next st, inc) repeat around. [18]
- Round 4: (sc in next 2 sts, inc) repeat around. [24]
- Round 5: (sc in next 3 sts, inc) repeat around. [30]
- Rounds 6–10: sc in each st. [30] (Work 5 rounds of 30 sc for a nice orb.)
- Round 11: (sc in next 3 sts, dec) repeat around. [24]
- Round 12: (sc in next 2 sts, dec) repeat around. [18]
- Round 13: (sc in next st, dec) repeat around. [12]
- Stuff firmly.
- Round 14: sc in every st. [12]
Sl st to close, fasten off, and weave in end.
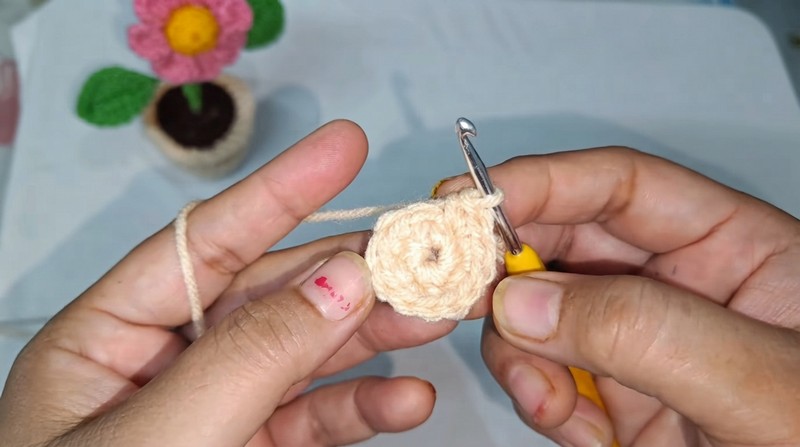
2. Body & Legs (Make 2 Legs First, then Join)
- Leg (make 2):
- Magic ring, 5 sc. [5]
- (sc, inc) around. [8]
- 2 rounds, sc in each st. [8 per round]
- Fasten off 1st leg, but do not fasten off 2nd leg.
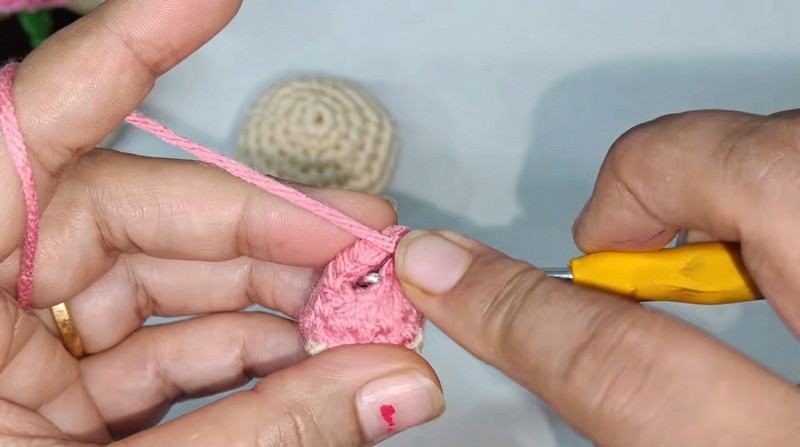
- Join Legs and Form Lower Body:
- Ch 2, join first leg with a sc, sc around first leg (8 sts), sc in back of the 2 foundation chains (2 sts), sc around second leg (8 sts), sc in front of foundation chains (2 sts). [20]
- Next round: sc around (20 sts).
- Continue with 3–4 rounds of 20 sc to desired body height.
- Stuff both legs and lower body.
- Body Taper:
- (sc 3, dec) around. [16]
- (sc 2, dec) around. [12]
- Stuff again.
- (sc 1, dec) around. [8]
- Sl st, fasten off with long tail for sewing.
3. Arms (Make 2)
- Magic ring, 6 sc. [6]
- 3 rounds of sc in each st. [6 per round]
- Stuff lightly, sl st to close, fasten off with tail for sewing.
4. Ears (Make 2)
- Magic ring, 8 sc. [8]
- Sl st to join, fasten off with tail for sewing.
5. Strawberry Hat
- Hat Base:
- Magic ring, 6 sc. [6]
- Inc around. [12]
- (sc, inc) around. [18]
- (sc 2, inc) around. [24]
- (sc 3, inc) around. [30]
- 2 rounds of 30 sc. [30]
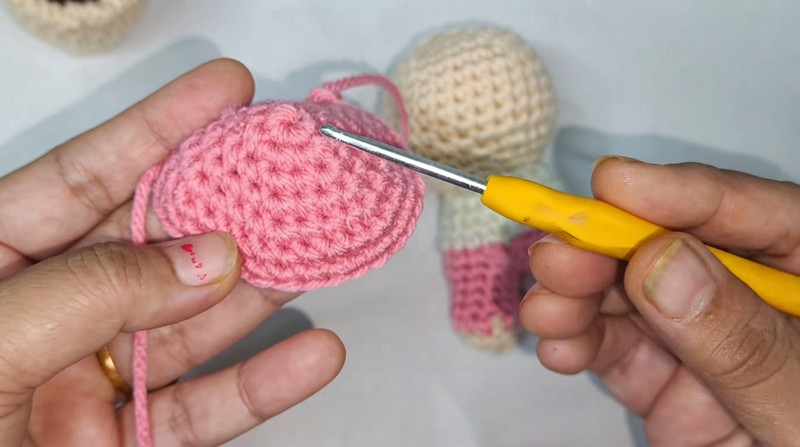
- White stripe (Faux Whipped Cream Rim):
- Attach white yarn, sc around. [30]
- (sc 4, inc) around. [36]
- Green Leaves:
- Attach green yarn, (sc 5, inc in next) around. [42]
- (sc 6, inc in next) around. [48]
Fasten off. - Seeds:
- Embroider or sew small black beads/short lines randomly on hat for strawberry seeds.
6. Assembly & Details
1. Join Head and Body:
- Sew the open end of the head to the top of the stuffed body, stitch securely all around.
2. Attach Arms and Ears:
- Sew arms to upper sides of the body, ears to the top of the head.
3. Embroider Face:
- Use black beads/yarn for eyes (4–5 sc apart).
- Embroider nose and mouth with pink or black (as in video, under the eyes, T-shape for mouth and oval or line for nose).
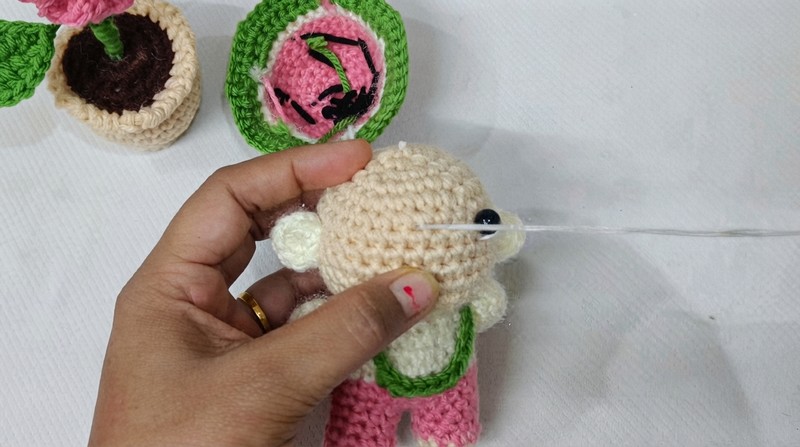
4. Belt:
- Into the back loops of body (at waist or lower chest), sc 6, ch 10, sc 6 across back, ch 10, sl st to starting sc. Fasten off, sew edges for smooth “sling” effect.
5. Hat with Ears:
- Try hat on doll and mark positions above arms for ears.
- Attach ears just above where hat meets the sides.
- Place hat and sew or tack lightly so it is removable if desired.
Assembly & Finished Size
- Stuff all parts well.
- Sew securely for child safety.
- Attach details as described above.
- Final doll stands about 10–12 cm tall, 6–7 cm wide.
Conclusion and Ending Words
Your cute Watermelon Doll is complete—ready to bring smiles as a unique keychain, car mirror dangle, gift, or play companion for a child. The mix of amigurumi and strawberry whimsy make this a delightful, memorable project. Don’t forget to experiment with bead placement and facial expression for even more charm.