Beautify gift wrapping or accessories using this free crochet bow pattern that's designed to bring soft detail and subtle charm with minimal effort.
Easy Free Bow Crochet Pattern for Beginners
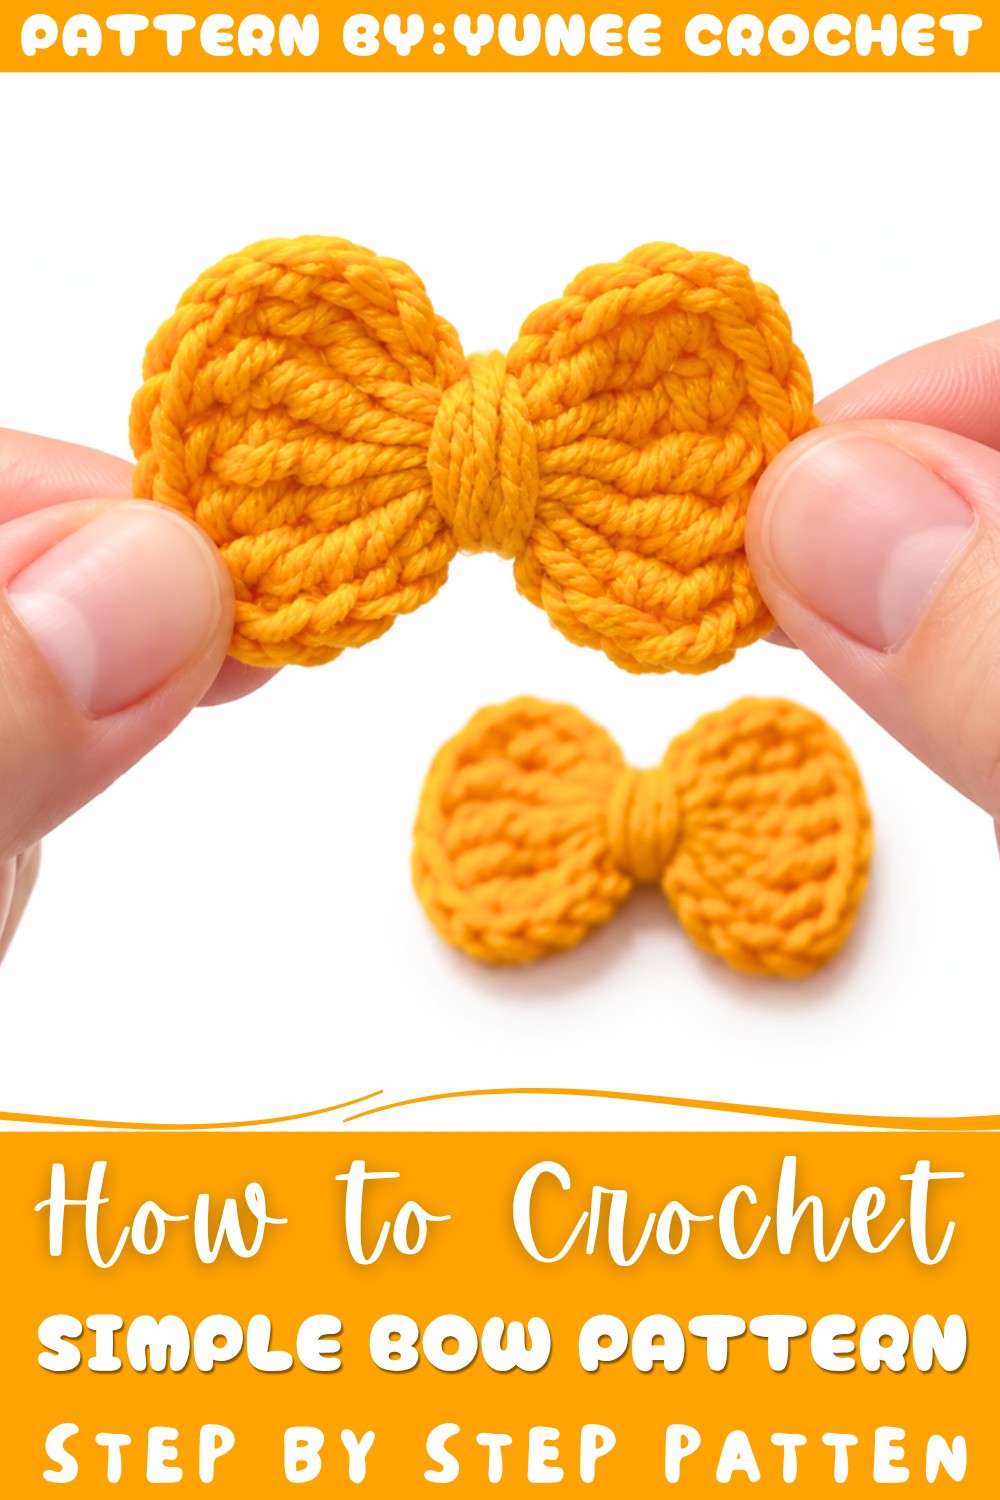
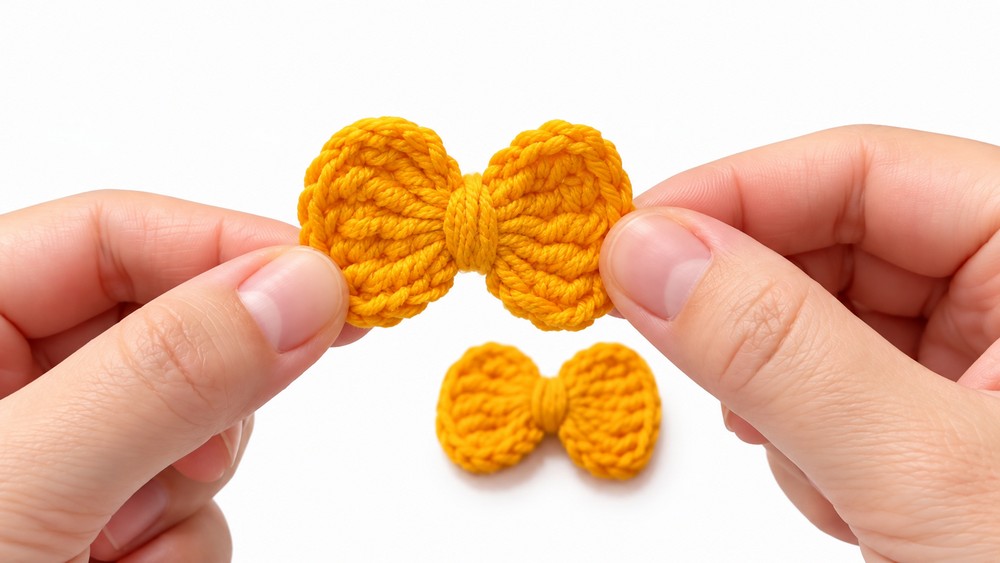
Finishing tiny projects feels deeply satisfying and helps you use up small balls of leftover yarn. Mixing different colors lets you match seasonal holidays, soft baby nursery decor, or bright everyday clothes. Keeping a small stash of ready-made pieces makes custom styling easy whenever you want to decorate a gift or refresh your favorite outfit.
Crochet Simple Bow Pattern
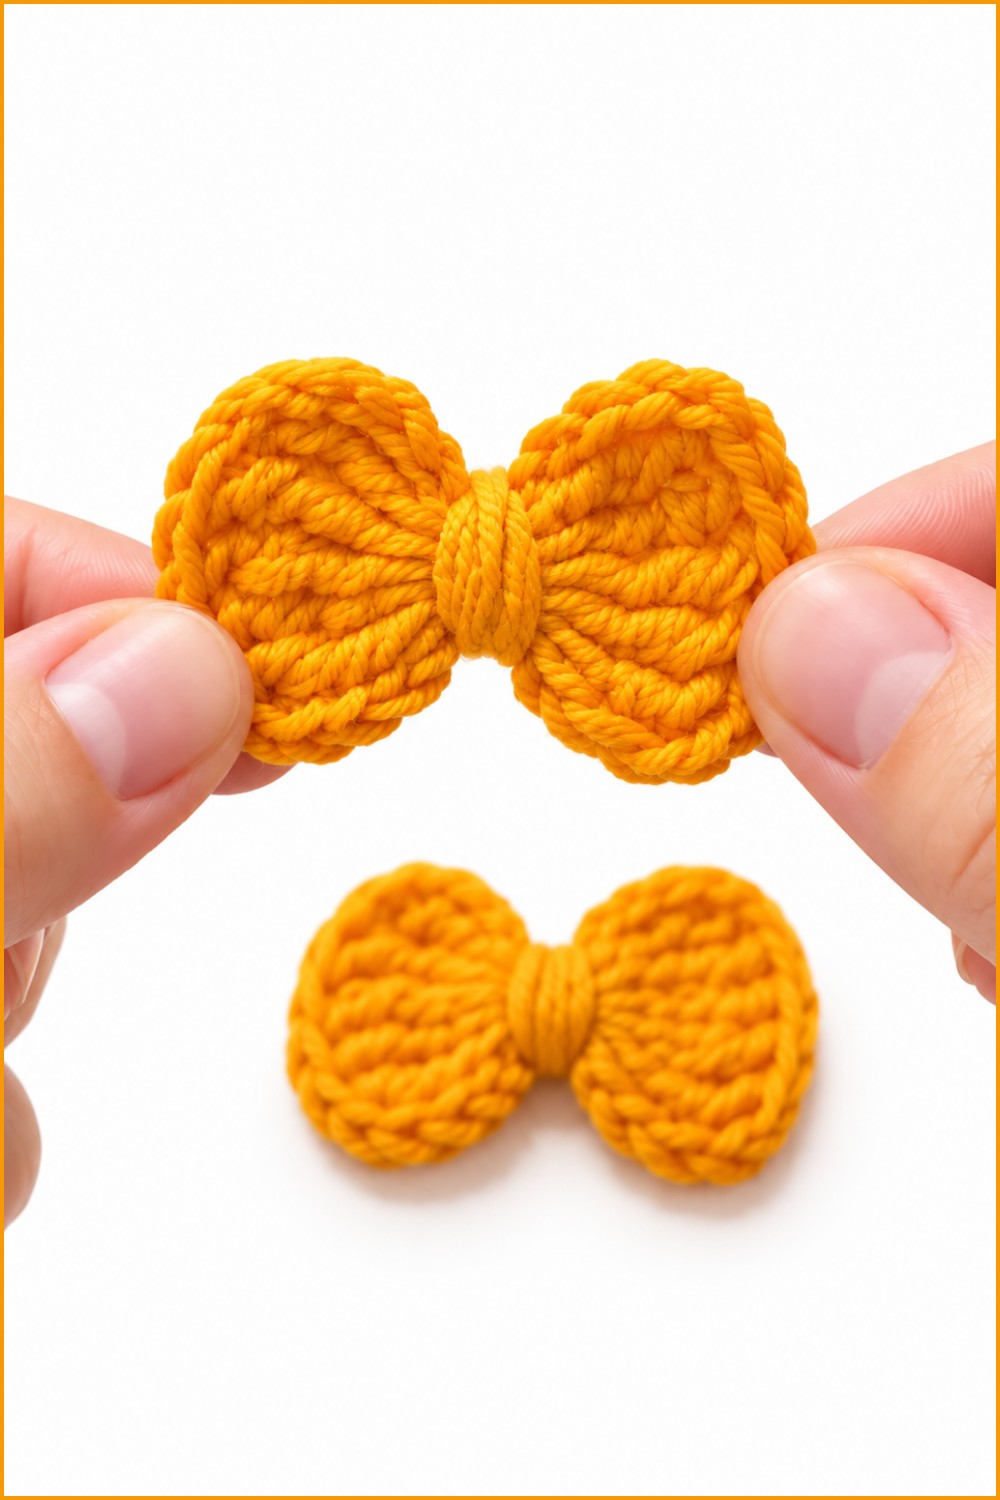
This crochet bow pattern is a straightforward and quick project, perfect for beginners or experienced crocheters seeking an easy and charming accessory. Using baby yarn and a small crochet hook, this pattern produces a delicate and elegant bow suitable for decorating gifts, clothing, hair accessories, or keychains.
Quick Overview Of Pattern
The crochet bow is formed by creating two symmetrical halves built around a magic ring foundation. Each half comprises a series of chain stitches and double treble crochet stitches worked directly into the magic ring, connected with slip stitches. Finally, the magic ring is tightened, and a long yarn tail is wrapped around the center to form the classic bow shape before secure fastening. The entire process is quick, uses a small hook for fine detail, and involves basic stitches.
Notes
- The use of the magic ring technique is crucial to produce a tight and tidy bow center with no gaps or holes.
- Double treble crochet (dtr) stitches add height and delicate openness, giving the bow an elegant look while keeping it airy and lightweight.
- The project is worked mostly in rounds with chains linking each half.
- The yarn tail left long after finishing enables shaping and securing the bow’s center without additional materials.
- Tension control is important for consistent stitch size and bow symmetry.
- The pattern is suitable for fine yarn to keep the bow delicate and small. Consider using baby or fingering weight yarn.
- Finishing technique and neat trimming enhance appearance and durability.
Skill Level
This pattern is ideal for beginner to intermediate crocheters who are familiar with:
- Basic crochet stitches including chain, slip stitch, and double treble crochet.
- Working with the magic ring technique.
- Understanding stitch counts and tension control for shaping.
- Basic finishing and shaping of crochet pieces with yarn tails.
Materials
- Fine textured baby yarn in a color of your choice.
- Crochet hook 2.0 mm suitable for the yarn.
- Scissors for cutting yarn tails.
- Yarn needle for weaving in ends (optional).
Measurements / Sizing (Optional)
- The finished bow size will vary slightly depending on yarn tension and brand but generally measures approximately 7 to 10 centimeters in width and 3 to 4 centimeters in height when wrapped and secured tightly in the center.
- This size makes the bow versatile enough for many decorative purposes such as gift embellishments or hair clips.
Gauge and Stitch Pattern
- The gauge is flexible and not critical due to the decorative nature of the bow.
- The pattern uses:
- Chain (ch) to create loops and links.
- Double treble crochet (dtr) stitches for height and texture.
- Slip stitch (sl st) for joining rounds and securing stitches.
- The stitch sequence builds open fans on each half through multiple dtr stitches anchored by chain loops.
Stitch Abbreviations
| Abbreviation | Meaning |
|---|---|
| ch | Chain |
| dtr | Double Treble Crochet |
| sl st | Slip Stitch |
| mag ring | Magic Ring or Magic Circle |
Special Stitches
- Magic Ring: The foundation of the bow, allowing stitches to be worked in a tightly closed round, creating a neat center without gaps.
- Double Treble Crochet (dtr): A tall stitch worked as yarn over hook three times before insertion, provides delicate openwork for the bow wings.
- Finishing Wrap: Using the yarn tail to cinch the bow’s center securely, shaping it and holding the halves together without extra sewing.
The Pattern Step-by-Step
Step 1: Begin the Magic Ring
- Make a magic ring and get ready to work into it.
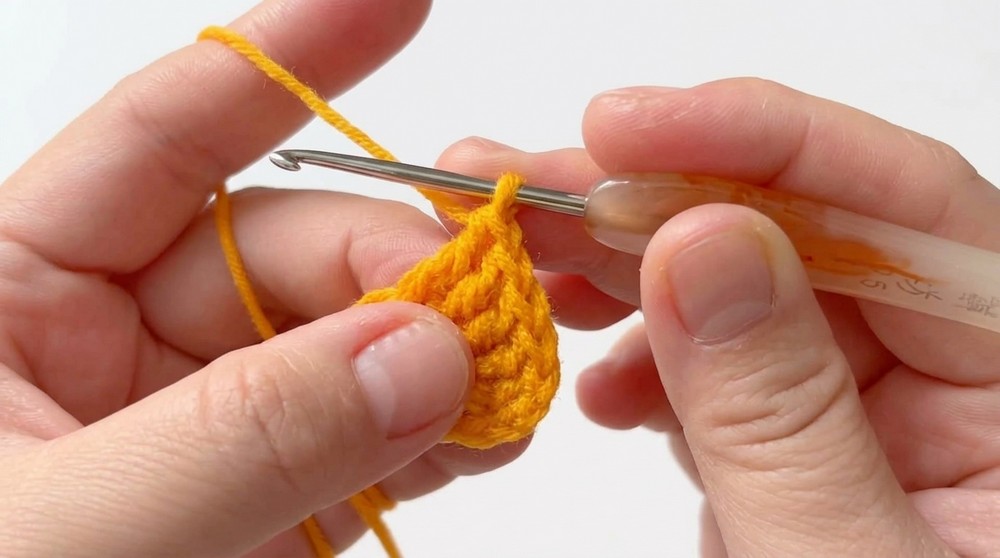
Step 2: Work the First Half of the Bow
- Chain 5 (ch 5):
Create five chain stitches; this forms one side of the bow wing. - Work 5 double treble crochet (dtr) stitches into the magic ring:
Insert your hook into the magic ring and work each dtr stitch carefully:- Yarn over three times.
- Insert hook into ring.
- Yarn over and pull through (five loops on hook).
- Yarn over and pull through two loops—repeat until only one loop remains.
- Chain 5 (ch 5):
After your dtr stitches, chain 5 stitches to complete this half’s edge. - Slip stitch (sl st) into the magic ring:
Join the last chain stitch into the magic ring with a slip stitch to complete the half.
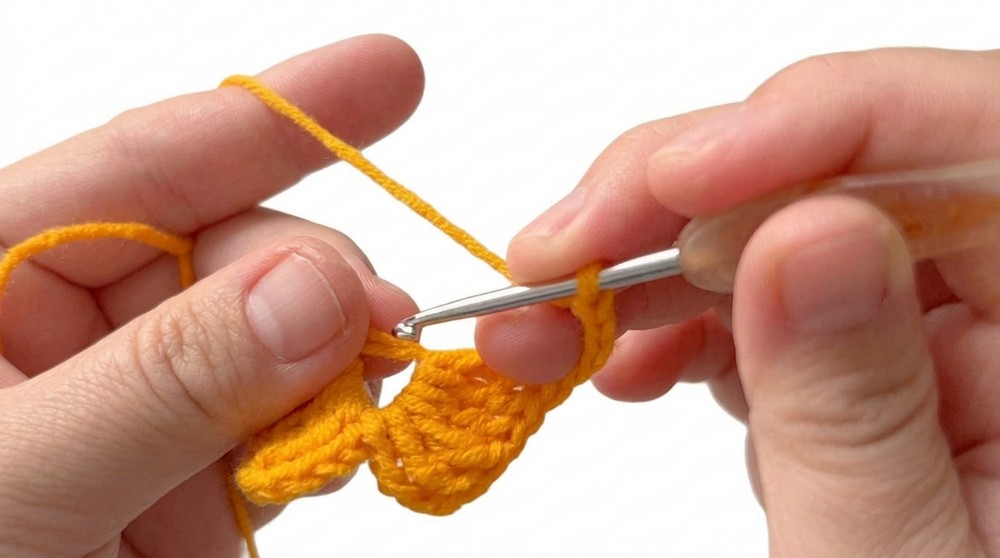
Step 3: Work the Second Half of the Bow
- Chain 5 (ch 5):
Begin the second half by chaining five stitches again. - Work 5 double treble crochet (dtr) stitches into the magic ring:
Repeat the 5 dtr stitches into the same magic ring, mirroring the first half. - Chain 5 (ch 5):
Chain five stitches again after these dtr stitches. - Slip stitch (sl st) into the magic ring:
Join this chain back into the magic ring with a slip stitch, completing the second half.
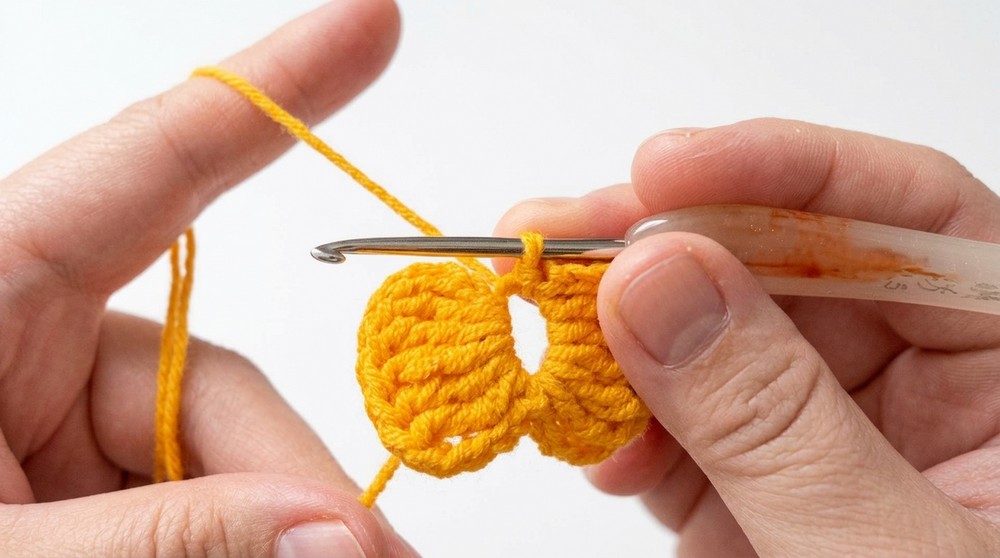
Step 4: Finish the Bow
- Pull the yarn tail to tighten the magic ring:
Gently but firmly pull on the long yarn tail attached to the magic ring to close the center hole. - Cut the yarn, leaving a long tail:
Leave enough yarn to wrap and secure the bow. - Wrap the long tail around the center tightly:
Wind the yarn around the center multiple times to cinch the bow and create its classic shape. - Fasten securely and trim the excess:
Tie off or weave in the tail on the back side. Cut any excess yarn for a neat finish.
Assembly and Finished Size
- The finished bow measures approximately 7-10 cm wide and 3-4 cm tall, depending on how tightly you wrap the center and your tension while crocheting.
- This compact size makes it perfect for decorating hair accessories, gifts, or clothing.
Summary and Tips for Beginners
- Take your time with the magic ring: Ensuring it’s loose enough to work into but tightens well later is key.
- Practice the double treble crochet stitch: It may feel unfamiliar at first due to the multiple yarn overs, but with practice, it becomes smooth and consistent.
- Keep your tension even throughout to create a symmetrical bow.
- The wrapping of the center tail shapes the bow, so adjust the tightness to your preference.
- Use sharp scissors for clean ends and a yarn needle to weave in any tails securely if desired.
Conclusion
This quick and simple crochet bow pattern offers a great opportunity for crocheters to practice essential techniques such as the magic ring, double treble crochet, and finishing touches that create a polished look. With just a few rounds and basic stitches, the pattern yields a delicate, elegant bow suited to numerous decorative applications.
Whether you are crafting accessories, enhancing gifts, or making lightweight adornments, this bow’s design balances ease of creation with beautiful, airy aesthetics. Keep tension consistent, secure the center wrap firmly, and your crochet bow will be a charming addition to your handmade collection.