Brighten up your space with this free crochet mini basket pattern that turns tiny stitches into adorable storage superheroes for all your little odds and ends.
A tiny, handmade basket is one of the most charming ways to organize your small treasures. This wonderful Free Crochet Mini Basket Pattern is the perfect guide to help you make one for yourself. These little containers are not only cute to look at but are also very useful for keeping your space tidy. They bring a warm, cozy feeling to any corner of your home.
The finished mini basket is absolutely adorable. It has a sturdy, flat bottom that helps it sit nicely on any surface without tipping over. The sides are straight and tall enough to hold little items securely. The crochet stitches create a beautiful, thick texture that makes the basket feel soft yet strong. You can choose any color of yarn to match your room, from bright and cheerful to calm and neutral.
Free Crochet Mini Basket Pattern for Doll Home Decor
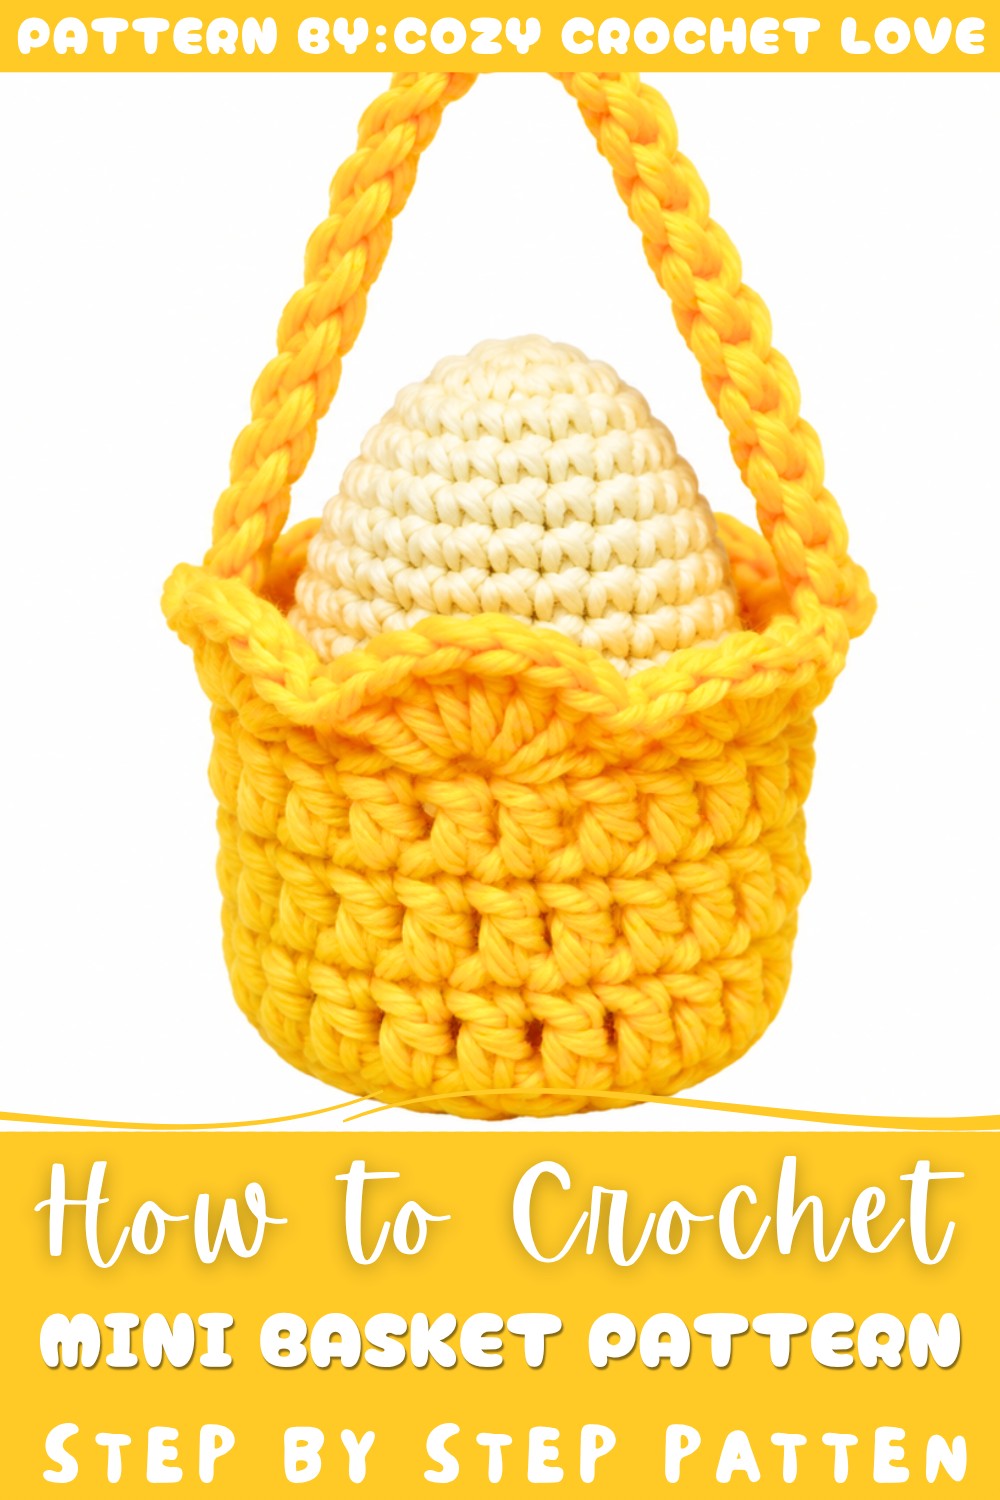
This little basket has so many practical uses. It’s the perfect size to hold keys by the door, cotton swabs in the bathroom, or paper clips on your desk. You can even use it as a delightful little pot cover for a tiny succulent. It’s a fantastic way to add a handmade touch to your organization. The easy-to-follow instructions for this project are shared by the creative mind behind the Cozy Crochet Love channel.
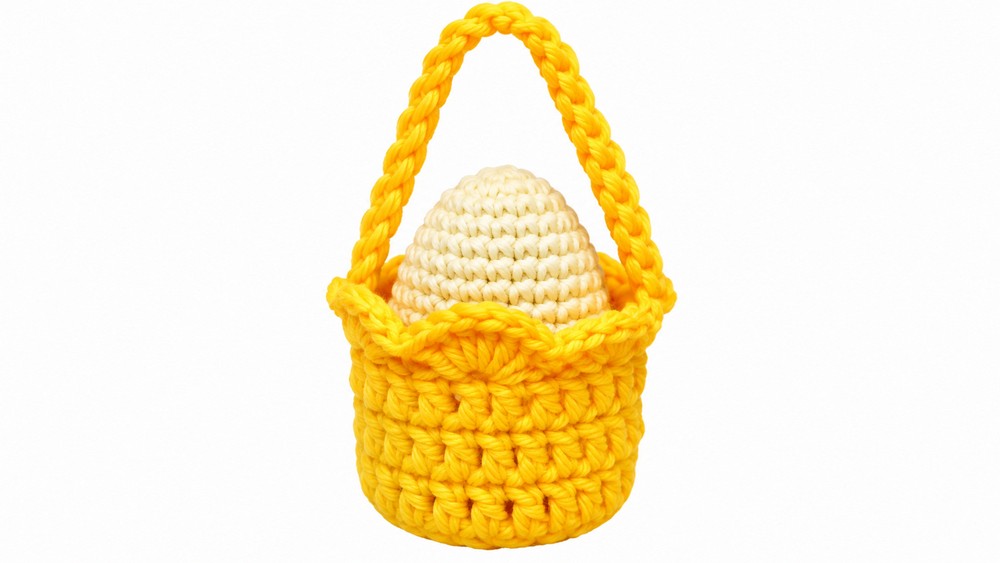
Making this mini basket is a fast and fun project, which makes it perfect for beginners or anyone looking for a quick project. It’s also a great way to use up leftover yarn from other projects. These baskets make sweet, thoughtful gifts for friends, family, or teachers. They are a simple and beautiful way to show you care, offering a little bit of handmade happiness.
Mini Crochet Basket Pattern
This pattern creates a mini crochet basket perfectly sized to hold one egg. Using weight 4 acrylic yarn and a 3.5 mm crochet hook, you will work a circular base from a magic ring, build up the basket sides through several rounds of double crochet, finish the top edge with a beautiful decorative shell row, and complete the piece with a simple chained handle for a charming and functional mini basket.
Pattern Highlights
- Magic Ring Base: The basket begins with a magic ring and double crochet stitches to form a neat and tight circular foundation
- Back Loop Round: A dedicated round worked in back loops only creates a clean and defined edge between the base and the rising basket sides
- Straight Sides: Two rounds of standard double crochet worked in both loops build the straight and sturdy basket walls
- Shell Stitch Edging: A decorative shell row worked at the top of the basket creates a beautiful and finished scalloped border
- Chained Handle: A simple 30-chain handle slip stitched across the basket top adds a functional and charming carrying detail
- Egg Sized: The finished basket is perfectly proportioned to hold and display a single egg for seasonal or decorative purposes
Notes
- The chain 3 at the beginning of each round counts as the first double crochet stitch throughout this pattern unless otherwise noted.
- The back loop only round in Round 3 is essential for creating the defined ridge that separates the flat base from the upright basket sides; do not skip this step.
- When working Round 2, ensure your increases are evenly spaced around the round to keep the base lying flat without curling or puckering.
- The shell stitch row requires careful counting to ensure exactly 6 shells are completed evenly around the basket top opening.
- Each shell consists of exactly 6 double crochet stitches worked into the same stitch or space; maintain this count consistently for an even and balanced edging.
- When attaching the handle, ensure you slip stitch to the directly opposite side of the basket top for a centered and balanced handle position.
- Weave in all yarn ends thoroughly using a tapestry needle to ensure the basket holds its shape and the ends remain secure with regular use.
Skill Level
Beginner to Intermediate
This pattern is suitable for crocheters comfortable with:
- Creating and closing a magic ring
- Working double crochet stitches and increases in the round
- Working in back loops only for a defined ridge
- Constructing a shell stitch pattern
- Creating a simple chained handle and finishing neatly
Materials
- Yarn: Weight 4 acrylic yarn in your preferred color
- Crochet Hook: 3.5 mm crochet hook
- Additional Tools:
- Scissors
- Tapestry needle for weaving in ends
Measurements / Sizing
- Finished Basket Diameter: Approximately 6 to 7 cm across the base
- Finished Basket Height: Approximately 4 to 5 cm from base to top edge excluding handle
- Handle Length: Approximately 6 to 8 cm across from one side to the other
- Capacity: Perfectly sized to hold and display one standard egg
Gauge
- Approximately 10 dc x 6 rows measured over a 5 cm square using weight 4 yarn and a 3.5 mm hook
- Gauge is not strictly critical for this small decorative basket; however, maintaining consistent tension ensures the basket holds its shape and proportions correctly
- Working too loosely may result in a basket that is too open and floppy to hold its egg securely
- Working too tightly may make it difficult to achieve the correct sizing
Stitch Abbreviations
| Abbreviation | Full Stitch Name |
|---|---|
| ch | Chain |
| sl st | Slip Stitch |
| sc | Single Crochet |
| dc | Double Crochet |
| inc | Increase (2 dc worked into the same stitch) |
| BLO | Back Loop Only |
| MR | Magic Ring |
| shell | 6 dc worked into the same stitch or space |
Special Stitches
Magic Ring
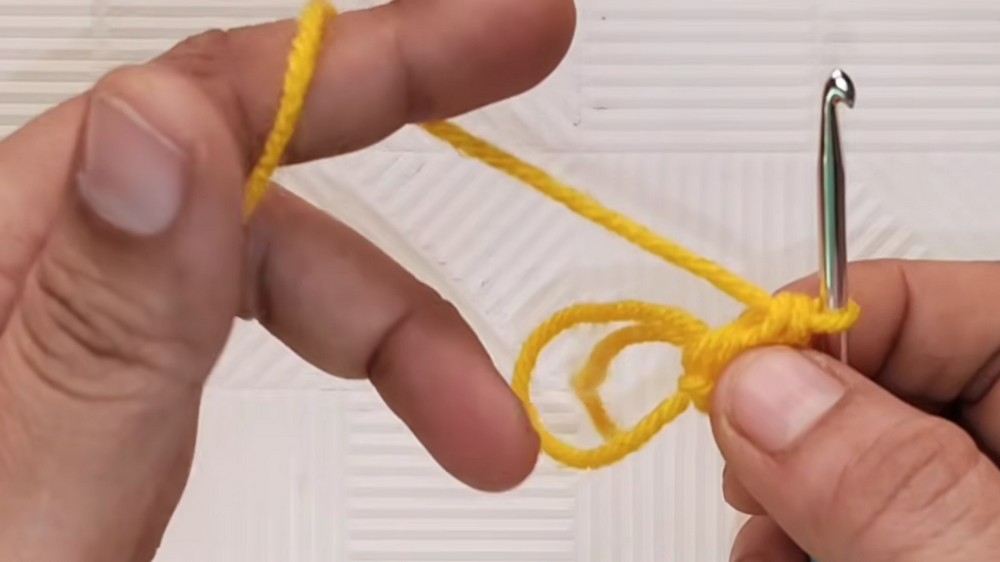
An adjustable loop used to begin working in the round, allowing the center to be pulled completely tight and closed without leaving a hole at the center of the basket base.
Back Loop Only (BLO)
Insert the hook into only the back loop of each stitch rather than through both loops. This creates a visible horizontal ridge that defines the clean transition between the flat base and the upright basket sides.
Shell Stitch
Work 6 dc all into the same stitch or space to create a fan-shaped shell. In this pattern, shells are separated by a skipped stitch and a single crochet stitch to form the decorative scalloped edging around the basket top.
The Crochet Pattern!
Round 1: Magic Ring and Base
Purpose: This round creates the flat circular foundation base of the basket starting from the center.
Getting Started:
- Using your preferred weight 4 acrylic yarn and your 3.5 mm hook, make a Magic Ring (MR)
Working the Round:
- Ch 3 (counts as first dc)
- Work 12 dc into the magic ring
- Join with a sl st into the top of the beginning ch 3 to close the round
- Pull the magic ring tail to close the center tightly
Stitch Count: 13 stitches total (12 dc + beginning ch 3)
Round 2: Increasing the Base
Purpose: This round doubles the stitch count to expand the circular base flat and wide enough for the basket bottom.
Working the Round:
- Ch 3 (counts as first dc)
- Work 2 dc into every stitch all the way around (this is your increase)
- Join with a sl st into the top of the beginning ch 3 to close the round
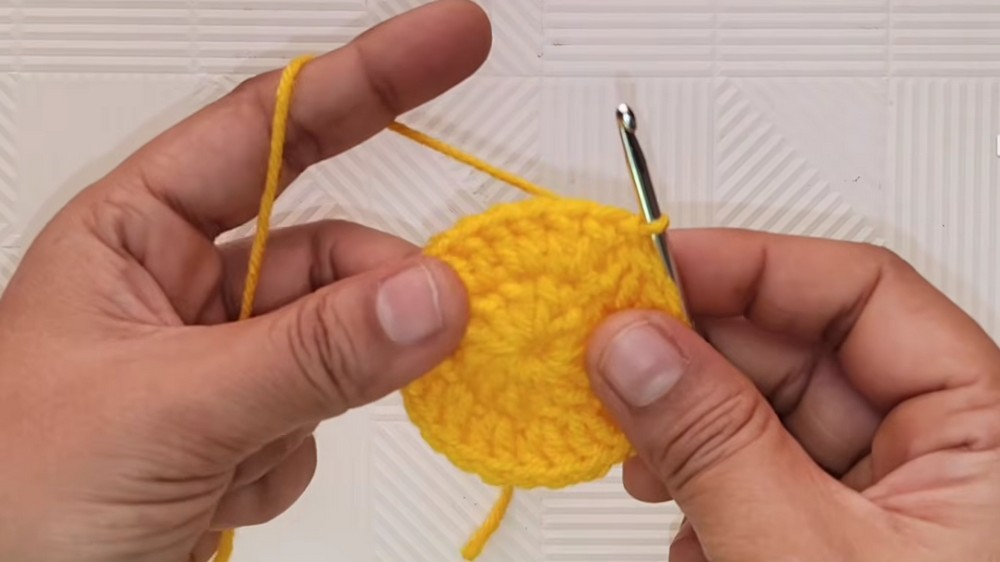
Stitch Count: 26 stitches total
Round 3: Back Loop Ridge
Purpose: This round is worked in back loops only to create a defined ridge that clearly marks the transition between the flat base and the upright basket sides.
Working the Round:
- Ch 3 (counts as first dc)
- Working in BLO only throughout this entire round, work 1 dc in every stitch all the way around
- Join with a sl st into the top of the beginning ch 3 to close the round
Stitch Count: 26 stitches total
Beginner Tip: After completing this round you will see a small visible ridge along the outer bottom edge of your basket. This is exactly what you want and confirms you have worked this round correctly.
Round 4: Building the Basket Sides
Purpose: From this round onward, work in both loops as normal to begin building the straight upright sides of the basket.
Working the Round:
- Ch 3 (counts as first dc)
- Working in both loops, work 1 dc in every stitch all the way around
- Join with a sl st into the top of the beginning ch 3 to close the round
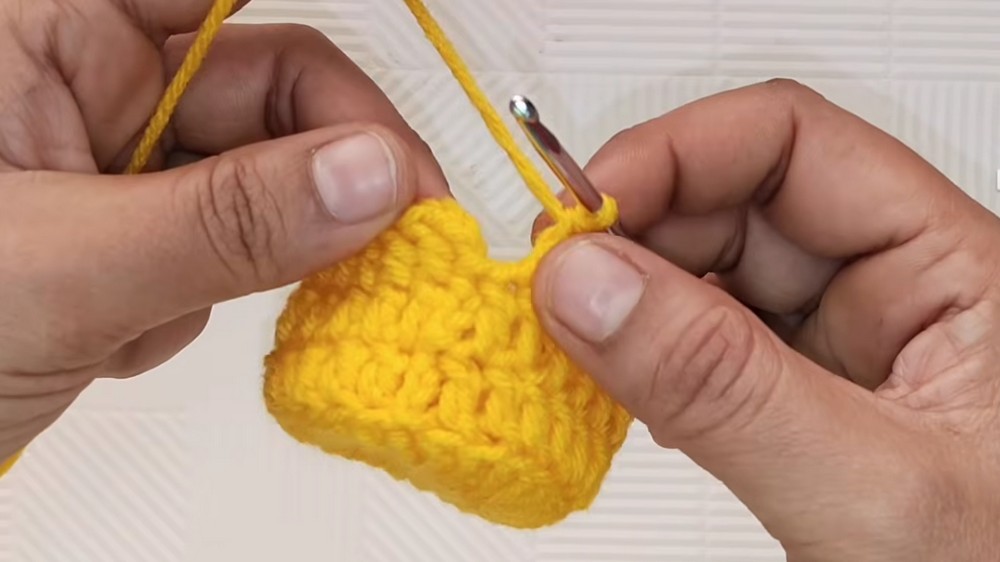
Stitch Count: 26 stitches total
Round 5: Continuing the Basket Sides
Purpose: This round continues building the basket wall height with another round of straight double crochet stitches.
Working the Round:
- Ch 3 (counts as first dc)
- Working in both loops, work 1 dc in every stitch all the way around
- Join with a sl st into the top of the beginning ch 3 to close the round
Stitch Count: 26 stitches total
Round 6: Shell Stitch Edging
Purpose: This decorative round creates the beautiful scalloped shell border at the top opening of the basket. Work carefully and count as you go to ensure exactly 6 shells are completed evenly around.
Starting the Round:
- Ch 1 (does not count as a stitch)
- Work 1 sc into the same space as the ch 1
Working the First Shell:
- Skip 1 stitch
- Work 6 dc all into the next stitch (this is your shell)
- Skip 1 stitch
- Work 1 sc into the next stitch
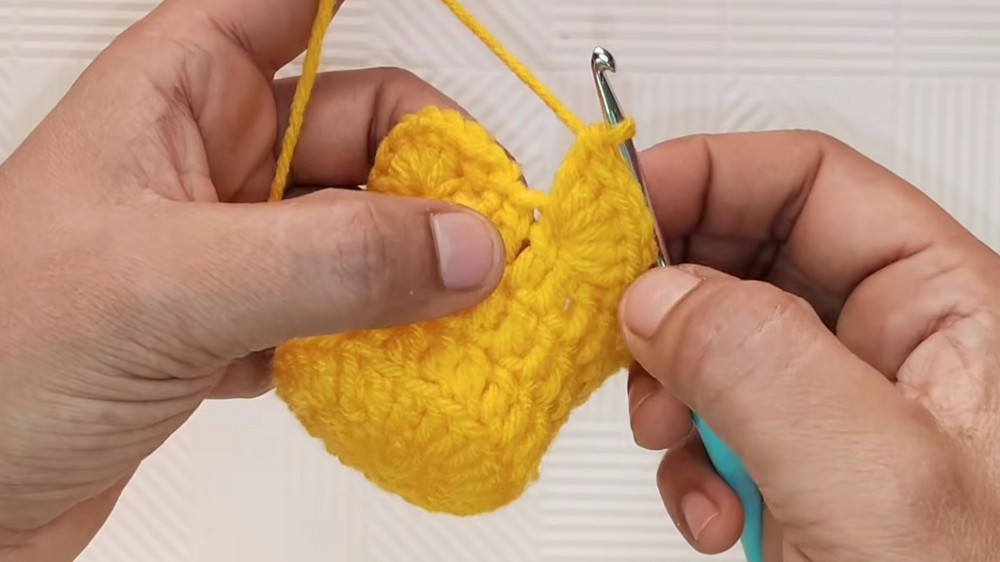
Repeating the Shell Pattern:
Repeat the following sequence all the way around:
- Skip 1 stitch
- Work 6 dc shell into the next stitch
- Skip 1 stitch
- Work 1 sc into the next stitch
Continue repeating until you have completed 6 shells total evenly spaced around the basket top.
- Join with a sl st to close the shell round
Stitch Count: 6 shells total evenly spaced around the top edge
Beginner Tip: Before starting this round, place a stitch marker every 4 stitches around the top edge to help you keep track of where each shell should begin. This makes counting much easier and ensures your shells are evenly distributed.
The Handle
Purpose: The handle is a simple foundation chain slip stitched across the basket top to create a functional and charming carrying loop.
Working the Handle:
- Ch 30
- Sl st directly into the stitch on the opposite side of the basket top, positioning the handle centered and balanced across the opening
- The handle is now securely attached at both ends of the basket top
Beginner Tip: To find the opposite side easily, fold your basket gently in half and mark the stitch that lines up directly across from where your handle chain begins. This ensures a perfectly centered handle every time.
Finishing
Purpose: Secure and tidy all loose yarn ends for a clean and professional finished basket.
Finishing Steps:
- Ch 1, then cut the yarn leaving a sufficient tail for weaving
- Using your tapestry needle, weave in all loose yarn ends thoroughly and securely throughout the basket fabric
- Weave in the magic ring starting tail at the base
- Weave in all other ends from joins and the handle attachment
- Trim any excess yarn neatly once all ends are fully secured
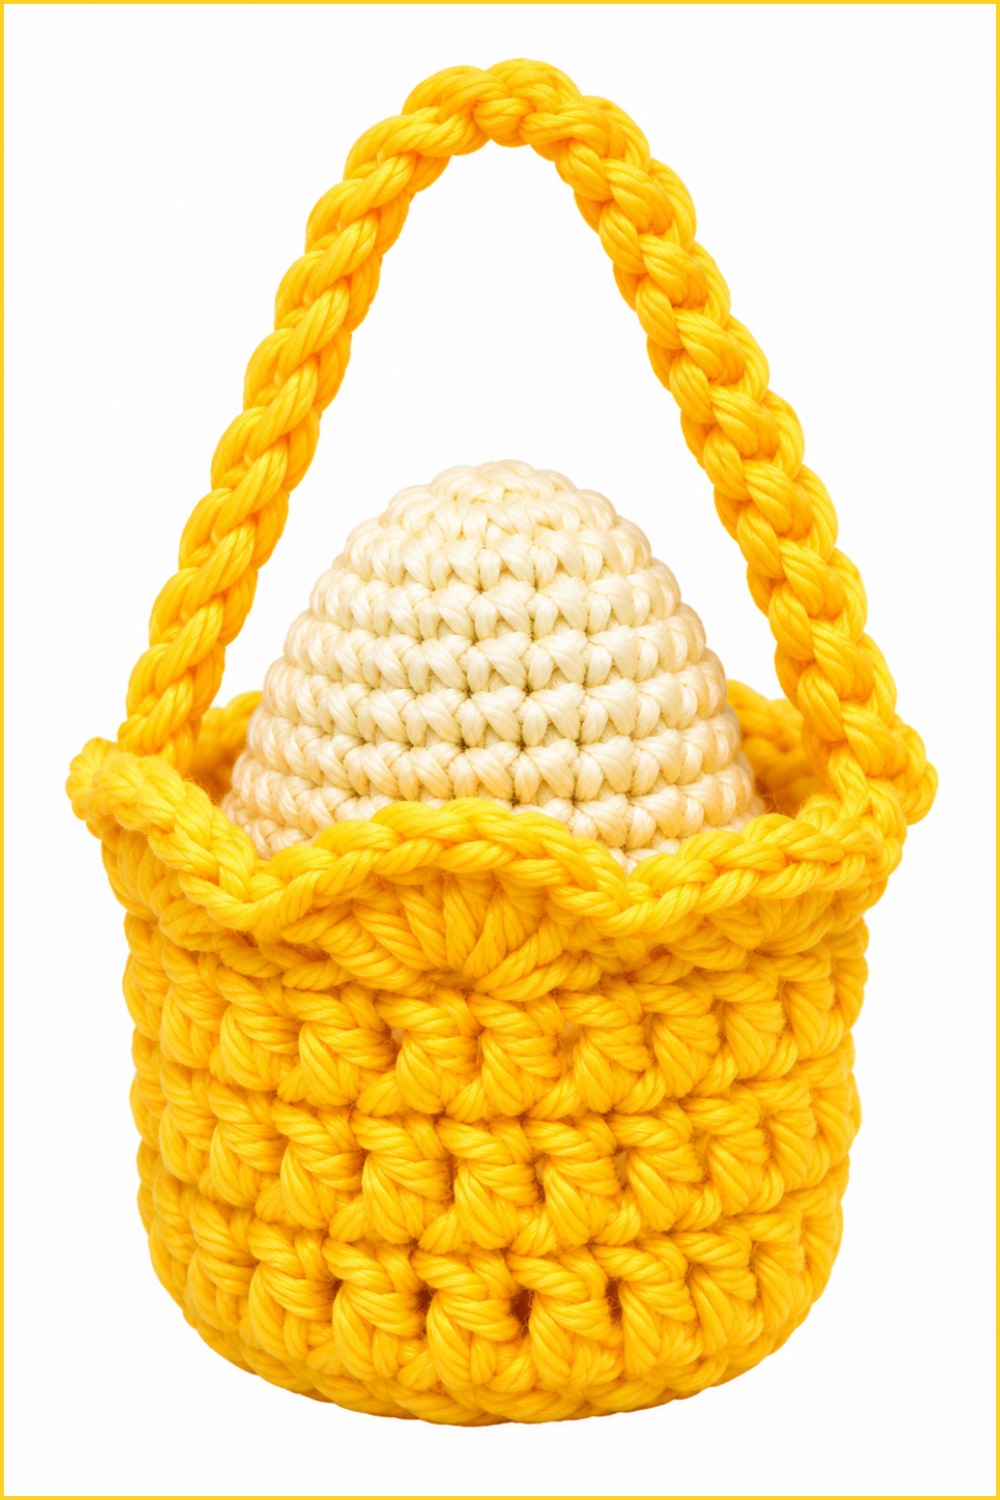
Assembly and Finished Size
This mini crochet basket requires no additional assembly beyond what is worked directly during the pattern rounds. The circular base, upright sides, decorative shell edging, and chained handle are all constructed as one continuous piece. When complete, the finished basket measures approximately 6 to 7 cm in diameter across the base and 4 to 5 cm in height from the base to the top shell edging, with a handle spanning approximately 6 to 8 cm across the opening. The basket sits upright independently and is perfectly proportioned to hold and display one egg for seasonal decoration or gifting purposes.
Conclusion
This mini crochet basket is a wonderfully quick and satisfying project that produces a charming and functional result using only basic crochet techniques. The combination of the neat circular base, the defining back loop ridge, the straight double crochet sides, and the elegant shell stitch edging creates a beautifully finished basket that is both decorative and practical.
Whether filled with a decorative egg for seasonal display, used as a small gift basket, or made in multiples as a set, these mini baskets are a delightful addition to any crochet project collection. Their small size and straightforward construction make them an ideal project for beginners looking to practice working in the round and exploring decorative stitch patterns.