
The best part? With free pattern available, you can create one that matches your room’s vibe, modern, boho, or rustic. Crocheting your own plant hanger adds a personal, creative touch to your home, keeps plants safely above curious pets, and makes for a thoughtful, eco-friendly gift. With just a bit of yarn and creativity, you’ll turn an empty corner into a cozy, green oasis.
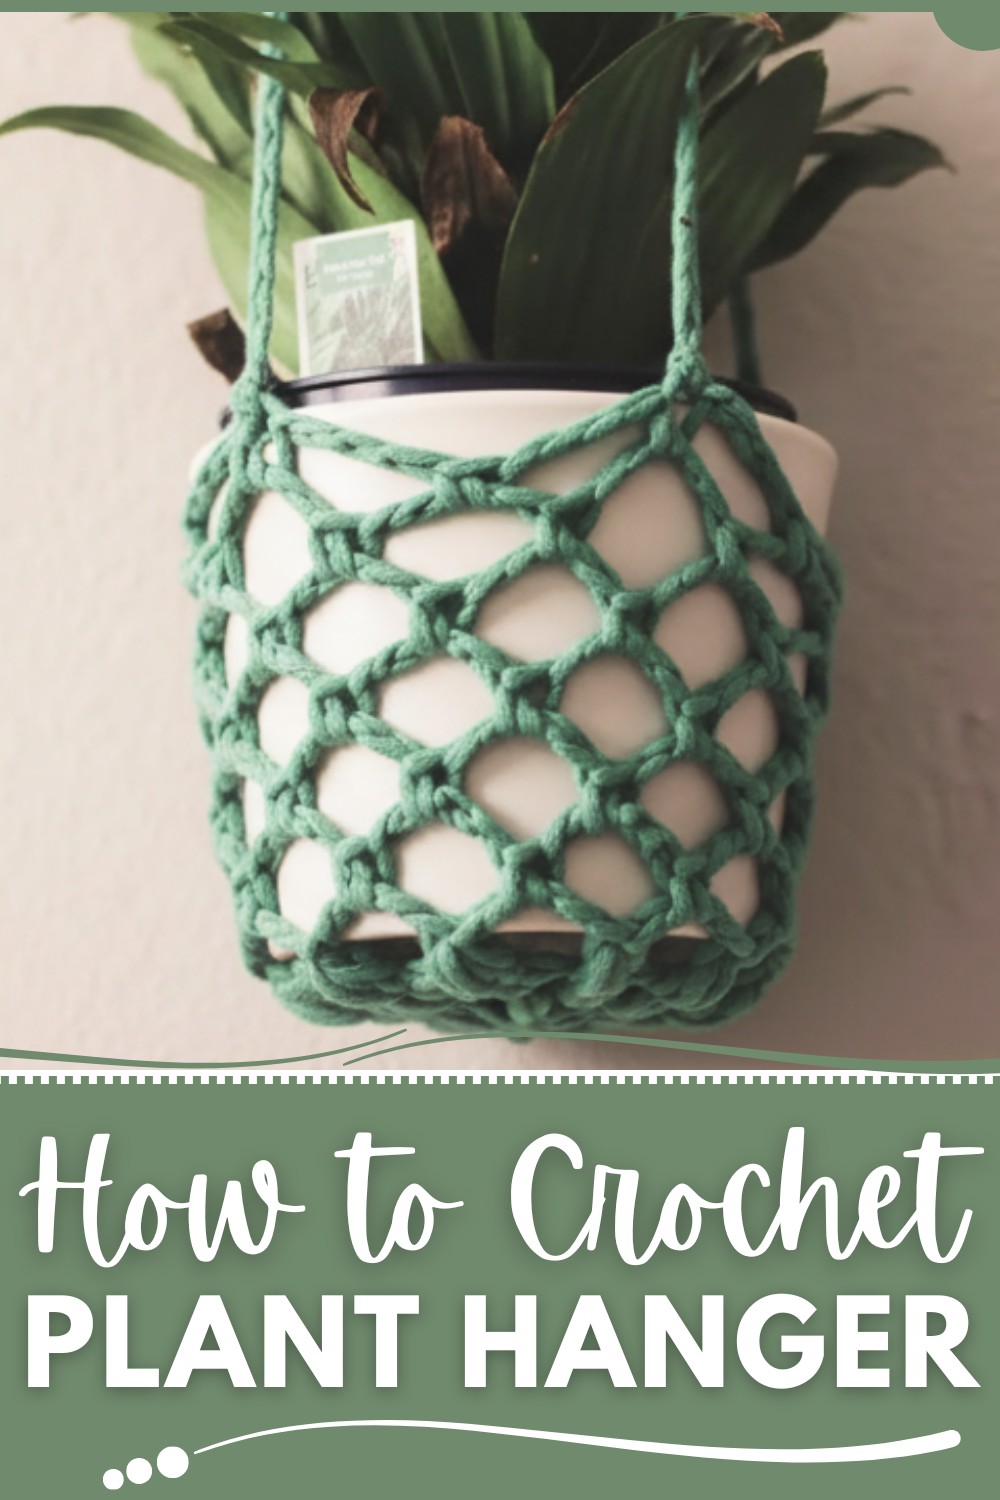
Free Crochet Plant Hanger Pattern for a Stylish Home
Materials Needed
- Yarn: Bernat Home Deck Yarn (or any sturdy medium-weight yarn capable of holding weight).
- Crochet Hook: 6mm crochet hook (recommended size).
- Scissors: For cutting yarn.
- Metal Keyring or Keychain: To serve as the hanger base.
- Stitch Markers: (Optional) For keeping track of stitches and rounds.
- Other: A small potted plant for the final look.
Crochet Plant Hanger
This crochet plant hanger combines functionality and style, making it a practical yet decorative piece for your home or as a thoughtful gift. The following pattern is step-by-step instructions based on the transcription, with clear guidance, customization options, and helpful tips.
Pattern Details
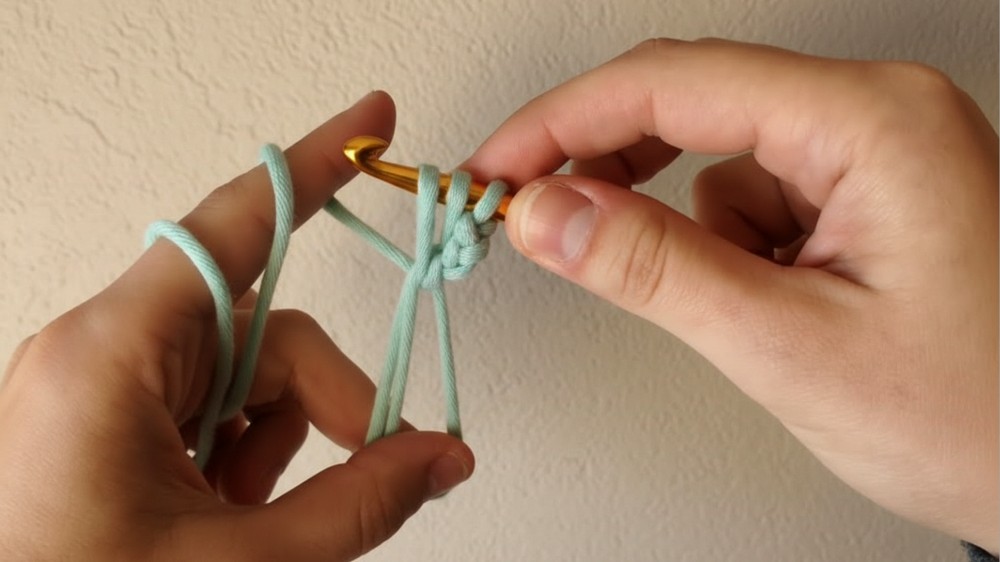
Foundation—Magic Circle
- Create a magic circle:
- Wrap yarn around fingers to form two parallel loops.
- Insert hook under the first loop, pull the second loop through, and complete with a chain stitch.
- Chain 3 (this will count as the first stitch).
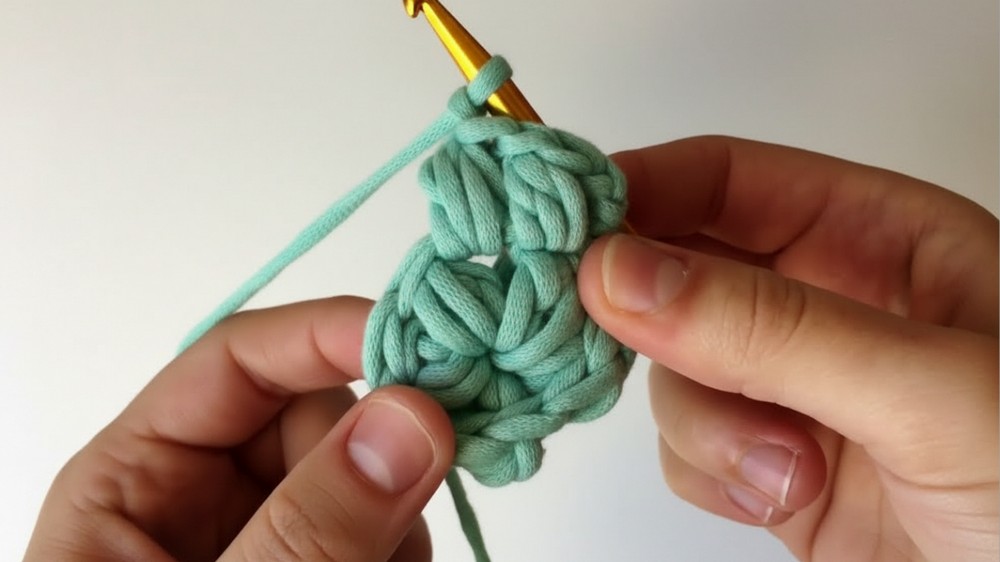
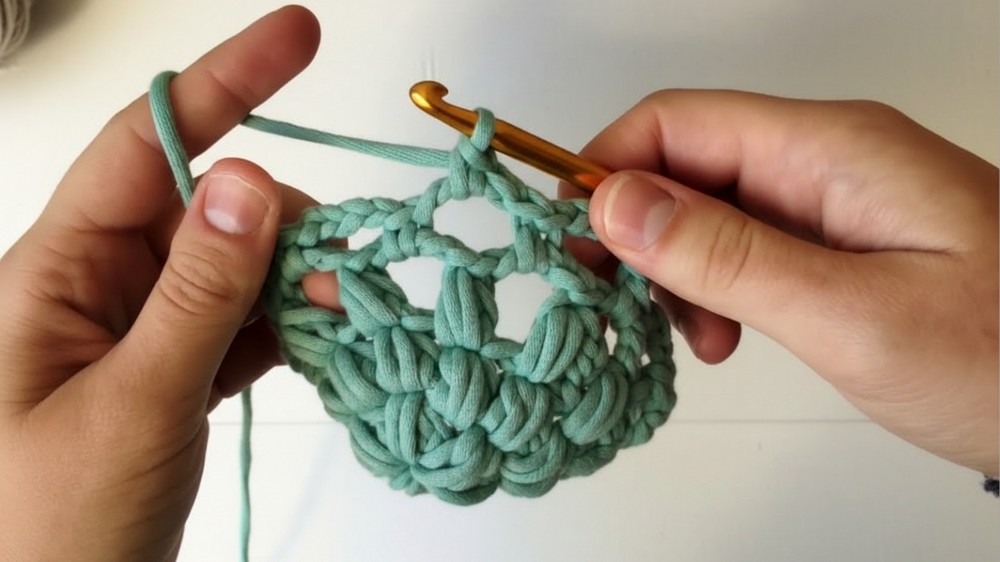
- Work 5 puff stitches into the magic circle:
- Puff Stitch:
- Yarn over, insert hook through the circle, pull up the loop to match the height of the chain 3.
- Repeat yarn over and pull through (3 times total), achieving 7 loops on the hook.
- Yarn over and pull through all 7 loops. Chain 1 to secure the puff stitch.
- Puff Stitch:
- Tighten the magic circle by pulling its tail. Slip stitch into the first puff stitch to close the round.
Round 1
- Chain 3 to begin.
- Work a puff stitch into the same stitch as the chain 3 (refer to the puff stitch instructions above):
- Chain 1 after completing the puff stitch.
- Continue working puff stitches into the chain 1 spaces all around:
- You should have 10 puff stitches at the end of this round.
- Slip stitch into the first puff stitch (skipping the chain 3).
Round 2
- Chain 3 to start.
- Work puff stitches only into previous puff stitches (not the chain 1 spaces).
- In this round, instead of chaining 1 after each puff stitch, chain 4:
- This will create the mesh portion of the hanger.
- In this round, instead of chaining 1 after each puff stitch, chain 4:
- Continue working puff stitches and chain 4 across the round.
- You should have 10 puff stitches at the end, joined with a slip stitch to the first puff stitch.
Round 3—Mesh Section Begins
- Slip stitch into the first chain 4 space.
- Chain 1 and make 1 single crochet into the same chain 4 space.
- Chain 4, then work 1 single crochet into the next chain 4 space.
- Repeat this pattern (chain 4, single crochet into chain 4 space) all around.
- Once the round is complete, join with a slip stitch into the very first chain 1 space.
- Optional: Place a stitch marker at the start of each round for better tracking.
Building Mesh
- Repeat the Round 3 mesh pattern for 6 total rows:
- Chain 4, single crochet into the next chain 4 space.
- Be sure to join each round with a slip stitch into the first chain 1 space.
Finalizing the Mesh
- After completing 6 rows of the mesh, chain 1, cut the yarn, and pull through to fasten off neatly.
- Weave in any remaining ends using the tapestry needle.
Attaching the Chains
Keyring Setup
- Take the metal keyring and securely tie your yarn onto one side.
- Double knot for extra security.
- Insert the hook into the ring and pull up a loop.
- Chain 60 (or more, depending on the desired hanging length).
Attaching Chains to Mesh
- Use stitch markers to define attachment points:
- On the last row of the mesh (single crochet stitches), mark:
- First stitch, skip 2 stitches, mark the third stitch.
- Skip one stitch, mark the next stitch.
- Skip two stitches, mark the last one.
- This helps evenly distribute chains for balanced hanging.
- On the last row of the mesh (single crochet stitches), mark:
- Remove the first marker, insert the hook from front to back into the marked stitch, and slip stitch to join.
- Chain 1, cut the yarn, and pull through.
- Repeat the process for all remaining chains around the mesh. Rotate the body of the hanger as needed to prevent chains from twisting.
Finishing the Keyring
- Tie yarn securely to the left side of all chains on the keyring.
- Crochet around the chains to neaten the look and secure ends:
- Insert hook into the ring, yarn over, and pull through both the chain and ring loops.
- Yarn over and pull through again to complete single crochet.
- Continue single crocheting around all chains on the keyring, working in tail ends for a clean finish.
- Once complete, join the round with a slip stitch into the first single crochet.
- Chain 1, cut the yarn, and pull through. Weave in any remaining ends.
Conclusion
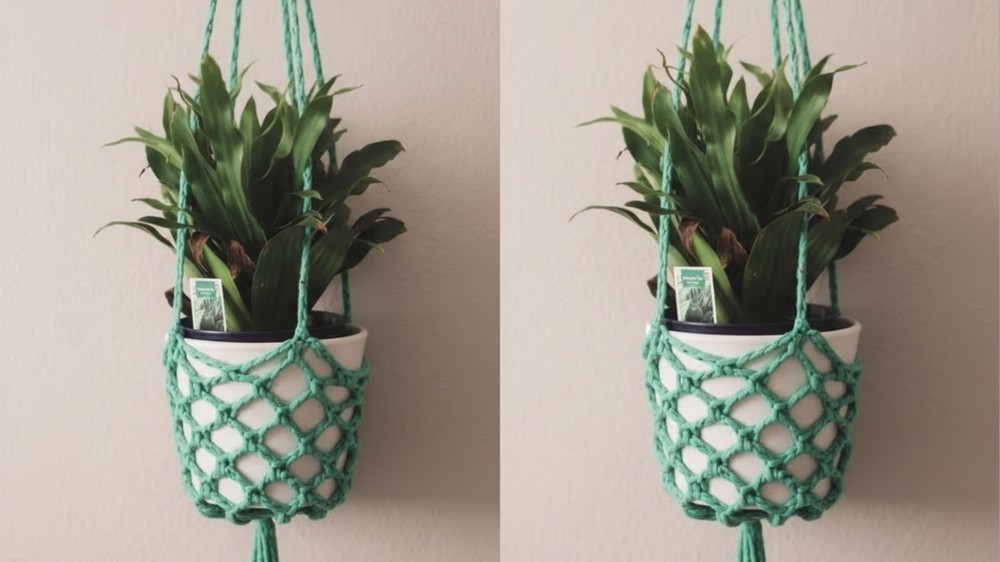
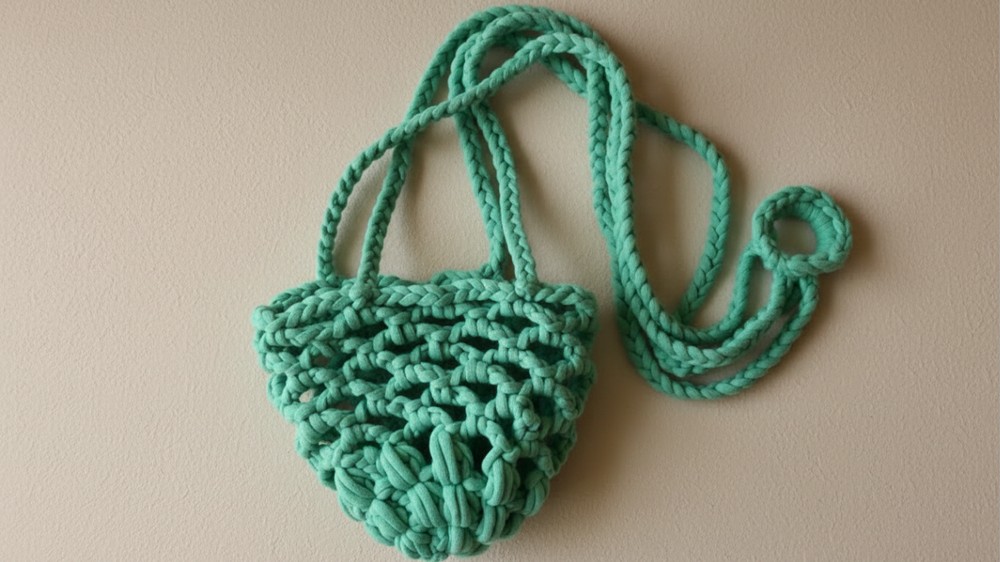
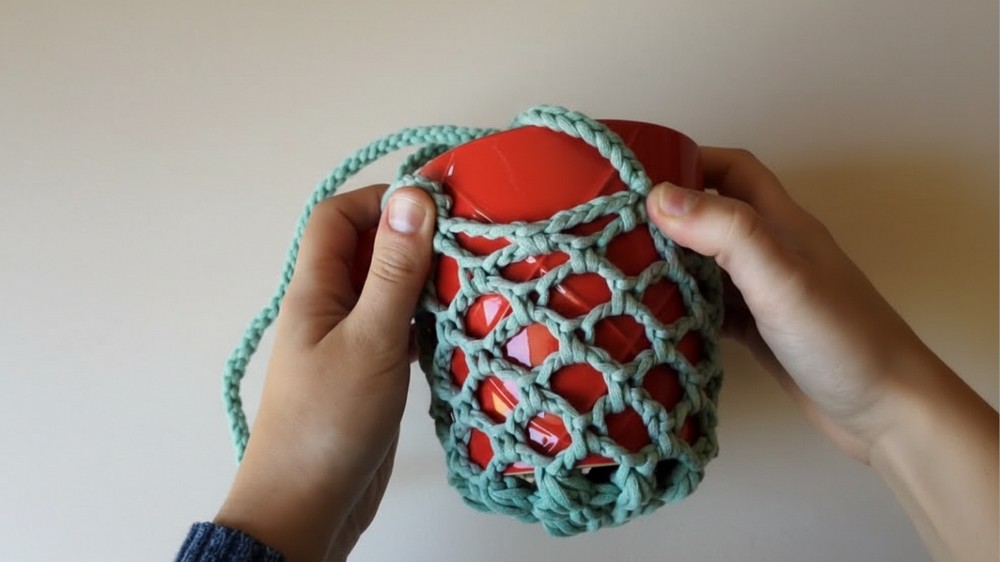
Your crochet plant hanger is now complete! The final look should feature a sturdy mesh base for holding your plant and securely attached chains for hanging.
This versatile design can hold small pots, succulents, or any decorative item you'd like to display.
Tips for Success
- Tension Matters: Maintain consistent tension to ensure the hanger's mesh base holds properly.
- Secure Knots: Double knot at key points, especially around the keyring, to ensure the hanger is durable.
- Customization: Add embellishments like tassels or beads to the chains for added style.
Customization Ideas
- Color Variations:
- Use different yarn colors for the puff stitches, mesh rows, or chains.
- Create ombre effects by changing colors gradually across rows.
- Size Adjustments:
- For larger pots, expand the initial magic circle by making additional puff stitches in each round.
- Increase the number of rows in the mesh section for more depth.
- Alternative Uses:
- Create smaller versions for decorative purposes (holding small items, candles, etc.).
- Use thick rope or recycled T-shirt yarn for a rustic, eco-friendly look.
Important Remarks
This plant hanger is both functional and decorativea charming way to enhance your home or outdoor space. It also makes an excellent handmade gift for plant enthusiasts during holidays, birthdays, or housewarming events.


