
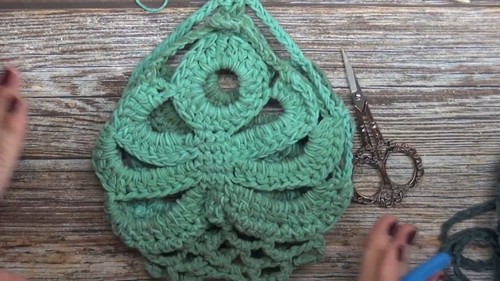
Try hanging a little piece of greenery in your room without worrying about watering it and that's what making a Crochet Monstera Plant Hanger lets you do! Using some soft cotton yarn and a crochet hook, you can create a cute, leafy hanger that looks like a mini monstera plant. This project is fun because you get to crochet the leaf part that's shaped just like the real plant's leaves, and then you crochet a net below it that holds a pot.
Crochet Monstera Plant Hanger
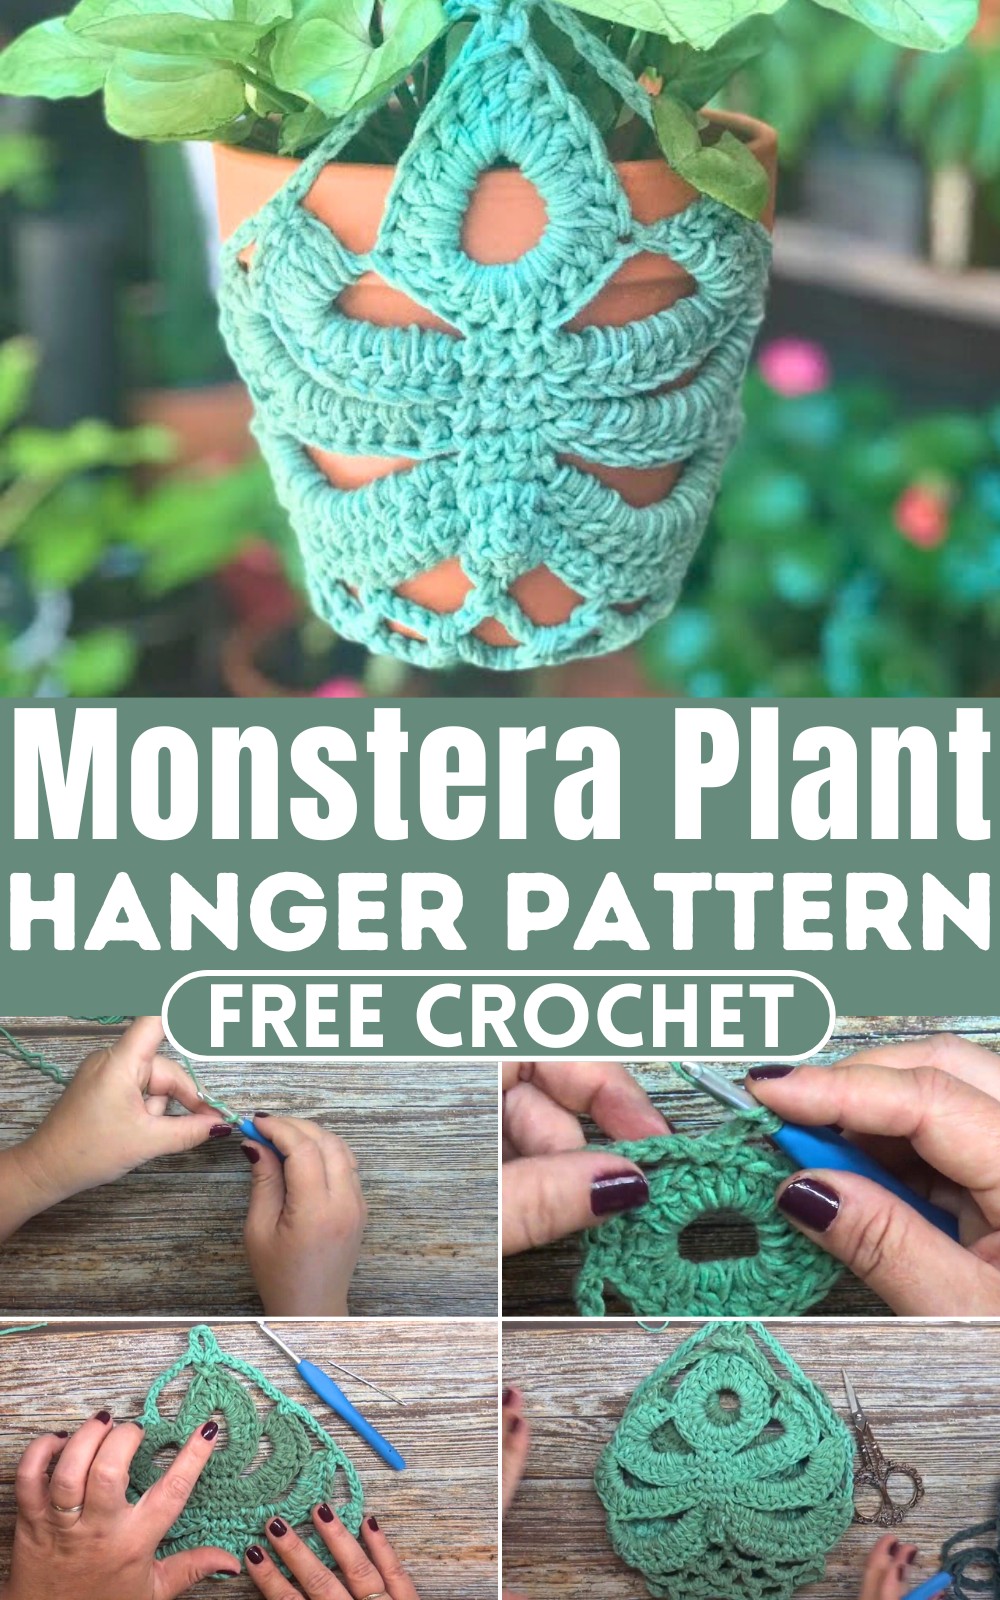
It's like making a cozy little bed for your favorite plant to swing from. Whether you're a beginner or an expert at crocheting, working on this project feels like you're weaving a bit of nature's magic right into your home, making it greener and cozier one stitch at a time.
Materials:
- Cotton macrame yarn or double-stranded 4 weight cotton (approx. 70 grams or 100 yards)
- 5 mm crochet hook
- Tapestry needle
Monstera Leaf Pattern:
Start the Leaf (Top part):
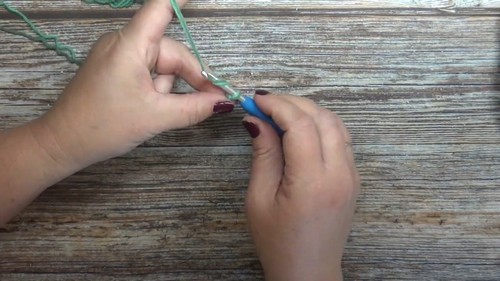
- Create a slip knot.
- Chain 12.
- Slip stitch to the first chain to form a ring.
- Chain 2 (does not count as a stitch).
- Work 5 double crochets into the ring.
- Work 2 treble crochets into the ring.
- Create a picot on the last treble crochet made (chain 3, then slip stitch to the top of the treble crochet).
- Work another treble crochet into the ring.
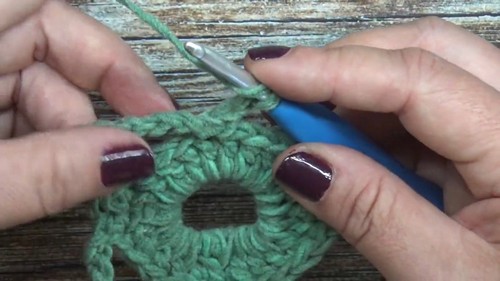
- Finish by adding 14 double crochets into the ring.
- Slip stitch to the first double crochet to join the round.
Row 2 (Wrong side):
- Chain 10, turn the work.
- Skip 3 stitches.
- Work 3 single crochets (1 in each of the next 3 stitches).
- Chain 10 again, skip 3 stitches.
- Slip stitch into the 4th stitch, turn your work.

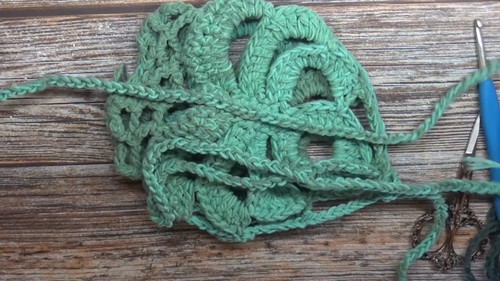
Row 3 (Building the leaf):
- Chain 2 (does not count as a stitch), turn your work.
- Work 14 double crochets into the first chain space.
- Work 3 single crochets, one into each of the next 3 single crochets.
- Work 14 double crochets into the next chain space.
For Row 4 (Building the leaf and creating shaping):
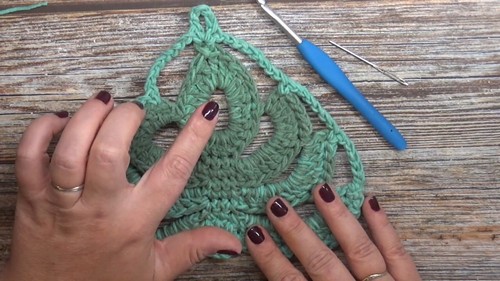
- Turn the work, slip stitch 6 times.
- Chain 10, skip all remaining double crochets.
- Work 3 single crochets on top of the next three single crochets.
- Chain 10 again, skip 8 double crochets.
- Slip stitch into the 9th double crochet.
Repeat Rows 3 to 7:
Repeat the pattern of Row 3 for the next series of rows up to Row 7, increasing the size of the leaf and creating the distinctive monstera shape.
Row 8 (Worked in the round):
- Turn the work, chain 1.
- Work 2 single crochets in the first stitch and 13 more single crochets up to the last double crochet.
- Chain 2, work treble crochet 3 together over the single crochets.
- Chain 2 and work 13 single crochets to the other end, placing 2 single crochets in the last stitch.
- Start creating the loops that will form the netting shape by chaining 6, skipping stitches, and doing single crochets into specific stitches from previous rows while following the pattern.
Connecting the Leaves:
After completing a leaf and working Row 8 partially, connect the two leaves by working single crochets through corresponding stitches on both leaves.
Working the Netting (Bottom part):
- Continue chaining and skipping stitches as per the video to create the netting that will hold the pot.
- Once the shape has been established, switch to shorter chaining between stitches to tighten the netting.
- Finish off the netting by reducing the chain length between single crochets.
Creating the Rope for Hanging:
Chain 300 (or desired length for hanging height), then secure each end to the top of the monstera leaves by threading the chain through the chain spaces at the top and tying knots to secure.
Finishing:
Weave in all ends and add any additional trims or support needed to hold the pot securely.


