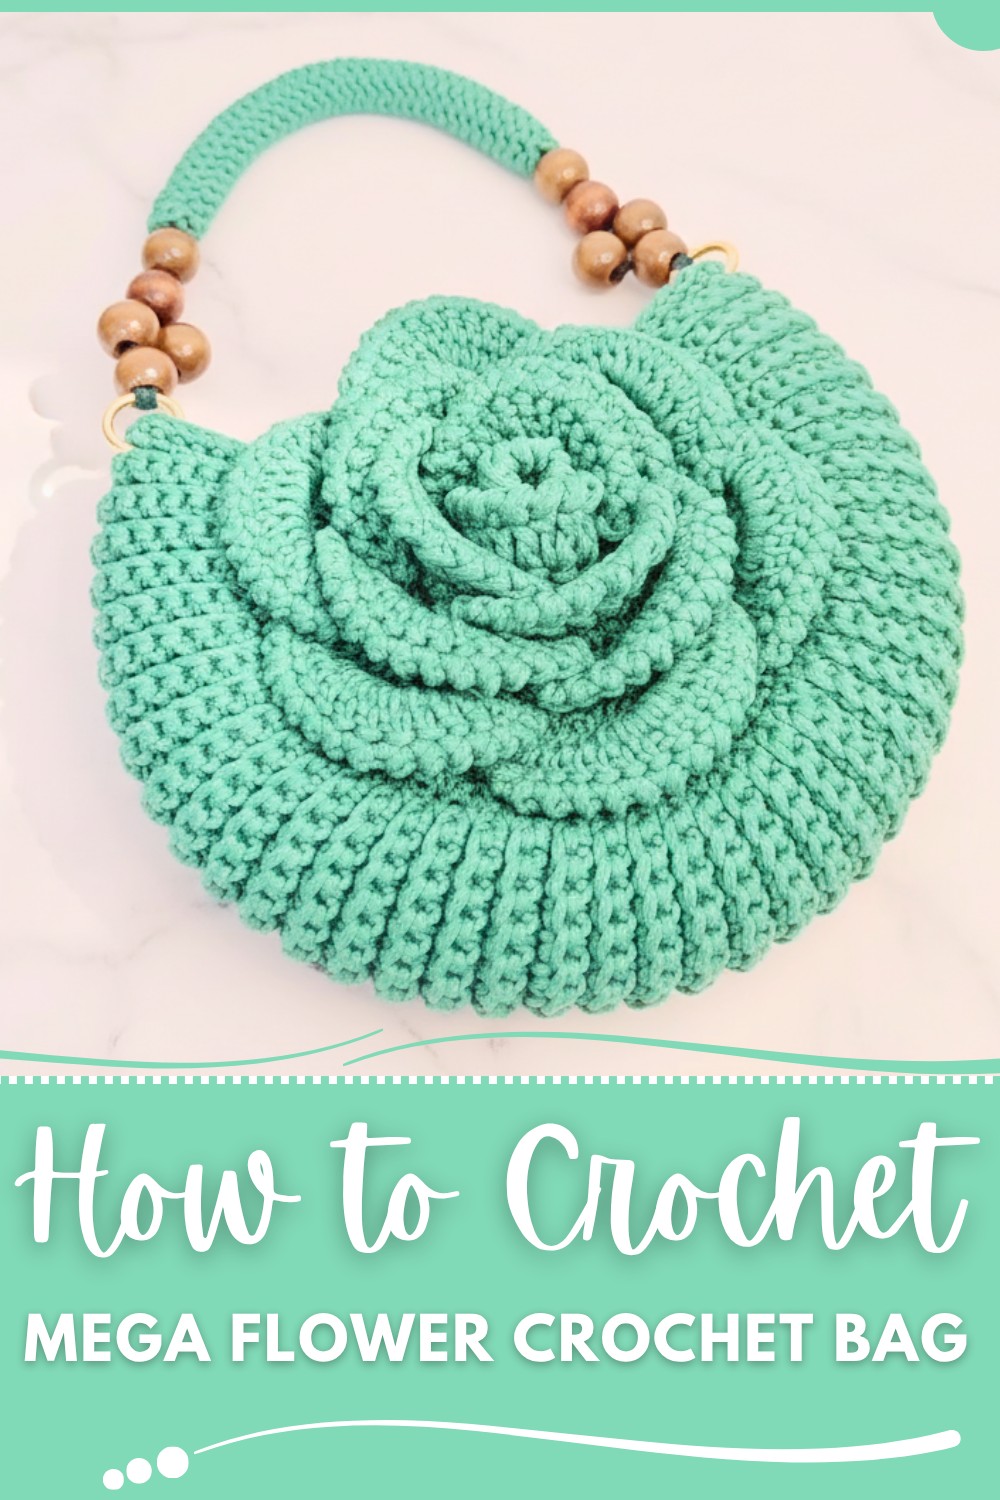
Bring life to your projects with the Crochet Mega Flower Bag Pattern featuring oversized blooms, vibrant details, and endless opportunities for personalization.
Oversized floral details paired with vibrant textures and colors transform this project into a functional yet stylish accessory. This pattern features bold flower motifs that allow you to experiment with stitch techniques, color variations, and creative layouts. Whether you lean toward soft pastels for a subtle appearance or bold hues for a striking look, the versatility of this design ensures it suits endless preferences.
Free Crochet Floral Tote Pattern for Daily Essentials
Its roomy size makes it a practical option for everyday use, whether carrying groceries, packing picnic essentials, or organizing yarn on the go. The bag’s sturdy structure also combines durability with charm, giving you a sturdy and head-turning piece. Adding layered floral accents, contrasting borders, or even a playful tassel can inject even more personality into your project. Ideal for casual summer gatherings, market trips, or simply upgrading your accessory game, this is a satisfying opportunity to express artistic style while keeping functionality in focus.
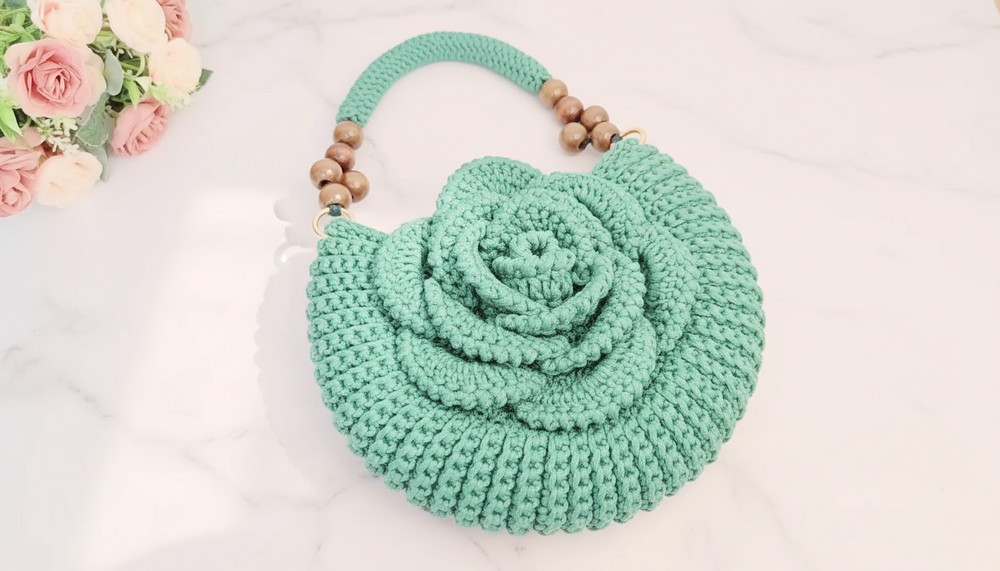
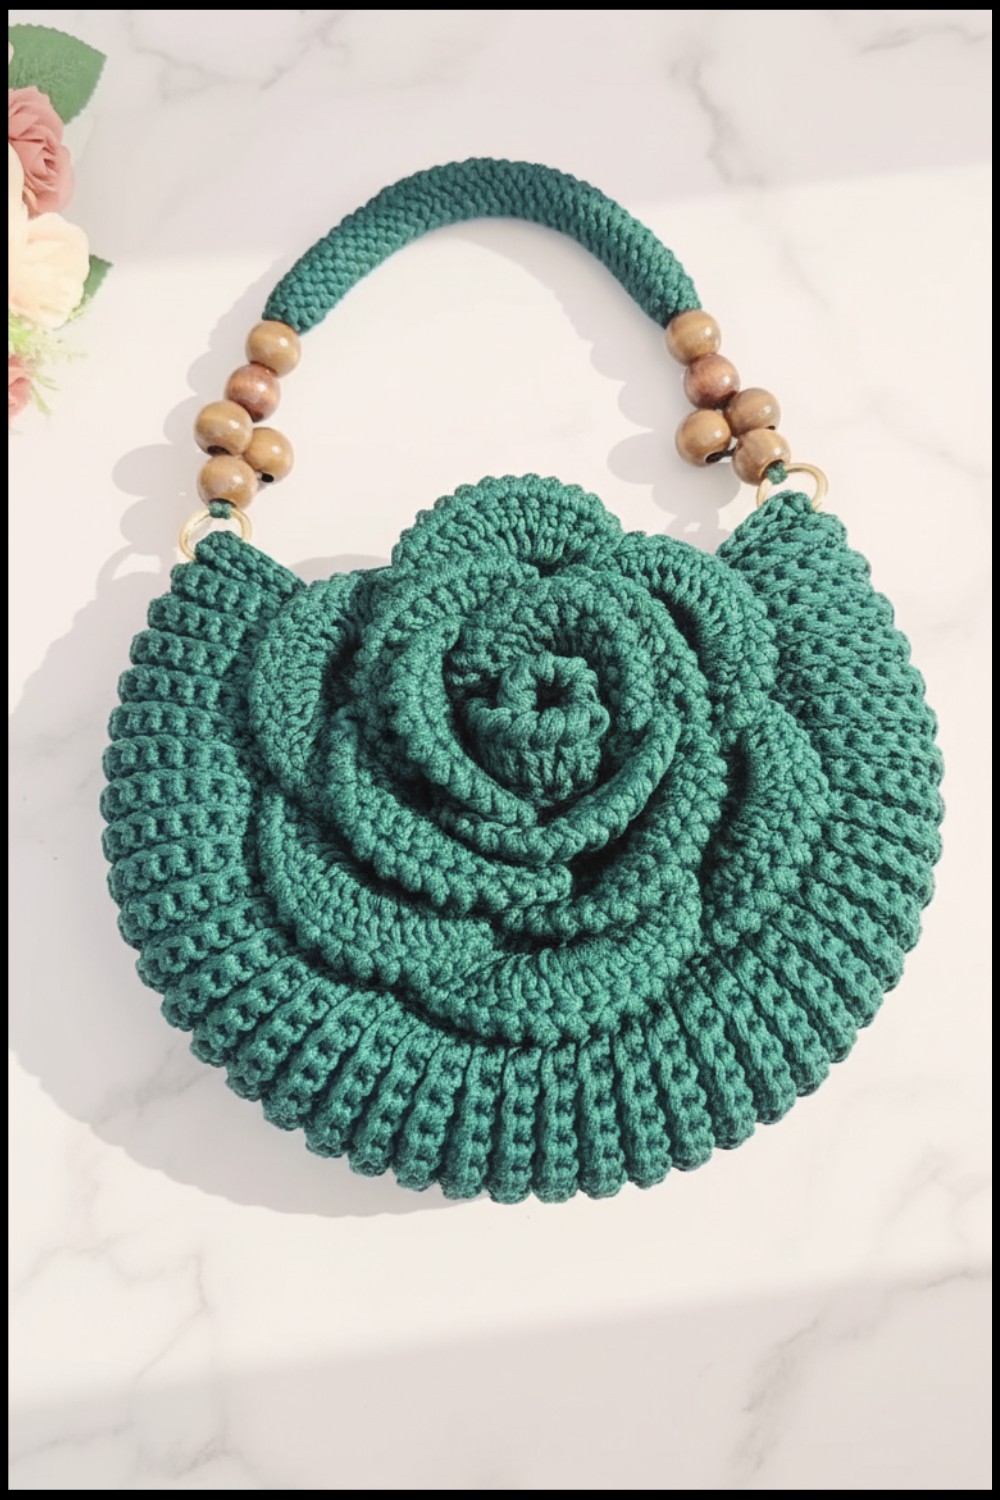
Crochet Mega Rose Bag Pattern – Step-by-Step Guide
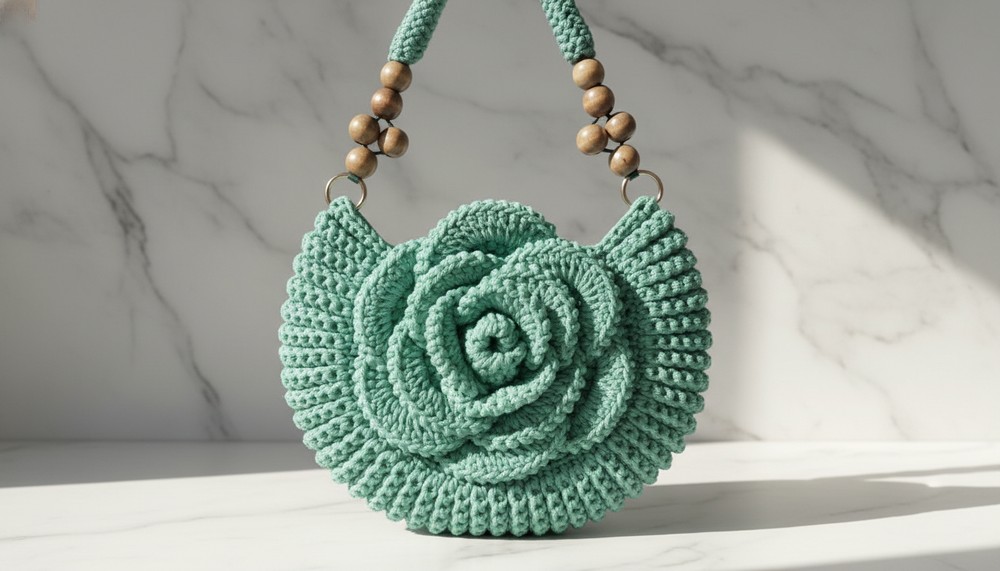
This Mega Rose Bag combines beauty and practicality, adorned with a distinct central flower design and a gorgeous economical strap. Perfect for intermediate to advanced crocheters, its seamless construction features detailed petals, reinforced straps, and wooden bead accents resulting in a professional finish.
Materials
Yarn
- Main Yarn: 3 mm Nautical Polypropylene Thread (approximately 278 meters).
- Recommended for durability and a structured finish.
- Alternative Yarn: You can use any sturdy yarn.
Hook
- Crochet Hook Size: 3.5 mm.
Additional Supplies
- Wooden Beads: 10, measuring 15mm each.
- Articulated Rings: A pair, measuring 20mm each.
- Magnetized Buttons: A pair of 18mm blanket-style buttons.
- Wire: Approximately 80cm for the strap assembly.
- Scissors.
- Stitch markers (optional, helpful for tracking stitches).
- Tapestry needle (for finishing ends and attaching strap).
- Lighter (to seal thread ends, especially with polypropylene yarn).
Skill Level
- Intermediate to Advanced: Knowledge of working in the round, basic crochet stitches, increasing, decreasing, crab stitch (reverse single crochet), and tubular strap construction is required.
Key Abbreviations (US Terminology)
| Abbreviation | Meaning |
|---|---|
| ch | Chain |
| sc | Single Crochet |
| dc | Double Crochet |
| sl st | Slip Stitch |
| BLO | Back Loop Only |
| rep | Repeat |
Special Notes
- Petals: Use reverse single crochet (crab stitch) to add texture to each petal.
- Seamless Finish: Learn the invisible join technique for a professional look.
- Gauge: Nautical yarn does not rely heavily on gauge, but ensure the base diameter measures 16 cm after completing the foundation circle.
- Customization: Add more petals or adjust strap length to suit your needs.
Pattern Instructions
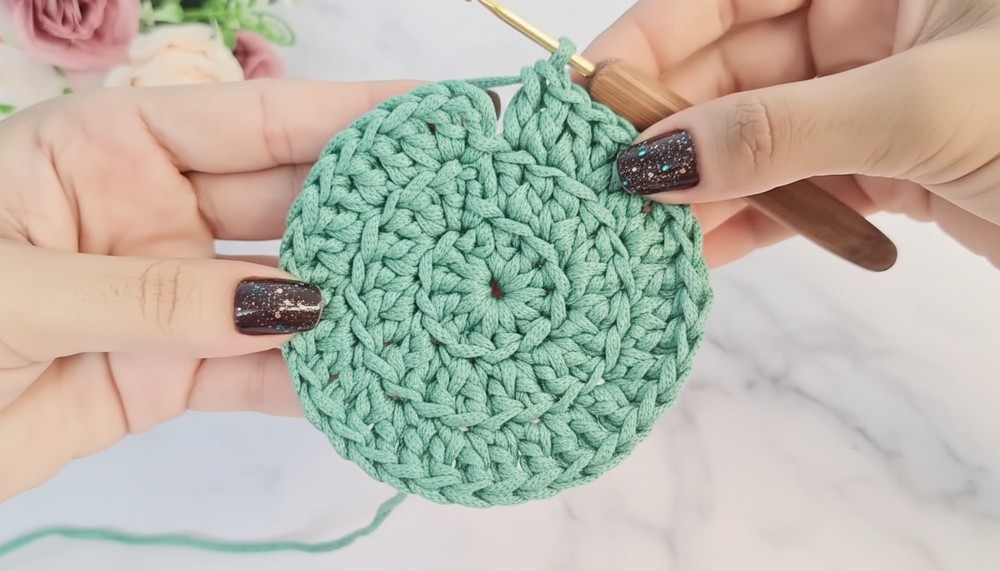
Step 1: Base Circle
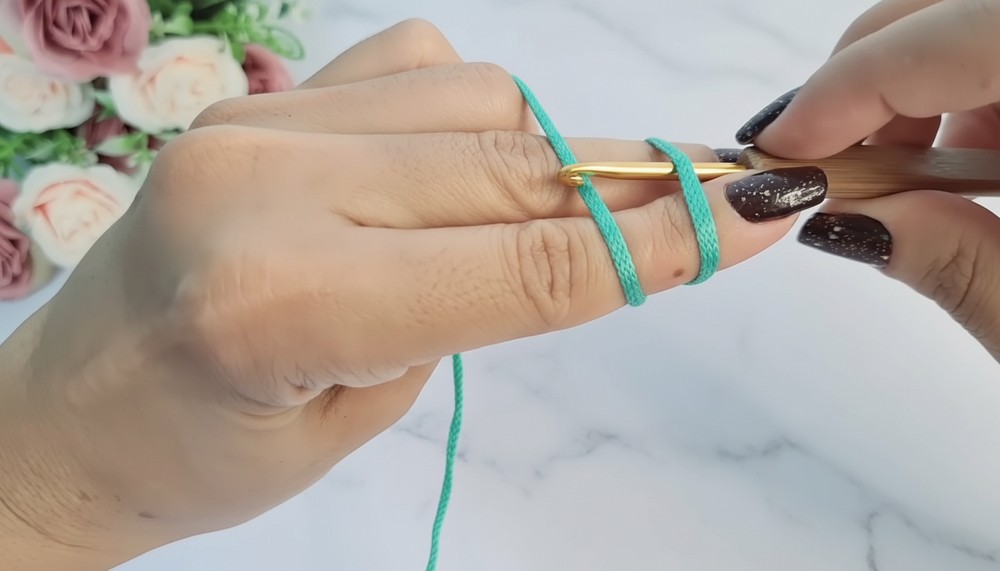
Round 1: Magic Ring
- Create a magic ring and work 3 chains (counts as 1 dc).
- Into the magic ring, crochet 11 dc (including the chains, total = 12 dc).
- Pull the magic ring tight to close.
- Sl st into the 3rd ch from the start to complete the round.
Total stitches: 12 dc.
Round 2: Increasing
- Ch 3 (counts as 1 dc for height).
- For each stitch in the previous round, work 2 dc into the BLO.
- Sl st into the 3rd ch from the beginning to close the round.
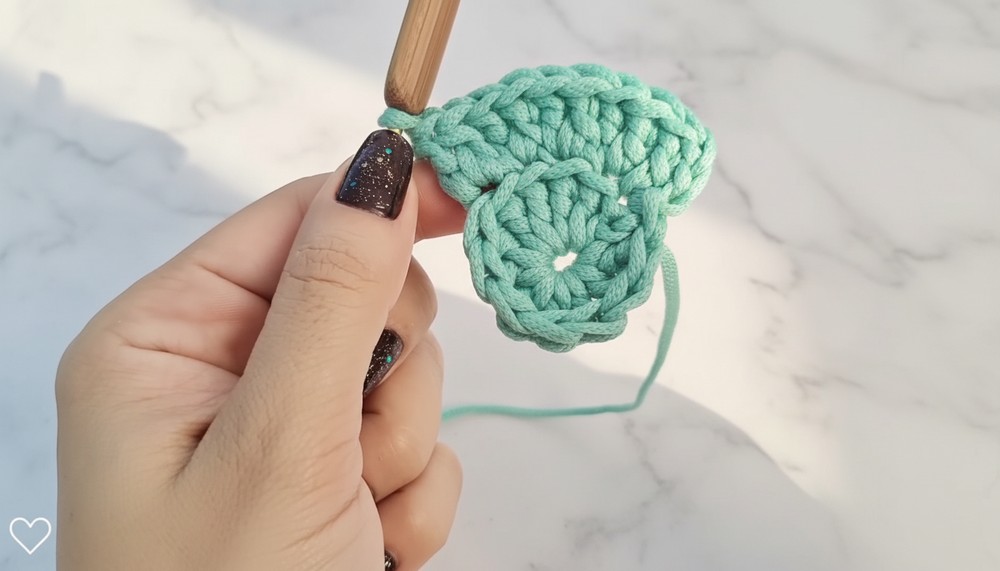
Total stitches: 24 dc.
Round 3: Alternating Increases
- Ch 3, and work 1 dc into the next stitch (pick up the BLO).
- Alternate:
- 1 dc in next stitch,
- 2 dc in the next stitch (increase).
- Sl st into the 3rd ch to close the round.
Total stitches: 36 dc.
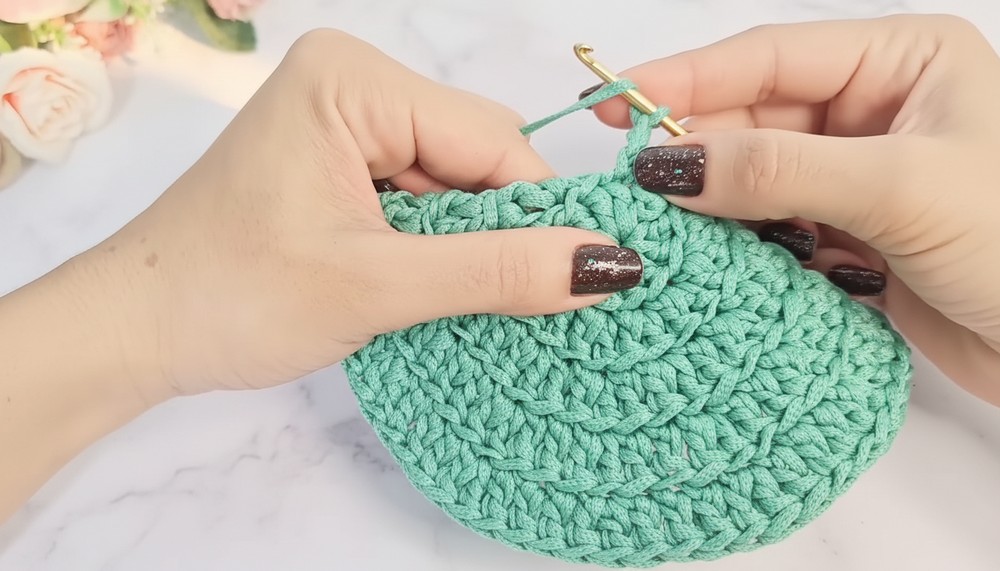
Round 4: Two-Stitch Increase
- Ch 3, and work 2 dc into the next 2 stitches (BLO).
- Alternate:
- 2 dc in the next stitch,
- 1 dc into the next stitch (repeat across).
- Sl st into the 3rd ch to close.

Total stitches: 48 dc.
Round 5: Three-Stitch Increase
- Ch 3, and work:
- 3 dc in individual stitches,
- 2 dc in the next stitch (increase). Repeat.
- Sl st into the 3rd ch to close.
Total stitches: 60 dc.
Step 2: Invisible Join
- Cut yarn to finish.
- Skip the first set of 3 chains and insert your needle into the 2nd dc, taking both loops. Pull the yarn through to simulate the 3-chain finish.
- Weave in excess yarn into the stitches for a seamless join.
- Seal ends with a lighter (optional for polypropylene).
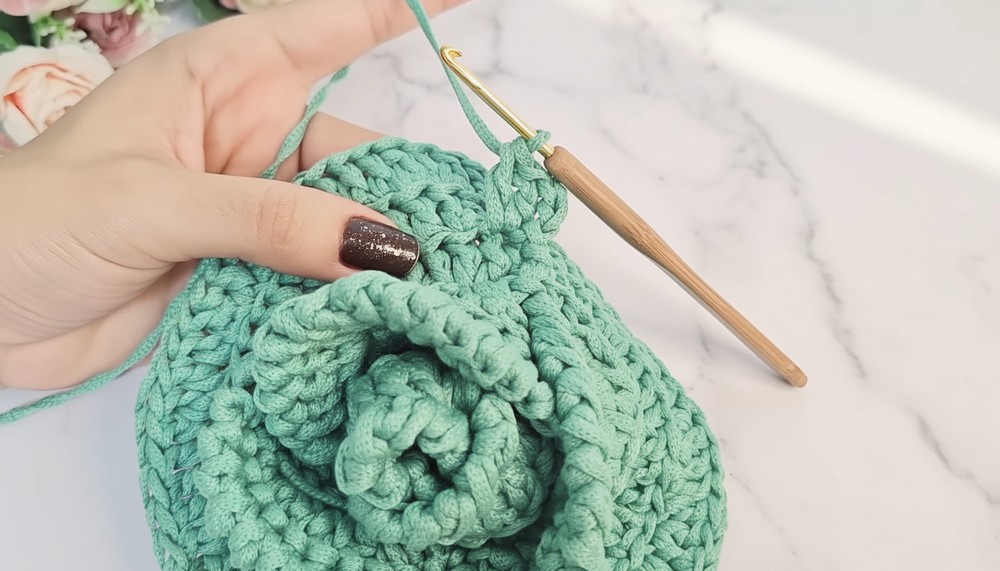
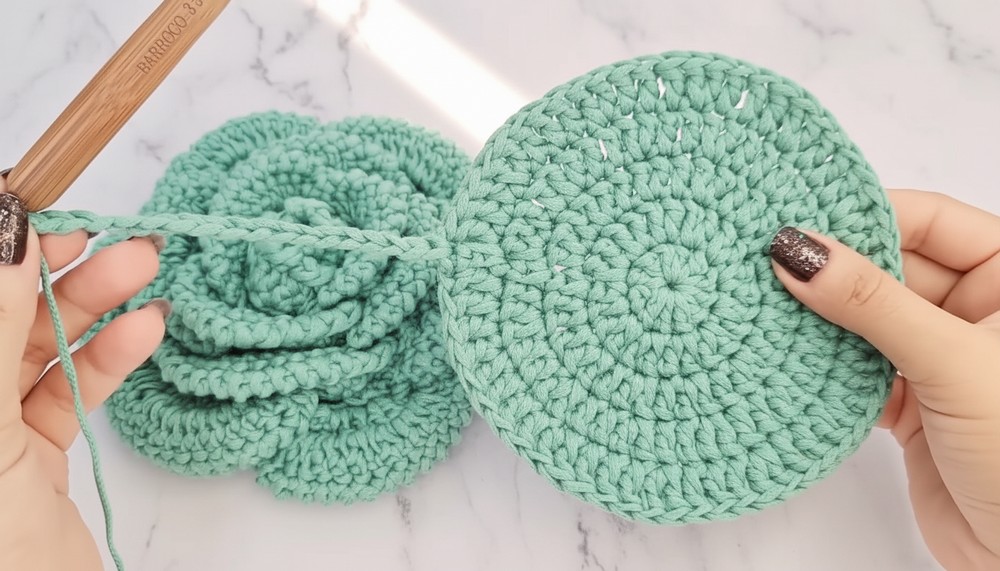
Step 3: Mega Rose (Flower Detail)
Foundation
- Begin petals by working into the BLO of Round 1 (12 loops present).
- Attach yarn to any loop via a sl st (joining method).
Petals
Layer 1
- Ch 3, and work 3 dc into the loop.
- Move to the next loop and work 3 dc.
- For the second row of petals:
- Turn, ch 3, and work 2 dc into each dc (12 dc total).
- Attach petal edges via a sl st into the outer loop.
- Add reverse single crochet (crab stitch) along the edge: Work a reverse sc into each stitch.
Repeat this petal pattern across the remaining 12 loops.
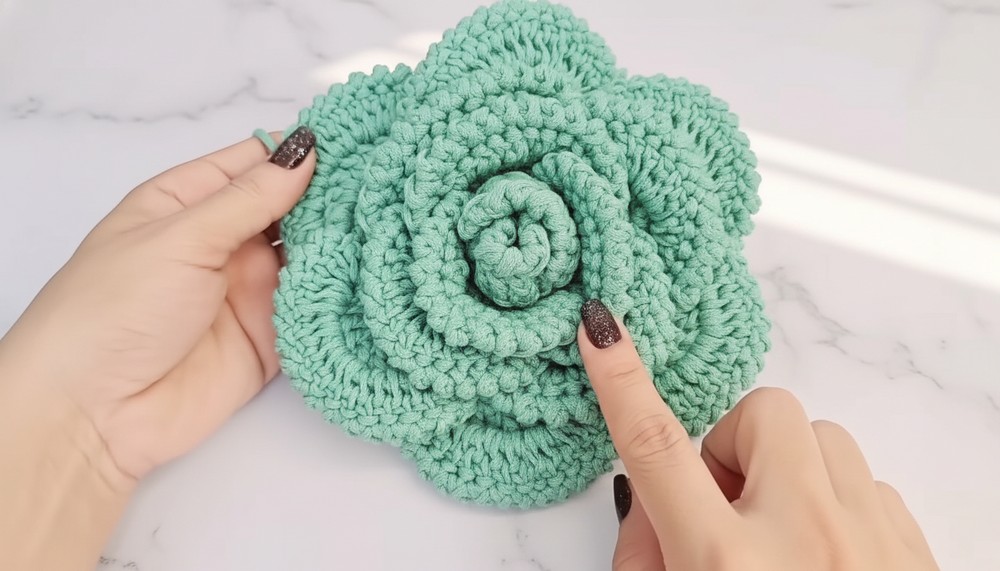
Layer 2
Repeat petal instructions, but work in the BLO of Round 2.
→ Ensure 18 stitches per petal.
Layer 3
Repeat petal instructions, working in BLO of Round 3.
→ Ensure 24 stitches per petal.
Layer 4
- Work petals into BLO of Round 4.
- Attach the flower center securely, maintaining alignment.
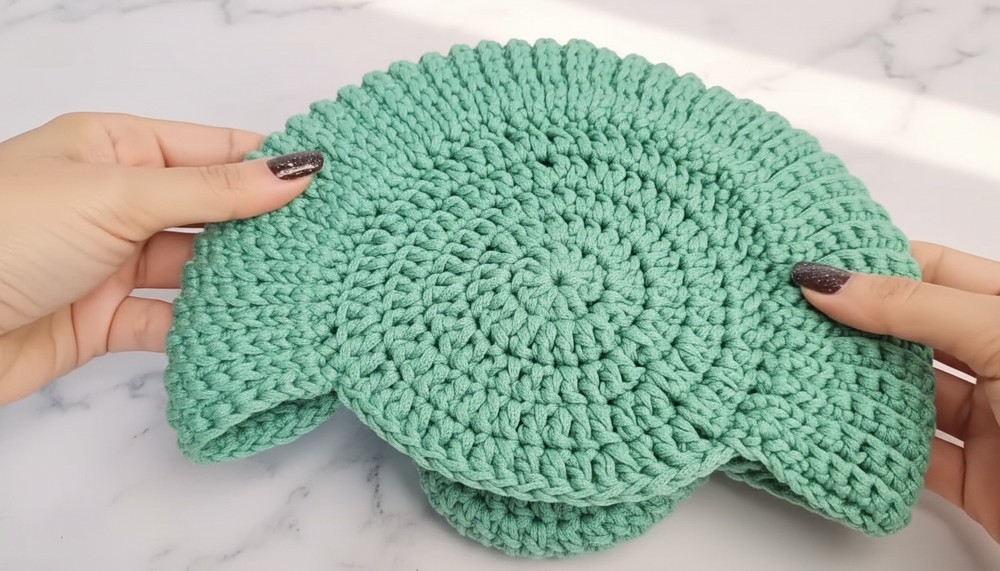
Step 4: Back Circle
Repeat the base circle instructions (Rounds 1–5) for the back of the bag.
Step 5: Joining Circles and Strap Construction
Circle Assembly
- Ch 18, connecting the back and front circles together.
- Attach the edges via sl st, ensuring alignment.
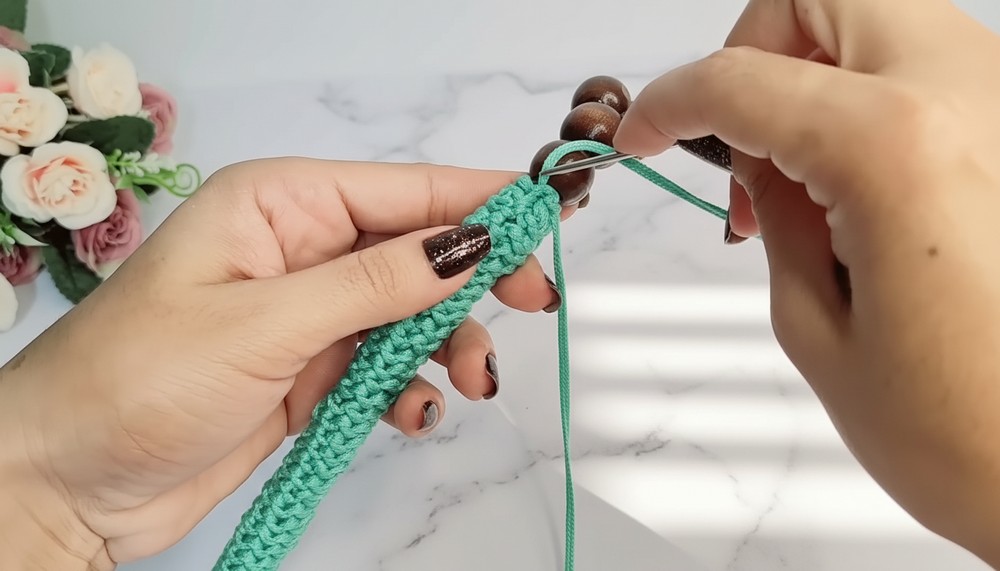
Strap
- Ch 8, join via a ring to make a small loop.
- Begin working sl st in each chain loop to create a tubular strap.
- Insert beads using wire for detailing.
- Attach articulated rings and connect them securely to the strap edges.
Step 6: Closure and Label
Magnet Buttons
- Sew 18mm blanket-style buttons securely using nylon thread.
- Attach to the front and back edges of the opening.
Finishing Touches
Add decorative labels to personalize your bag and enhance its appearance.
Conclusion
The Mega Rose Bag is an elegant and fully functional accessory. With its professional-looking petals, wooden bead strap, and durable construction, it is a perfect project for gifting or personal use.
Tips for Success
- Align Carefully: Ensure petal work and back/front circle connections line up correctly for symmetry.
- Secure Strap Ends: Use wire and knots for added durability.
- Customization Options: Add more petals or use varied yarn colors for a unique look.
- Tension Consistency: Maintain even tension for perfect petal shapes.
Pattern Corrections
- Ensure stitch counts align correctly for each row increase to avoid uneven edges.
- Avoid skipping loops during assembly for a seamless look.