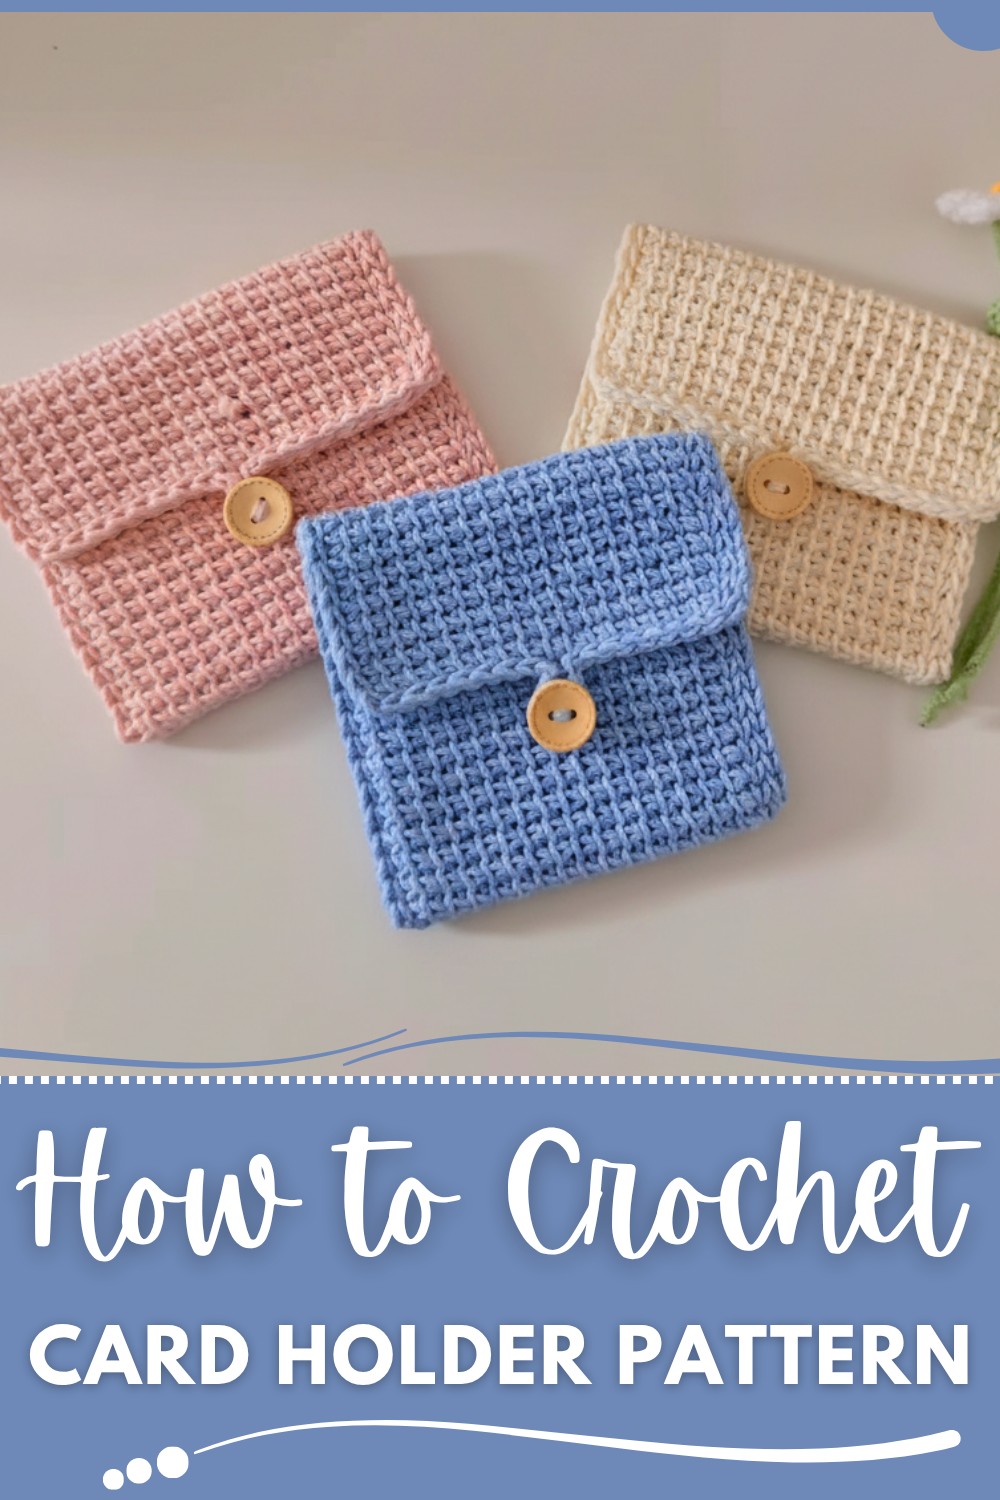
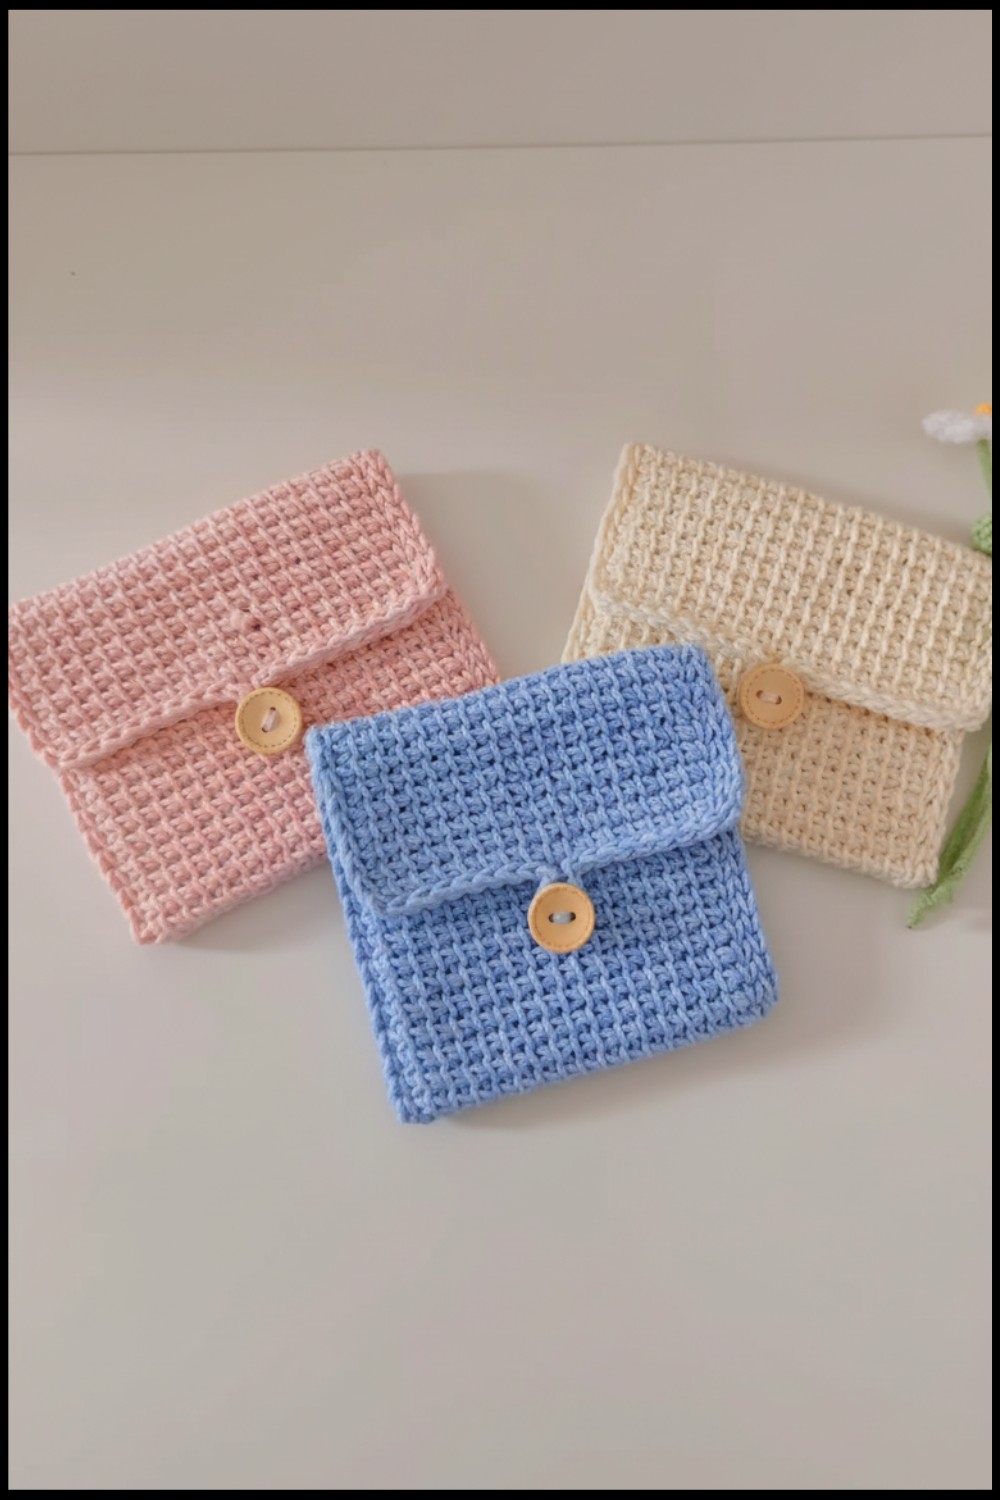
Organize your cards with a charming crochet card holder that’s practical, stylish, and fully customizable for thoughtful gifts or everyday use.
Who says storage can’t be stylish? A crochet card holder pattern is a clever way to organize your essentials while showcasing your creativity. Imagine a sleek, handmade pouch perfectly sized for your credit cards, business cards, or even loyalty cards—it’s compact, practical, and brimming with personality. This project is not just useful but delightfully rewarding; it lets you experiment with fun yarn colors, textures, and even decorative stitches to make your holder uniquely yours.
Crochet Card Holder Pattern to Keep Cards Stylishly Safe
It’s a fantastic choice for beginners looking to explore patterns that balance form and function. Add a snap button or a trendy tassel for extra flair! Even better, these card holders make charming gifts for friends or thoughtful party favors that everyone will appreciate.
Whether you crochet it as an everyday essential or a creative keepsake, this small yet mighty project proves that the best things come in handmade packages.
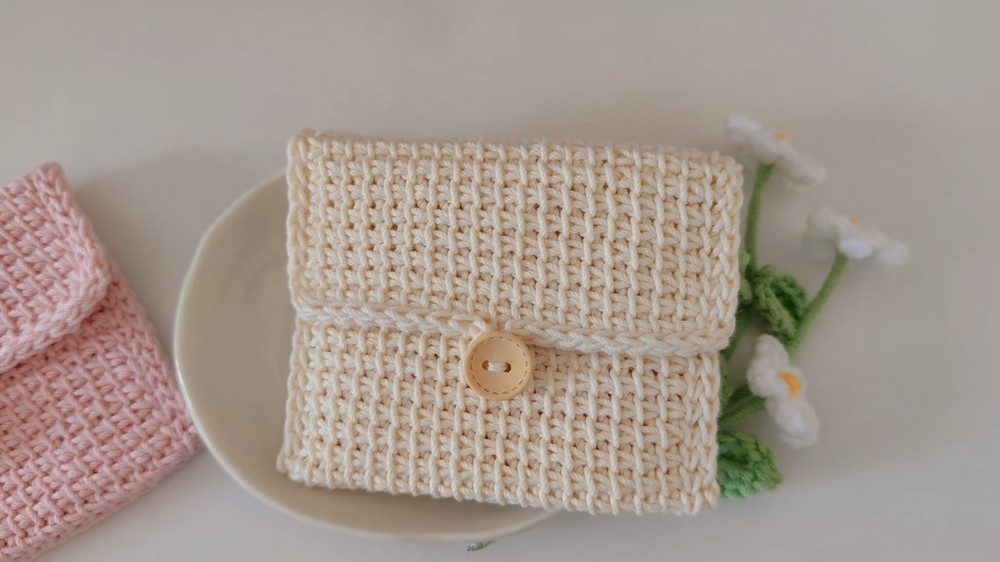
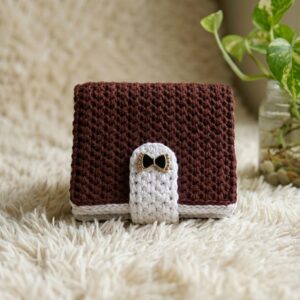
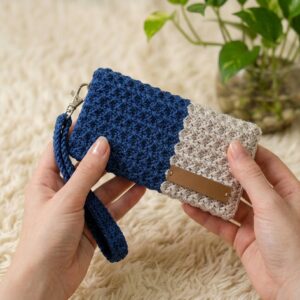
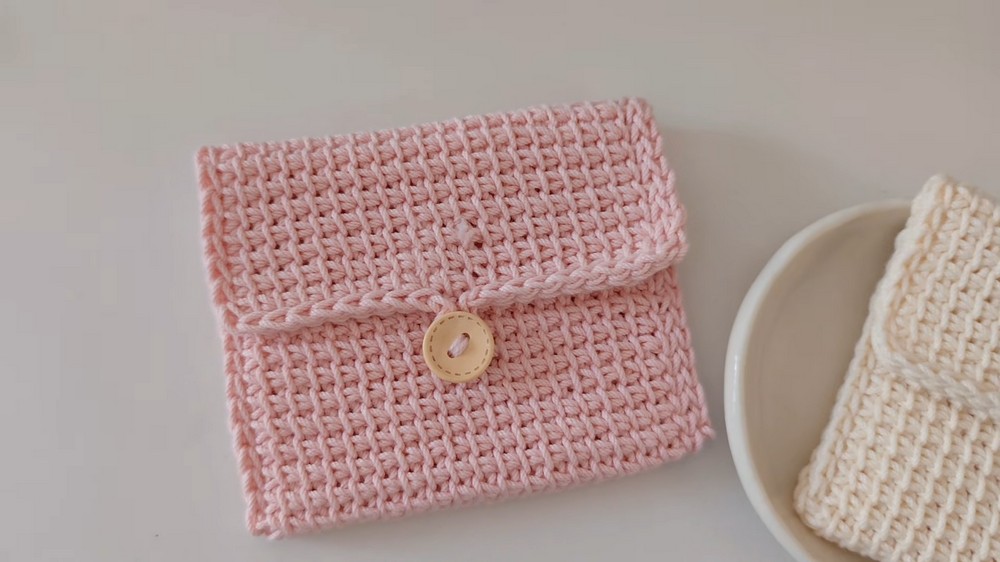
Tunisian Crochet Card Holder Pattern
Materials
- Yarn: Medium-weight #4 cotton yarn for durability and neat texture.
- Crochet Hook: 3.0 mm Tunisian crochet hook.
- Additional Tools:
- Scissors
- Yarn needle for finishing
- Measuring tape (optional)
- Button for closure
Skill Level
- Beginner to Intermediate: Familiarity with Tunisian crochet is recommended. The project combines simple Tunisian stitches with some basic slip stitching for edging and seaming.
Key Abbreviations
- SL ST: Slip Stitch
- CH: Chain
- TSS: Tunisian Simple Stitch
- YO: Yarn Over
- ST: Stitch
Special Notes
- Terminology: This pattern is written using US crochet terminology.
- Foundation Chain Adjustment: You can adjust the number of chains to customize the width of your card holder based on your preferred size.
- Tension: Maintain consistent tension while working Tunisian stitches to avoid curling or distorted edges.
- Button Loop Size: Adjust the button loop length to fit the specific button you are using for closure.
Pattern Instructions
Step 1: Foundation Chain
- Start by making a slip knot.
- Chain 20 (or adjust this number depending on the desired width of your card holder).
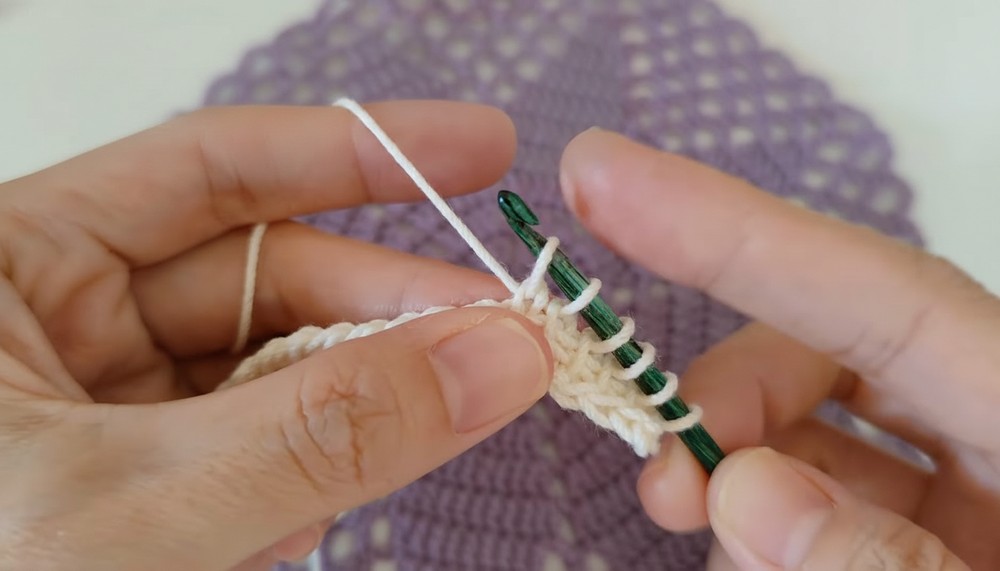
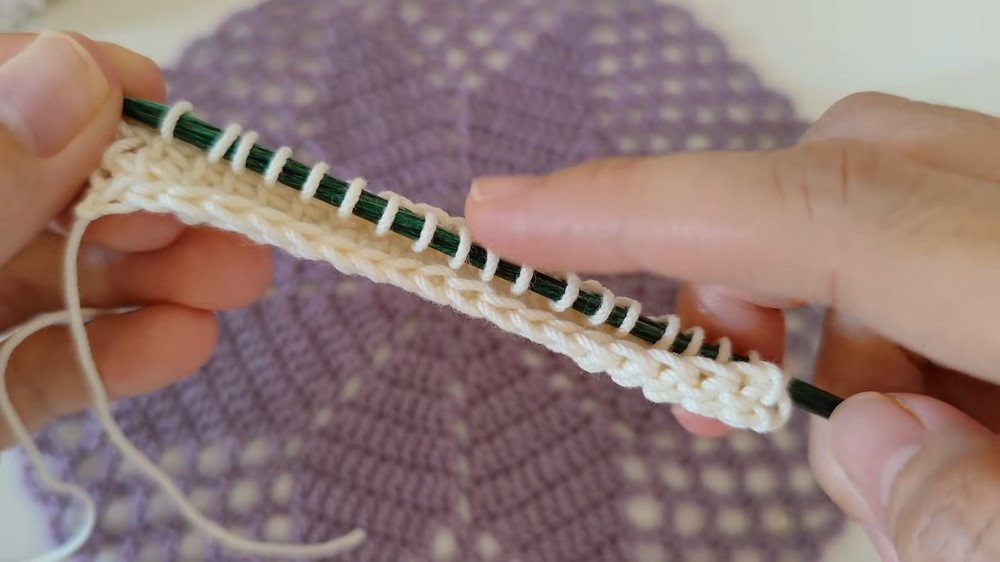
Step 2: Row 1 – Tunisian Forward Pass
- Insert your hook into the back bump of the second chain from the hook.
- YO and pull up a loop. Leave the loop on the hook.
- Repeat step 2 across all chains until you have 20 loops on the hook.
Step 3: Row 1 – Tunisian Return Pass
- YO and pull through 1 loop (this creates the edge stitch).
- YO and pull through 2 loops at a time until only 1 loop remains on the hook.
- Congratulations! Row 1 is complete.
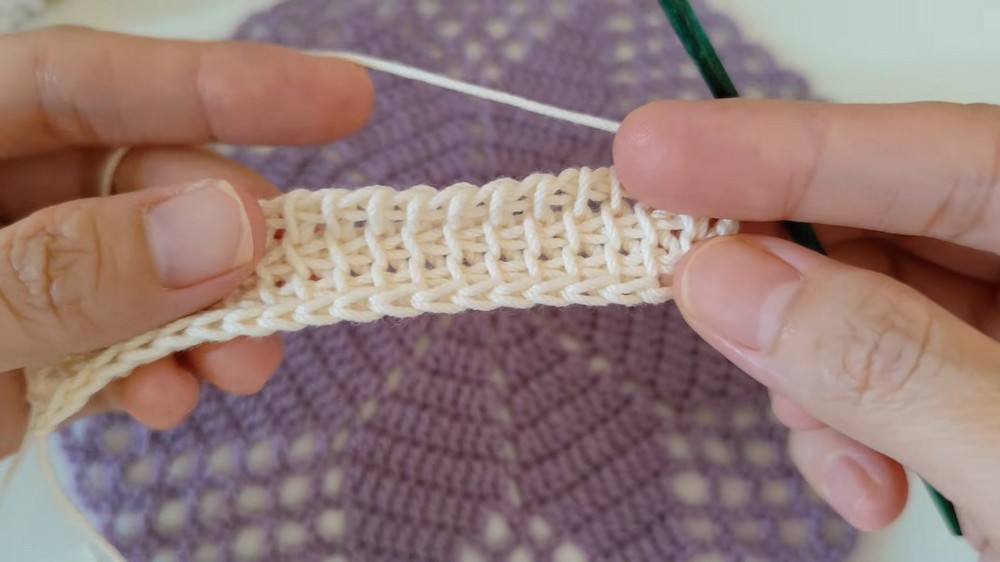
Step 4: Rows 2–39 (Repeating Rows)
- Forward Pass: Do not turn your work.
- Skip the first loop on the hook (this is your edge stitch).
- Insert the hook under the next vertical bar. YO and pull up a loop.
- Repeat this across the row. When you reach the last stitch, insert your hook through both front and back loops for a clean edge.
- Return Pass:
- YO and pull through 1 loop to begin your row.
- Then YO and pull through 2 loops repeatedly until you have only 1 loop remaining on the hook.
- Repeat Rows 2 for a total of 39 rows, or until the piece is tall enough to fold into three parts: the flap (top third) and the body (bottom two-thirds).
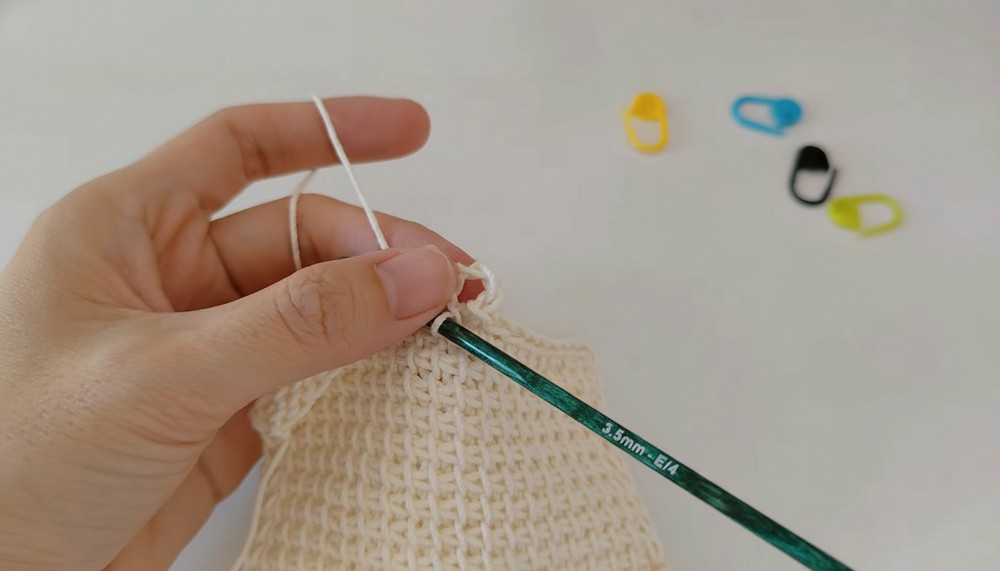
Step 5: Bind Off
- Working in the last row, insert your hook under the first vertical bar.
- YO and pull through both the vertical bar and the loop on the hook like making a SL ST.
- Continue across the row until the end. Fasten off securely.
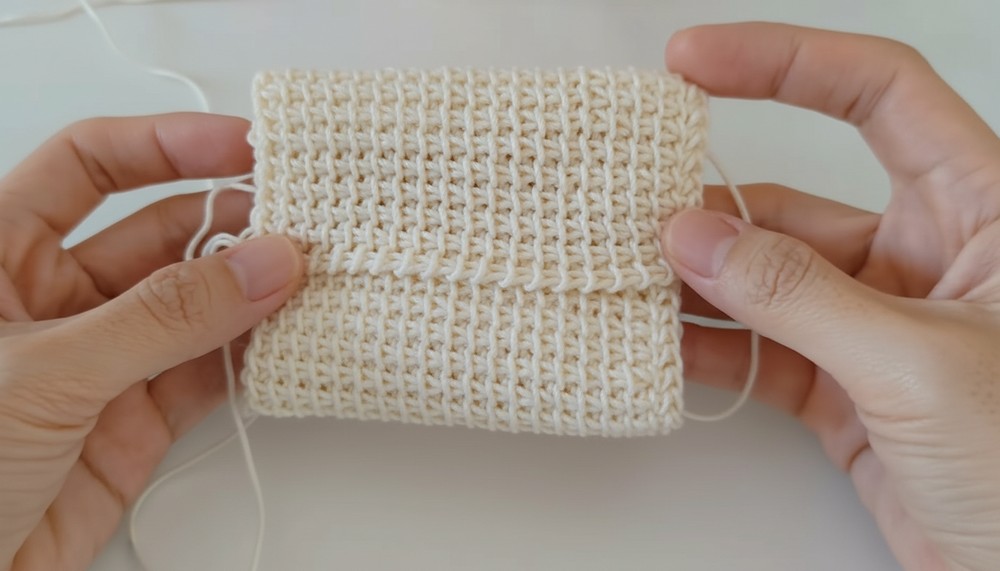
Step 6: Fold & Mark Points
- Fold your piece into three parts:
- The top third serves as the flap.
- The bottom two-thirds form the body/pocket area.
- Use stitch markers or pins to mark the edges where the body folds together to make the pocket.
Step 7: Seam the Sides
- Fold the bottom two-thirds to form the pocket.
- Insert hook at one corner and use SL ST to seam the two edges together. Work through both loops.
- At the top corners of the pocket, CH 1, then continue SL ST across the edges to the next corner for reinforcement.
- Crochet over yarn tails as you go to hide them neatly.
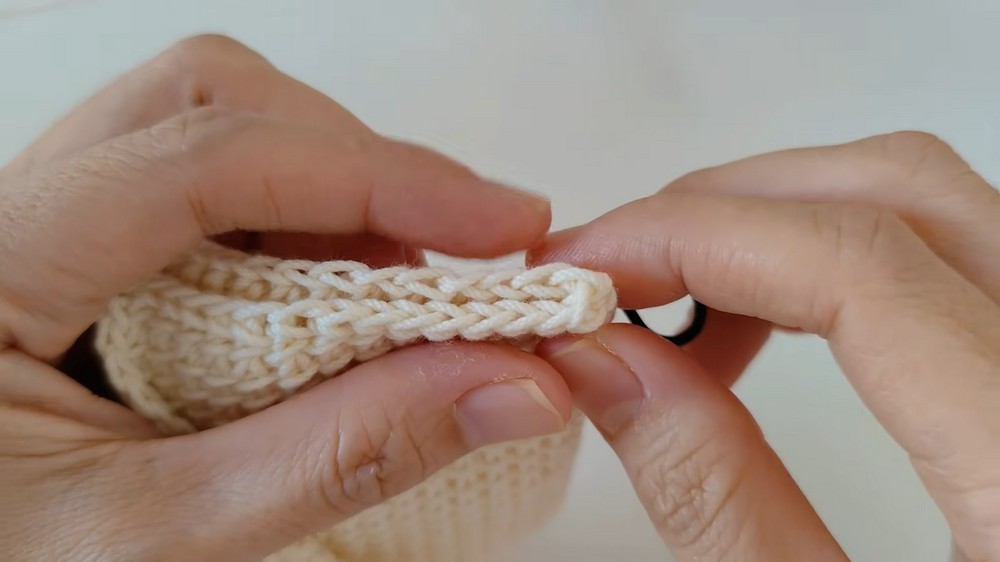
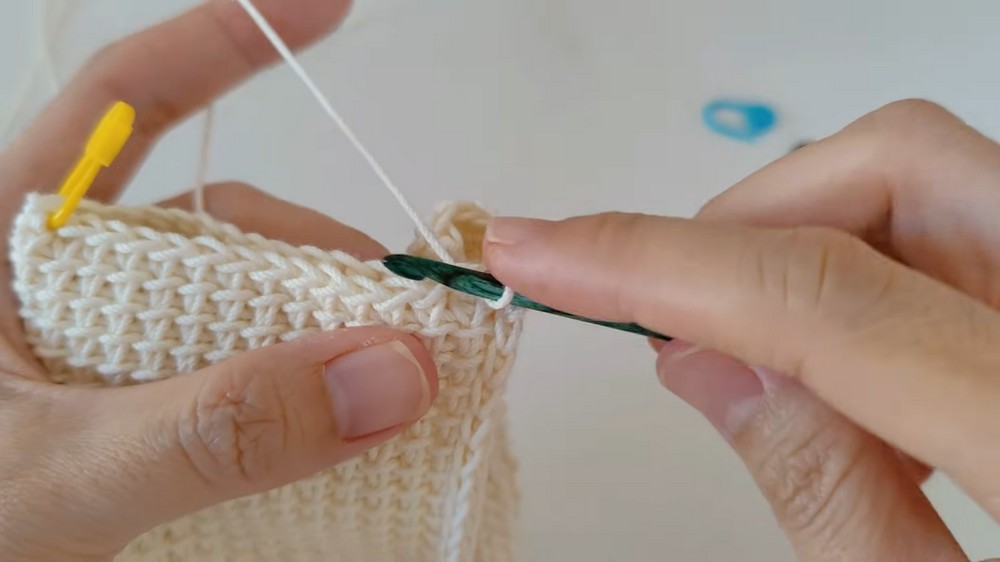
Step 8: Edging the Flap
- Insert hook at the edge of the flap. Join yarn with a SL ST.
- Work SL ST evenly along the flap edge, ensuring a tidy finish.
- When you reach the flap's center, CH 5 (adjust based on button size).
- SL ST into the same stitch to form a button loop.
- Finish working SL ST along the rest of the flap edge.
Step 9: Button Attachment
- Sew a button on the front of the card holder pocket, aligned with the loop on the flap.
- Fasten securely and test the button closure for snugness.
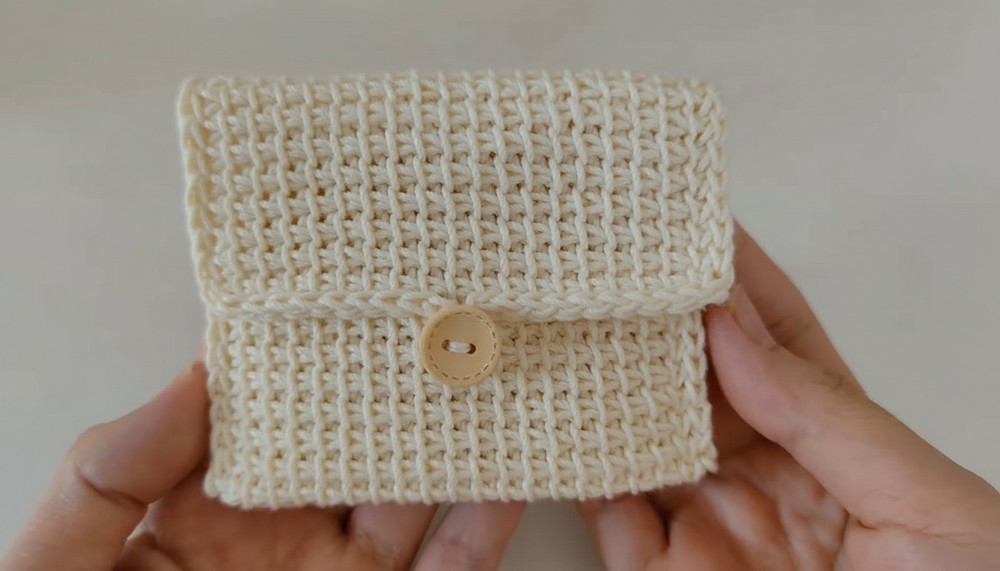
Conclusion
This Tunisian Crochet Card Holder is a versatile project, perfect for both gift-making and everyday use. The neat Tunisian stitches create a professional finish, and its functionality is enhanced by the flap and button closure. With practice, this project can be completed in less than two hours.
Tips
- Prevent Curling: If the edges curl, consider steaming the piece lightly or working an additional edge row of single crochet.
- Custom Size: Experiment with different foundation chain lengths and row heights to create card holders of various sizes.
- Button Selection: Opt for flat buttons to ensure a secure closure that doesn’t snag or bulge.
Pattern Correction
- Missed Stitches: If you notice uneven rows or missing stitches, undo the affected row immediately to maintain a clean and symmetrical structure.
- Color or Texture Variants: If you want a striped effect, alternate yarn colors every few rows for added visual interest.