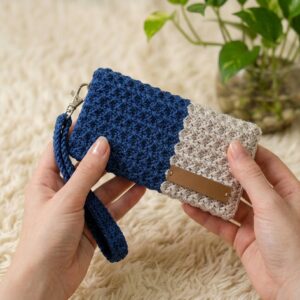
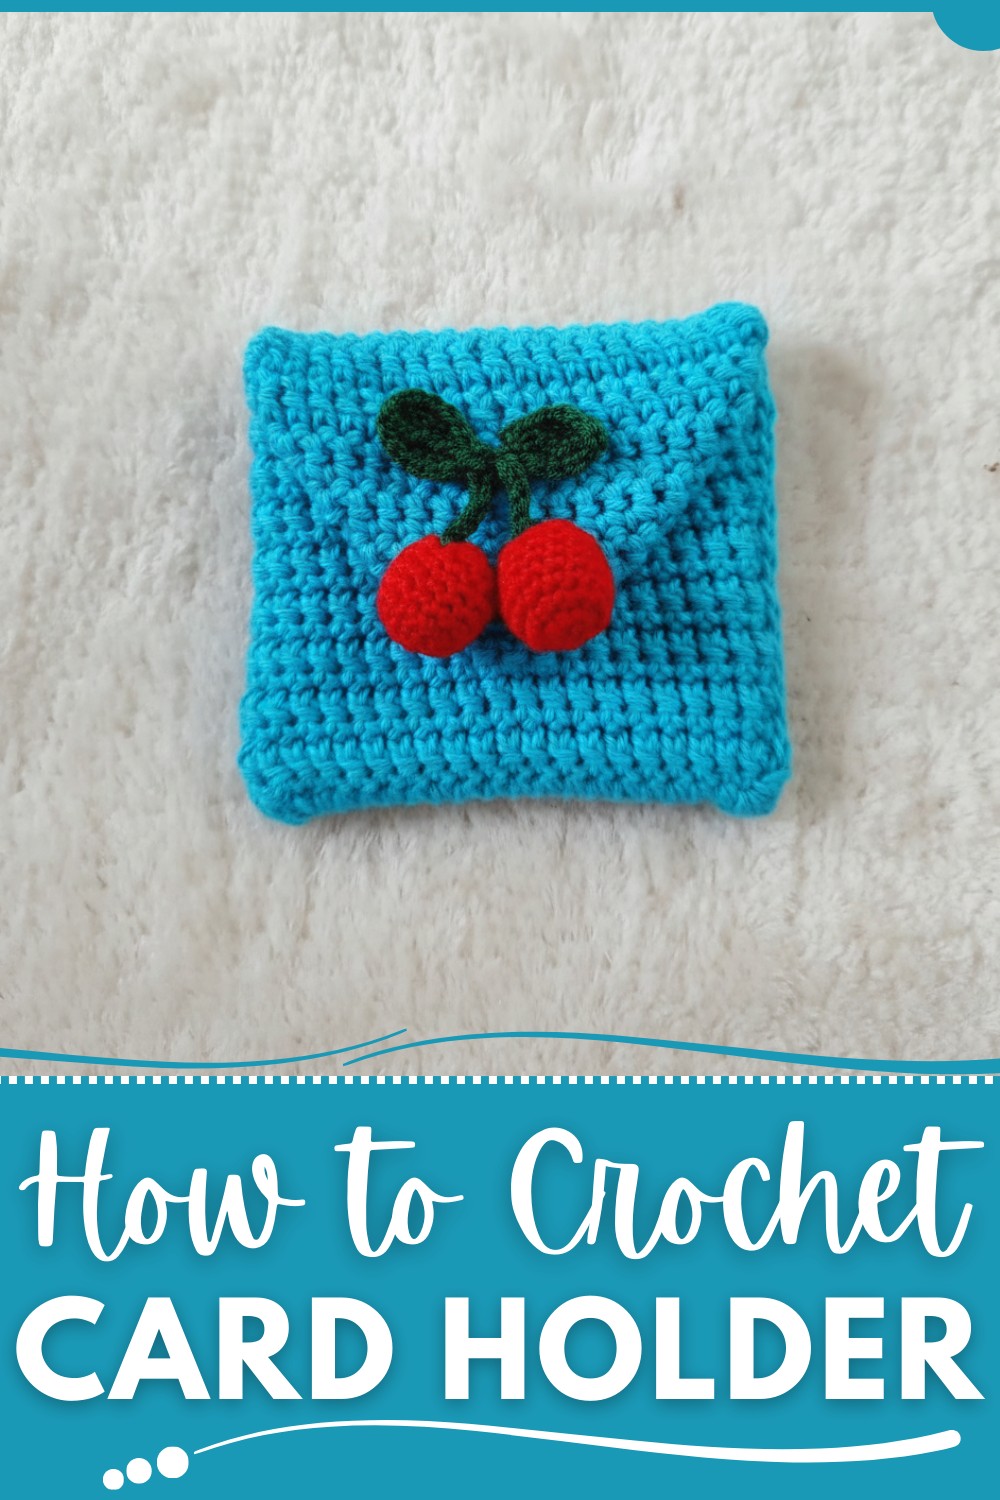
No more fumbling through your bag for cards at the worst moments. A crochet cardholder offers a practical and stylish solution to keep all your essentials, credit cards, IDs, or gift cards, tidy and within reach. Sleek and compact, it easily fits into any purse or pocket, making it perfect for busy days or minimalist lifestyles. Personalize it with your favorite yarn colors and textures to match your unique style.
Beyond its functional charm, it’s lightweight, eco-friendly, and quick to finish, making it an ideal project for all skill levels. Whether for daily use or as a thoughtful handmade gift, this cardholder is the perfect blend of practicality and creativity, ensuring your essentials stay organized wherever you go.
Easy Card Holder Crochet Pattern for Busy Lifestyles
Materials List
Required Supplies
- Yarn: 4-ply cotton yarn in peach (or desired color)
- Crochet Hook: Size 3.0 mm
- Scissors
- Yarn Needle (optional for finishing)
- Magnet Buttons: For fastening
- Stitch Markers (optional for marking sections)
Optional Decoration
- Cherry Buttons/Appliques
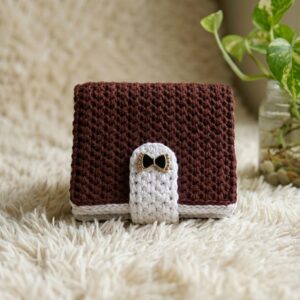
Crochet Cardholder with Cherry Decoration Pattern
This pattern guides intermediate to advanced crocheters in creating a charming card and coin pouch with a cherry decoration. Follow the steps below to crochet this simple yet elegant accessory.
Key Abbreviations (US Crochet Terminology)
- CH: Chain
- SC: Single Crochet
- BLO: Back Loop Only
- ST: Stitch
- SL ST: Slip Stitch
Special Notes
- Gauge: Not critical for this project but ensure uniform tension throughout for consistent results.
- Customization: The overall size of the pouch can be adjusted according to personal preference:
- Adjust the chain length in multiples of 5 for different widths.
- Equal Partition: Divide the piece into three equal sections for folding and stitching.
Pattern Instructions
1. Base of the Pouch
Step 1: Chain Foundation
- Chain 31 (or multiples of 5 according to your desired size).
- Chain 1 additional stitch for turning.
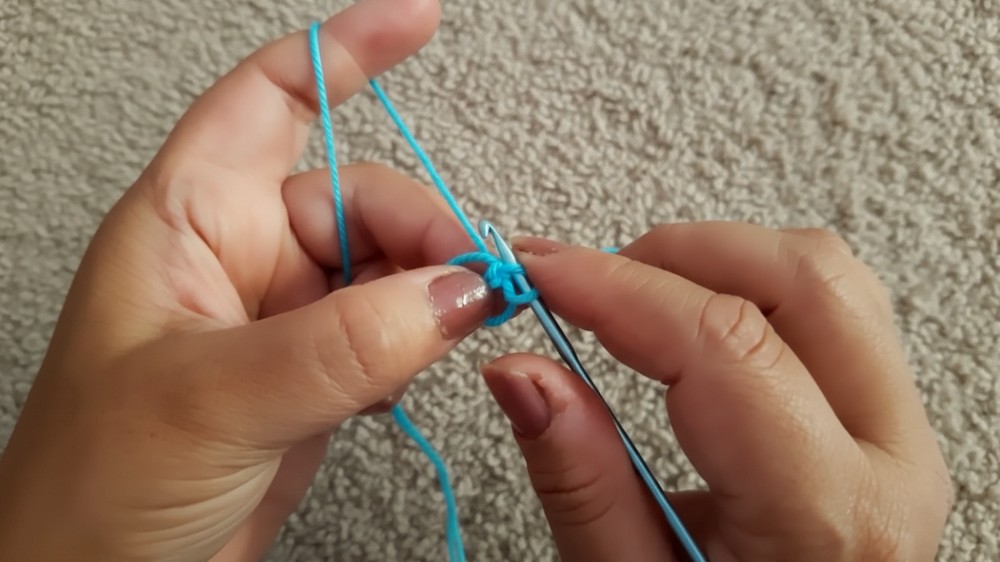
Step 2: Single Crochet Row
- Row 1:
- Begin in the second CH from the hook.
- Work SC across the entire row.
- Total = 30 SC (for a foundation chain of 31).
- Finish with CH 1 to turn.
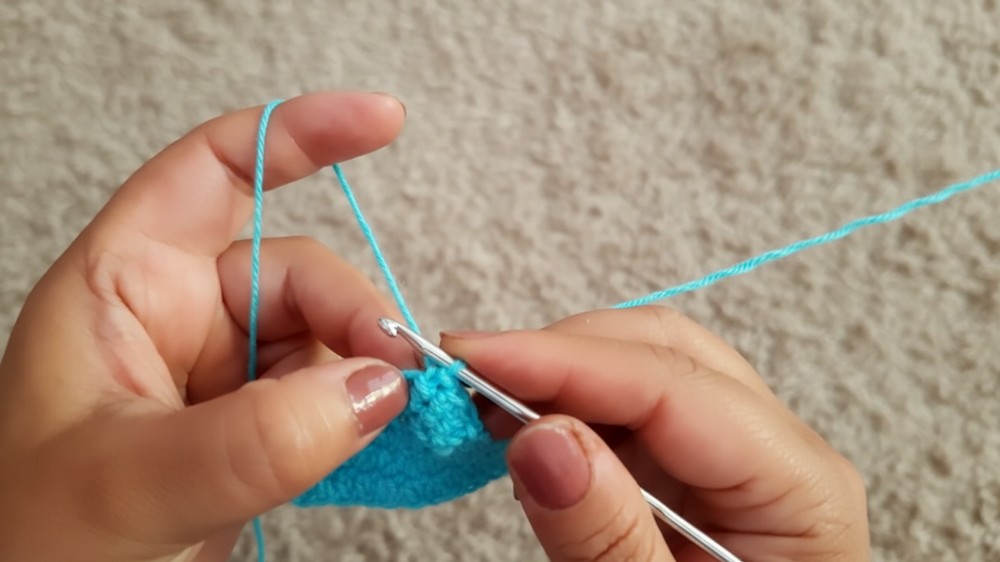
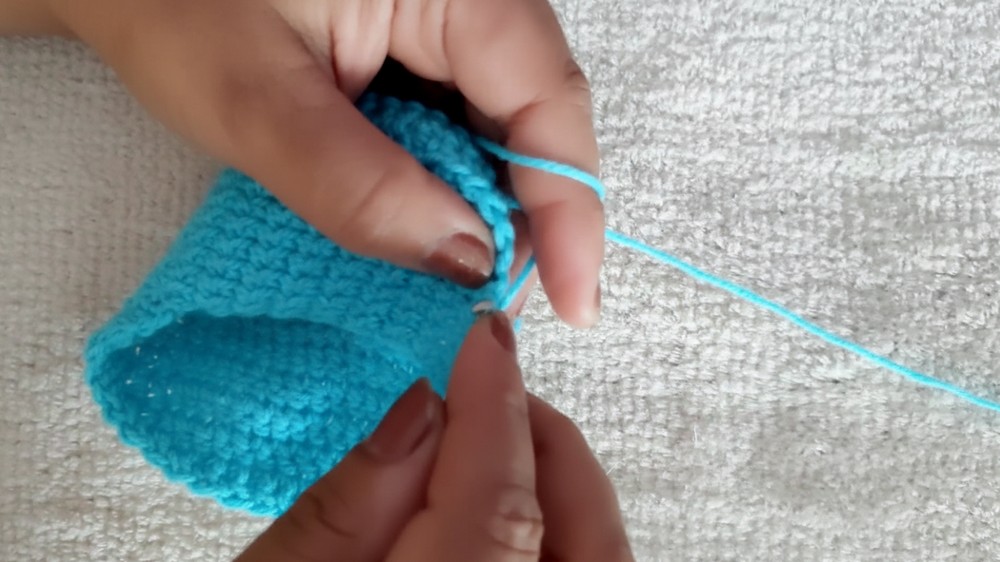
Step 3: Pattern Row
- Row 2:
- Turn work. Insert hook into the first ST, pull up a loop.
- Insert hook into the next ST, pull up a loop (3 loops on hook).
- Pull the first loop through the second loop, and yarn over, pull through both remaining loops (BLO HDC-like stitch).
- Repeat across the row. At the end of the row, CH 1 and turn.
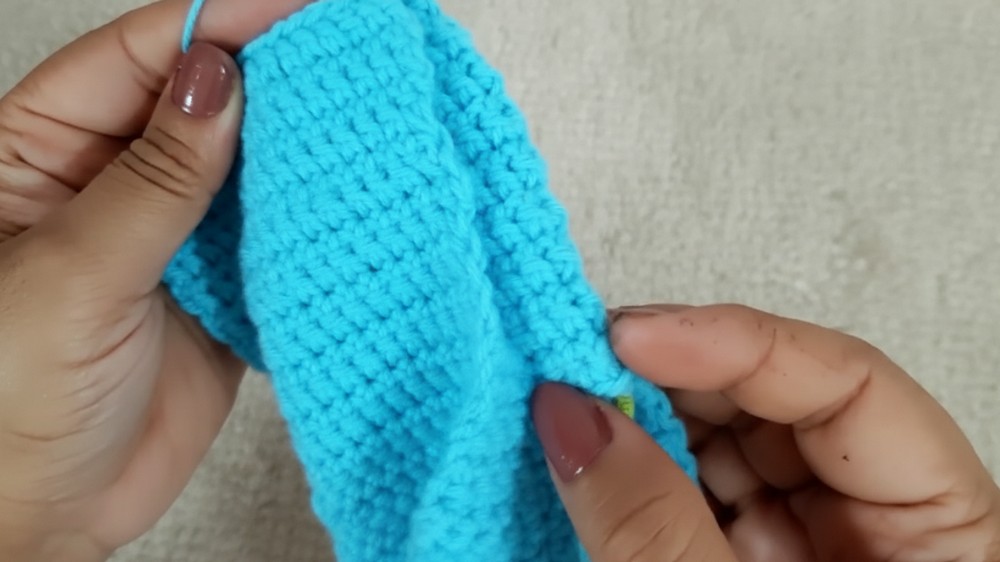
Step 4: Alternating Rows
- Continue to alternate between SC rows (normal SC across) and the BLO stitch rows (Row 2 pattern).
- Continue until the piece measures approximately 4 inches or desired height.
2. Dividing Sections for the Flap
Step 1: Divide into Thirds
- Measure and use stitch markers to divide your work into three equal parts lengthwise:
- For a chain of 31:
- Each section = 10 stitches.
- Mark the 11th, 21st stitches to denote divisions.
- For a chain of 31:

Step 2: Work the Flap
- Continue alternating SC rows and pattern rows over the first section (10 stitches):
- Work back and forth to create the flap.
- Ensure to make a turning chain at the end of each row.
3. Constructing the Pouch
Step 1: Fold and Stitch
- Fold the piece into three sections:
- Bottom section forms the base.
- Middle Section forms the back body.
- Top section folds down to form the flap.
Step 2: Side Stitching
- Single Crochet (SC) Closure:
- Hold sides together and SC through the edges of both sections to seam.
- For clean seams, insert hook through both pieces along the edges.
4. Finishing
Step 1: Edge Stitching
- Optional: Single Crochet around the flap edges for a neater look.
Step 2: Adding Fastener
- Attach magnet buttons inside the flap and pouch body for closure.
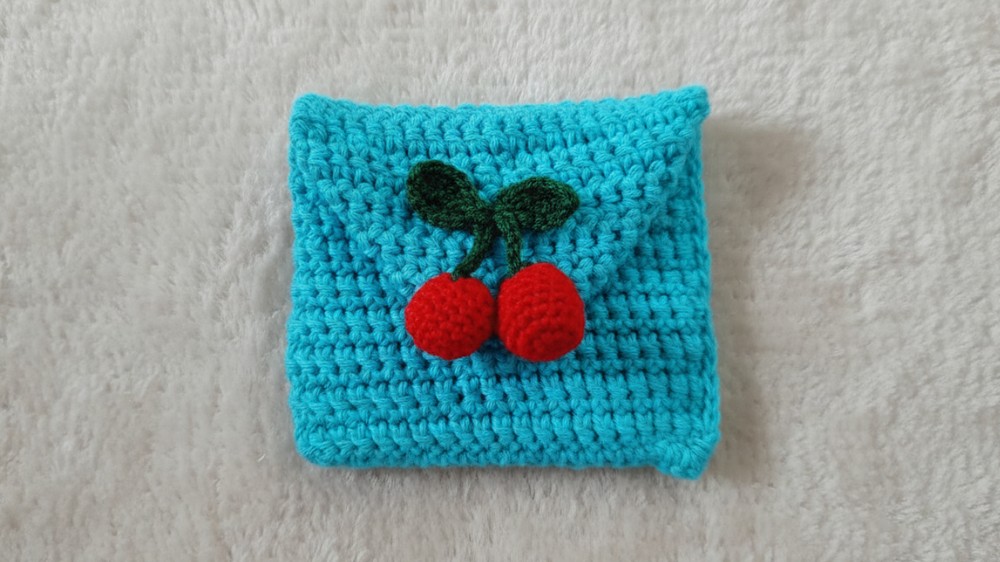
Step 3: Cherry Decoration
- Sew or attach cherry buttons/ appliques onto the flap.
Conclusion
Your crochet cardholder is now complete! This project showcases basic crochet techniques with a charming decorative element, leading to a practical and stylish accessory. Share your creation and experiment with various colors and decorations for unique variations.
Pattern Corrections
- Gauge Adjustments: Always ensure your foundation chain is a multiple of 5 for consistency.
- Equal Divisions: Utilize stitch markers to maintain even sections for an accurate fold and flap placement.
Tip for Success
- Testing Sizes: Frequently measure your sections while crocheting to ensure accurate folds and a comfortable fit for cards and coins.
- Neat Edging: Maintain consistent tension when SC stitching the edges to keep a professional finish.