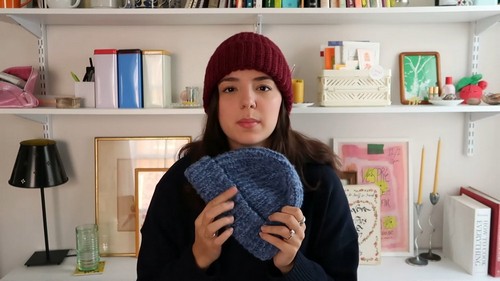
Mohair yarn is known for its natural sheen, incredibly soft fiber, and durability which makes it perfect for crochet hats. In this post, you will learn how to crochet a super warm ribbed mohair beanie perfect for winter gifting. Unlike traditional beanies, this one uses a unique method where the rows start short and gradually grow, creating a nice tapered effect that fits well on the head.
You can also crochet it using the cotton yarn if mohair feels expensive. The beanie is made using only single crochets and slip stitches, making it relatively easy to complete in about four hours. This beanie is great for everyday wear, including indoors, as it's not overly warm. The complete video guide for crocheting this mohair beanie will be available at the end of this post.
Skills Used: Foundation chain, single crochets (SC), and slip stitches (Sl St). It introduces working into the back loops for a textured ribbed effect and demonstrates how to taper rows to achieve a snug, rounded fit for this crochet beanie. Additional skills include seaming edges seamlessly and weaving yarn to close the top of the hat.
Guide Span: 17 Minutes Only
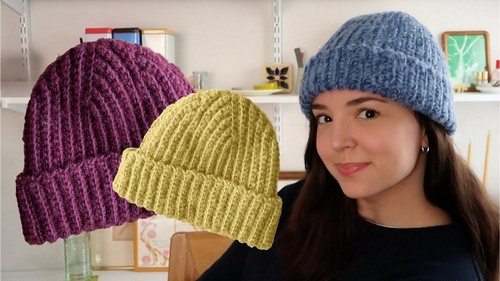
Personalization Tips: The ribbed mohair beanie is highly customizable. Adjust the foundation chain length for a longer or shorter hat, or repeat the tapering rows more or fewer times to achieve different circumferences. Experiment with color combinations like black, purple, yellow, etc.
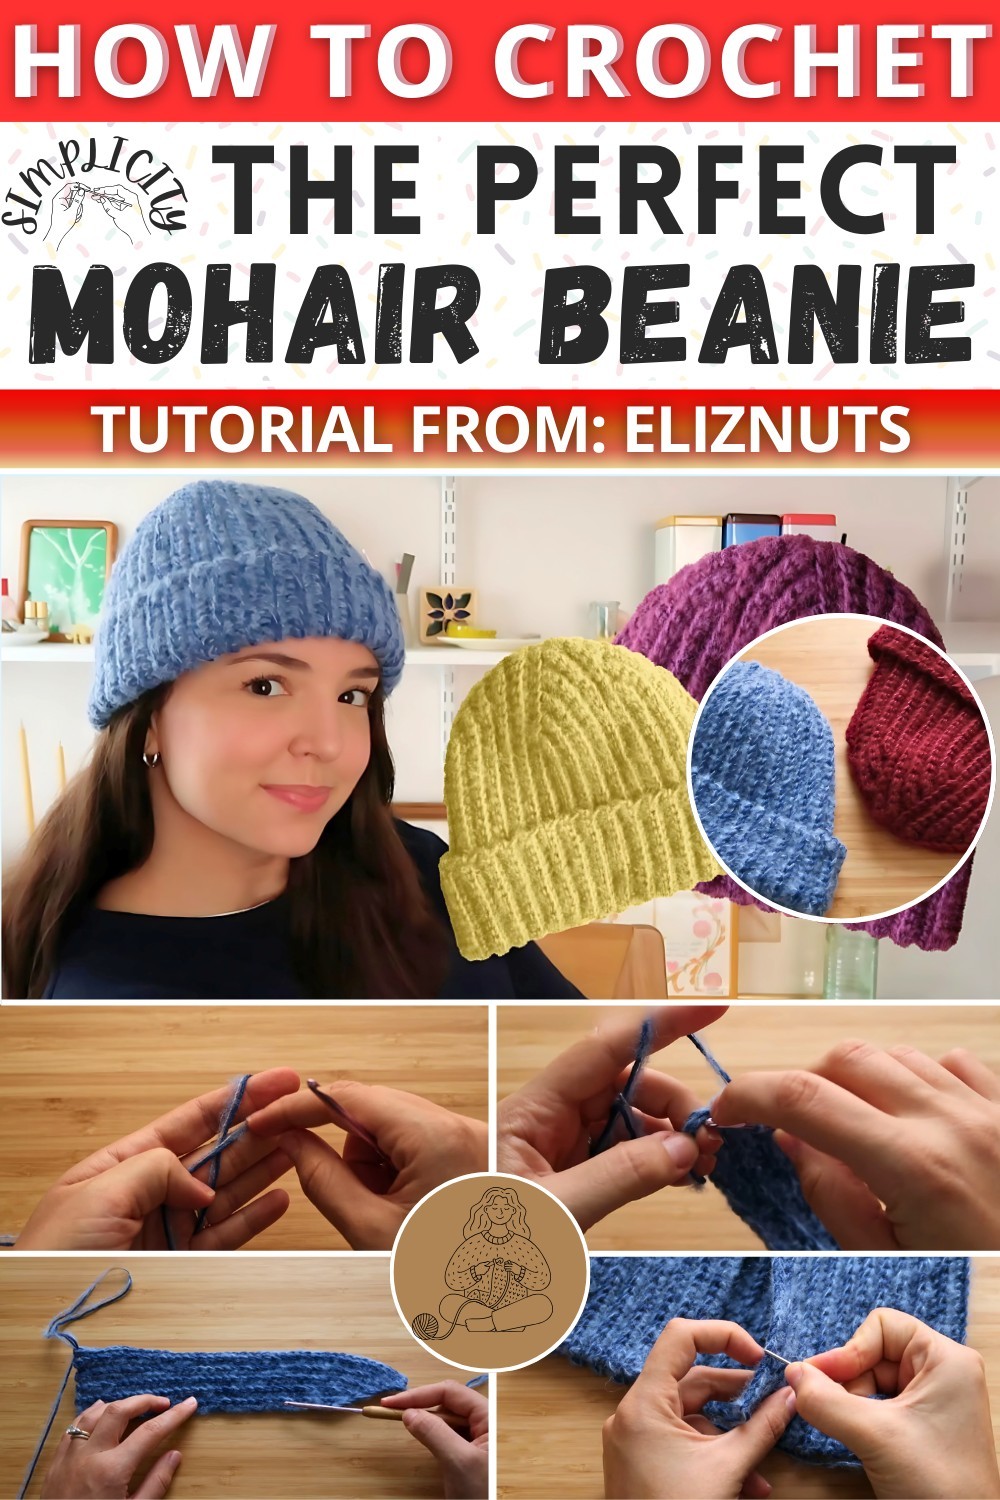
Mohair Beanie Tutorial
This step-by-step tutorial explains how to crochet a ribbed mohair beanie, blending elegance with simplicity. The tutorial also covers techniques for seamlessly joining edges and closing the top for a professional finish. Here is a quick overview of this mohair beanie tutorial:
- Foundation Chain:
- Combine cotton and mohair yarns.
- Chain 43 (or adjust to desired hat length). Add one extra chain for turning (total 44 chains).
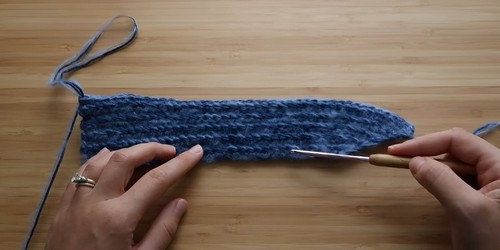
- Row Construction:
- Work into the back bumps of the foundation chain for a clean edge.
- Crochet 34 single crochets (SC), then 1 slip stitch (Sl St) into the next chain.

- Tapered Shaping:
- Turn without chaining; SC back into the Sl St, then work SCs in the back loop only.
- Continue to add two more SCs per row, repeating the pattern until reaching 42 SCs.
- Repeating the Pattern:
- Repeat the 10-row tapering sequence seven times, or until the desired hat circumference is achieved.
- Seaming:
- Fold the hat and sew the edges together using the outermost loops of the Vs on each side for a seamless finish.
- Closing the Top:
- Use the remaining yarn to weave around the top edge and pull tight to close. Tie off securely.
Supplies Used
- Yarn:
- Lion Brand 24/7 Cotton (worsted weight 4).
- Drops Alpaca Silk Mohair (worsted weight 4 or lace weight doubled).
- Crochet Hook: 4 mm.
Stitch Guides
- Ch (Chain): Create a foundation row by making a series of loops, each one pulled through the previous loop on the hook.
- SC (Single Crochet): Insert the hook into the stitch, yarn over, pull through, yarn over again, and pull through both loops on the hook.
- Sl St (Slip Stitch): Insert the hook into the stitch, yarn over, pull through the stitch, and the loop on the hook in one motion.
- BLO (Back Loop Only): Work into only the back loop of each stitch instead of both loops, creating a ribbed effect.