Crochet Granny Square Bag For Vintage Fashion Lovers
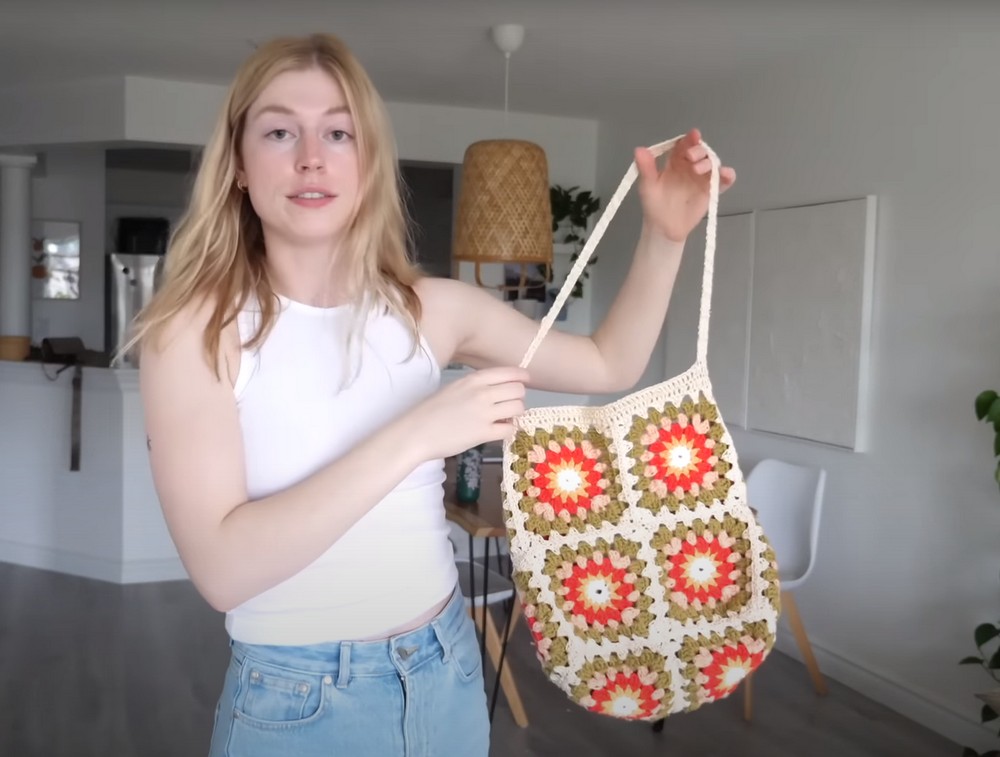
Now, you can carry your everyday essentials in a stylish bag made of this pattern. It’s really colorful and has a fun, vintage feel because of the different colors in each square. The crochet bag is square in shape and has sturdy handles for easy carrying. Its design is similar to a beautiful quilt, making it unique and fashionable. It’s the right size for beach outings or casual day trips. This crochet shoulder bag is perfect for keeping crochet supplies like yarn and tools handy for everyday use or beach visits. You will find all the information about this crochet everyday accessory in the pattern provided below.
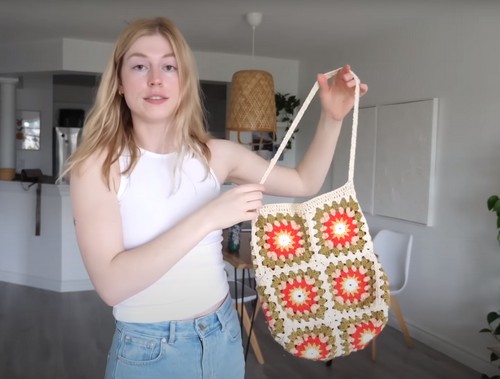
Making Your Crochet Square Bag
Materials and Tools:
- Variety of yarn colors
- Crochet hook (3-millimeter size mentioned)
- Scissors
- Optional: Yarn needle for weaving in ends
Step by step Pattern (Summary)
Planning Stage:
- Decide on granny square patterns and colors.
- Choose yarns and a crochet hook for the project.
Starting the Granny Squares:
- Begin by crocheting the center of the granny square, resulting in a small motif.
Expanding the Granny Squares:
- Add additional rows to the granny squares, changing colors as desired for your design.
- Complete each granny square, ensuring they are all identical in size and pattern.
Finishing Squares and Managing Ends:
- Secure and cut the yarn after each color change.
- Weave in ends immediately after each granny square is completed to avoid a buildup of loose ends.
Assembling the Granny Squares:
- Lay out the granny squares in the desired pattern for the bag.
- Sew or crochet granny squares together, starting with forming a large rectangular piece or by creating “tubes” which will make up the sides of the bag.
Creating the Base of the Bag:
- Fold corner squares and sew them to form the bag’s bottom.
Edging and Trimming:
- Add an edging or trim with double crochets around the top to smooth out any irregularities.
Straps:
- Crochet straps for the bag, aiming for a medium length that’s comfortable for carrying.
Reinforcing the Straps:
- Work a single crochet along the edge and inside the straps to add strength and prevent stretching.
Finishing Touches:
- Attach the straps to the bag.
- Add any additional trimming or edging as needed.
- Weave in any remaining loose ends.
Tips to Consider:
- Reference Granny Square: Keep one completed granny square nearby as a guide while making others.
- Take Breaks: Regular breaks can help maintain quality and reduce fatigue.
- Work in Sections: Complete similar sections of each granny square before moving on to the next part.
- Visualize the Bag: Assemble the squares at various stages to ensure the bag is shaping up as intended.
- Adjust Size Accordingly: Modify the number of granny squares if you desire a different bag size.
- Stitch Count: Regularly count stitches to ensure granny squares are consistent in shape.
- Durability: Strengthen critical parts of the bag, like the top edge and straps, with tighter stitches.

Video Tutorial:
Designer: @JennaPhipps

