Crochet Daisy Blanket Pattern For Springtime Snuggles
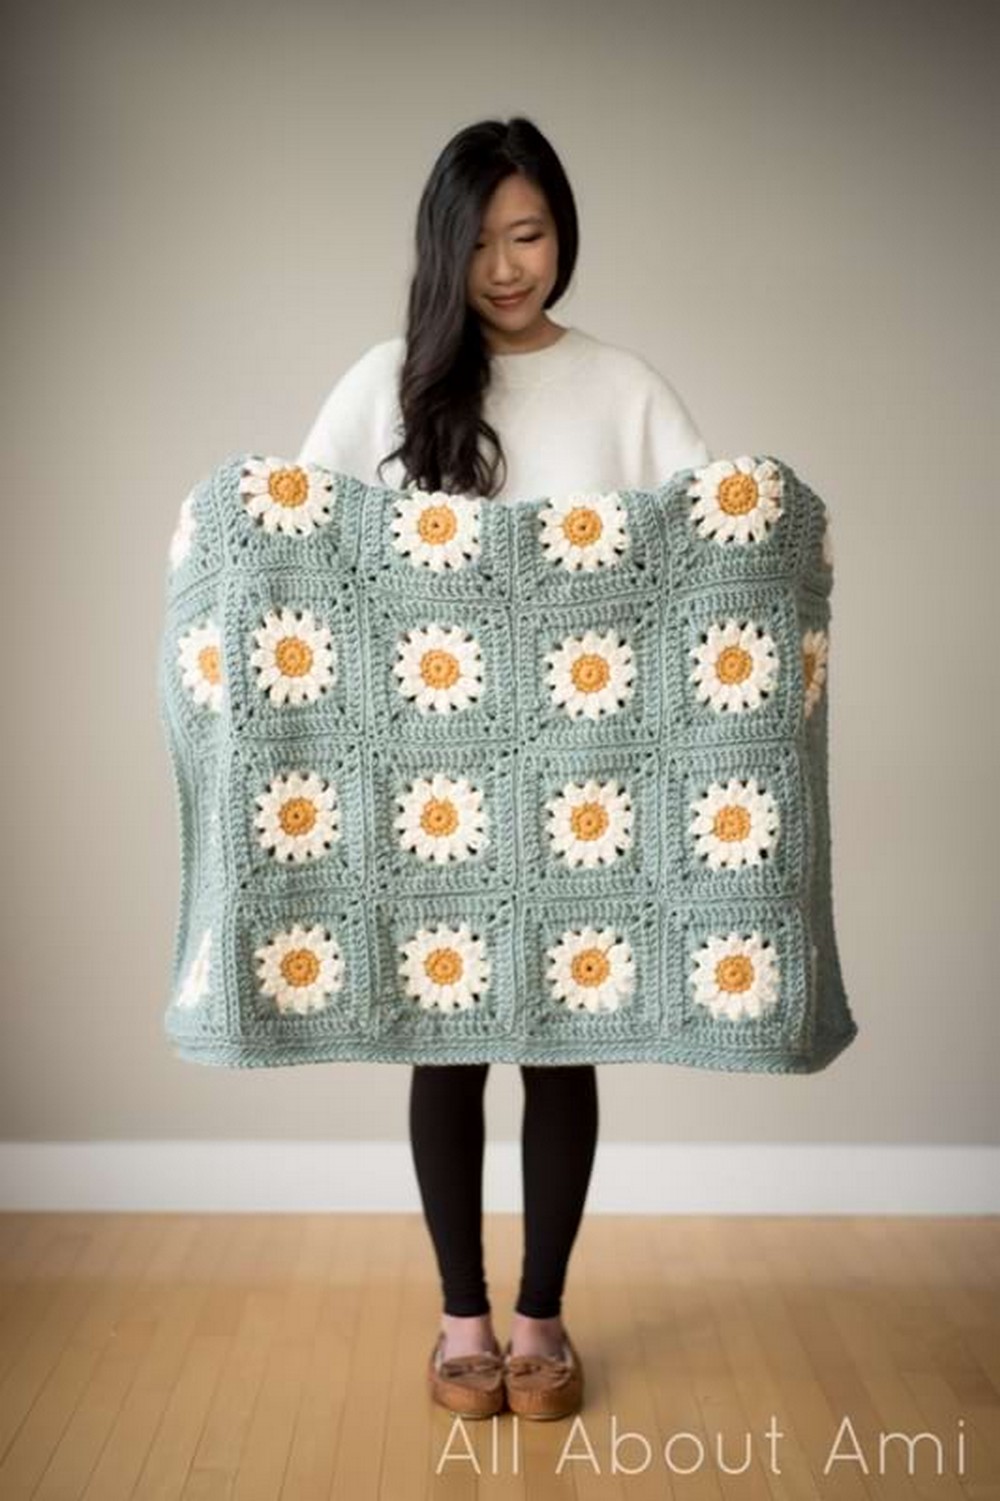
Daisies touch nature’s simple beauty into our lives, symbolizing purity and innocence. The Crochet Daisy Blanket Pattern captures this essence, blending cozy warmth with the charming appeal of these lovely crochet flowers. Ideal for crocheters of all levels, this room accessory pattern allows you to create a unique piece that adds a floral, cheerful vibe to any room. You’ll bring daisies to life through simple stitches, making a blanket that’s beautiful and a cozy reminder of springtime all year round.
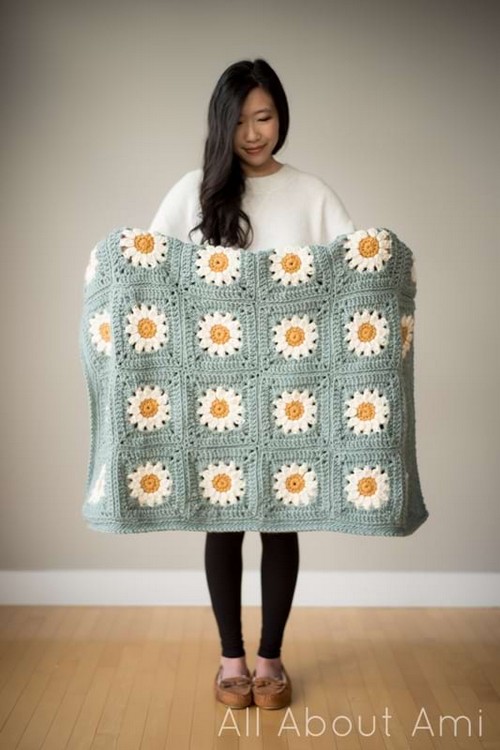
Making Your Crochet Flower Blanket
Materials:
- Bulky level 5 yarn
- 8mm crochet hook
- 10mm crochet hook for the border
Step by step Pattern
1: Setup
- Begin by creating a magic ring using your 8mm crochet hook and bulky level 5 yarn.
2: Round One
- Yarn over and pull through the magic ring, then work 12 single crochets into the magic ring.
- Once you’ve worked all 12 single crochets, pull the yarn tail tight to close the ring.
- Slip stitch to the first single crochet to close up the first round.
3: Round Two
- Chain one and work a single crochet into the same stitch.
- Repeat working single crochets in each stitch around. You should have 12 single crochets in total.
- Slip stitch to the first single crochet to close up the round.
4: Round Three
- Add the new yarn color into any stitch.
- Begin working the beginning cluster: Chain two, yarn over, insert your hook into the same stitch, pull through, yarn over, and pull through two loops. Repeat this once more.
- You should have three loops left for the beginning cluster.
- Yarn over and pull through all three loops.
- Next, chain three, then work a regular cluster (until you have 4 loops left on your hook).
- Chain three again and keep working clusters all around in the same stitch with chain threes in between.
- You should have 12 clusters in total.
- Find the top of the beginning cluster and slip the stitch to close up the round.
- Cut your yarn, then pull through to finish.
5: Round Four
- Begin round four by inserting your hook into any chain three space and join the new yarn.
- Chain three (this will count as your first double crochet).
- Work two more double crochets in the same space.
- Chain two, then add three double crochet stitches into the same space. These are the corner stitches of our granny square.
- In the next chain of three spaces, work three half-double crochet stitches.
- Continue doing half-double crochet stitches in each chain three spaces and working the corner stitches (3 double crochets, chain 2, 3 double crochets) in the corner spaces.
- Close up round four by slip stitching to the top of the beginning chain three.
6: Round Five
- Chain three (which counts as your first double crochet).
- Work a double crochet in the next stitch.
- Skip the next stitch and work two double crochets into the chain space.
- Chain two, and work two more double crochets into the same space.
- Skip the subsequent stitch and continue working double crochets across each stitch.
- Work your corner stitches into the next chain space.
- Repeat these steps until all four corners are complete, the last set of double crochets have been completed, and all stitches across have been filled.
- Close the round by slip stitching into the top of the beginning chain three. Cut the yarn and pull through.
7: Assemble and finish
- Whipstitch the granny squares together, ensuring the wrong sides of the squares face you to get a cleaner seam on the right side.
- For the border, use the 10mm crochet hook and work slip stitches into the back Loop only to give a nice, clean look.

Video Tutorial:
Designer: @AllAboutAmiBlog

