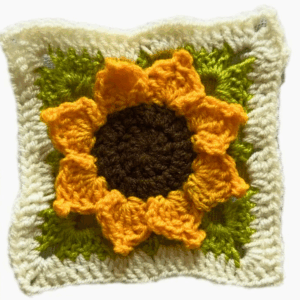
Explore an era where your kitchen becomes more than just a place to cook. Make yourself picking up a crochet flower pot basket, its threads intricately woven with care and creativity. This isn't just any Crochet Flower Pot Basket; it's a vessel that transforms the way your space feels, wrapping your plants in a cozy embrace that radiates warmth throughout the room.
Crochet Flower Pot Basket Pattern

Materials Needed:
- DK yarn in various colors for the pot, soil, flowers, and leaves (cotton or cotton blend recommended)
- A 4 mm crochet hook (adjust hook size if your yarn is thinner)
- Scissors
- Stitch marker
- Two plastic circle canvases (at least 4 inches in diameter)
Bottom of the Pot:

Start with a magic circle.
- Single crochet 6 stitches into the circle.
- Pull the starting tail to close the circle.
Round 1 (Increase Round):
- Increase in every stitch around (2 single crochets in each stitch), resulting in 12 stitches.
Round 2:
- Repeat [Single crochet in the first stitch, increase in the next stitch] around, ending with 18 stitches.
For Round 3:
- Repeat [Single crochet in the next 2 stitches, increase in the following stitch] around, ending with 24 stitches.

Round 4:
- Repeat [Single crochet in the next 3 stitches, increase in the following stitch] around, ending with 30 stitches.
Round 5:
- Repeat [Single crochet in the next 4 stitches, increase in the following stitch] around, ending with 36 stitches.
- Slip stitch into the first stitch of the round to join and tie off.
Make another circle following the same pattern but do not tie off after the last round.
Joining the Circles:

Prepare the Circles:
- Cut your plastic canvases slightly smaller than your crocheted circles. Set aside.
- Put the crocheted pieces together with wrong sides touching, ensuring the tails are inside.
- Begin round 7 by crocheting through the back loops only. Halfway through, insert your plastic canvas and continue stitching until the round is complete.
Building the Pot:

Continue working upwards:
- Crochet single crochets evenly in each stitch for three rounds.
Begin to shape the pot:
- Start to gradually increase by crocheting several stitches then making an increase (detailed increases provided in the earlier description up to round 15 where you have 45 stitches).
Lid (Soil Part):
- Create the lid starting by repeating rounds similar to the bottom but start shaping to mimic soil by adjusting increases as per earlier instructions.
Decoration (Flowers and Leaves):

Roses:
- Chain 25, then double crochet and create V-stitches (double crochet, chain 2, double crochet) across. Continue building the petals by working multiple double crochets into the spaces created by V-stitches.
Leaves:
- Chain 6, work varied stitches along the chain (single crochet, half double crochet, double crochet) to form a leaf shape. Repeat on the other side of the chain.

Final Assembly:
- Attach roses and leaves to the lid. Ensure tails are weaved in and secured.
- Sew the canvas to the lid with a long piece of brown yarn.