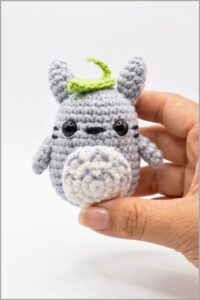
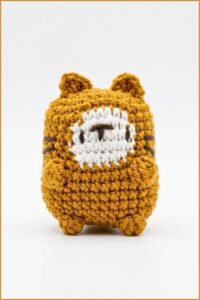
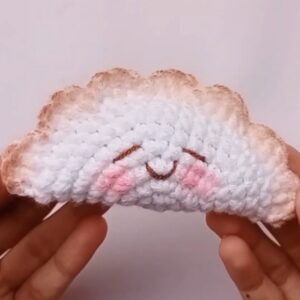
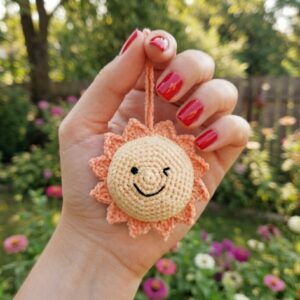
Keep pencils organized in style with this Free Crochet Dinosaur Pencil Case Pattern, using easy-to-follow instructions to stitch a fun and functional design.
Bringing a touch of prehistoric charm to everyday stationery, this delightful pencil case is shaped like a friendly dinosaur, complete with textured spikes and expressive facial features. The design combines a soft rectangular body with raised details that add both visual interest and a fun tactile experience. Sized just right to hold pencils, pens, and small supplies, it can be easily adjusted for larger or smaller dimensions by varying yarn thickness or hook size, making it a versatile project suitable for all ages.
Super Cute Crochet Dinosaur Pencil Case – Free Pattern
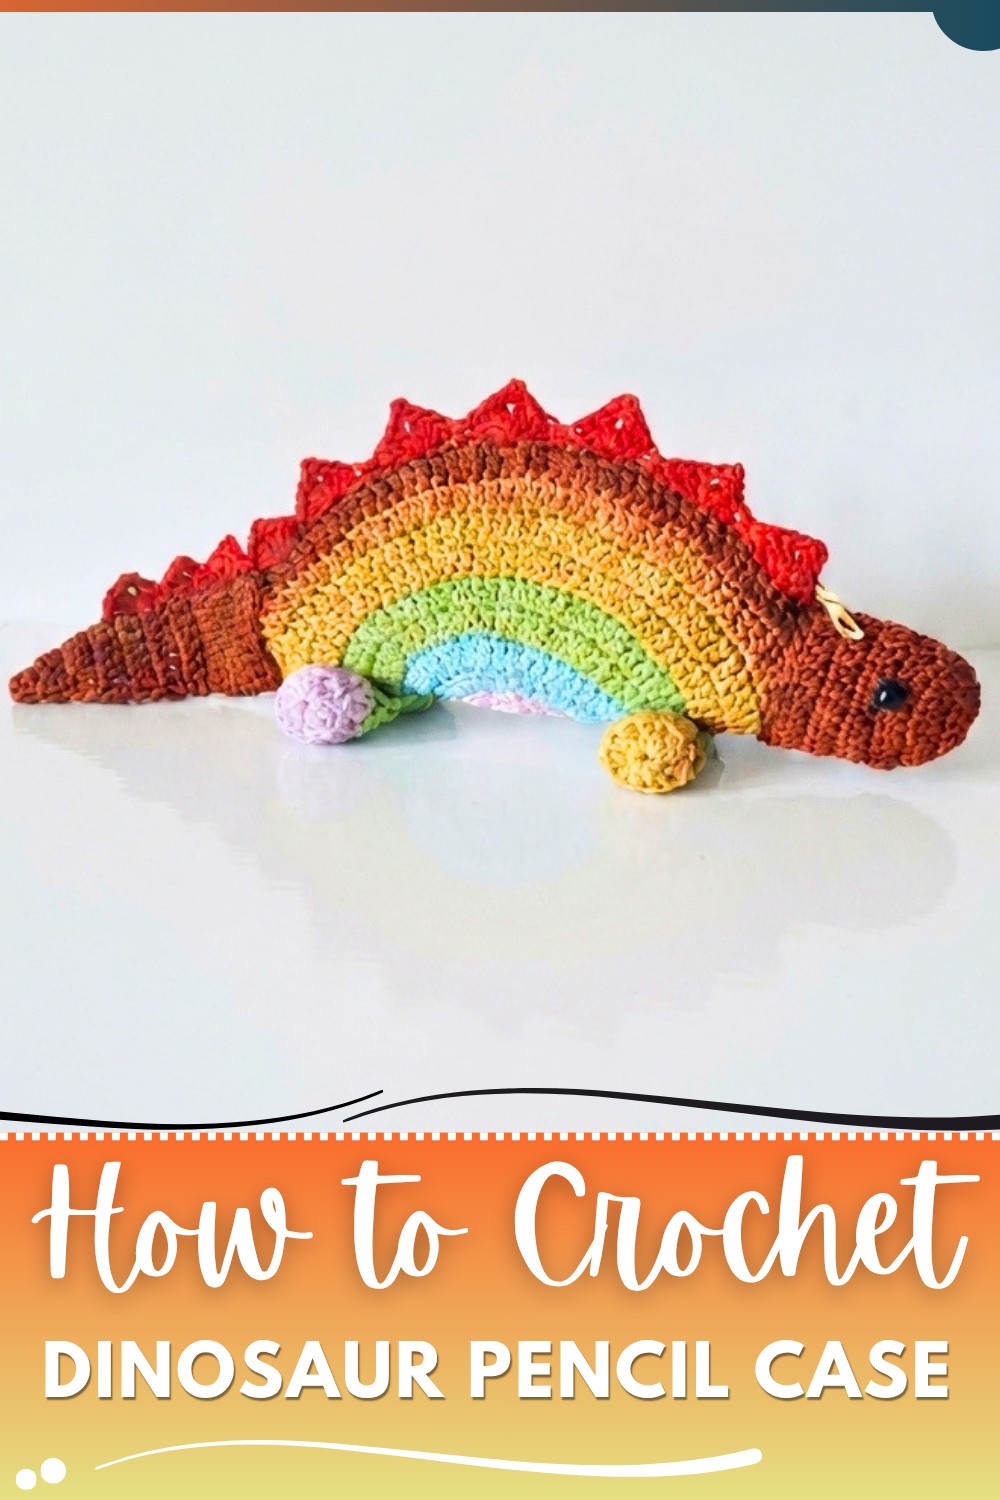
Constructed mainly through rounds or rows of crochet stitches, the case is finished by sewing on the characteristic spikes and facial accents, giving it a lively personality. Using cotton or a cotton-blend yarn is ideal here because it highlights the stitch definition and holds the shape firmly, while yarns that are fluffy or too stretchy may blur the distinctive textures and reduce durability. This thoughtful yarn choice ensures the pencil case remains functional and appealing even with everyday use.
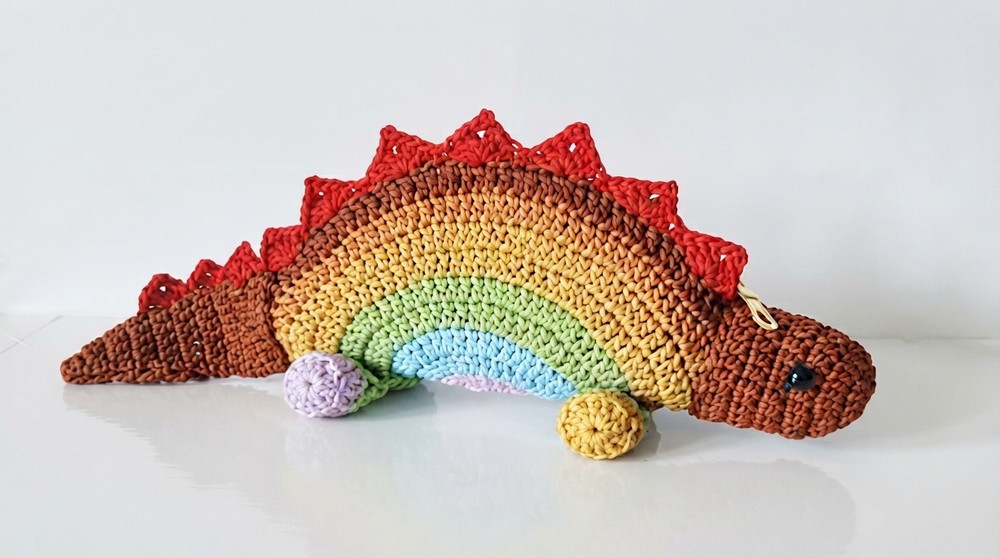
Inspired by a love for playful and practical handmade accessories, the design aims to make organization more fun while showcasing a bit of creativity. It makes a wonderful gift for students, dinosaur lovers, or anyone who appreciates unique, handcrocheted items. The pattern also invites personal touches, from experimenting with colors to adding embroidery or embellishments, to make each pencil case truly one of a kind.
Overall, this engaging and practical crochet project offers a fantastic way to combine creativity with everyday usefulness, resulting in an accessory that is as charming as it is functional.
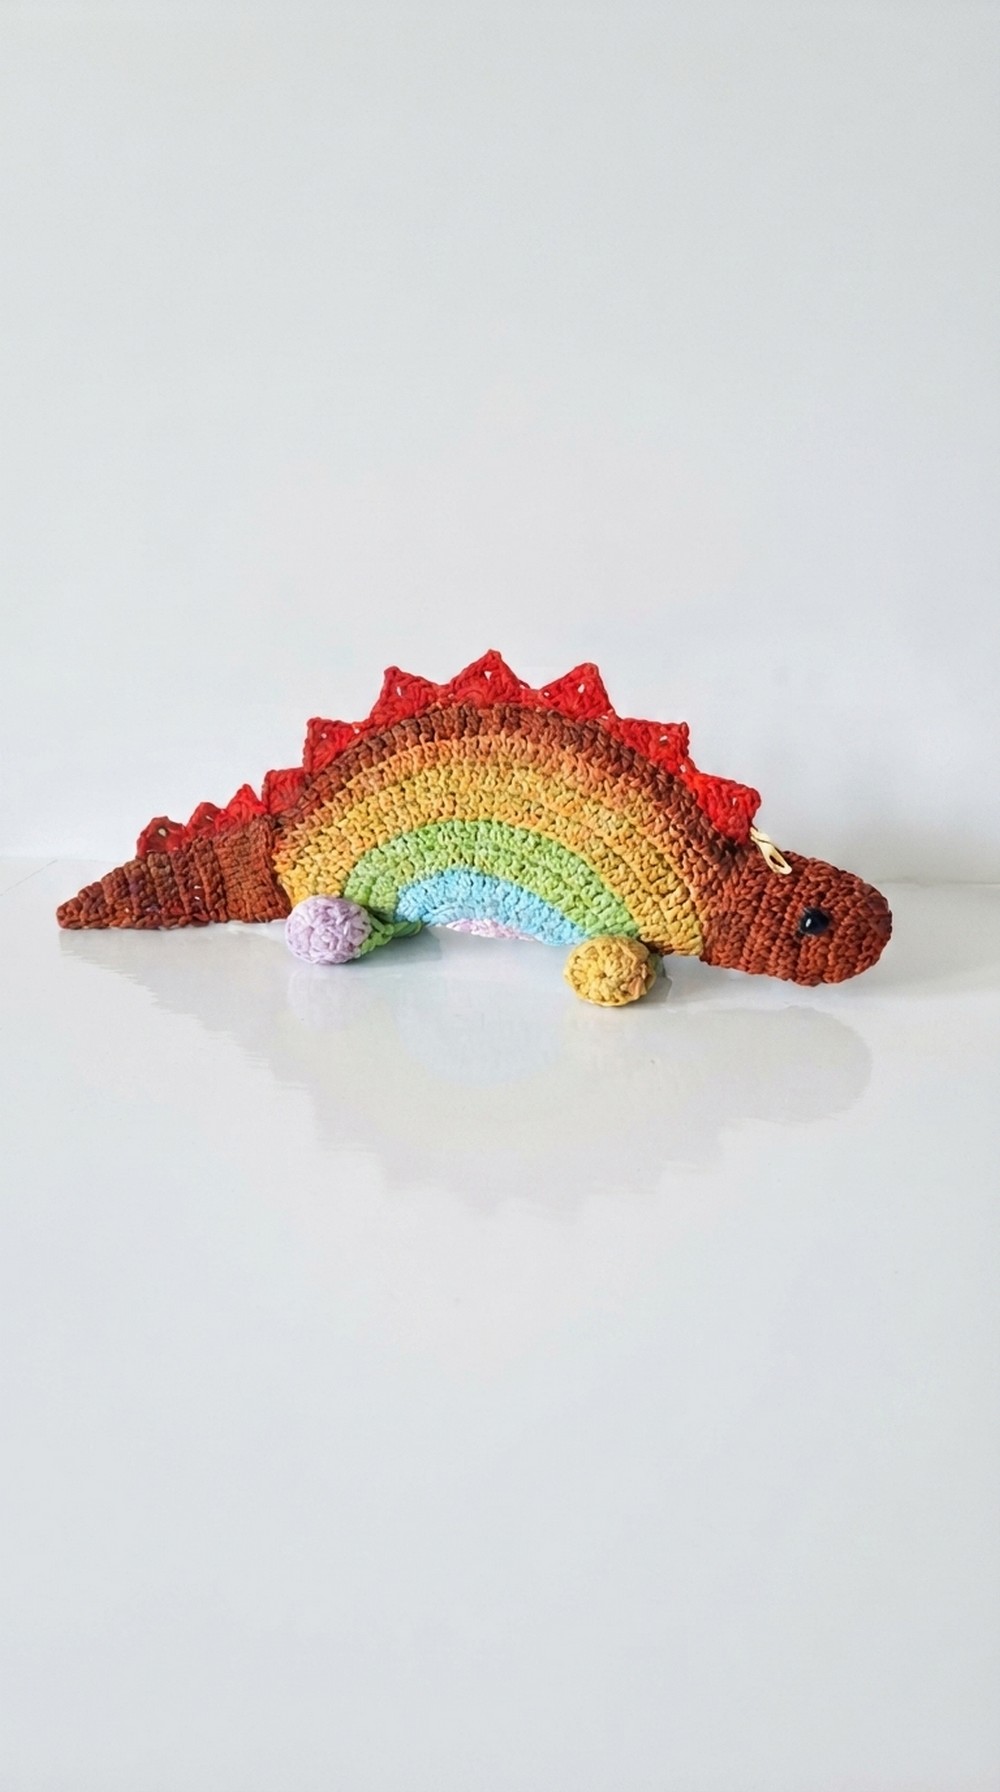
Colorful Round Crochet Pencil Case Pattern
In this project, you’ll crochet a colorful round pencil case using PolyCherry thread with increasing rounds and decorative edging. The piece is joined together with basic sewing, and features a unique spike motif as trim.
Quick Overview Of Pattern
- Crochet two round panels using a series of increasing double crochet rounds in multiple colors.
- Make a cylindrical tail/end piece, also worked in rounds.
- Seam the panels and tail together to form the body of the pencil case.
- Add a decorative “thorn” (spike) edging with picots along the case and tail for finishing.
Notes
- Change thread color every two rounds as desired.
- Join each round with a slip stitch and begin rounds with a chain-3 (counts as a double crochet).
- Carry out increases systematically for a flat, smooth circle.
- “Double crochet inc” means two double crochets in the same stitch.
- The pattern can be adapted for different yarns or finished sizes.
Skill Level
Advanced Beginner
Materials
- PolyCherry thread (multiple colors: purple, light blue, green, mustard, beige, copper, red)
- Crochet Hook size 4/0 (Tulip brand or equivalent, 2.5 mm)
- Tapestry needle
- Scissors
- Needle and sewing thread (for seaming, optional)
- Lighter or matchstick (for sealing thread ends)
Measurements / Sizing
- Finished diameter: Approx. 12–13 cm (adjust with more/less rounds)
- Height: Approx. 4–6 cm (adjust length of tail/cylinder as desired)
Gauge
- Not critical. Finished measurements are based on stitch count as per pattern.
Stitch Abbreviations
| Abbreviation | Meaning |
|---|---|
| ch | chain |
| sl st | slip stitch |
| sc | single crochet |
| dc | double crochet |
| dc inc | 2 double crochets in 1 stitch |
| sp | space |
Special Stitches
- Picot: Ch 2, sl st into the first chain (creates a small point).
- Double crochet increase (dc inc): 2 dc into the same stitch.
The Crochet Pattern
Main Round Panels (Make 2)
Using Purple, begin with Slip Knot:
Round 1
- Ch 5
- Join to 1st ch with sl st to form a ring.
- Ch 3 (counts as 1 dc).
- Work 11 dc into the ring (circle).
- (Total: 12 dc.)
- Join with sl st to top of starting ch-3.
Round 2
- Ch 3 (counts as 1 dc).
- 1 dc in same stitch.
- 2 dc in each st around (dc inc in every stitch).
- (Total: 24 dc.)
- Join with sl st, ch 1, fasten off purple.
Attach Light Blue:
Round 3
- Join at sl st from previous round.
- Ch 3 (counts as dc)
- dc inc in next stitch
- Repeat: [1 dc in next st, dc inc in next st] around.
- (Total: 36 dc.)
- Join with sl st.
Round 4
- Ch 3 (counts as dc)
- 1 dc in next st
- dc inc in next st
- Repeat: [2 dc, dc inc] around
- (Total: 48 dc.)
- Join with sl st, ch 1, fasten off blue.
Attach Green:
Round 5
- Join at sl st from previous round.
- Ch 3 (counts as dc)
- 1 dc in next 2 sts
- dc inc in next st
- Repeat: [3 dc, dc inc] around (11 times)
- (Total: 60 dc.)
- Join with sl st.
Round 6
- Ch 3 (counts as dc)
- 1 dc in next 3 sts
- dc inc in next st
- Repeat: [4 dc, dc inc] around (11 times)
- (Total: 72 dc.)
- Join with sl st, ch 1, fasten off green.
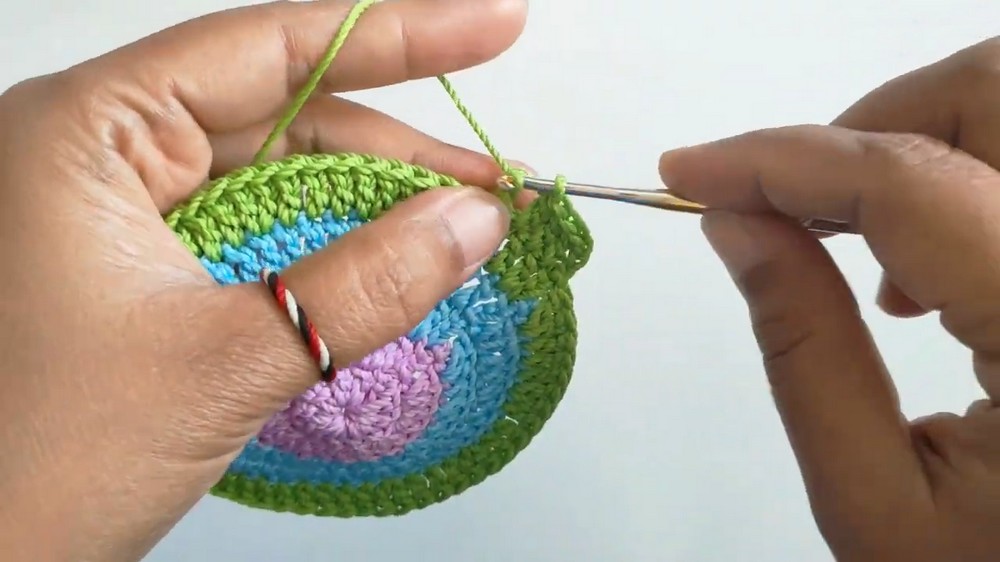
Attach Mustard Color:
Round 7
- Join in sl st section.
- Ch 3 (counts as dc)
- 1 dc in next 4 sts
- dc inc in next st
- Repeat: [5 dc, dc inc] around (11 times)
- (Total: 84 dc.)
- Join with sl st.
Round 8
- Ch 3 (counts as dc)
- 1 dc in next 5 sts
- dc inc in next st
- Repeat: [6 dc, dc inc] around (11 times)
- At end: 3 dc in last 3 sts.
- (Total: 96 dc.)
- Join with sl st, ch 1, fasten off mustard.
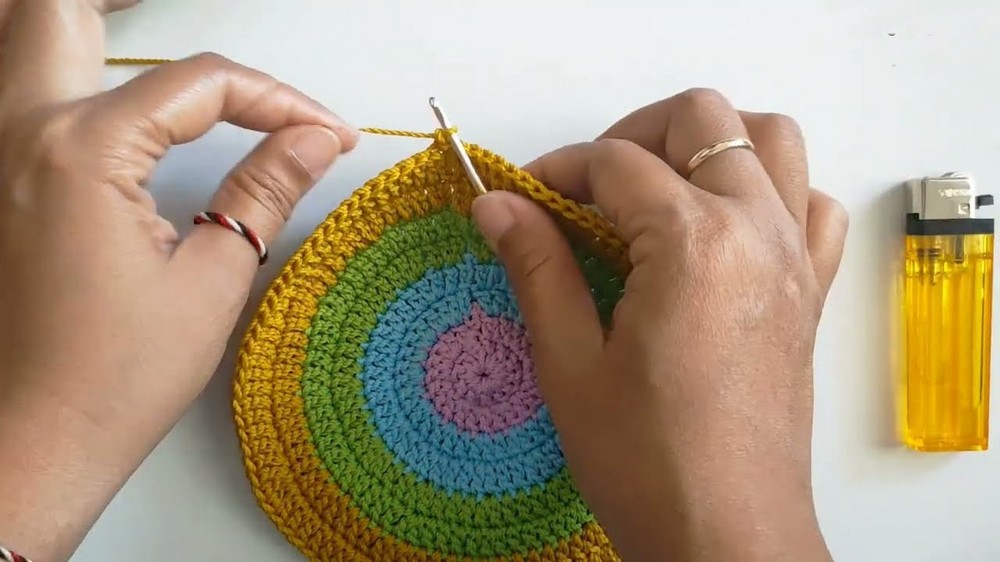
Attach Beige or Bata Color:
Round 9
- Join in sl st.
- Ch 3 (counts as dc)
- 1 dc in next 6 sts
- dc inc in next st
- Repeat: [7 dc, dc inc] around (11 times)
- (Total: 108 dc.)
- Join with sl st, ch 1, fasten off.
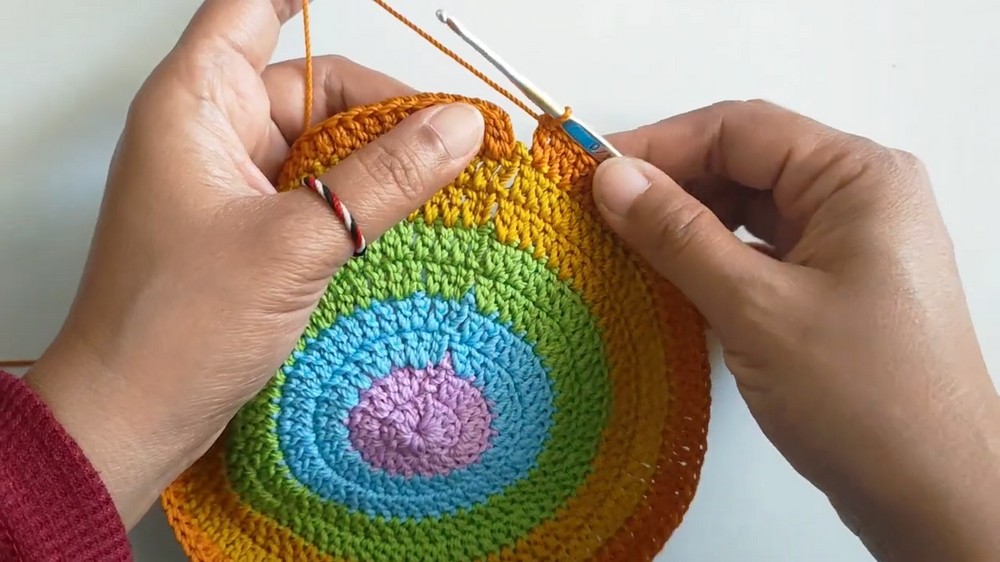
Attach Copper:
Round 10
- Join in sl st.
- Ch 3 (counts as dc)
- 1 dc in next 7 sts
- dc inc in next st
- Repeat: [8 dc, dc inc] around (11 times)
- At end: 4 dc in last 4 sts.
- (Total: 120 dc.)
- Join with sl st, ch 1, fasten off.
Cylinder (Tail/Side Panel)
Using color of choice, make a Magic Ring:
Round 1
- Ch 3
- 5 dc into the ring (Total 6 dc.)
- Join with sl st.
Round 2
- Ch 3 (counts as dc)
- Repeat: [*1 dc, dc inc] 3 times.
- (Total: 9 dc.)
- Join with sl st.
Round 3
- Ch 3
- Repeat: [*2 dc, dc inc] 3 times.
- (Total: 12 dc.)
- Join with sl st.
Round 4
- Ch 3
- Repeat: [*3 dc, dc inc] 3 times.
- (Total: 15 dc.)
- Join with sl st.
Rounds 5–7
- Ch 3, 1 dc in each st around (15 dc in each round).
- Join with sl st.
Round 8
- Ch 3
- Repeat: [*4 dc, dc inc] 3 times.
- (Total: 18 dc.)
- Join with sl st.
Round 9
- Ch 3, 1 dc in each st around (18 dc).
- Join with sl st.
Round 10
- Ch 3
- Repeat: [*5 dc, dc inc] 3 times.
- (Total: 21 dc.)
- Join with sl st.
- Ch 1, leave a long tail for sewing, break thread.
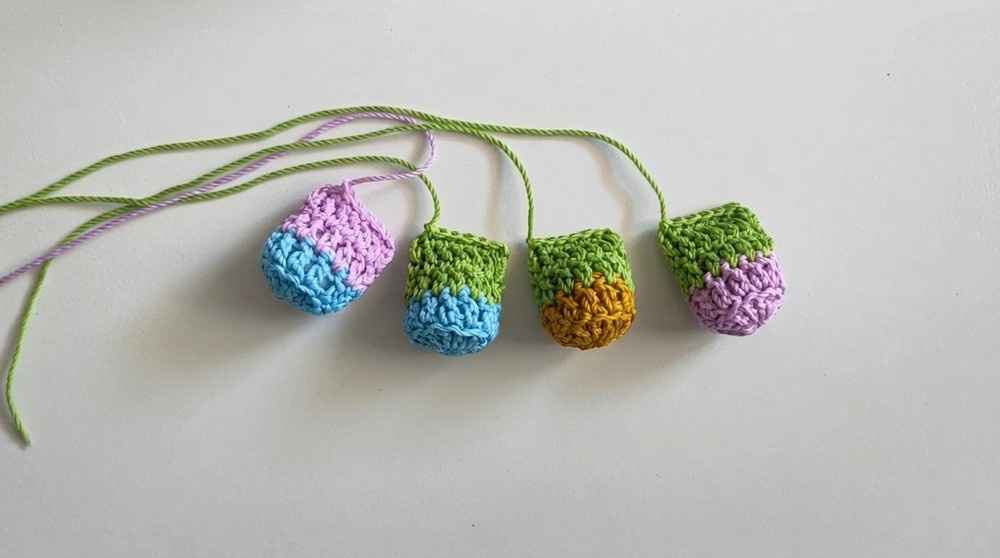
Legs
Round 1
- MR (Magic Ring)
- Ch 3
- 11 dc into the ring
- Sl st to join
Round 2
- Ch 3
- 11 dc in back loops only (BLO)
- Sl st
Rounds 3–4
- Ch 3
- 11 dc
- Sl st
Round 5
- Join the opening with 6 sc
- Sl st
- Fasten off, leaving a long tail for sewing
Head
Round 1
- MR
- Ch 3
- 11 dc into the ring
- Sl st
Round 2
- Ch 3
- (1 dc, dc increase) × 11
(dc increase = 2 dc in same stitch) - Sl st
Rounds 3–6
- Ch 3
- 23 dc
- Sl st
- Fasten off, leaving a tail for sewing
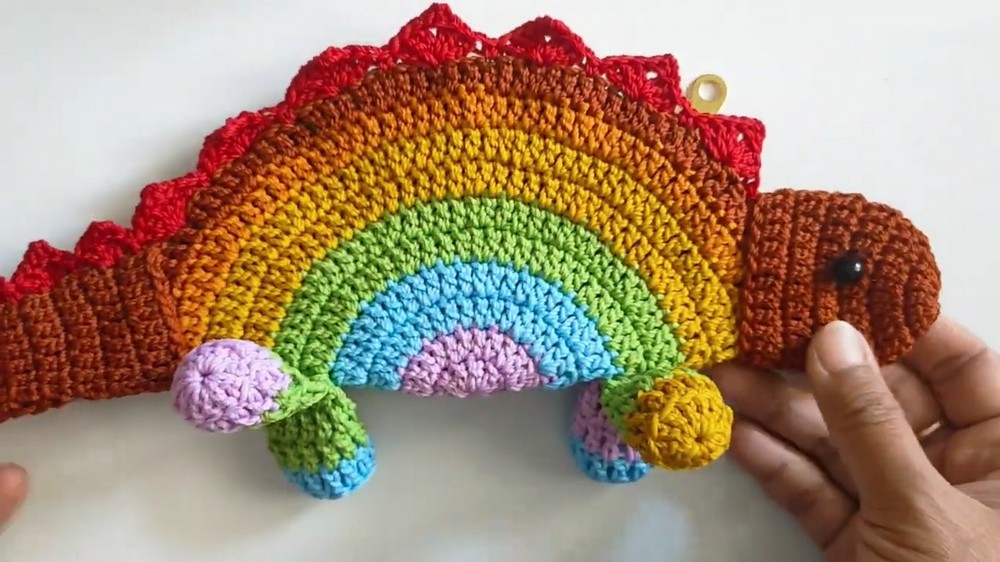
Assembly
- Fold the round piece in half.
- Align the head and tail, sew them together:
- Use a tapestry needle and matching yarn, or
- Use a needle and sewing thread.
- Make sure the side cylinder/tail fits around the circumference of the round piece.
- Sew the second round panel to the other side of the tail to complete the pencil case body.
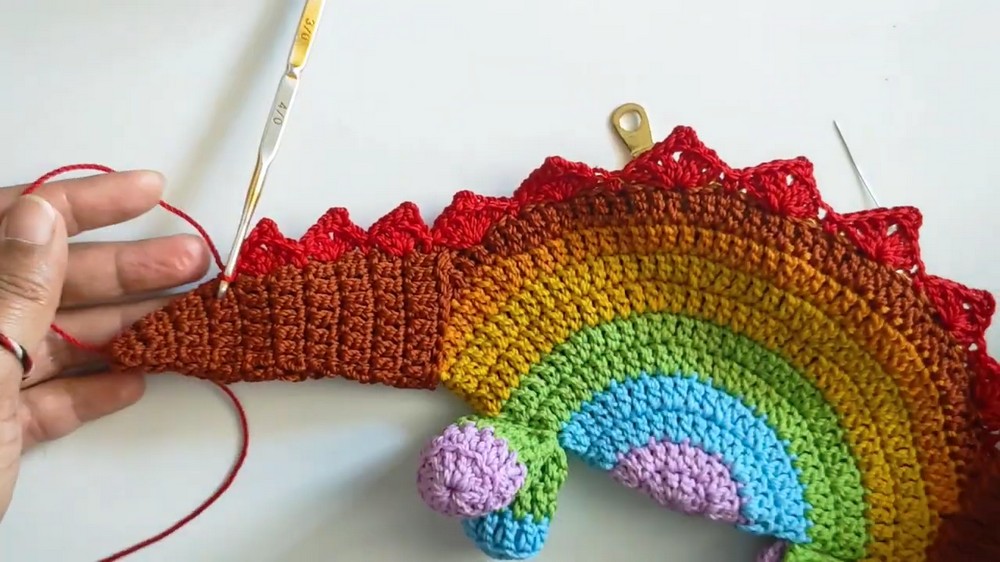
Decorative “Thorn”/Spike Edging
With Red Yarn:
- Attach to the edge with a slip knot.
Edging around the case:
- Repeat around edge:
- Ch 1, sc across two thicknesses to join panels
- Skip 2 ch, 3 dc in next ch
- Ch 2, sl st to first ch (picot)
- 3 dc in same ch
- Skip 2 ch, 1 sc
- Repeat for 5 motifs along the body.
Edging at zipper opening (or open side):
- Join directly as you go.
- In stitches along the edge:
- 2 dc in ch, ch 2, picot, 2 dc in same ch, repeat 3 times.
- Join with sl st, break yarn, secure ends.
Assembly & Finished Size
- Attach all round and cylindrical pieces as described.
- Weave in and secure all loose ends using a lighter/match if desired.
- Final size: Approximately 12–13 cm diameter.
Conclusion
Your colorful round crochet pencil case with special “thorn” edging is complete! Thank you for following along, enjoy your functional and stylish creation. If you found this pattern useful, please share or revisit for inspiration on your next crochet project.