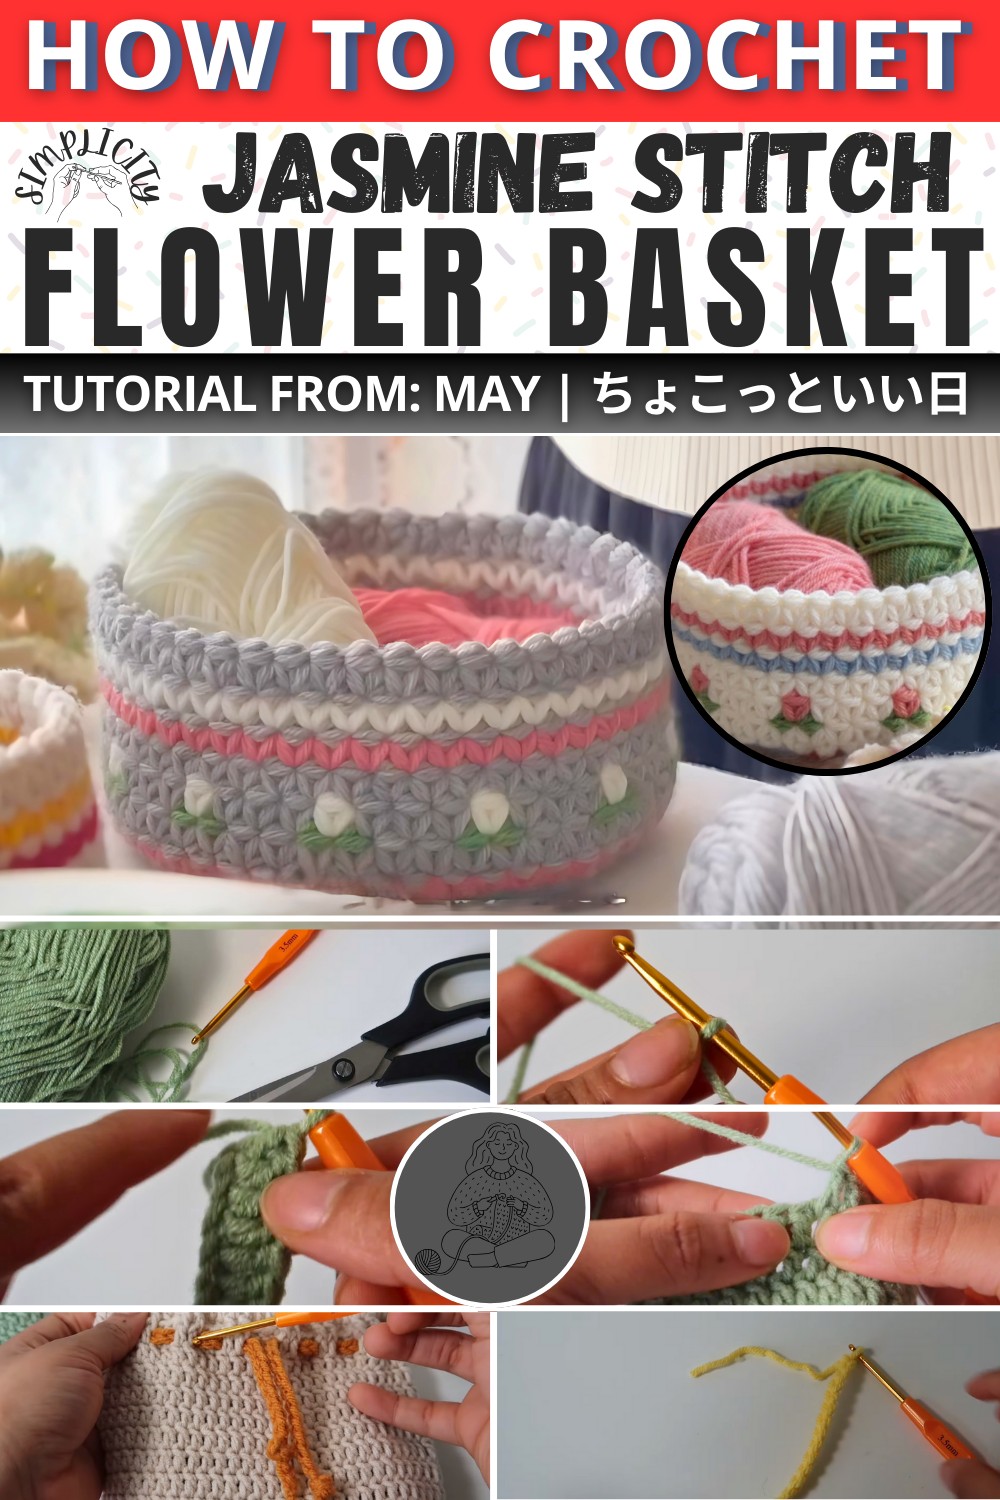
Lend a springtime vibe to any room with a crochet flower basket that balances artistry and practicality, making it a must-have for your decor.
A delightful addition to home decor, the crochet flower basket brings a breath of fresh elegance to any space. Inspired by the charm of spring gardens, this basket features intricate floral patterns and delicate ruff stitches, capturing the essence of blooming flowers and lush greenery. Its vibrant mix of colors beautifully reflects the hues of nature—radiating warmth, positivity, and style. Use it to store trinkets on your bedside table, hold yarn supplies near your crafting space, or simply place it as a statement piece to brighten up any corner of your home.
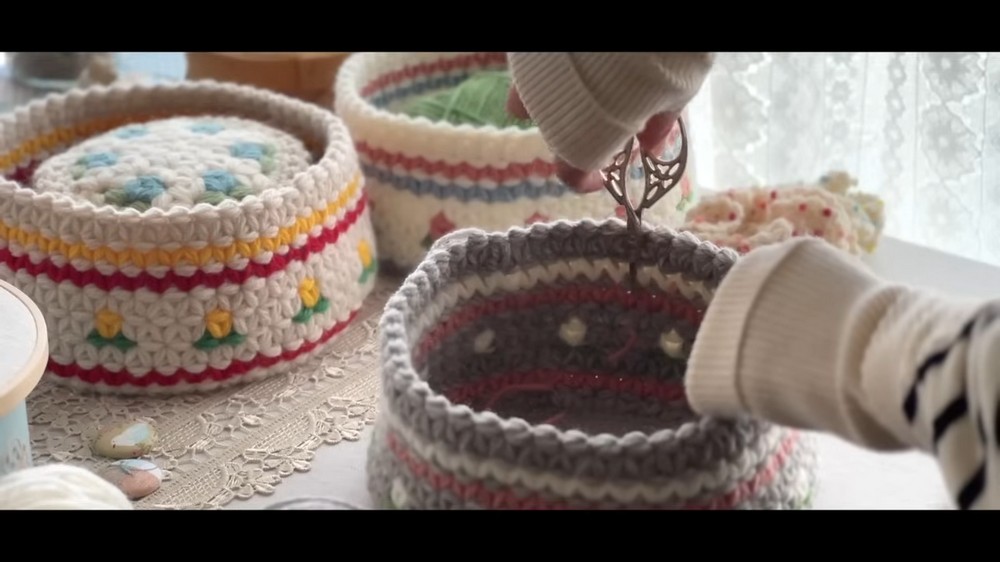
How To Crochet Flower Basket
What sets this pattern apart is its attention to detail and artistic flow. With symmetrical petals and finely textured stitches, it represents the harmony of nature, now brought to life through the magic of crochet. The rows of plush stitches and contrasting shades create a three-dimensional effect that’s visually captivating. While its design may look intricate, your careful work will soon result in a masterpiece that stands out. A blend of artistry and practicality, the crochet flower basket is the perfect way to celebrate spring all year round.
How To Crochet Adorable Flower Basket
Materials You Will Need:
- Four colors of yarn (choose colors for flowers, leaves, and lines)
- Sewing needle
- Scissors
- Size 5 crochet hook
Abbreviations:
- ch = Chain stitch
- sl st = Slip stitch
- sc = Single crochet
- hdc = Half double crochet
- dc = Double crochet
Instructions:
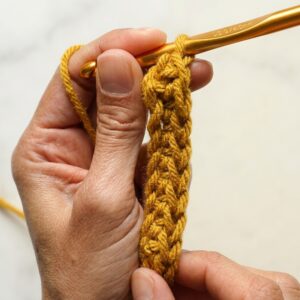
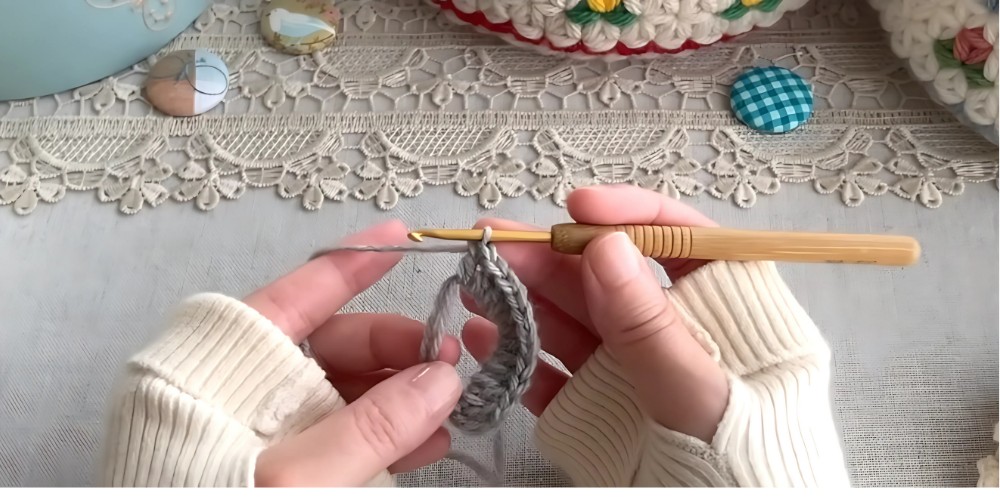
- Starting the Base:
- Wrap the thread around your finger twice.
- Insert the needle in the loop and pull out the thread, then pull it out again.
- Chain 3 stitches.
- Knit 11 stitches in the long stitch.
- Once you have finished the 11 stitches, remove the hook.
- The initial chain stitch is also counted as one long stitch (total 12 stitches).
- Pull the loose loops (front and back) tight.
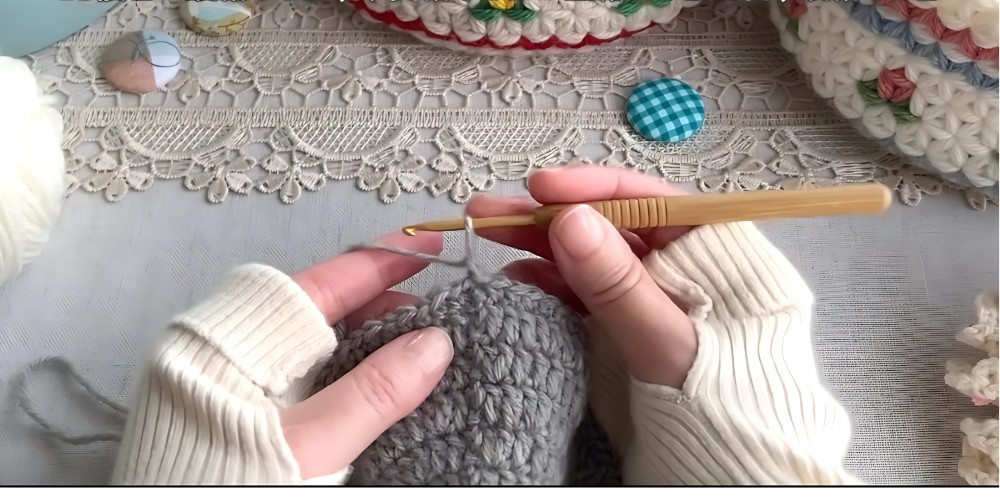
- First Round:
- Start with 3 chain stitches.
- Knit one long stitch in the same stitch where you did the pull-out stitch.
- Knit 2 long stitches in each of the next stitches (repeat 10 more times).
- Second Round:
- Chain 3.
- Knit 2 long stitches into the next stitch.
- Continue knitting sets: 1 long stitch in next stitch, 2 long stitches in the following stitch (repeat 10 more times).
- Third Round:
- Chain 3.
- Knit 2 long stitches into the next stitch.
- Continue knitting sets: 2 long stitches in next stitch, 2 long stitches in the following stitch (repeat 10 more times).
- Fourth Round:
- Chain 3.
- Knit 1 long stitch in the next stitch.
- Knit 2 long stitches into the following stitch.
- Continue knitting sets: 4 stitches in a long stitch, 2 long stitches into the next stitch (repeat 10 more times).
- Fifth Round:
- Chain 3.
- Knit 4 long stitches.
- Knit 2 long stitches into the next stitch.
- Continue knitting sets: 5 stitches in a long stitch, 2 long stitches into the next stitch (repeat 10 more times).
- Sixth Round:
- Chain 3 and knit 2 long stitches.
- Knit 2 long stitches into the next stitch.
- Continue knitting sets: 6 stitches in a long stitch, 2 long stitches into the next stitch (repeat 10 more times).
- Next Steps for Basket Side:
- Chain 1 to rise.
- Knit 96 stitches in the fine stitch.
- Continue to complete 8 rounds of long stitch followed by 1 round of short stitch.
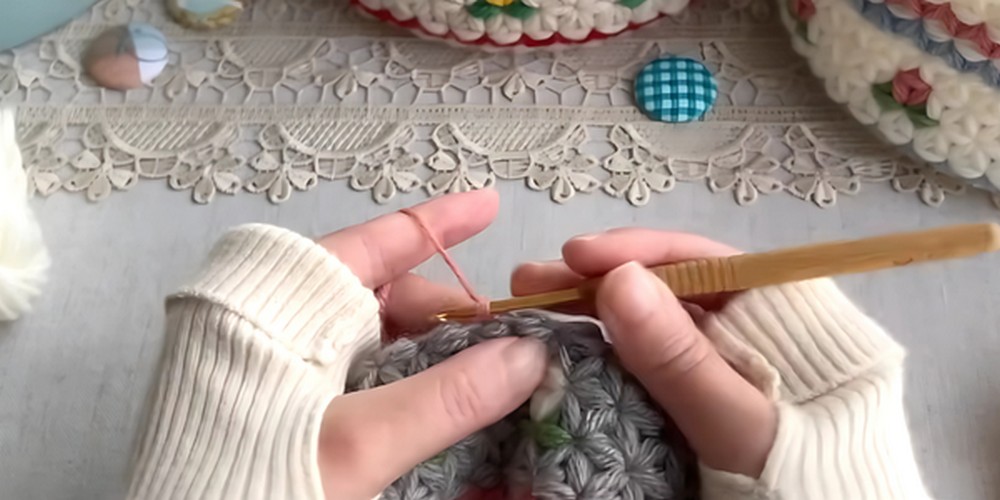
- Ruff Stitch Pattern:
- Knit 1 round of chain stitch and pull the yarn a little longer.
- Insert the first incomplete medium-length stitch into the first fine stitch.
- Continue with the next set following similar instructions, adjusting the size of loops, color change, and tightening the stitches (44 sets to be completed).
- Repeat the instructions as applicable, ensuring you’re adjusting the loop sizes properly and switching colors as indicated.
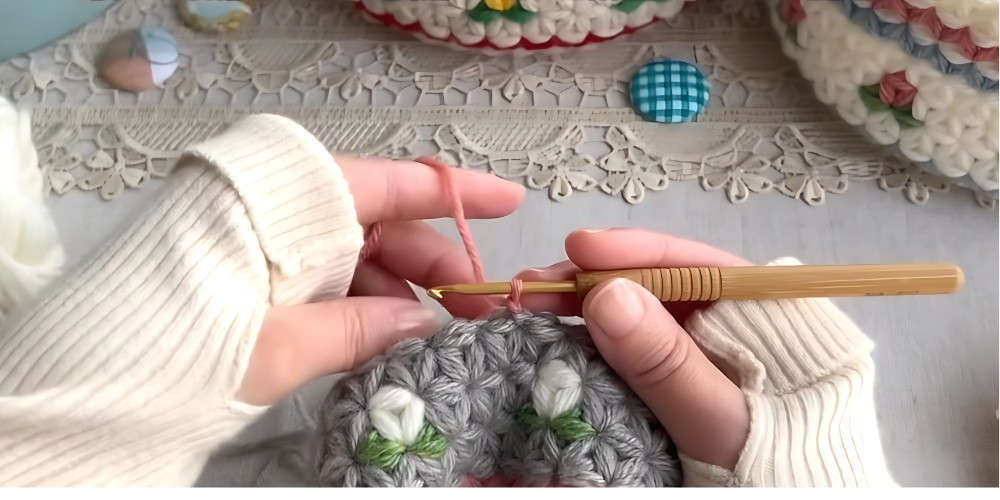
- Final Steps:
- Continue weaving in sets of two unfinished medium-length stitches into the top of the ball stitch you made earlier.
- Adjust loop sizes, holding the yarn down properly and changing colors.
- Repeat this pattern until you complete the project, dealing with the end properly and finishing up neat ends.
That's it! Your beautiful basket cover with a floral pattern is ready. Happy knitting! This pattern features alternating colors and careful attention to loop adjustments to ensure a uniform and smoothly finished product.