
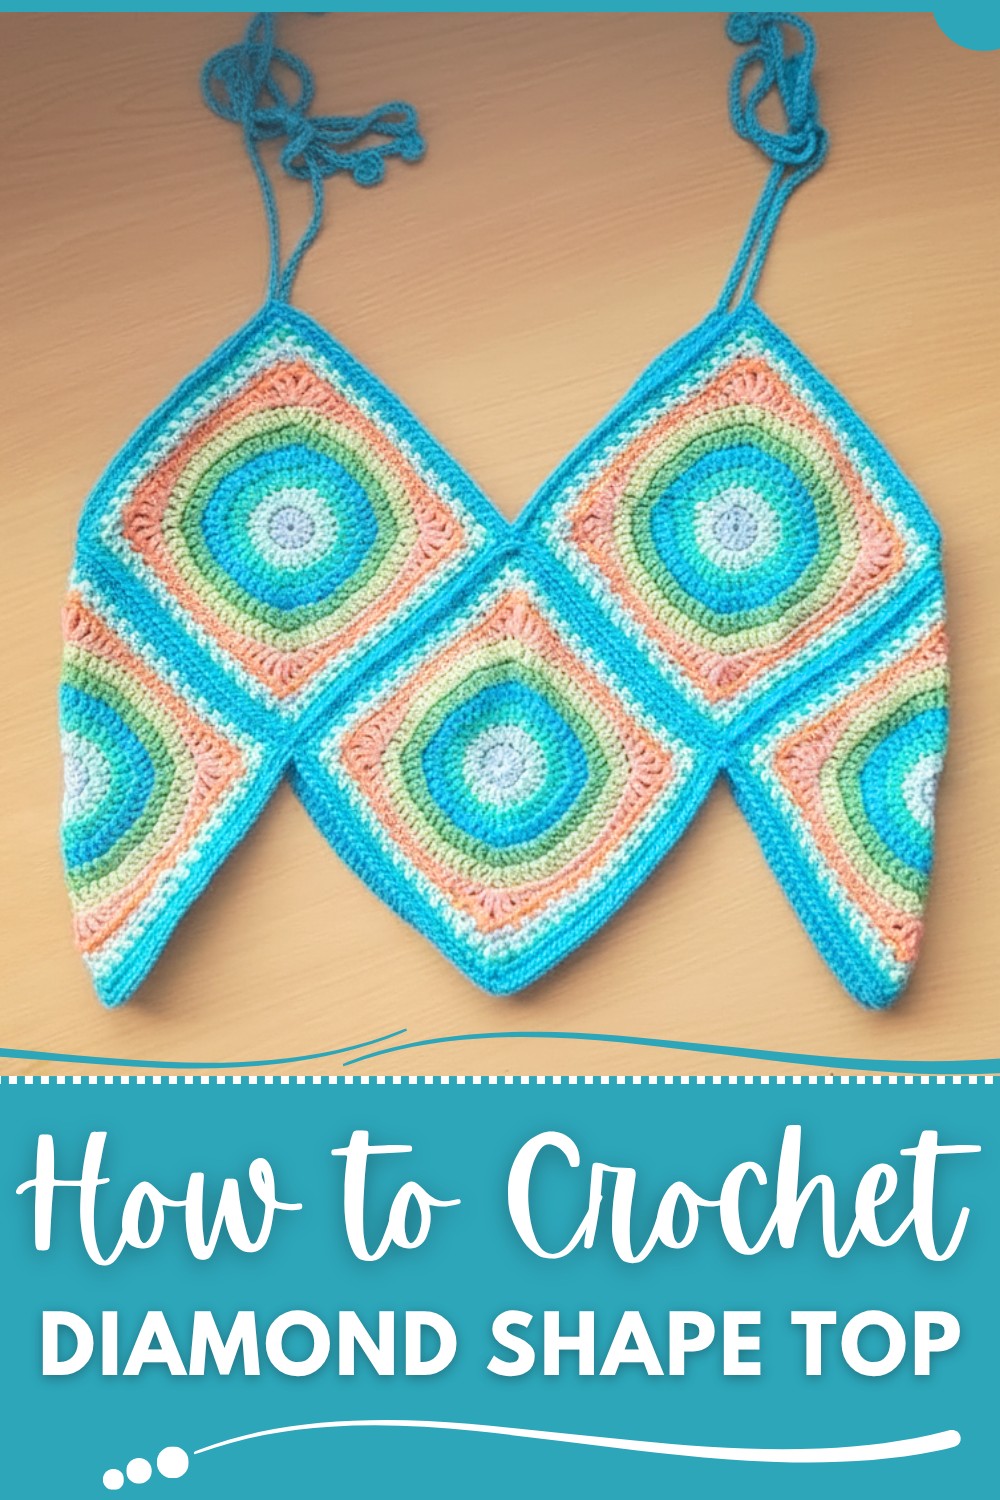
Stitch a bold crochet diamond shape top that's full of charm and personality, perfect for showing off your skills and rocking a handmade statement piece.
Geometric style takes center stage with this playful crochet diamond shape top pattern, turning simple stitches into a striking statement piece. This project features repeating diamond motifs that form an airy, textured fabric, perfect for layering over camisoles, swimsuits, or fitted dresses. It’s a fun choice for anyone wanting to practice shaping and openwork without feeling overwhelmed, since the repeats become wonderfully rhythmic once the first few rows are done.
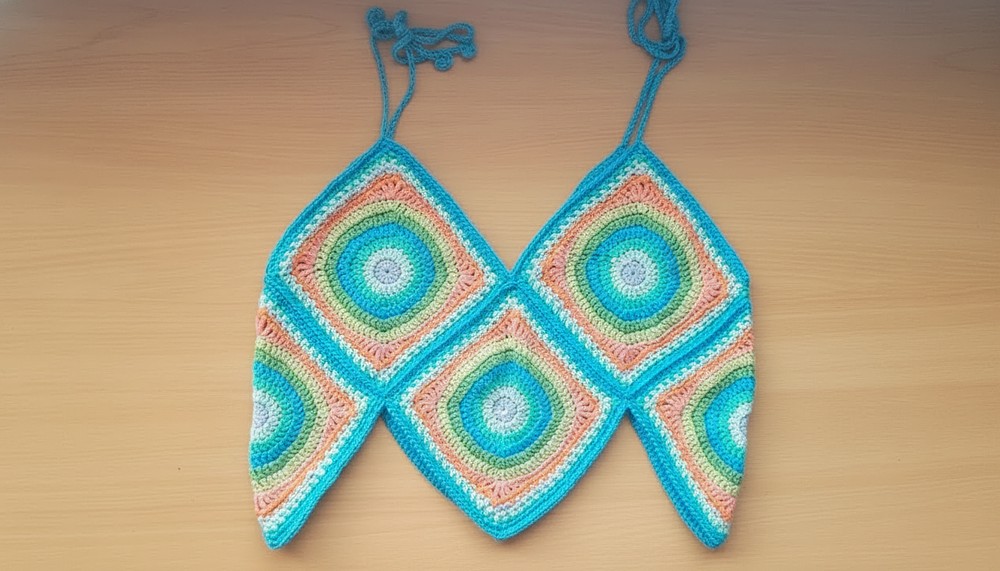
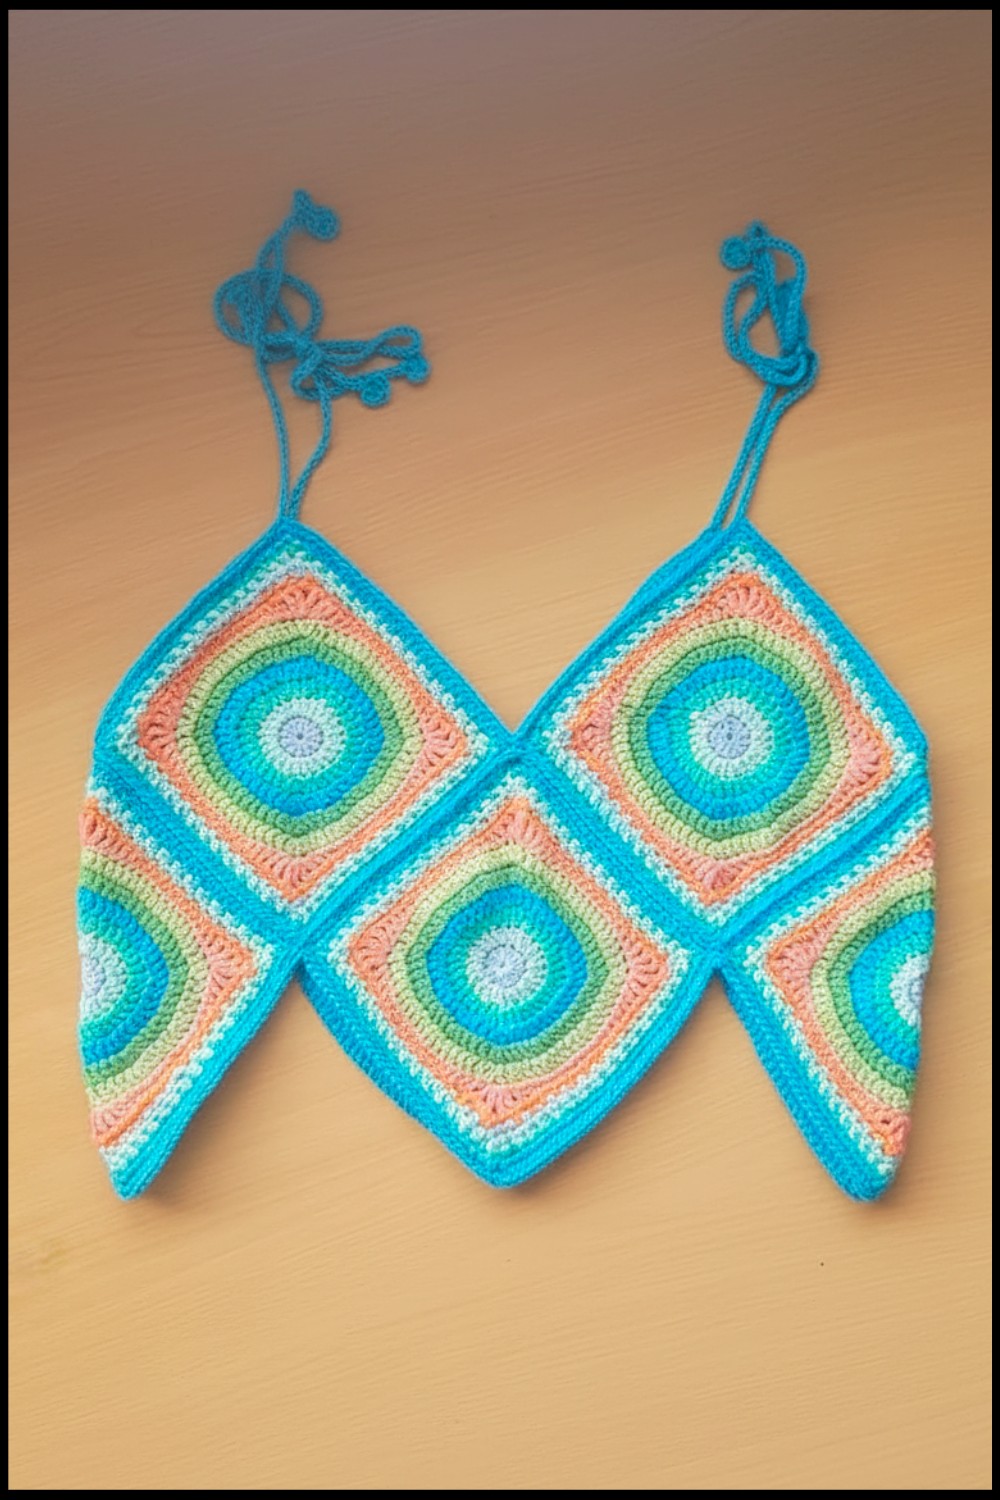
Free Crochet Diamond Shape Top Pattern for Creative Designs
One version works beautifully as a cropped summer top with bold, contrasting colors in each diamond, while another looks stunning in a single solid shade for a more minimal, chic vibe. Lightweight cotton or bamboo yarn gives it a breezy, warm-weather feel, while soft acrylic can turn it into a comfy festival or everyday top.
Along the way, this pattern helps sharpen counting skills, tension control, and seaming, so the project is both stylish and skill-building. In the end, you’re left with a standout garment that shows off both personality and technique in every diamond.
Step-by-Step Crochet Square Top Pattern
Materials
- Yarn:
- Yarn Weight: Worsted weight (Category 4).
- Colors: 5–6 colors of your choice (100% cotton yarn is recommended for a comfortable and breathable garment).
- Crochet Hook:
- Size: 5.0 mm (US H/8).
- Additional Tools:
- Scissors.
- Tape measure.
- Yarn needle (for weaving in ends and sewing).
Gauge
- 4 inches x 4 inches: 12 double crochets and 6 rows of double crochet.
- Check gauge by making a sample swatch to ensure the square size matches the desired measurements.
Finished Size
- Fits a Medium or Large size bust when 4 squares are used.
- Customizable to other sizes by adjusting square dimensions or adding/removing rows.
- Approximate final dimensions: Each square is 5 inches x 5 inches (can vary based on your tension and yarn).
Abbreviations (US Terms)
| Abbreviation | Meaning |
|---|---|
| ch | Chain |
| sl st | Slip Stitch |
| sc | Single Crochet |
| hdc | Half Double Crochet |
| dc | Double Crochet |
| tr | Treble Crochet |
| st(s) | Stitch(es) |
| yo | Yarn Over |
Pattern Instructions
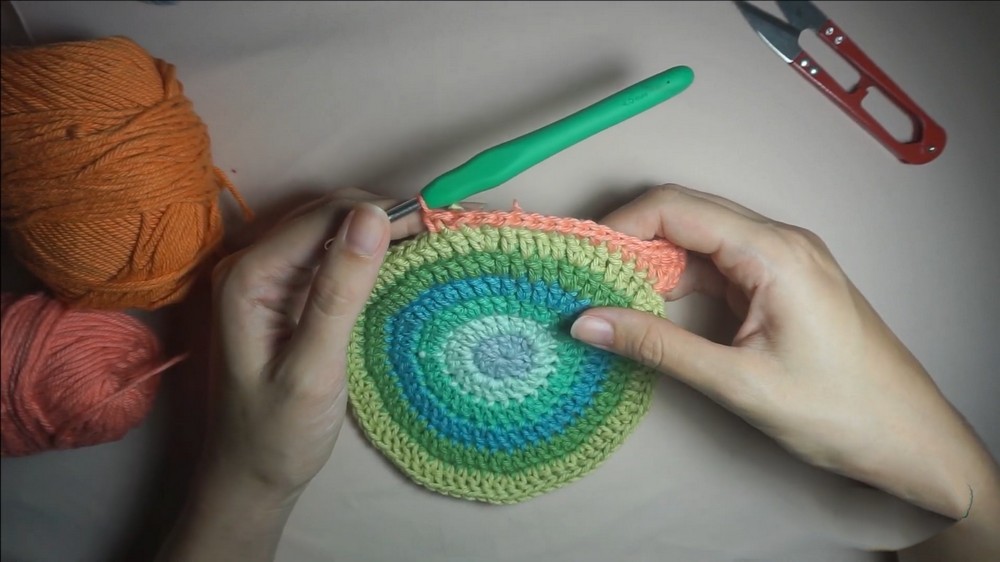
Part 1: Create the Round Center of the Square
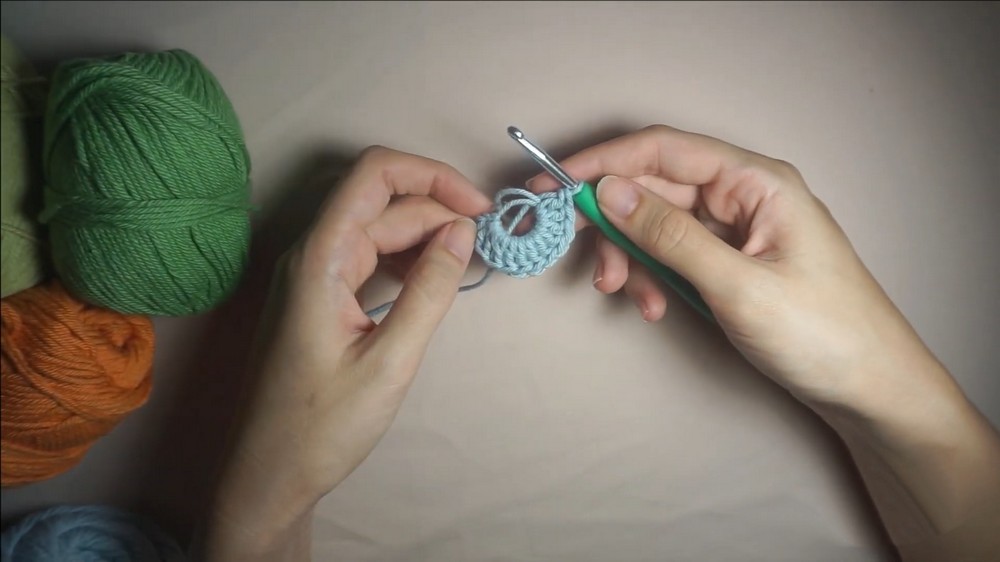
- Magic Ring (Round 1):
- Start with a magic ring.
- Ch 2 (counts as 1 dc).
- Work 11 dc into the magic ring (12 dc in total, counting the ch 2).
- Pull the loop of the magic ring tight to close completely.
- Sl st into the top of the starting ch 2 to close the round.
- Fasten off the yarn and cut.
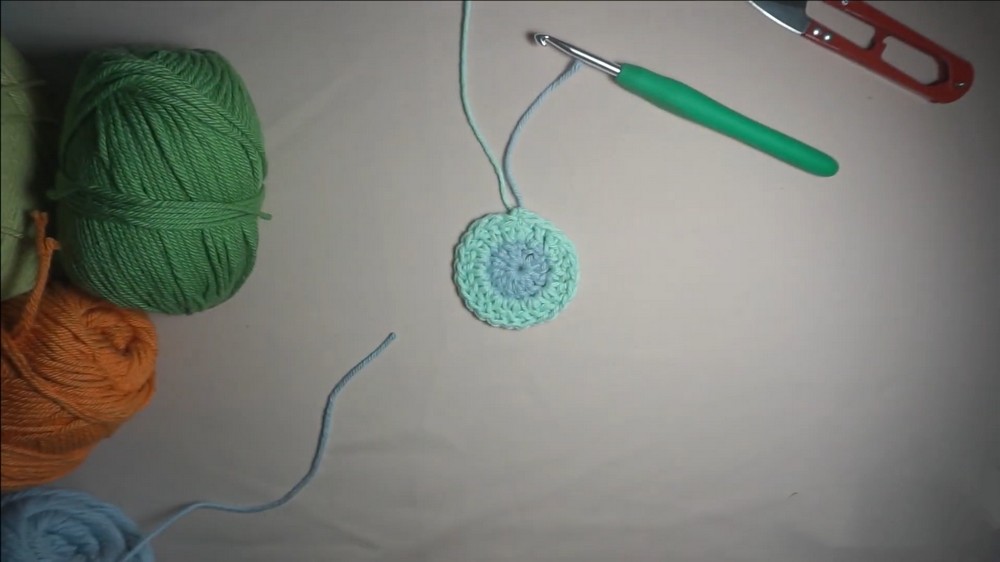
- Round 2:
- Attach a new color to any stitch from Round 1.
- Ch 2 (counts as 1 dc).
- Work 1 dc into the same st.
- Work 2 dc into each st around. (Total: 24 dc).
- Sl st into the top of the starting ch 2, fasten off, and cut the yarn.
- Round 3:
- Attach a new color to any stitch.
- Ch 2 (counts as 1 dc).
- Work 1 dc into the same st.
- Follow the pattern: 2 dc in next st, 1 dc in next st. Repeat around (Total: 36 dc).
- Sl st into the starting ch 2, fasten off, and cut the yarn.
- Round 4:
- Attach a new color.
- Ch 2 (counts as 1 dc) and work 1 dc into the same st.
- Follow the pattern: 2 dc in next st, 1 dc in the next 2 sts. Repeat around (Total: 48 dc).
- Sl st into starting ch 2, fasten off, and cut the yarn.
- Round 5 & 6 (Repeat Increasing Rounds):
- Continue to attach a new color for each round.
- For each new round: Add one more single dc stitch in between the increases:
- Round 5: 2 dc in next st, 1 dc in the next 3 sts (60 dc total).
- Round 6: 2 dc in next st, 1 dc in the next 4 sts (72 dc total).
- At the end of the 6th round, sl st into the starting ch 2.
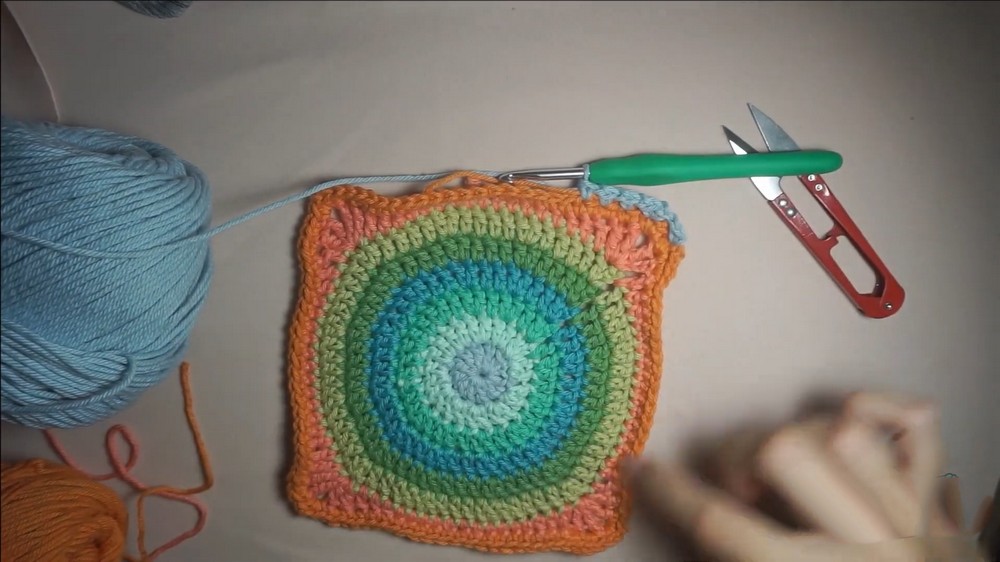
Part 2: Turn the Circle into a Square
- Forming the Corners (Round 7):
- Attach a new color to any stitch.
- Ch 3 (counts as tr). Work 1 tr into the same st, ch 2, and 2 tr into the same st (creates a corner).
- Work 1 dc into the next st, 1 hdc into the next 2 sts, and 1 sc into the next 11 sts (creates the straight edge).
- Repeat the corner pattern: 2 tr, ch 2, 2 tr in same st.
- Continue this sequence: Corner → Edges (dc, hdc, sc). Once all sides and corners are done, sl st into the starting ch 3 and fasten off.
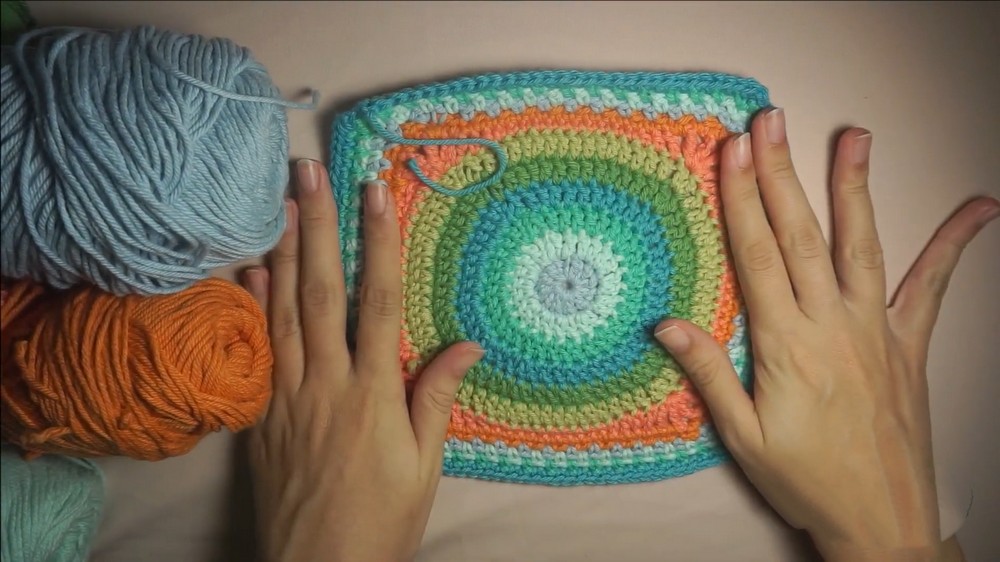
- Finalizing the Square (Round 8):
- Attach another color. Work 1 sc in each st along the edges, with 1 sc, ch 1, 1 sc in each corner.
- Sl st into the starting sc and fasten off.
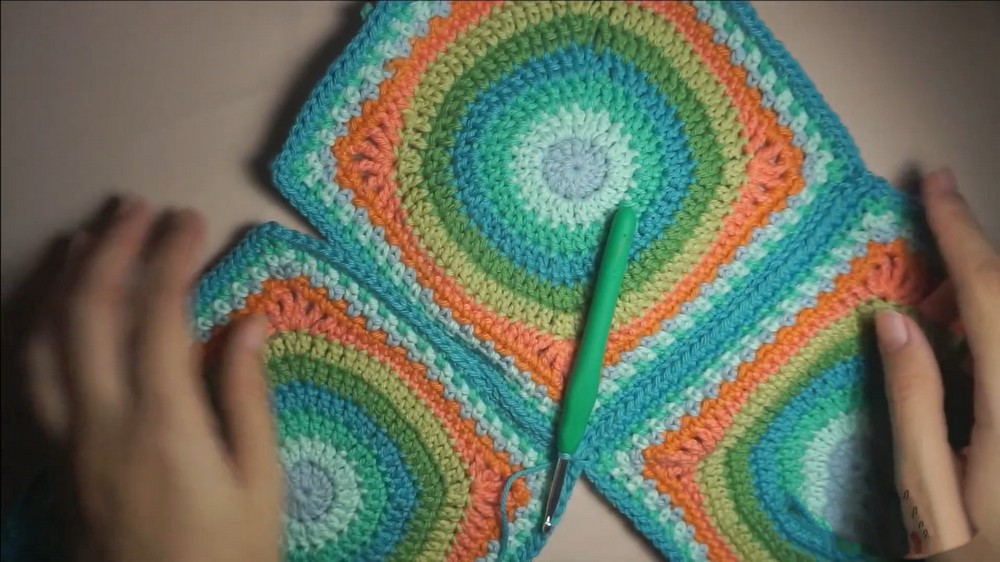
Part 3: Assembly
- Assembling the Squares (Seaming):
- Place two squares together, right sides facing outward. Align the edges.
- Use a yarn needle to sew the edges together with a corresponding color of yarn OR crochet them together with sl sts using the back loops only.
- Once all four squares are sewn together, ensure the seams are even.
Part 4: Straps and Border
- Top Border:
- Work 1 round of sc along the top edge and straps for a polished finish.
- Straps (Adjustable or Fixed):
- Method 1: Measure 60 inches of yarn, attach to the back corner, and create an adjustable crisscross back with a chain-lace tie.
- Method 2: Chain straight straps of appropriate length and attach to front and back corners. Secure the ends with single crochets or sewing.
Customization Tips
- Size Adjustments: Add or subtract rounds in the square design to accommodate different sizes.
- Color Variations: Experiment with color gradients or alternating patterns for unique designs.
- Sleeves or Halter Tie: Add side panels for sleeves or additional ties for a halter-style top.
Finishing Touches
- Weave in Ends: Using a yarn needle, secure and hide all loose ends inside the seams.
- Block the Fabric: Lay the top flat and pin into shape. Lightly mist with water and allow to dry completely for a neat finish.
Conclusion
Congratulations on completing your beautiful crochet square top! This project combines simplicity and elegance, making it perfect for warm weather or casual events. The easy adaptability allows for endless creative expression.


