
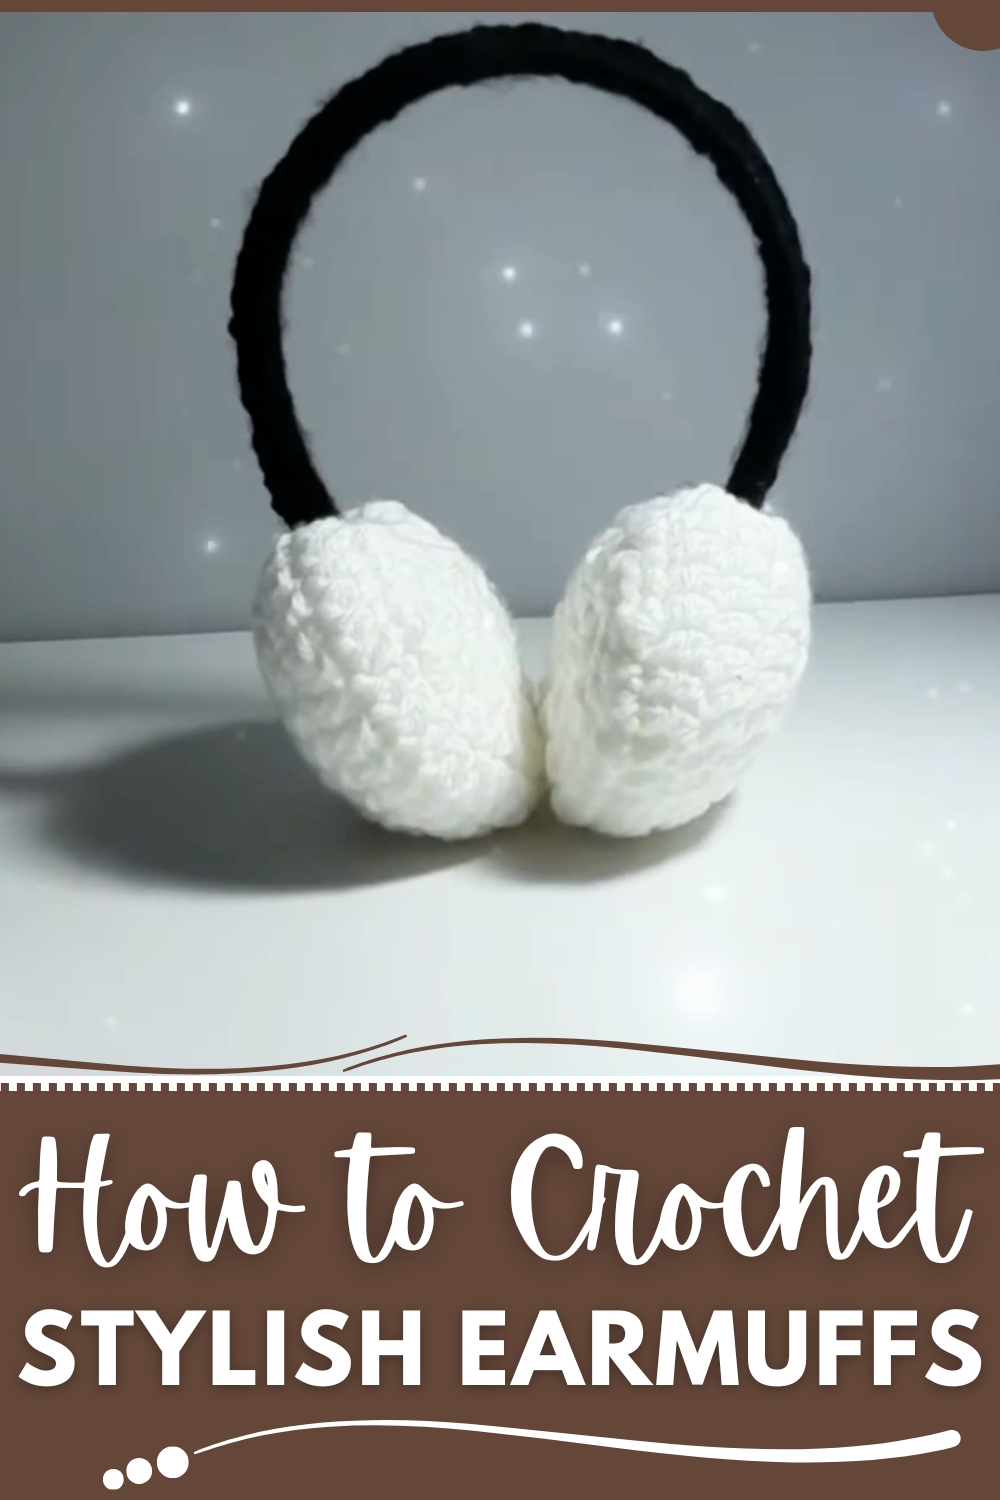
Cozy up in style this Free Crochet Earmuffs Pattern offers a warm handmade accessory perfect for chilly days winter outings and thoughtful gifting
Cold winds and crisp winter air have always made protecting the ears a necessity, especially during outdoor activities in chilly seasons. The Free Crochet Earmuffs pattern offers a cozy, stylish solution, combining warmth with comfort and a touch of handmade charm. The instructions guide through creating soft, cushioned ear covers and a flexible band that fits securely over the head without causing pressure, ensuring a comfortable fit for different head sizes. Lightweight yet insulating, the earmuffs protect sensitive ears from cold drafts while remaining easy to wear for extended periods.
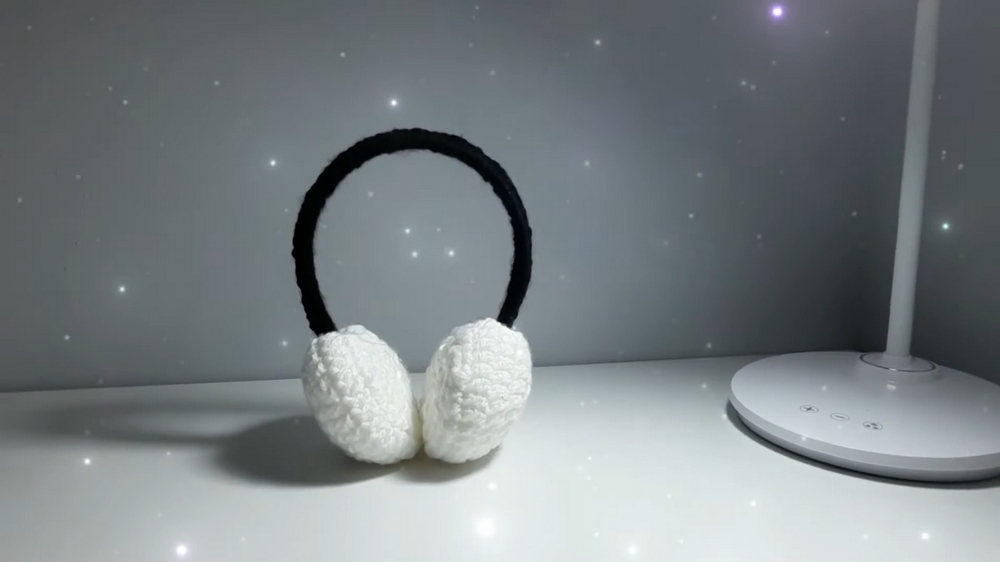
Crochet Earmuffs Pattern to Complement Winter Outfits
The crochet texture provides gentle stretch and a pleasant tactile feel, enhancing both durability and comfort. Beyond keeping ears warm, these earmuffs add a personalized accessory to winter outfits, allowing for playful color choices or subtle, classic tones to match outerwear.
Ideal as a thoughtful handmade gift or a practical winter essential, they combine function and style effortlessly. Each completed pair demonstrates careful attention to detail, offering warmth, softness, and flexibility in one accessory. These earmuffs transform ordinary winter wear into a cozy, visually appealing, and practical addition, ensuring that cold days are met with comfort, protection, and a touch of personal charm.
Materials Needed
To complete this project, you’ll need the following items:
- Yarn: Two colors of your choice (e.g., black for the hairband covering and white for the ear cushions).
- Crochet Hook: A 5 mm hook is recommended for this design.
- Hair Hoop (Headband): Any standard hair hoop serves as the base.
- Scissors: For trimming yarn.
- Tapestry Needle: For stitching the cushions closed.
- Cotton or Filling Material: To stuff the ear cushions, making them soft and fluffy.
- Hot Glue Gun: To secure the ear cushions onto the hair hoop.
Step-by-Step Instructions
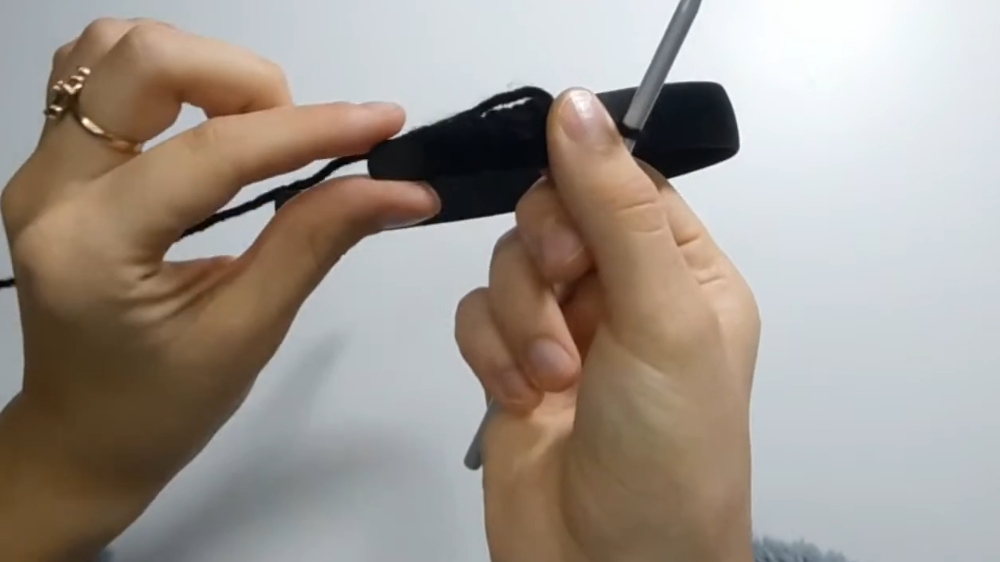
1. Covering the Hair Hoop (Base)
- Create a Slip Knot: Attach the black yarn to your hook.
- Start Single Crochets Around the Hoop: Place the yarn inside the hair hoop and begin crocheting.
- Insert your hook under the hoop, yarn over, and pull through two loops to complete a single crochet.
- Continue single crocheting around the hair hoop, keeping the stitches tight for a snug fit.
- Note: The tightness depends on your yarn. If using fluffier yarn, the process should be easier.
- Leave an Unfinished Section: Do not crochet till the very end of the hair hoop, as part of it will fit inside the ear cushions.

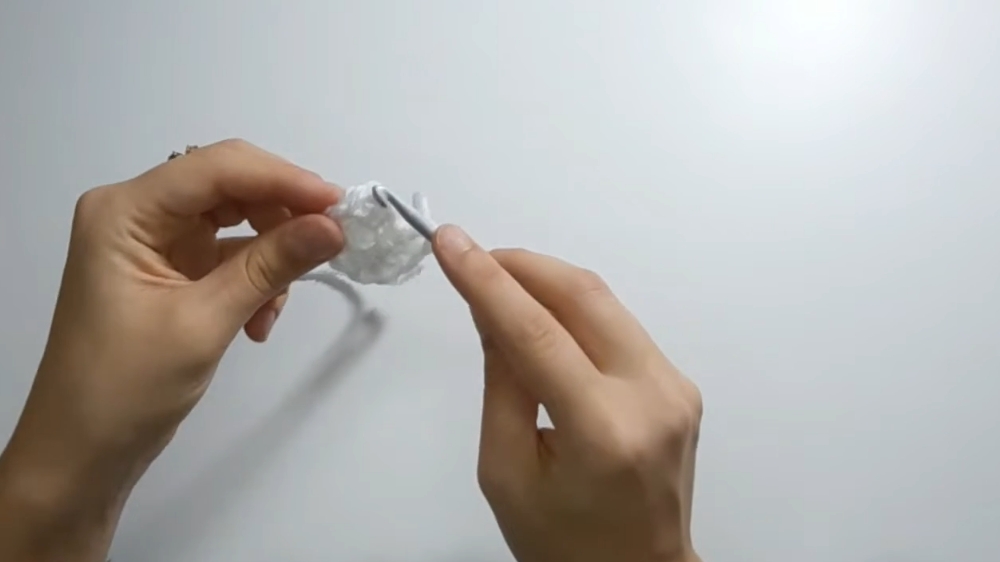
2. Creating the Ear Cushions
Each cushion is shaped like a flat circle at first, which is later stuffed and closed.
a) Starting the Circle
- Using the white yarn, create a Slip Knot.
- Chain 4: Create a foundation ring by slip stitching into the first chain. This forms a “fake magic ring.”
- Chain 2: Begin preparing for the first round.
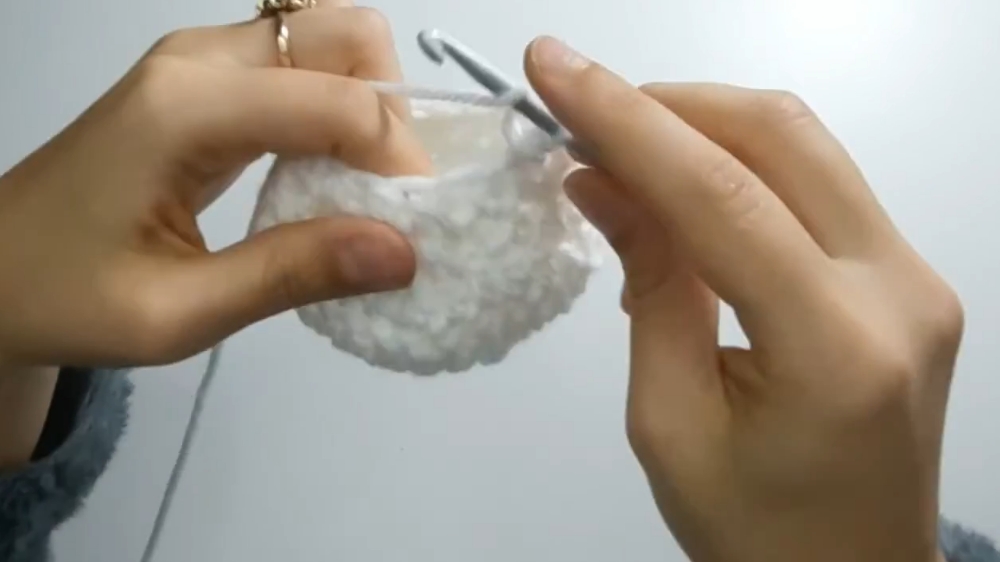
b) Round 1: Double Crochets into the Ring
- Create 8 double crochet stitches into the magic ring.
- Join the round with a slip stitch into the first double crochet (ignore the chain 2).
c) Round 2: Increasing
- Chain 2 and place 2 double crochets into each stitch around.
- By the end of this round, you will have 16 double crochets.
d) Round 3: Further Increasing
- Chain 2.
- In this round, alternate between an increase and a single double crochet:
- Place 2 double crochets in the first stitch and then 1 double crochet in the next stitch.
- Repeat this pattern around, and by the end, you should have 24 double crochets.
e) Round 4: Gradual Expansion
- Chain 2.
- Alternate between an increase and two single double crochets:
- Place 2 double crochets in the first stitch, and 1 double crochet in the next two stitches.
- Repeat this pattern around, totaling 32 double crochets for this round.
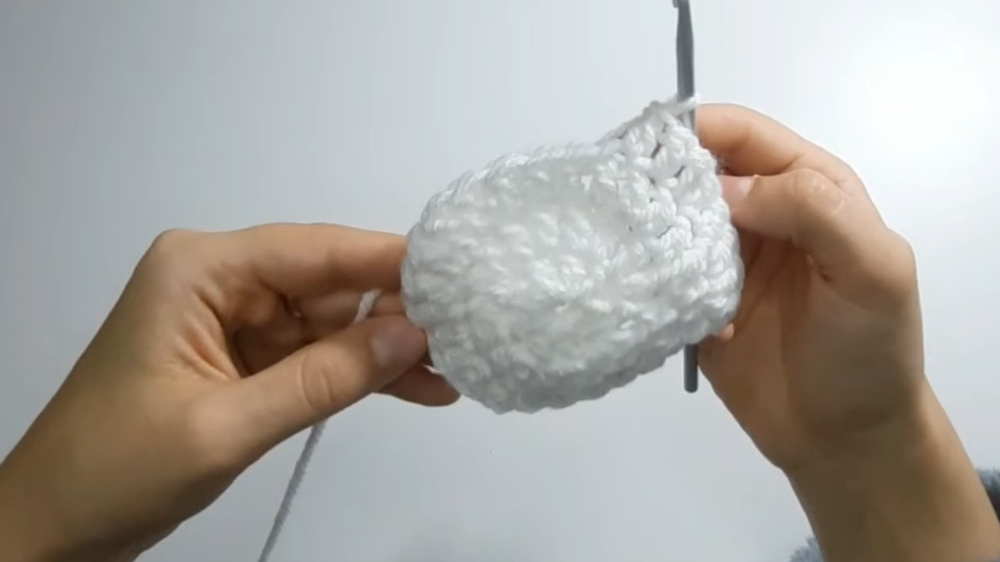
f) Round 5: Regular Double Crochet Round
- Chain 2.
- Place 1 double crochet into each stitch around without increasing.
3. Shaping and Closing the Cushion
- Begin by decreasing to close the cushion:
- Start with a Half Double Crochet Two Together (HDC2Tog).
- Follow with 2 normal half double crochets in succession.
- Repeat this pattern around.
- Slip stitch to join the round, then chain 2.
- Continue decreasing in subsequent rows:
- Row 2 of Decrease: HDC2Tog followed by 1 normal half double crochet in the next stitch.
- Row 3 of Decrease: Work only HDC2Tog stitches around to close the cushion further.
Once the cushion is shaped, there will be a small hole at the top.
4. Stuffing the Ear Cushion
- Take cotton or filling material and gently pack it inside the cushion.
- Ensure it is soft and evenly filled.
- Use a needle and scissors to sew the opening shut securely.
- Repeat the entire process to create the second ear cushion.
5. Attaching the Ear Cushions to the Hair Hoop
- Determine the exact positioning of the cushions on the hair hoop by trying it on. Mark the placement.
- Use a hot glue gun to secure the cushions:
- Apply hot glue at the edge of the hair hoop, where the cushion will sit.
- Place the hair hoop inside the cushion, ensuring the glue also touches the cotton for a firmer bond.
- Hold in place until the glue sets.
- Repeat for the second cushion on the opposite side.
Special Features
- Cozy and Functional: The fluffy ear cushions not only look adorable but are practical for winter to protect your ears from the cold.
- Customizable Colors: Choose any yarn colors to match your outfit or style.
- Dual-Purpose Design: Works as a stylish accessory and a warm ear cover.
- Minimal Effort with Big Impact: A quick project that delivers a satisfying and charming result.
Level of Difficulty
- Beginner to Intermediate: The project uses basic stitches (single crochet, double crochet, and half-double crochet), with simple increases and decreases. Beginners can follow along with careful attention.
Tutor’s Suggestions
- Use Fluffy Yarn If Available: Fluffier yarn makes the project easier and adds more softness to the ear cushions.
- Careful with Hot Glue: Work on a heat-resistant surface (e.g., the floor) to avoid accidental messes.
- Adjust for Comfort: Test the position of the cushions on the hair hoop for optimal placement to fit your ears comfortably.
- Keep Even Tension: This ensures the final product looks neat and professional.
Uses and Applications
- Ear Warmers: Great for keeping ears warm during winter.
- Costume Accessories: Add a whimsical or cute touch to themed outfits, especially for children.
- Everyday Fashion: A stylish and cozy addition to your wardrobe.
- Handmade Gifts: Thoughtful, personalized presents for friends and family.
Tip
When crocheting around the hair hoop, ensure your stitches are tight but not too rigid. This will give the base a smooth and snug look while making it easier to attach the cushions.
Conclusion
Crocheting fluffy ear cushions for a hair hoop is a fun, creative, and practical project! With simple materials and a step-by-step approach, you can customize the colors and design for yourself or as a gift. Whether you’re exploring crochet as a beginner or looking for quick, cozy accessories, this project will leave you with a stylish and functional result.


