
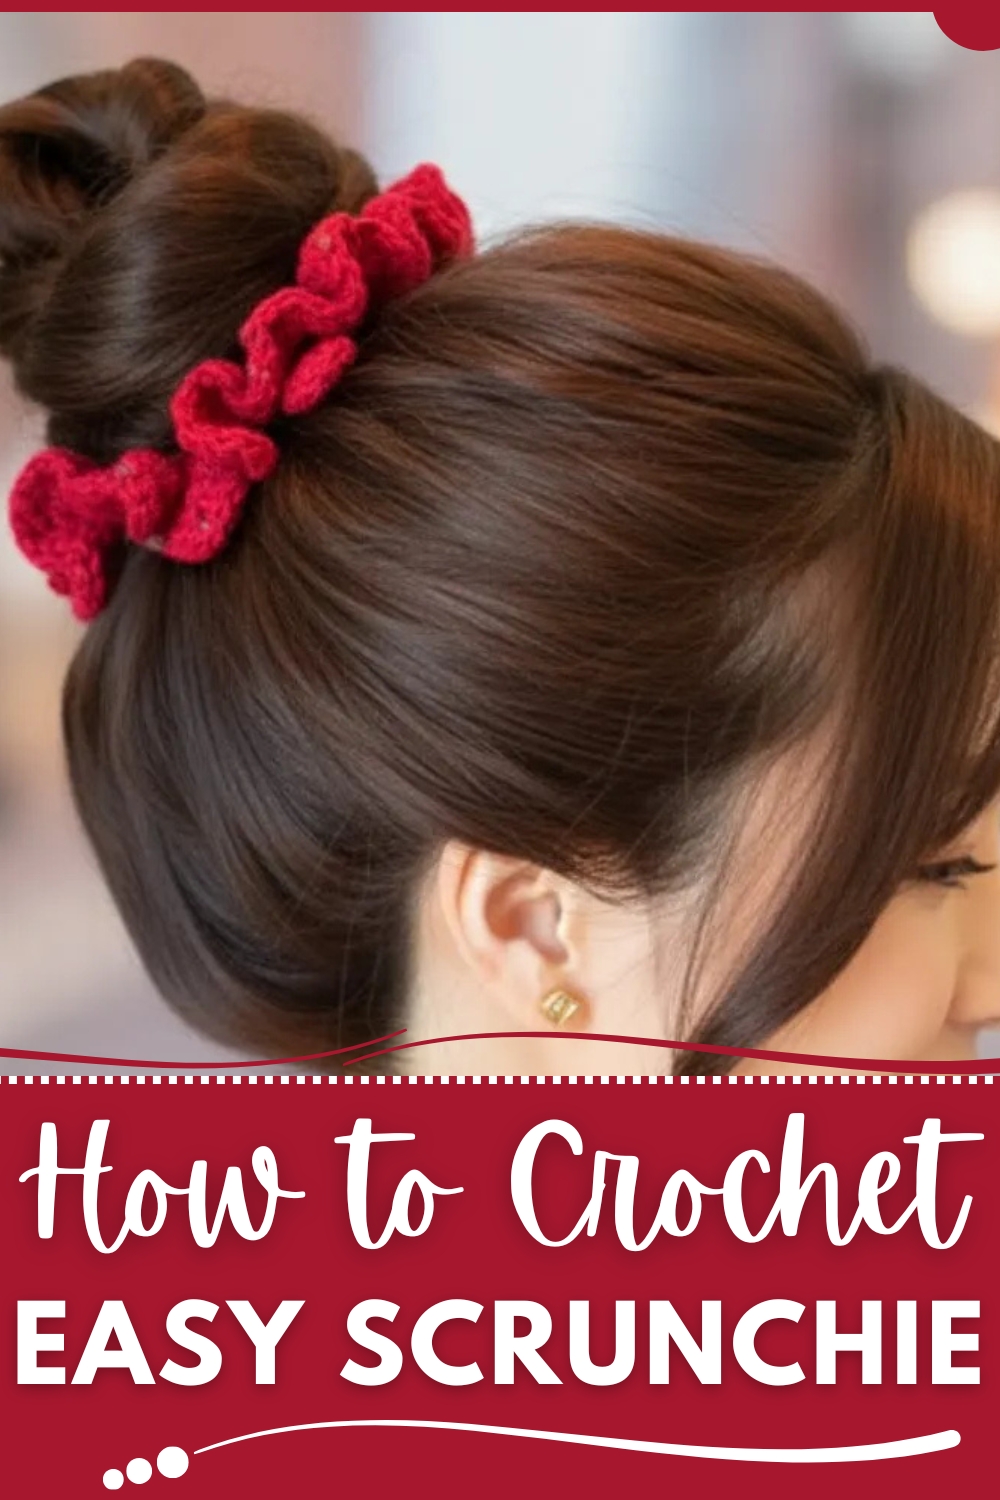
Style your look with the Crochet Scrunchie Pattern, a chic accessory that adds elegance, comfort, and charm to everyday hairstyles.
A simple accessory has the power to add charm to an ordinary hairstyle, and few items capture this better than a scrunchie. Known for its soft, gathered texture, it provides both style and comfort, holding hair securely without pulling or causing damage. Unlike traditional elastics, which often leave marks or cause breakage, this accessory is gentle on strands, making it suitable for everyday wear. Its timeless shape adds a playful yet elegant flair, whether wrapped around a ponytail, a bun, or worn as a wrist accent when not in use.
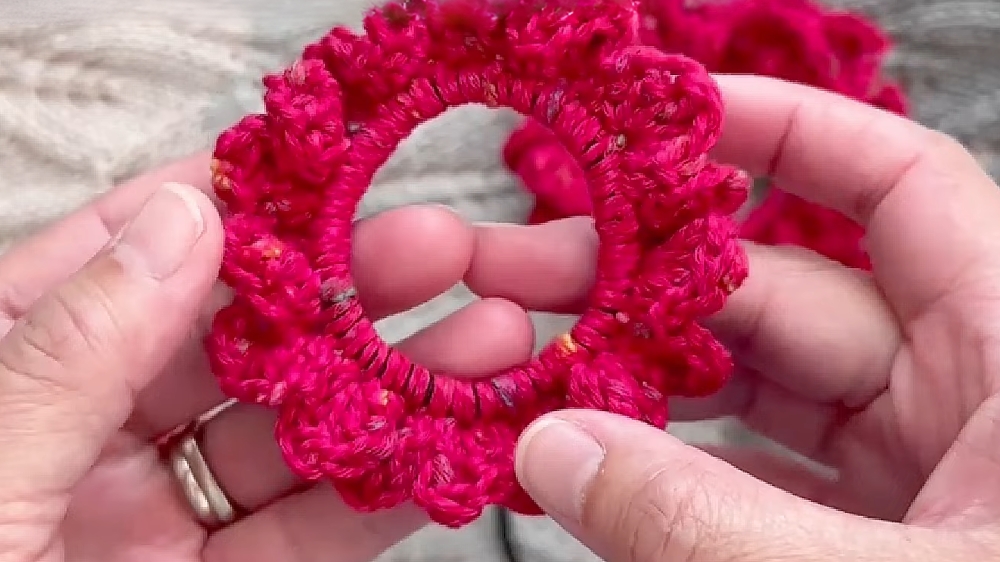
Chic Crochet Scrunchie Pattern with Handmade Charm
The construction of a scrunchie highlights both beauty and function. Its stretch allows it to adapt easily to different hair types, from fine to thick, while the fabric-like softness ensures comfort throughout the day. Available in a range of colors and textures, it can complement outfits effortlessly, offering versatility for casual looks, office wear, or even evening styles. Beyond its practicality, it carries a touch of nostalgia, echoing the classic accessory that has remained a favorite across generations.
Stylish, lightweight, and functional, the scrunchie stands as more than just a hair tie—it is an everyday essential that combines ease, charm, and durability, enhancing hairstyles with both beauty and care.
Materials Needed:
- A hair elastic.
- A 4mm crochet hook.
- Yarn: The video doesn’t specify the yarn type, but any yarn from your stash should work.
- Stitch markers.
- Scissors.
Step-by-Step Instructions
Steps:
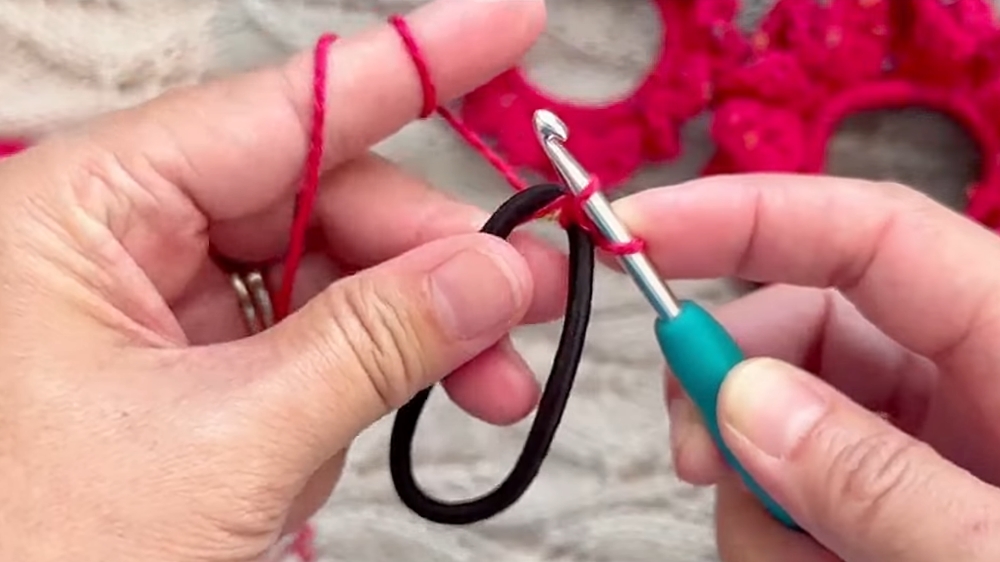
- Setup Row – Anchoring the Yarn:
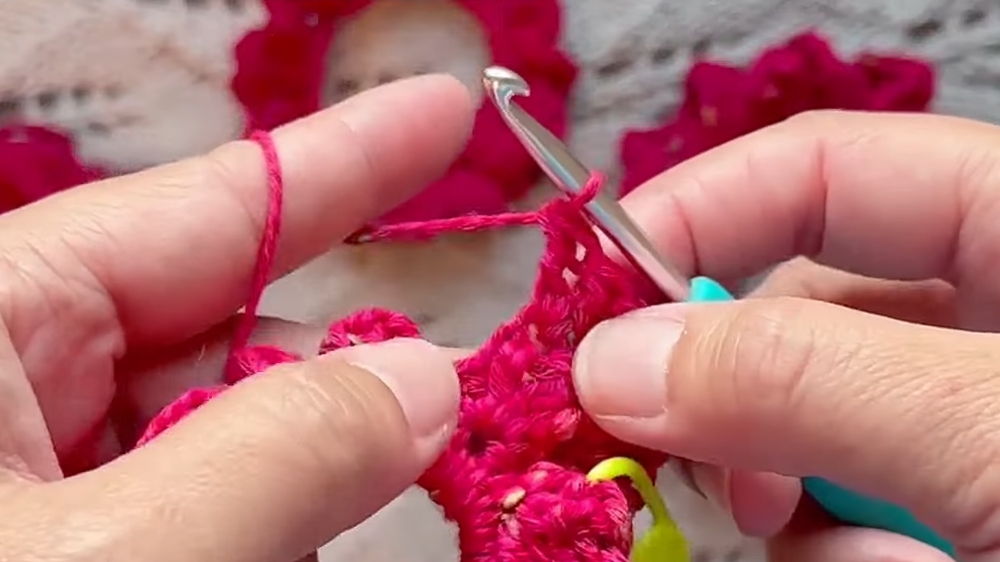
- Start by looping your yarn around your finger and pinching the hair elastic.
- Hold the yarn behind the elastic, yarn over, and create your first chain.
- Yarn over again, pull through, and complete your first single crochet. Mark this with a stitch marker.
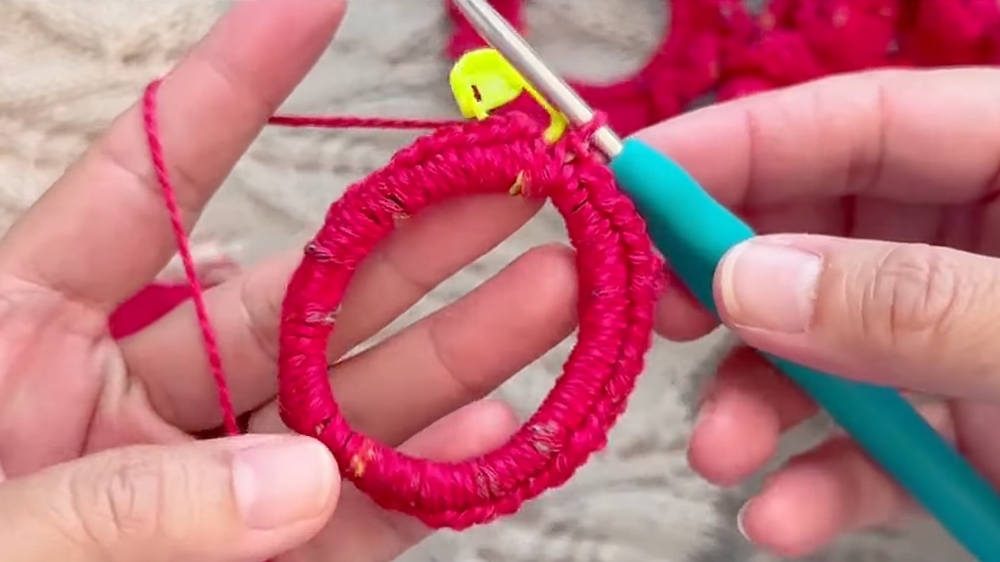
- Continue to single crochet around the hair elastic, ensuring your stitch count is a multiple of 6, as this will form the base for the frilled pattern.
- When you complete the row, join to the first stitch without fastening off.
- Round 1 – Creating the Frilled Edge:
- Remove the stitch marker and make a single crochet into the marked first stitch. Place the marker back to keep track of the beginning of the round.
- Into the next stitch, crochet the following stitches:
- 1 half double crochet (HDC)
- 1 double crochet (DC)
- 1 treble crochet (Tr)
- 1 double crochet (DC)
- 1 half double crochet (HDC)
- This entire set of stitches goes into the same stitch. This forms the "petal" shape that’s characteristic of the scrunchie.
- Move to the next stitch and repeat the pattern: 1 single crochet followed by the petal stitches (HDC, DC, Tr, DC, HDC) in the subsequent stitch.
- Continue this sequence of pattern repeats all the way around.
- At the end of the round, slip stitch into the first marked stitch to close. If you want a smaller scrunchie, you can stop here.
- Round 2 – Adding More Frills (Optional for Larger Scrunchie):
- Without slip-stitching to begin, directly crochet a single crochet into the first stitch of Round 1. Mark this stitch to denote the beginning of the round.
- Into the next stitch, crochet the following:
- 1 half double crochet (HDC) and 1 double crochet (DC) into the same stitch.
- Into the next stitch, make 2 double crochets.
- Into the following stitch, work 2 treble crochets.
- Into the next stitch, work 2 double crochets.
- Into the final stitch of the repeat, work 1 double crochet and 1 half double crochet.
- Repeat this sequence all the way around.
- Once you reach the end, slip stitch into the first stitch, fasten off, and weave in the ends.
Special Features
- Versatility: The scrunchie can be made in two sizes—small for a subtler look or large for a statement "Texas-sized" scrunchie.
- Petal-Like Design: The layering of the petal-shaped stitches creates a lovely texture and a frilly, festive look.
- Customizable Finish: Optional Round 2 adds an extra flounce, allowing you to personalize the scrunchie’s fullness.
Level of Difficulty
This project is beginner-friendly yet engaging for intermediate crocheters. Basic stitches like single crochets, half double crochets, double crochets, and treble crochets are required. Newbies may find the combination of stitches into one base stitch slightly challenging but manageable with some practice.
Tutor's Suggestions
- Stitch Count: Ensure your setup row contains a multiple of 6 stitches, as each pattern repeat requires 6 stitches to align correctly.
- Use Stitch Markers: Mark the first stitch of each round to avoid losing track of where the round begins.
- Tight Magic Circle: For a flawless center, make single crochets snug around the hair elastic for better structure.
- Experiment: Mix and match yarn textures and colors to create unique looks!
Uses
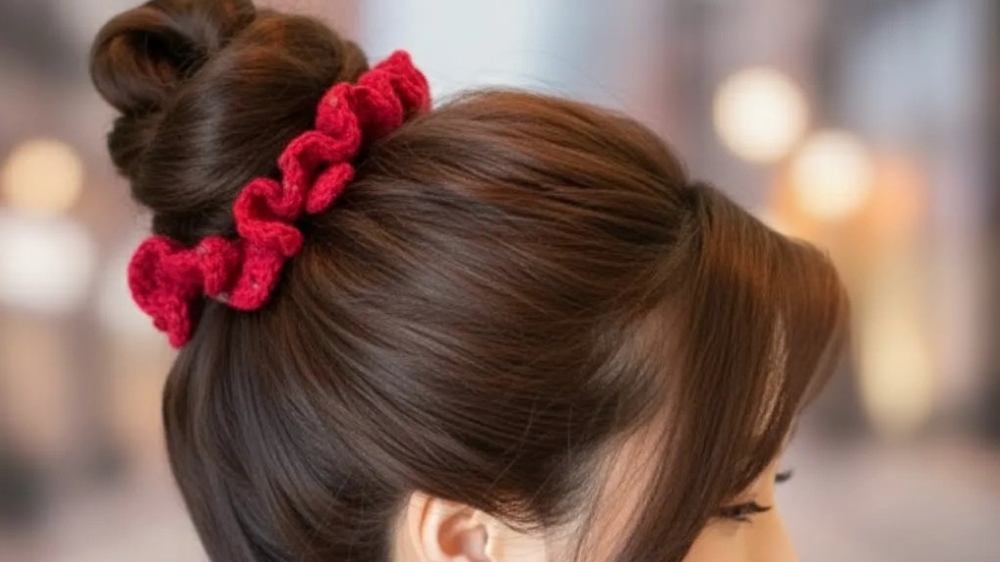
- Hair Accessory: A stylish, handmade scrunchie for ponytails, buns, or half-up hairstyles.
- Gift Idea: Perfect as a quick, personalized present for friends and family.
- Eco-Friendly Alternative: Crochet scrunchies are reusable and a sustainable option over store-bought elastic bands.
Conclusion
This crochet hair scrunchie project is a fun, creative, and practical way to learn or enhance your crochet skills. Its adorable design, coupled with its ease of customization, makes it a great gift or a lovely addition to your accessory collection. With just a bit of yarn and some time, you can create something beautiful and functional.
Tip
To ensure the scrunchie is sturdy, use a durable hair elastic and choose a yarn that has good elasticity and structure—like cotton or a cotton-blend yarn.


