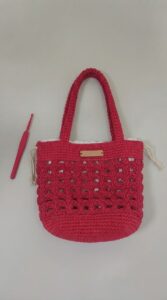
Creating your own adorable foldable pumpkin bag with the art of crochet! This fun project turns strands of orange, brown, and green yarn into a charming little pumpkin. With a hook in hand, you'll crochet in and out, watching as your pumpkin takes shape right before your eyes. Not just cute, but practical too, this pumpkin bag can fold up when you're not using it.
Crochet Foldable Pumpkin Bag

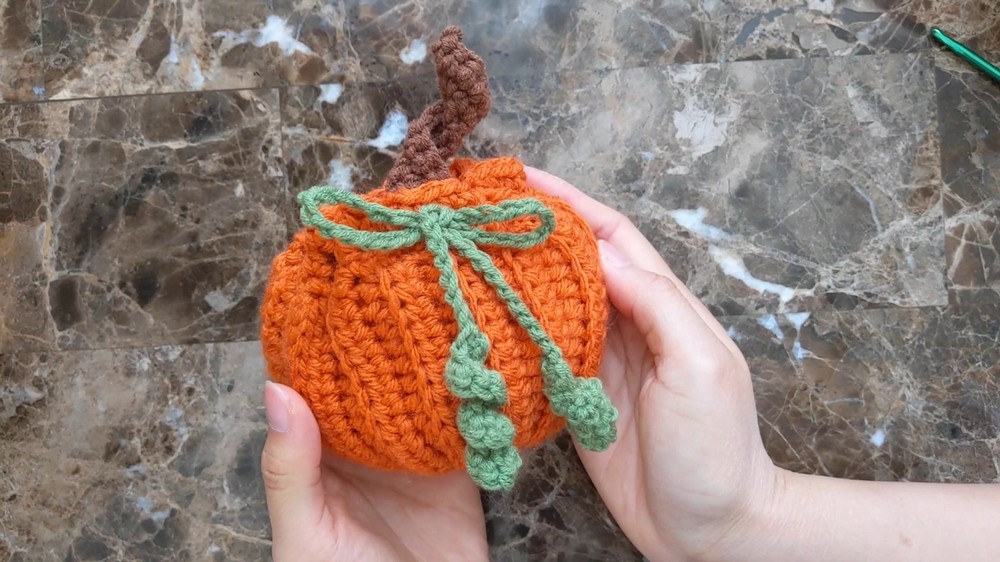
Let yourself carrying around your little crochet creation, a perfect accessory for the fall season or a delightful handmade gift for someone special. It's a project that blends creativity, skill, and a bit of magic to bring a little pumpkin to life.
Materials:
- Orange, brown, and green yarn
- 4 mm crochet hook
- Scissors
- Threading needle
Pumpkin Shell (Worked in Rows):
- Row 1: Chain 16. Starting from the second chain from the hook, make a half double crochet in the next 12 stitches, then slip stitch in the last 3 stitches. You should have a total of 15 stitches.
- Row 2: Chain 1 and turn. Work in the back loops only—slip stitch in the next 3 stitches, followed by half double crochet in the last 12 stitches.
- Row 3-32: Repeat Row 2.

- Fold the piece in half and slip stitch the side together to close it. Sew the bottom closed with a zigzag pattern to close it like a drawstring.
Top Border of Shell:
- Single crochet around the top of the shell to make a border (48 stitches total), placing 3 single crochets between each ridge of the pumpkin (beginning, middle, and end).
Inner Bag (Worked in Rounds):
- Round 1: Chain 4, skip the next stitch, and double crochet in the following one. Repeat this (chain 1, skip 1, double crochet) around, working in the back loops only.
- Round 2-8: Repeat Round 1 but crochet into both loops.
- Round 9 (Handle Creation): Follow the pattern until the third double crochet, then chain 29. Skip 4 double crochets, and double crochet into the fifth. Continue until you have 7 double crochets, chain 29 again, skip 4, and double crochet into the fifth. Finish the round as per the pattern.
- Round 10: Repeat the pattern from Round 1, continuing over the chain to create the handle.
Drawstring Portion:
- Slip stitch yarn on the top of the shell.
- Chain 3, then half double crochet into every other stitch around, creating a total of 24 half double crochets by the end of the round.
- For the final round, chain 1 and single crochet into every stitch (48 stitches total).
String Creation:
- Chain 13 for the curly vine part, then increase in the next 12 stitches.
- Chain until you reach your desired length for the string.
- Create a second curly vine part by chaining an additional 13 and increasing in the next 12 stitches.
Stem Creation (Worked in Rows):
- Row 1: Chain 16. Starting from the second chain, single crochet in the next 15 stitches.
- Row 2: Chain 1 and turn. Single crochet in the next 11 stitches, then increase in the last 4 stitches.
- Row 3: Chain 1 and turn. Single crochet into every stitch (19 single crochets total). This creates a stem that resembles a little candy cane.

Assembling the Bag:
- Sew the stem onto the top of the bag.
- Weave the string through the holes at the top of the shell.
- Attach the stem by sewing it to the back loops of the shell only.