A chilly day calls for something cozy yet stylish, and a leg warmer is the perfect accessory to keep your legs warm while looking fashionable. A crochet leg warmer pattern is great for creating a snug, handmade touch that pairs beautifully with boots, sneakers, or flats. It works well for casual outings, relaxing at home, or even staying warm during a winter dance session.
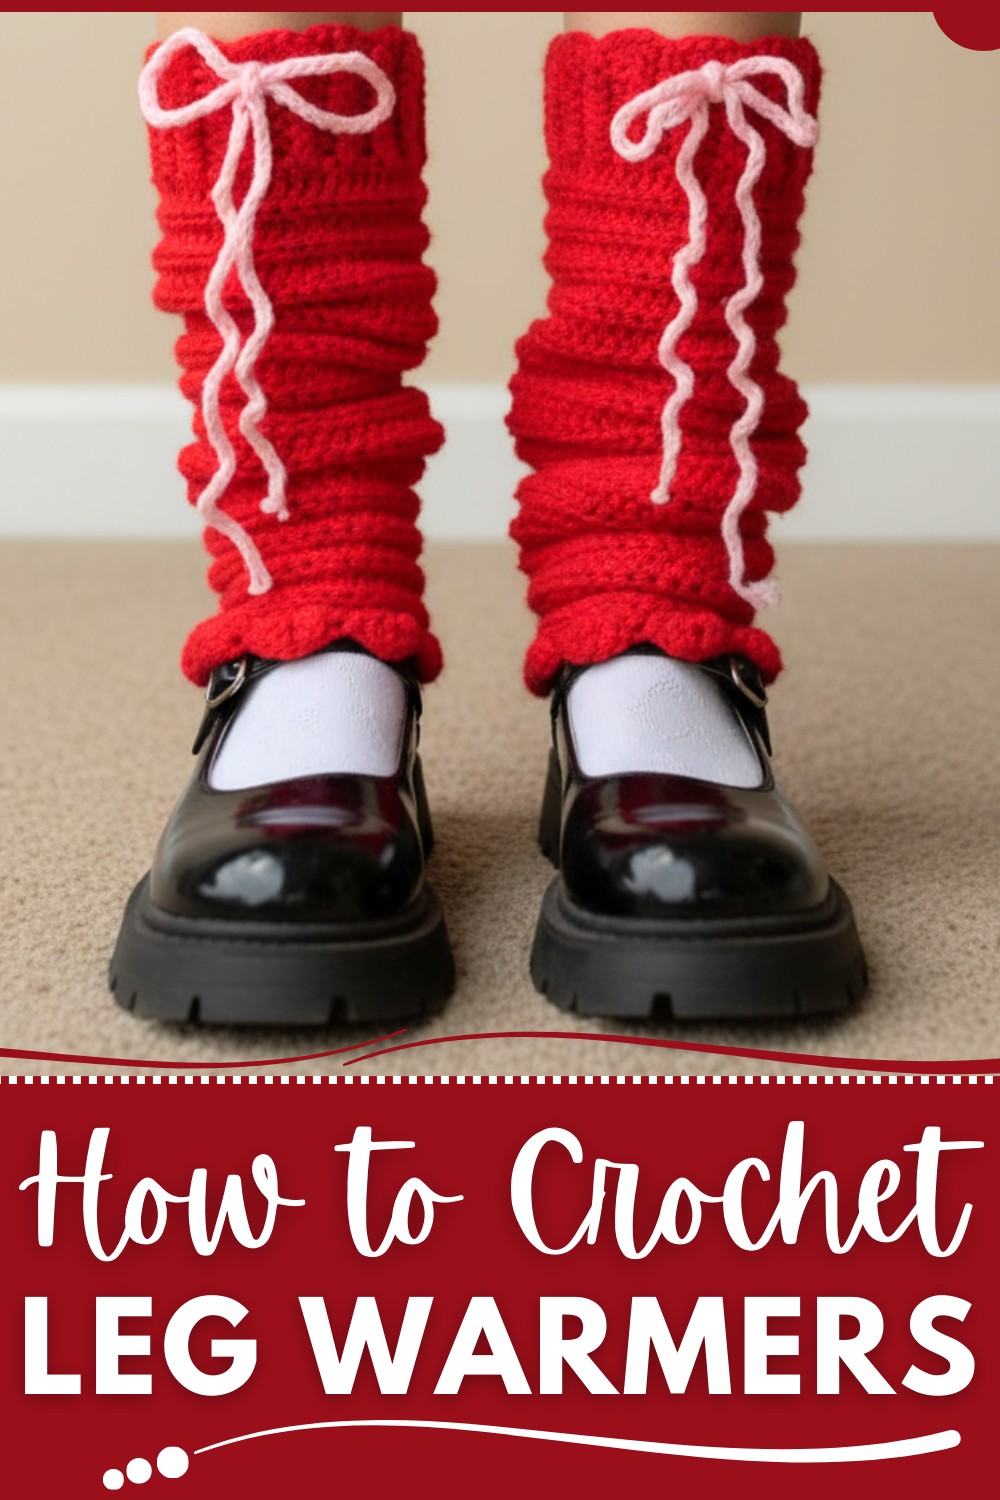
A bow detail can be added for a playful yet polished charm, making it a lovely personal item or a thoughtful gift. Lightweight and versatile, its endless options for colors and textures allow you to match it with leggings, skirts, or jeans. A leg warmer blends warmth and style effortlessly, perfect for colder days.
Versatile Crochet Leg Warmer Pattern to Style Your Way
Materials List
Required Supplies
- Yarn: Weight category #4 acrylic yarn
- Example: 100% acrylic yarn
- Two colors recommended (e.g., pink and red for contrast).
- Crochet Hook: Size 4 mm (G).
- Scissors
- Optional Item: Stitch markers (recommended for marking rows with holes for accurate placement).
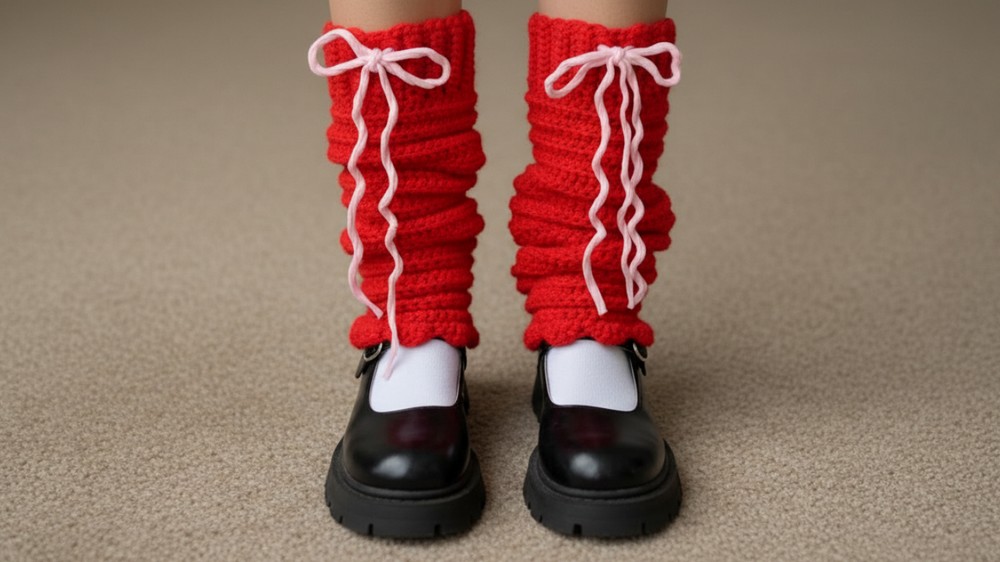
Crochet Winter Leg Warmers with Ribbed Cuff
This written step-by-step pattern guides intermediate to advanced crocheters through crocheting elegant winter leg warmers with a ribbed cuff, scrunched body, and scalloped edge. It is designed to highlight functionality and aesthetic appeal.
Skill Level:
Intermediate to Advanced
Key Abbreviations (US Crochet Terminology)
- CH: Chain
- HDC: Half Double Crochet
- DC: Double Crochet
- SC: Single Crochet
- ST: Stitch
- SL ST: Slip Stitch
- BLO: Back Loop Only
Special Notes
- Gauge: Not critical for this project but ensure uniform tension throughout for a neat finish.
- Customization:
- Adjust the cuff width by adding/subtracting HDC rows.
- Measure and test the cuff frequently to ensure it fits over your heel comfortably.
- Add 2–3 inches to the length of the body for a scrunched look.
- Even Rows for Holes: Make sure there is an even number of rows with holes in the cuff—for cleaner threading and symmetry.
Pattern Details
1. Cuff
Step 1: Starting the Cuff
- Begin with a CH 10.
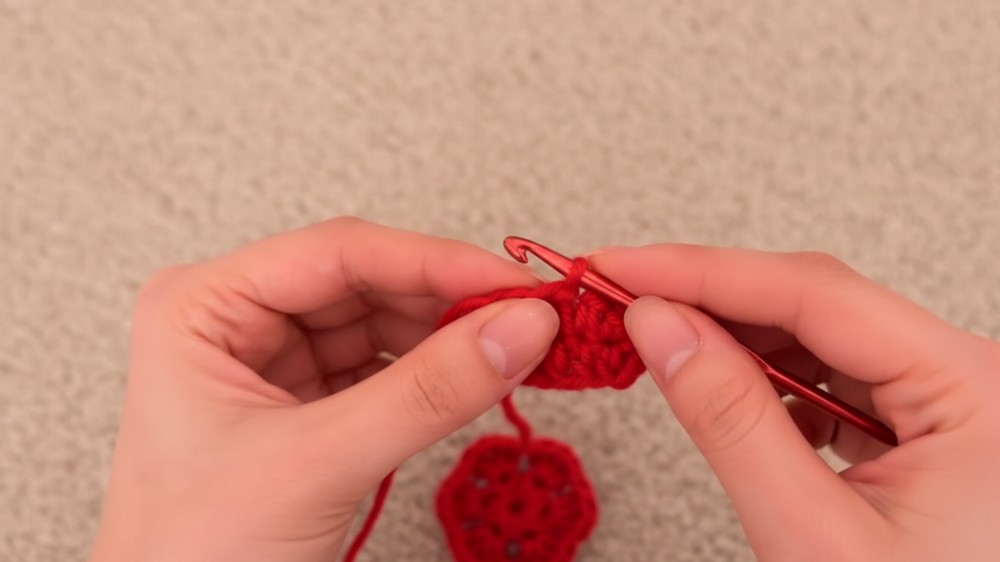
Step 2: Row 1
- Work HDC into the 2nd CH from the hook, then HDC across.
- You will have a total of 9 HDC.
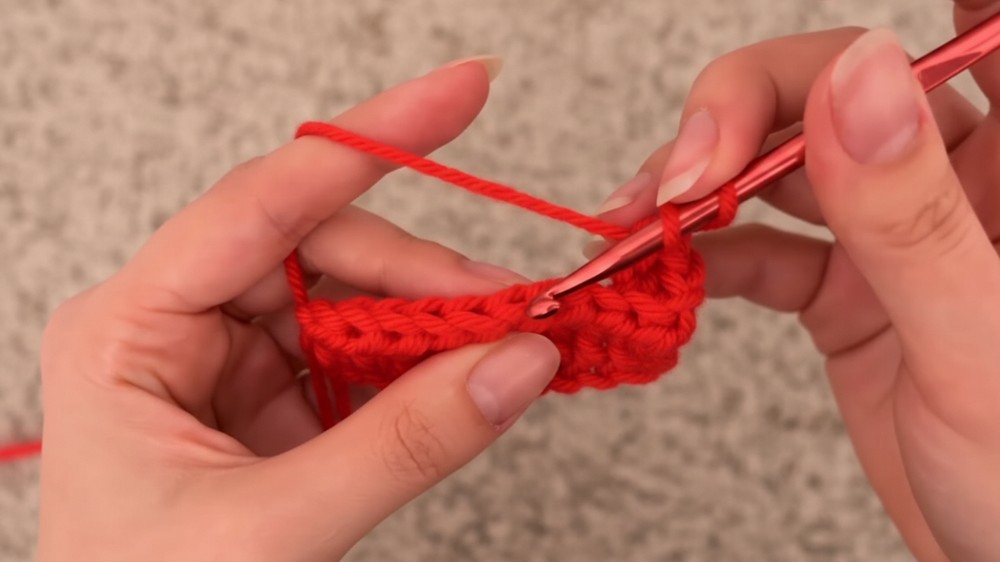
Step 3: Row 2
- CH 1, turn your work, and work 9 HDC into BLO (back loop only).
- This creates the ribbed texture.
Step 4: Adding Holes for Ribbons
- After completing two rows of HDC BLO, work a row creating holes:
- CH 1, turn.
- Work 2 HDC BLO, then CH 1, skip one ST, and work into the next ST.
- Continue with 6 HDC BLO, to complete the row (total: 9 stitches).
- Mark this row with a stitch marker (optional).
Step 5: Repeating Pattern
- Alternate two rows of regular HDC BLO with one row of holes, ensuring alignment of holes on opposite rows:
- Alternate the side of the holes:
- For one hole row, place the gap after 2 stitches.
- For the next hole row (on the opposite side), place the gap after 6 stitches.
- Alternate the side of the holes:
Step 6: Test the Cuff
- Periodically wrap the cuff around your calf or widest part of your leg to test fit.
- Ensure it fits over your heel comfortably. If it doesn’t fit, increase the rows or stitch count slightly.
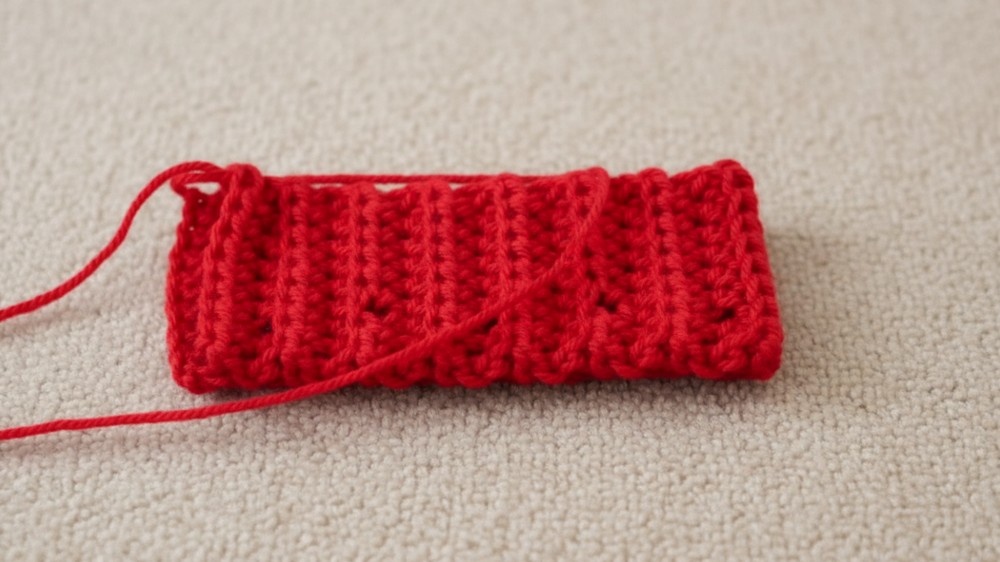
Step 7: Finish the Cuff
- Complete the cuff to your desired size, ensuring an even number of hole rows.
- Total number of holes = 10 (or customize).
- Ensure your hook ends on the same side as the chain holes.
2. Body
Step 1: Measurement and Starting
- Measure the desired length of the leg warmer, adding 1–2 inches for scrunching.
- Begin with CH 1, then turn your work.
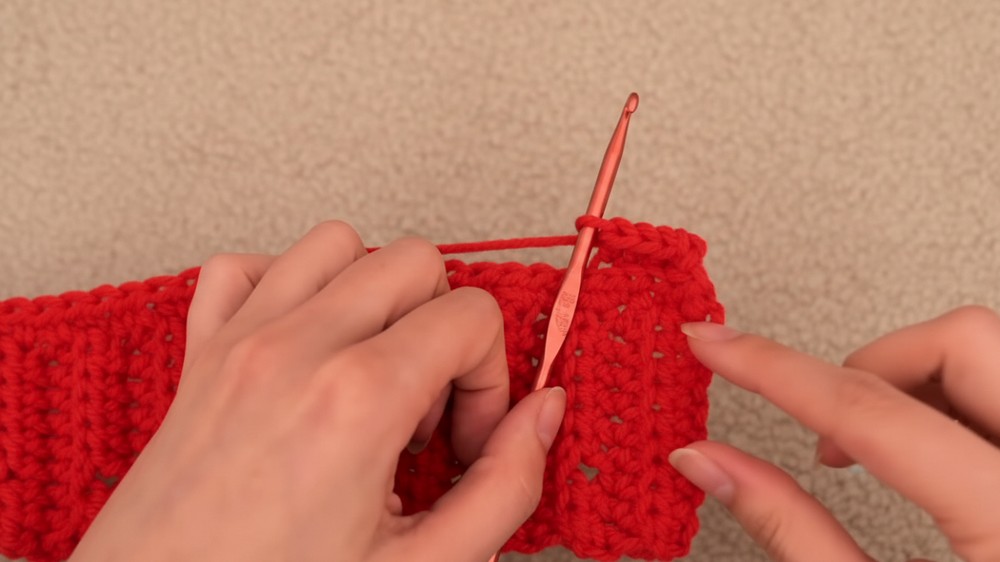
Step 2: Building the Body
- First Row:
- Work HDC across the edge of the cuff.
- Place stitches carefully to avoid bending or flaring.
- Insert stitches evenly across the cuff edge, picking up additional yarn loops for support (if needed).
- Subsequent Rows:
- CH 1, turn, and continue working HDC BLO across.
Step 3: Continuation
- Repeat HDC BLO rows until the body reaches your desired length.
- Example: Total length = 10–11 inches (or customize).
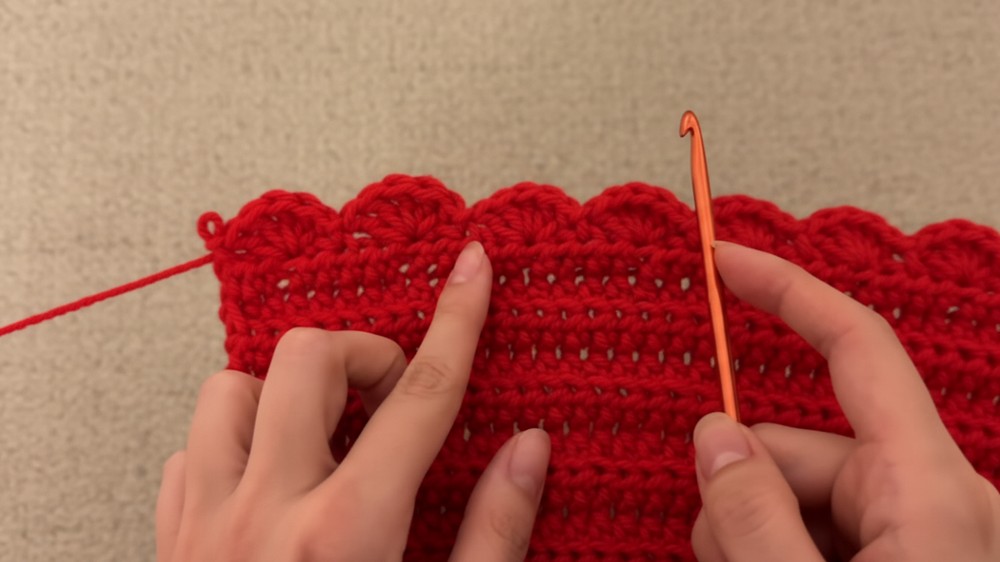
3. Scalloped Edge
Step 1: Creating the Scalloped Design
- Work 5 DC into the 3rd stitch of the row.
- Slip Stitch into the 2nd stitch, securing the scallop.
- Repeat:
- Skip 1–2 stitches (depending on spacing) and work another 5 DC scallop into the 3rd stitch.
- Secure with a slip stitch into the following stitch.
Step 2: Finishing the Scalloped Edge
- Upon reaching the end, adjust scallops for alignment:
- If stitches aren’t perfectly aligned, evenly stretch scallops into remaining gaps.
- Improvisation is acceptable for minor adjustments.
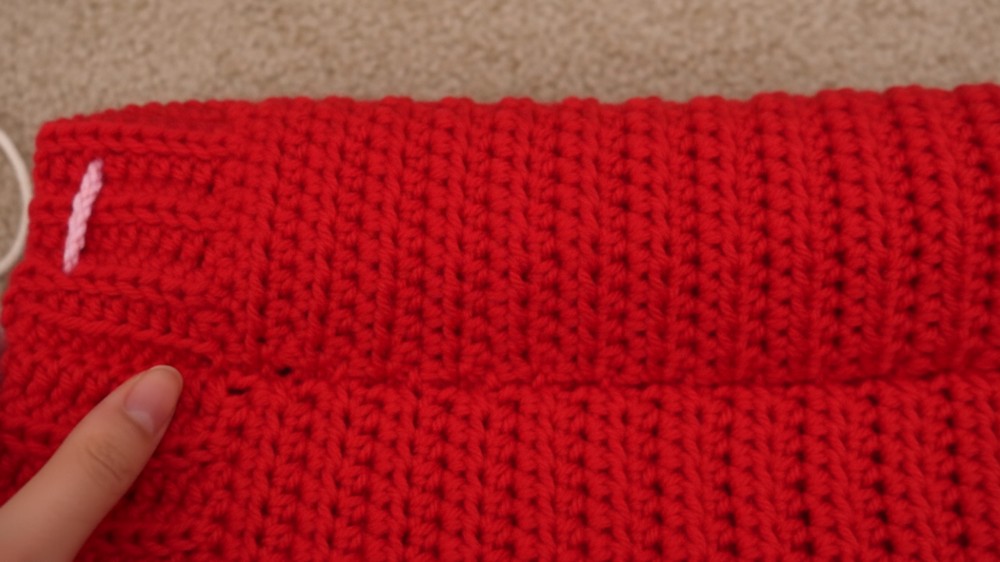
4. Closing the Leg Warmer
Step 1: Seam the Edges
- Fold the two edges together, aligning the rows.
- Slip stitch through both sides, working stitch by stitch.
- Ensure symmetry and alignment (use markers if necessary).
Step 2: Finishing Touches
- Flip the leg warmer inside out to hide the seam.
- Weave in any loose tails with scissors.
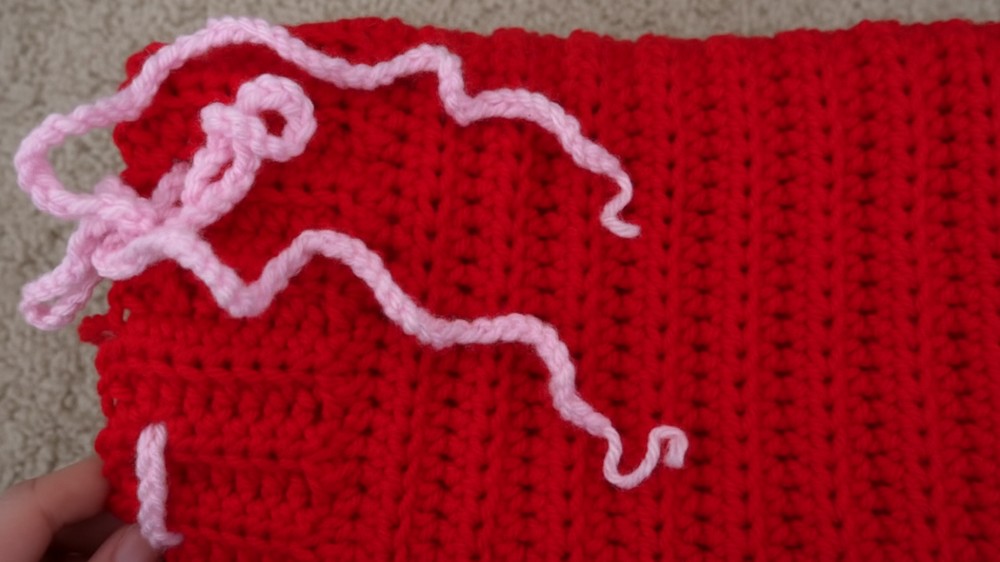
5. Creating the Ribbon
- Single Chain:
- Create a long CH in the contrasting yarn color for threading through the holes in the cuff.
- Thread the Ribbon:
- Weave the ribbon through the holes evenly.
- Tie into a bow for the finished look.
Conclusion
Congratulations on completing your winter leg warmers! The ribbed cuff provides a snug and adjustable fit, while the scalloped edge adds a decorative flair. These cozy leg warmers are an ideal accessory for the winter season, keeping you warm and stylish.
Pattern Corrections
- Hole Row Misalignment: If holes don’t align properly, double-check stitch placement and alternate rows for even spacing on each side.
- Cuff Size: Ensure the cuff fits over your heel by testing frequently. Adjust row and stitch count as needed.
Tips for Success
- Testing Fit: Regularly test the cuff to ensure it fits comfortably over your heel.
- Customization: For a less scrunched look, reduce rows in the body.
- Cleanup and Finishing: Use stitch markers to identify rows with holes for cleaner threading of the ribbon.