Timeless clothing crafted carefully always makes a statement. Utilizing a crochet overalls pattern allows you to fashion a piece that balances both style and practicality. Combined artfully with a fitted blouse for an elegant look or layered over a casual tee, this overalls provide comfort and adaptability regardless of the season.
They seamlessly transition from the playful needs of a toddler's wardrobe to offering a relaxed yet chic style for adults. The customizable options in textures and colors ensure a personal touch, making this wardrobe essential more than just an outfit. It stands as an expression of personal style, destined to be cherished and worn for years to come.
Cozy Crochet Overalls Pattern That Fits Any Style
Materials
Essential Supplies
- Yarn: Cotton yarn, suitable for 2-3mm crochet hooks (e.g., lightweight or fingering weight yarn).
- Example: 100% cotton yarn for amigurumi.
- Use any color based on preference.
- Hook: 3.25mm (D3) crochet hook.
- Notions:
- Ribbon (for straps if making overalls).
- Small buttons (2 pieces for overall straps).
- Needle and thread matching your ribbon color (for sewing buttons and straps).
- Stitch markers.
- Scissors.
- Measuring tape.
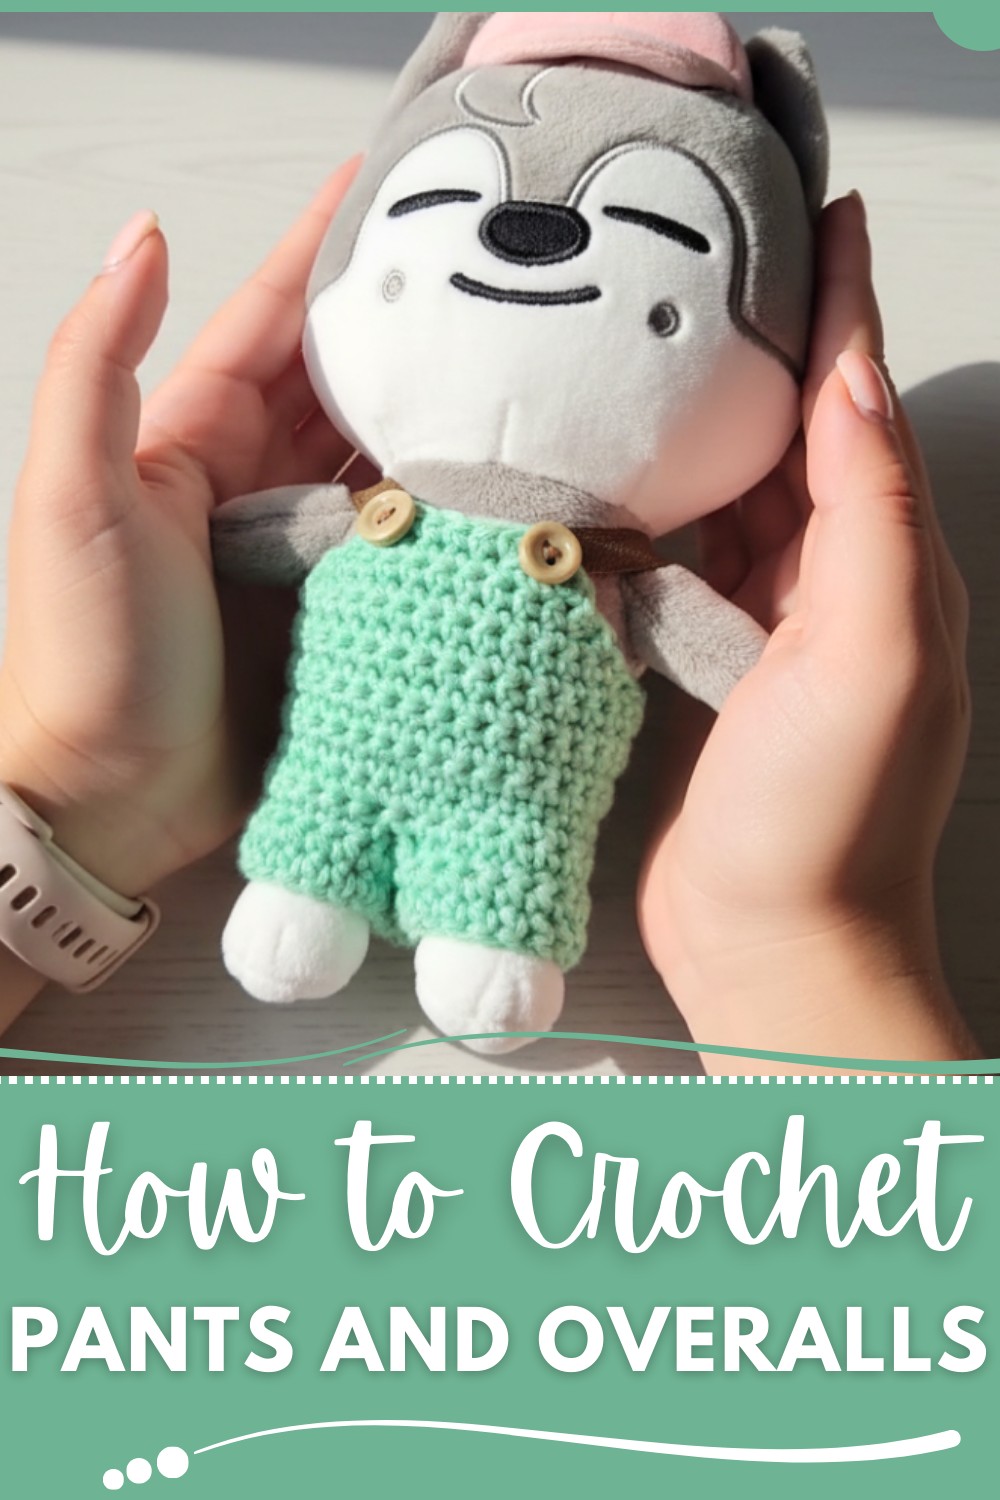
Crochet Pants/Overalls Pattern for Doll
This detailed guide will teach you how to crochet wearable pants or overalls for a standard 20cm SK2 doll. This pattern is beginner-friendly with a few intermediate techniques, making it easy to customize into pants or continue into a full set of overalls.
Finished Size
- Designed to fit 20cm SK2 dolls.
- Can be easily modified for larger or smaller dolls (Pattern Variations section covers size adjustments).
Pattern Instructions
Part 1: Pants Base (Legs)
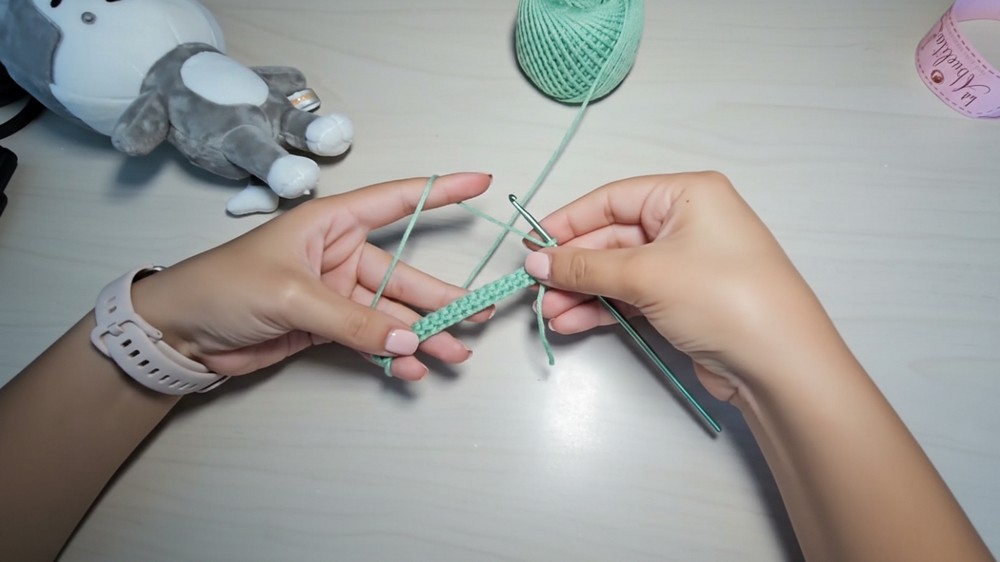
Step 1: First Leg
- Start with a slip knot, and chain 20.
- This chain forms the width around the doll’s leg. Ensure it provides enough space to slip on and off while fitting snugly. (Tip: Test on doll’s leg before proceeding.)
- Row 1: Work sc into the 2nd ch from the hook and across (19 sc).
- Row 2–4:
- Ch 1, turn, and sc across (19 sc).
- Check the fit against the doll’s inner leg. The length should fully cover the inner leg, but not fall too far below the foot.
- Fasten off and leave a tail.
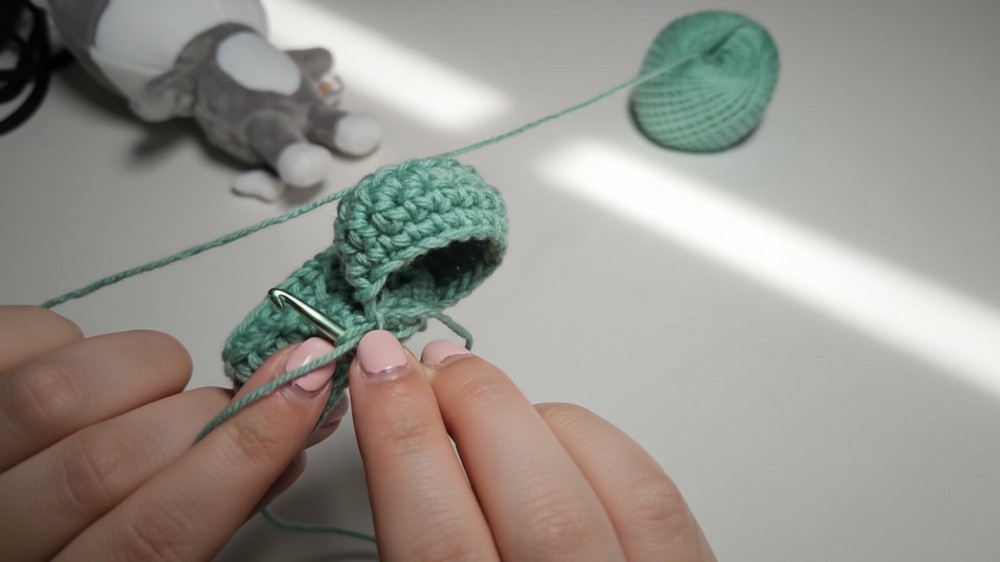
Step 2: Closing the First Leg
- Fold the leg panel in half lengthwise, ensuring no twists in the fabric.
- Use slip stitches to sew the edges together:
- Insert your hook into the first sc and the corresponding chain on the opposite side. Yarn over and pull through both loops to create a clean seam (approx. 3–4 sl st).
- Fasten off securely and weave in ends.
Step 3: Second Leg
- Repeat Step 1 and Step 2 exactly to create the second pant leg.
- Do not fasten off the yarn after completing the seam of the second leg. You will begin attaching the legs together in the next step.
Part 2: Joining the Legs and Body
Step 1: Joining the Legs at the Crotch
- Align the legs so that the seams face inward (these seams will lie on the doll's inner legs).
- Start at the back bottom seam of one leg and join the legs with slip stitches, working through 4 stitches (2 from each side) to create the crotch seam.
- Chain 1 between each stitch join for extra flexibility.
- Continue working single crochet rounds around the opening of the joined legs to create the pant body.
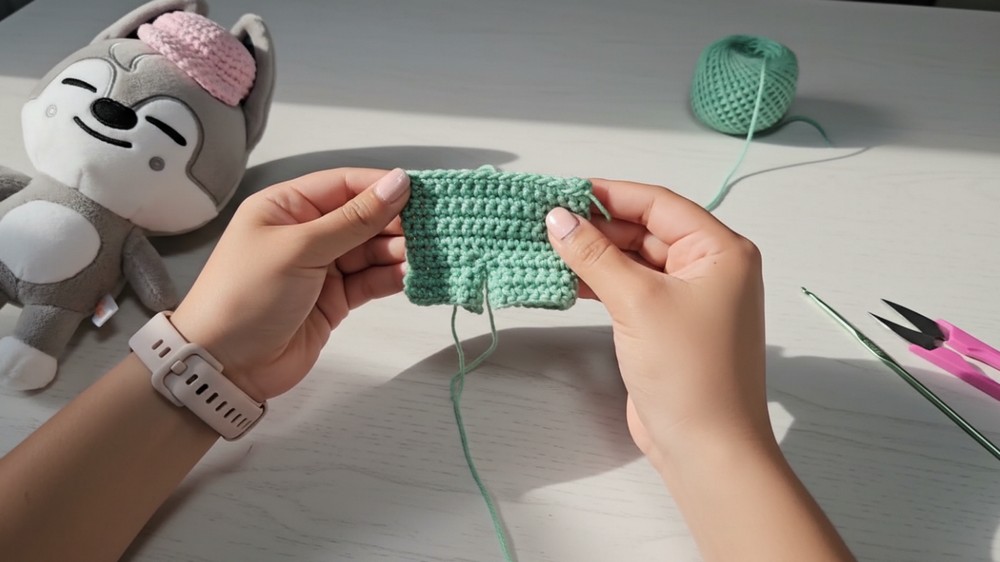
Step 2: Building the Pants Body
- Rows 1-4: Work sc rounds evenly around the top of the pants. Continue shaping until the pants reach the doll's waist:
- Insert your hook into the next stitch, sc evenly along the round, and join with sl st at the end of the round.
- Chain 1 and turn at the end of each row.
- To Add Increases (Optional):
- If desired, create a looser fit at the hips by increasing 1 sc on each side of the pants every few rows, as needed.
- Example: Work an inc at the 8th stitch, sc to the end, and repeat on the following row.
Part 3: Tail Hole
- Once the waist section is close to reaching the doll’s tail, begin leaving an opening for the tail hole:
- Instead of joining rows at the back seam, work back-and-forth sc rows for 3-4 rows to form a small gap.
- After completing the opening, join your work back into a round and close the waist hole with slip stitches.
- Continue working a few more sc rows above the tail hole if desired, to create a high-waisted style.
Part 4: Overall Top
- Mark two points on the front where the top should start.
- To shape the top:
- Attach yarn to the stitch marker and work sc evenly across the front stitches only.
- Row 1: Sc across until the next stitch marker (front panel).
- Row 2+: Continue working back-and-forth rows while decreasing 2 sc at the start and end of each row to form a tapered triangular shape.
- Add buttonholes at the top:
- On the last row, work ch 2, skip 2 stitches, sc across to create the buttonhole.
- Fasten off and weave in ends.
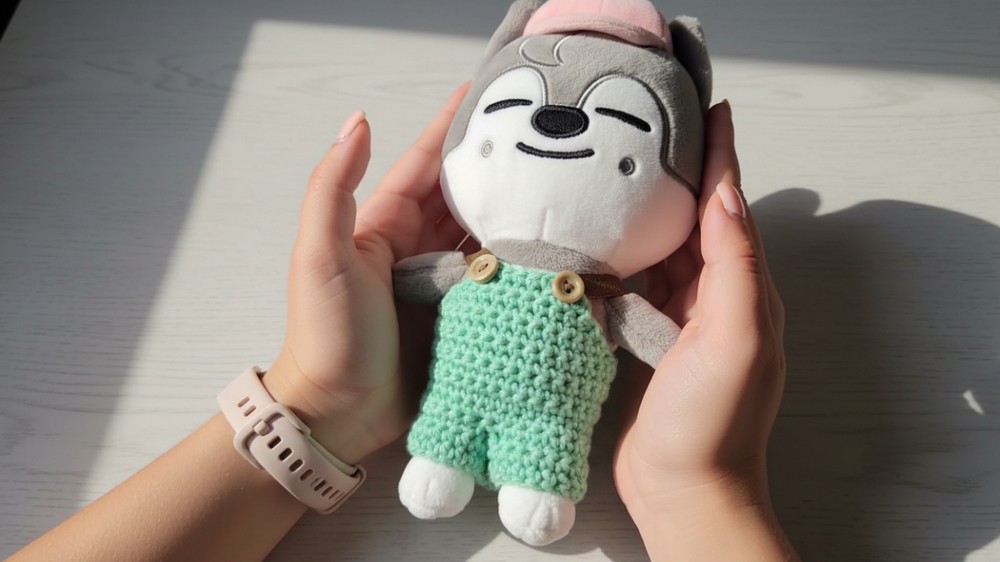
Part 5: Straps and Button Attachment
- Measure and cut two ribbons to the desired strap length. Allow enough overlap for sewing and attaching buttons (approx. 6–8 inches / 15–20 cm each).
- Burn the edges of the ribbon gently (with a lighter) to prevent fraying.
- Sew a button to each ribbon’s end, then attach the other end of the ribbon to the back panel of the pants.
- Position the straps so they cross or align, depending on your desired look.
Tips for Success
- Fit Test Regularly: Test the pants/overalls on the doll after completing major sections (legs, body, tail hole) to ensure a snug fit and proper alignment.
- Tailoring: Add more increases near the waist or hips for a baggier fit, or tighten rows for a fitted style.
- Color Coordination: Use contrasting ribbons or buttons to make the overalls eye-catching.
Customizations
Color Variations:
- Use multiple colors for a striped or patchwork design.
- Add ribbed details or embroidery along the pant legs for extra flair.
Size Adjustments:
- For smaller dolls, reduce the foundation chain (e.g., chain 16 rather than 20).
- For larger dolls, increase the foundation chain and corresponding rows for longer legs and a larger waist.
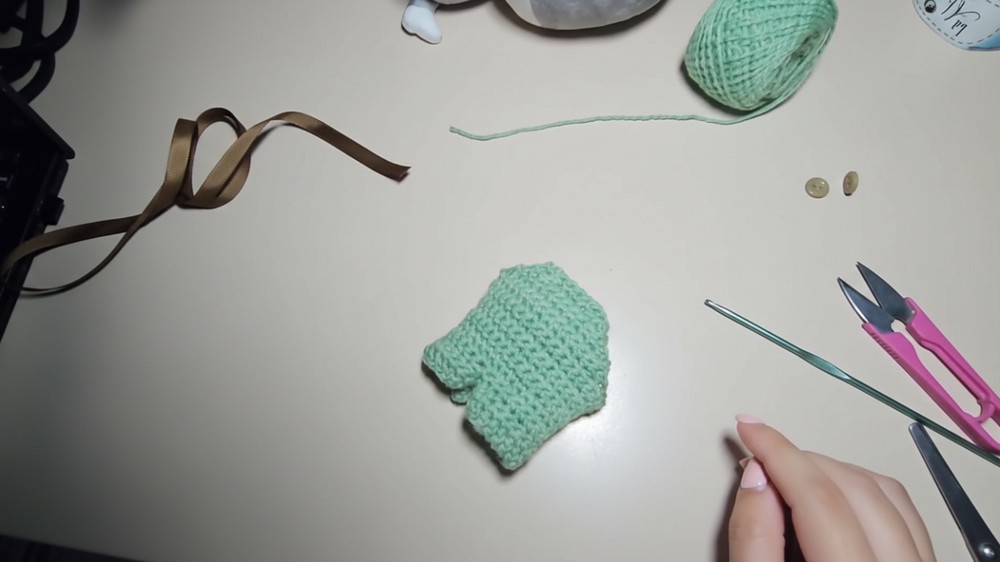
Conclusion
Your crochet pants/overalls for the SK2 doll are complete! Whether you opt for simple high-waisted pants or whimsical overalls with ribbons and buttons, this project brings a stylish touch to your doll’s wardrobe. Don't forget to experiment with colors and embellishments for a unique look!
Final Remarks
- Seams: Ensure seams are on the inner side of the legs and neatly sewn, as the details add to the overall aesthetic.
- Buttons: Secure buttons tightly to prevent detachment during play.