There’s something truly special about crocheting something useful and comforting with your own hands. A crochet slipper pattern offers the perfect way to create a cozy and stylish slipper that suits your personal taste. It can be designed using soft yarn in soothing tones for a simple look or bold colors to add a fun and unique touch.
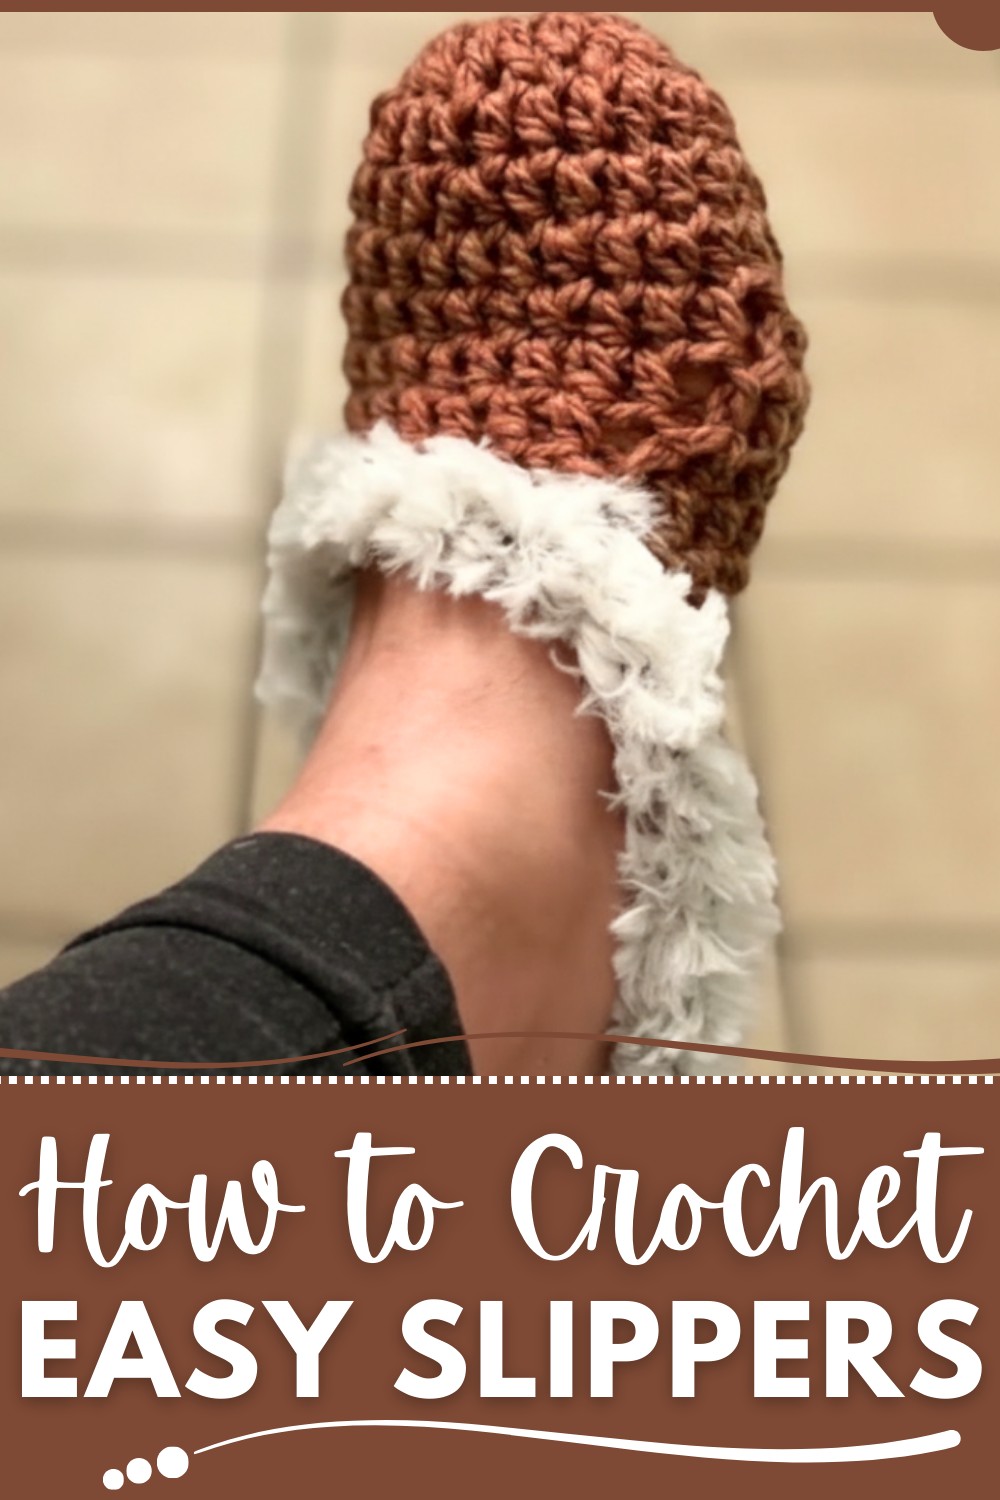
The finished slipper is perfect for keeping your feet warm on chilly mornings or for unwinding in comfort during quiet evenings. This project is not only practical but also a relaxing way to spend time creatively. A handmade slipper adds charm to your everyday routine and makes for a meaningful and thoughtful gift for someone close to your heart.
Soft Crochet Slipper to Warm Your Feet in Style
Materials Required
- Yarn:
- Brand: Red Heart Super Saver or any medium-weight (4/Worsted) yarn.
- Note: Use yarn with the recommended hook size for best results.
- Crochet Hook:
- Size: 5 mm
- Additional Supplies:
- Yarn Needle (for sewing and weaving ends).
- Scissors (to trim excess yarn).
- Optional:
- Decorative or textured yarn for trimming (e.g., frilly or eyelash yarn).
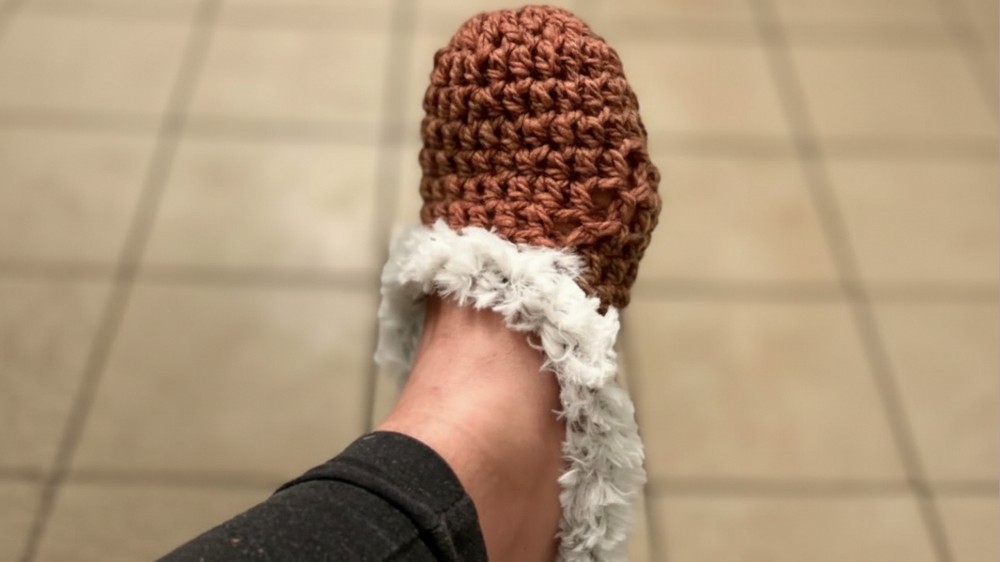
Quick and Customizable Crochet Slippers
This pattern provides simple and detailed instructions to crochet cozy slippers using basic stitches. The slippers are fast, fun, and can be customized to fit any size. Follow this step-by-step guide to create beautiful slippers, perfect for personal use or gifting.
Finished Size
- The slippers are customizable for any shoe size.
- Example size in the video works best for adult medium foot.
Pattern Instructions
Section 1: Toe Section (Round Base)
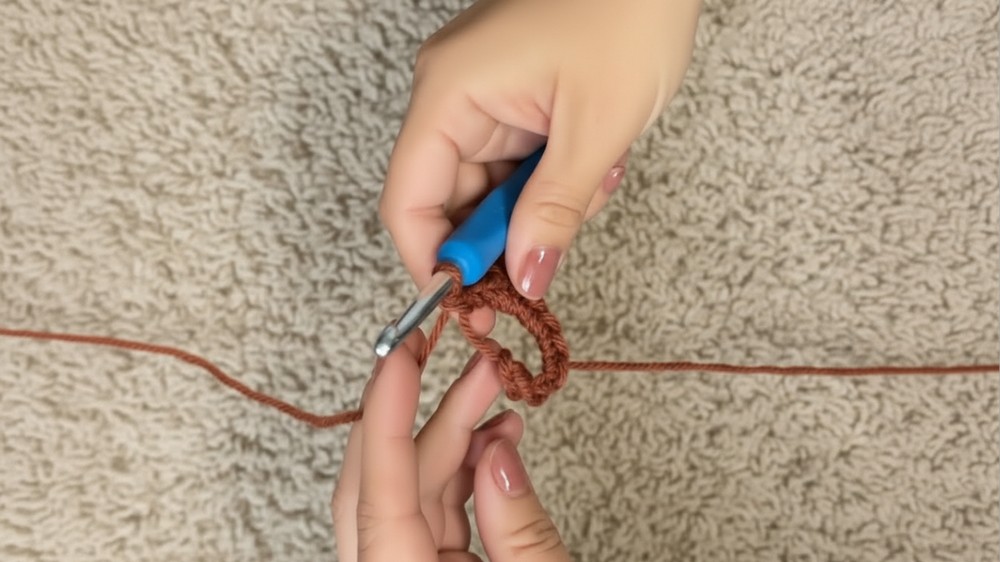
Magic Ring:
- Create a magic ring (method of choice).
- Pull a long yarn tail and twist the loop twice for added security.
- Insert hook into the ring, pull up loop, and chain 1 to secure the circle.
Round 1:
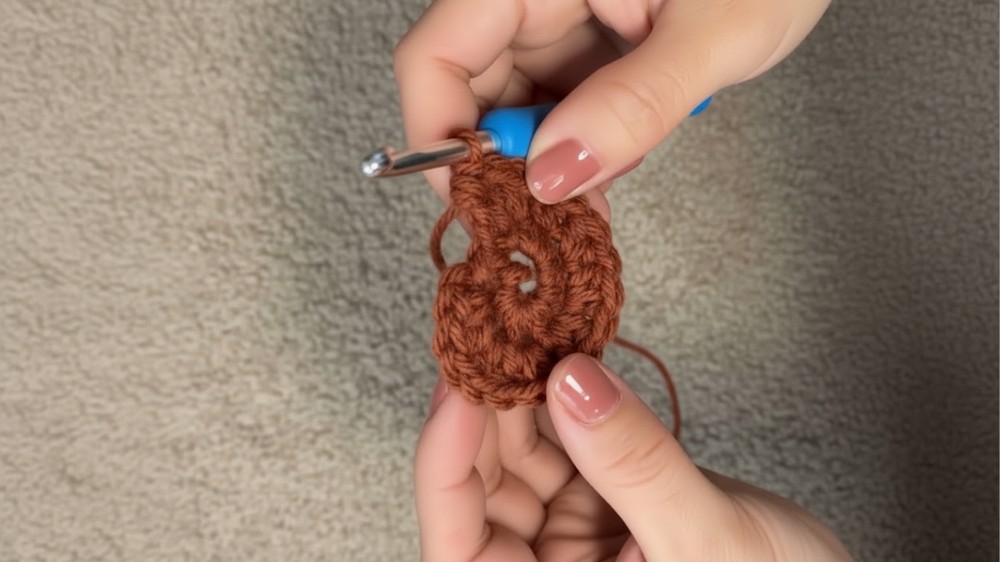
- Work 9 single crochets (SC) into the magic ring.
- Insert hook into the ring, yarn over, pull through the loop, yarn over again, pull through both loops on the hook.
- Pull the yarn tail tightly to close the ring.
- Ensure the circle is smooth and fan it out evenly.
- Slip stitch into the first SC to join.
Section 2: Increasing to Create the Sole
Round 2:
- Chain 2 (does not count as a stitch), and begin working 2 Half Double Crochets (HDC) into each stitch.
- HDC: Yarn over, insert hook into stitch, yarn over, pull up a loop (3 loops on the hook), yarn over, pull through all 3 loops.
- Repeat in each stitch around, creating 18 HDC (increasing from the original 9 stitches).
- Slip stitch into the first HDC to join the round.
Round 3:
- Chain 1, work 1 HDC in each stitch all the way around.
- Maintain 18 HDC for this round.
- Slip stitch to join.
Section 3: Building the Slipper Upper
- Continue working 1 HDC in each stitch around until you reach the mid-foot area of the slipper.
- Slip stitch at the end of each round to close.
Leaving Space for Foot Opening:
- Place your work flat and count 6 stitches for the foot opening.
- Leave these stitches unworked (gap for foot entry).
Row Turning:
- Turn your work.
- Chain 1, and begin working HDC stitches across the row (excluding the 6 unworked stitches).
- Work back and forth in rows, turning each time after finishing a row.
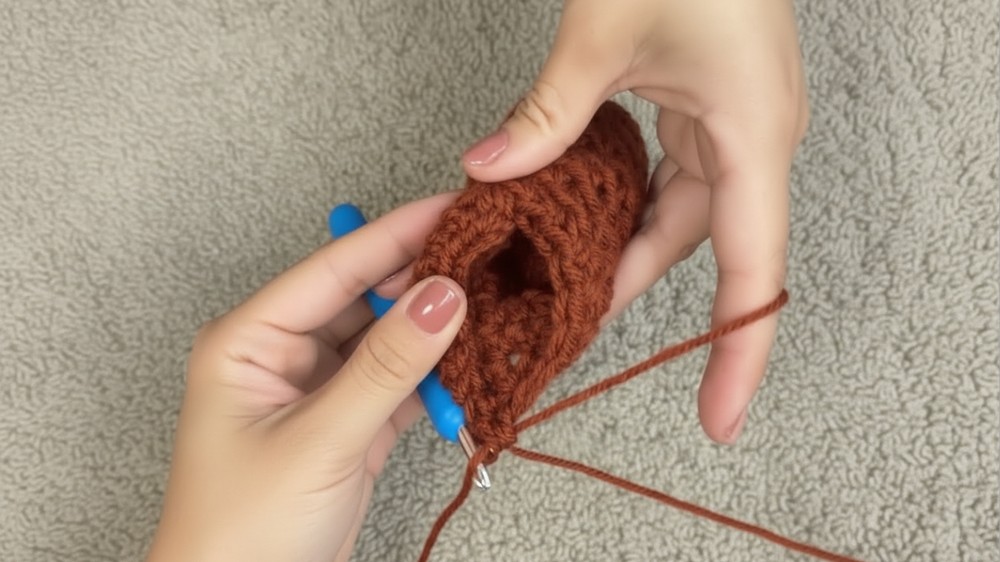
Continue Back-and-Forth Rows:
- Keep repeating the HDC rows until you reach the heel section.
- Measure the slipper against your foot and stop when it covers your heel.
Section 4: Closing the Heel
- Cut Yarn after finishing all rows for the heel section, leaving a long tail for sewing.
- Thread the Yarn through the Yarn Needle:
- Fold the slipper in half horizontally (heel section).
- Use the needle to sew the edges of the heel together.
- Use a lock-stitch method for extra durability (each stitch locks the thread).
- Weave Ends:
- Secure the yarn ends tightly, weave them into the stitches, and trim close to the fabric.
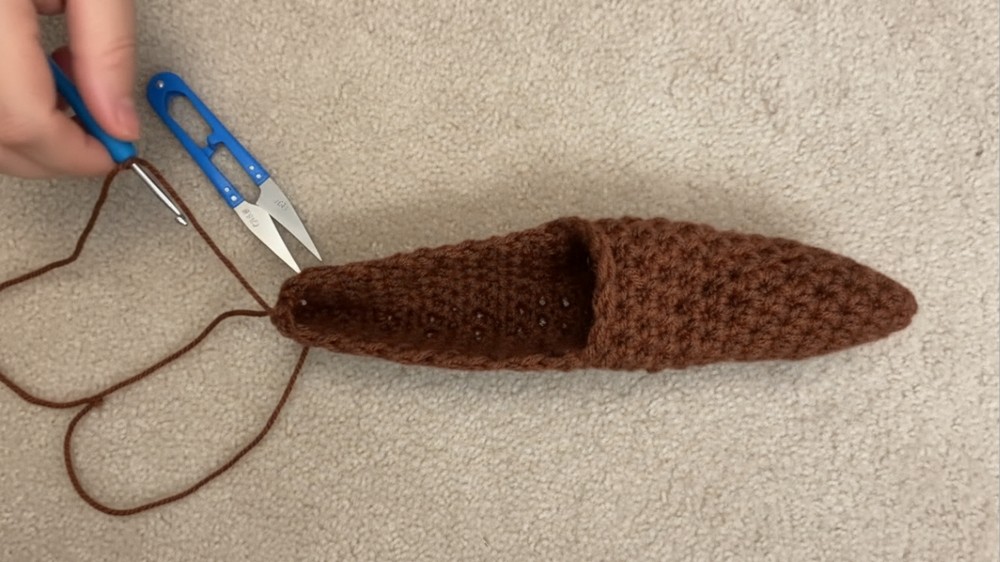
Section 5: Finishing the Toe
- Ensure the toe ring from the beginning is tight and seamless.
- Tug on the yarn tail to close the circle completely.
- Tie knots securely:
- Use a crossing method (knotting into an X shape), then weave ends discreetly on the underside of the slipper.
- Cut excess yarn close to the fabric for a clean finish.
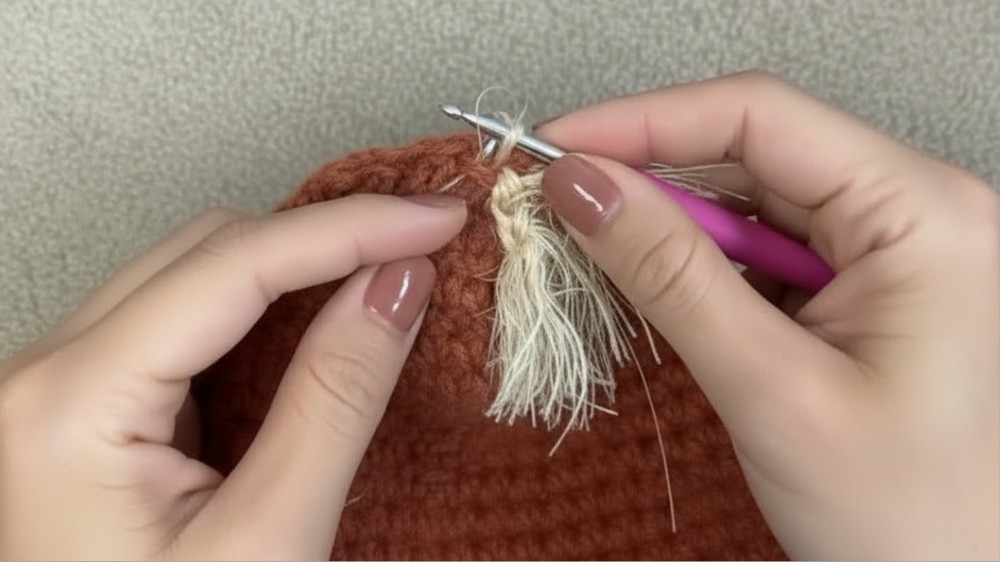
Optional: Adding Decorative Trim
- Choose a frilly or textured yarn for the trim.
- Attach the yarn at the top edge of the slipper opening.
- Work single crochets (SC) evenly around the entire edge to create a decorative border.
- Ensure tight, uniform stitches for a polished look.
- Tie off securely and weave in ends as needed.
Customization Tips
- Sizing: Adjust the slipper for different sizes by increasing/decreasing:
- Toe Section: Modify the starting ring stitch count for smaller or larger feet.
- Sole Diameter: Add more increase rounds for wider feet.
- Heel Rows: Work additional rows for longer feet.
- Decorative Options:
- Add additional embellishments like buttons, bows, or appliques for personalization.
- Use multi-colored yarn or striped patterns for extra flare.
- Non-Slip Soles: Apply fabric glue dots or attach non-slip backing material for hardwood floors.
Special Techniques
- Magic Ring: A seamless foundation for toe sections.
- HDC Stitch: Creates fast and thick fabric, making this project quick and easy.
- Lock-Stitch Sewing: Ensures durable heel closure that won't unravel during washing.
Conclusion
Congratulations! You’ve crocheted a pair of quick and stylish crochet slippers. The simple design is perfect for everyday use, gifting, or selling as handmade creations. Their customizable nature allows you to adapt them for all sizes and preferences.
Important Remarks
- Finished Look: The slippers have a seamless toe, snug upper, and clean finishing at the heel.
- Care Instructions: Machine wash on delicate or hand-wash. Lay flat to dry.