
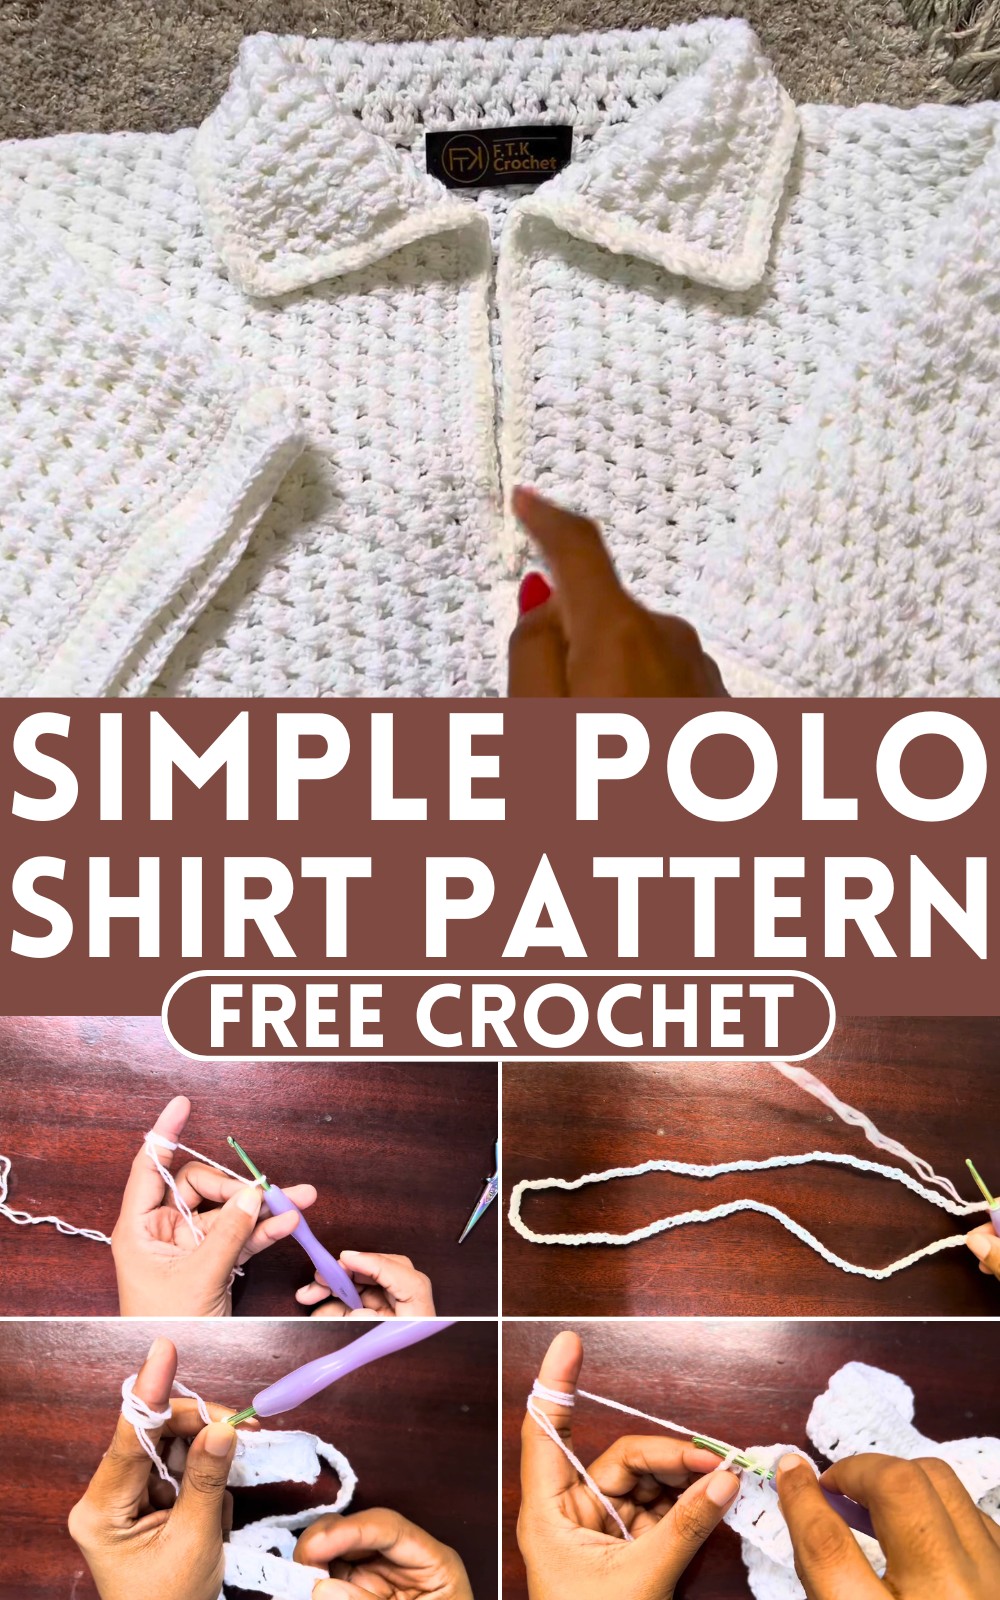
Make your own cozy polo shirt with this crochet project that'll let you weave yarn with a hook, creating a unique shirt all by yourself. Imagine the pride you'll feel wearing something handmade. You'll work through easy stitches that come together to form a comfy shirt, complete with a neat collar and sleeves that fit just right.
Simple Crochet Polo Shirt
Materials Needed:
- Medium weight yarn (two strands combined for fullness)
- 4 mm crochet hook
- Measuring tape
- Stitch markers
- Scissors
- Tapestry needle
Measurements:
- Measure around the chest and divide that number by two. The back panel will be half of your chest measurement, and the front panels will be a quarter of your chest measurement each.
Pattern Overview:
This pattern involves creating three panels (one back and two front panels) using V stitches, then assembling them into a polo shirt. Adjust the number of chains based on the desired length of your shirt.
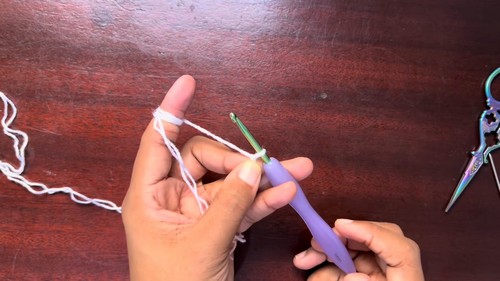
Starting Your Project:
- Beginning Chain: Make a slip knot and chain 122 (or till it measures 30 inches lengthwise when folded, adjusting based on the desired length of your shirt).

Back and Front Panels:
- Row 1: Yarn over, skip 3 chains and into the fourth chain, put 2 double crochets to start your V stitch pattern. Continue by skipping a stitch and putting 2 double crochets in the next stitch across the row.
- Row 2 onwards: Repeat the process of V stitching (skipping a stitch, then 2 double crochets in the next stitch) across each row. The last stitch of each row will be a single double crochet to wrap up.

Dividing the Panels:
- Back Panel: If your chest measures 48 inches, the back panel will be 24 inches wide.
- Front Panels: Divide the width of the back panel by two for each front panel (12 inches each in this case).

Assembling the Shirt:
- Join Front Panels: At the desired neckline opening, join the two front panels up from the bottom to leave space for the polo neck.
- Sewing Panels Together: Use a tapestry needle to sew the shoulder and side seams of the front and back panels together, leaving appropriate openings for the arms and neck.

Creating the Collar and Sleeves:
- Collar: Pick up stitches evenly around the neck opening and create a ribbed pattern (or your preferred collar design) for several rows. Finish with a single crochet edge for a neat look.
- Sleeves: Attach yarn at the underarm and work in rounds to create the sleeve, maintaining the V stitch pattern. Measure the desired length for the armhole and adjust your rows accordingly. Finish with a single crochet edge if desired.
Finishing Touches:
- Weave in all ends with a tapestry needle.
- Optionally, add any desired embellishments or details such as buttons or decorative stitches around the edge of the collar and down the front placket.
Notes:
- The pattern adjustment will be necessary based on the size you are making. It's crucial to measure the intended wearer for accurate sizing.
- The yarn color and hook size can be adjusted to match personal preference or to cater to different sizes.


