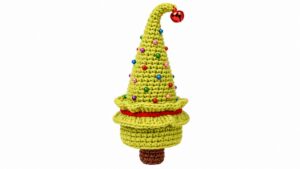
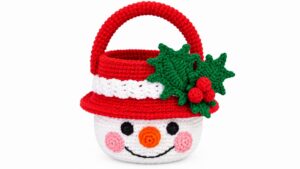
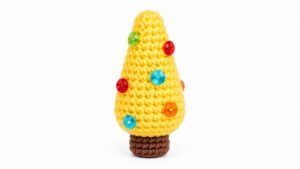
Brighten your festive collection with this Crochet Elf Shoes Free Pattern and enjoy a cute holiday project for gifts, shelves, and Christmas trees.
Inspired by the wonderful YouTube tutorial from @CrochetToysIryna deserves great credit for bringing the charming Crochet Elf Shoes to life. Iryna’s creativity and clear instructions make this project both enjoyable and accessible for crochet lovers of various skill levels.
Tiny Crochet Elf Shoes Free Pattern For Tree Decorations
Crochet Elf Shoes are adorable miniature footwear inspired by classic elf designs. These are perfect for doll accessories, festive decorations, or even as part of a whimsical holiday display. Though the finished size can vary depending on the yarn and hook you use, they are generally small enough to fit on a standard doll or stand beautifully as tiny ornaments.
Key features of these elf shoes include the pointed toes that curl upward delightfully, a cuff or rolled edge, and playful color options that you can customize to suit your style. This project is suitable for intermediate crocheters because it involves working in the round, increasing and decreasing stitches, and some shaping to achieve that iconic elf shoe look.
The steps include making the shoe sole, building up the body with single crochet stitches, and shaping the curled toes with careful stitch work. Finishing touches typically involve sewing or crocheting the cuffs and assembling any decorative details.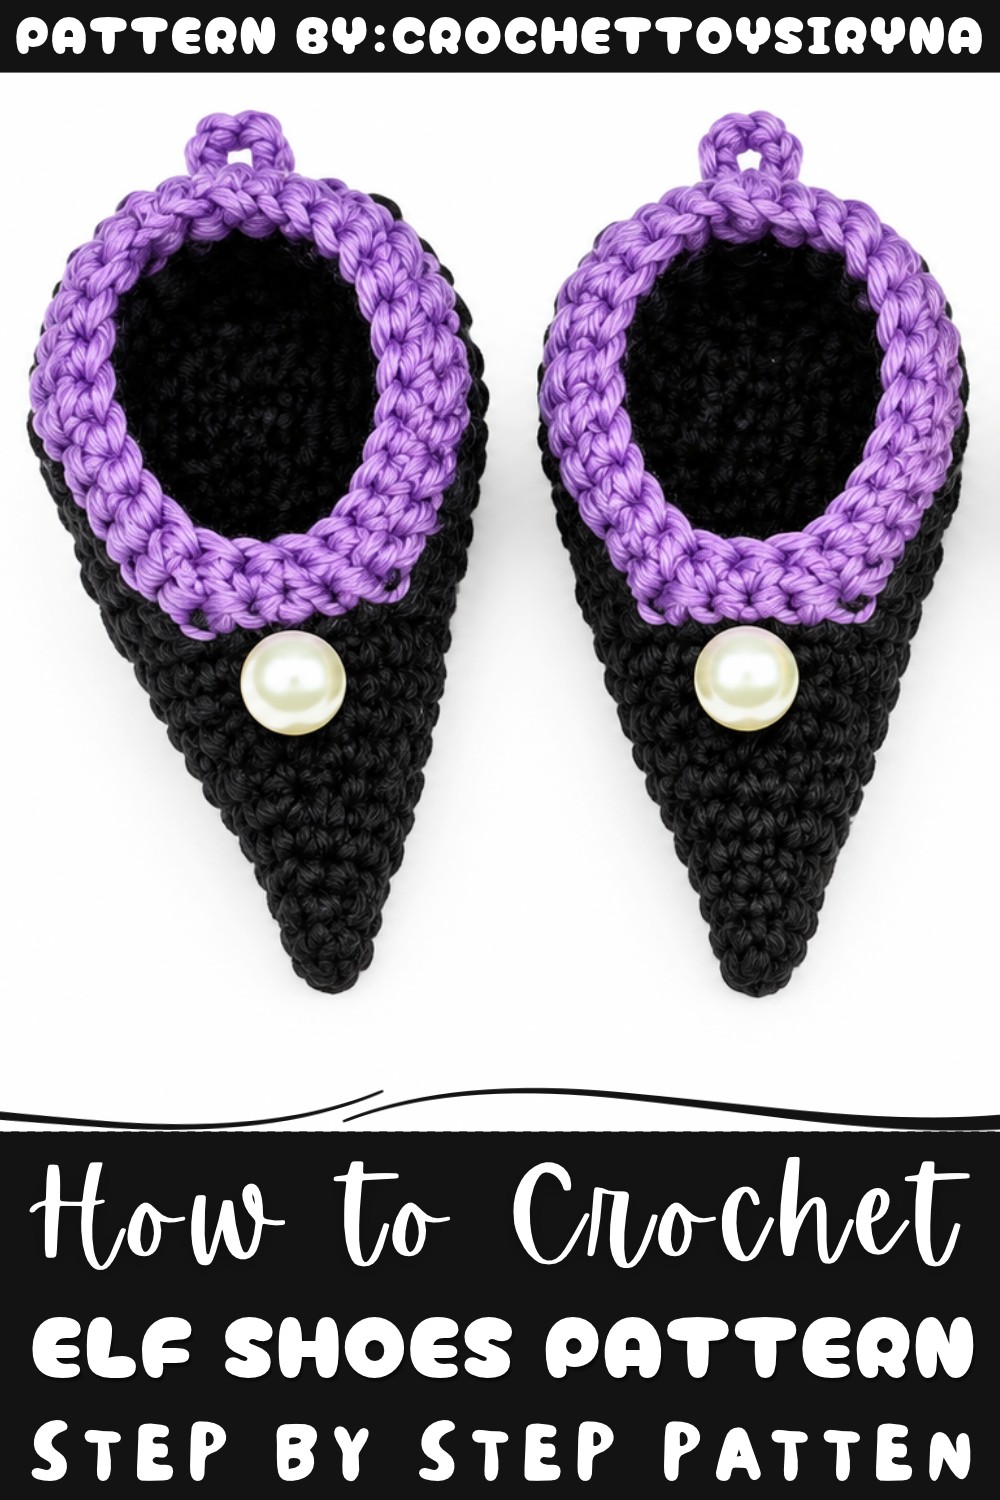
This project is perfect if you want to add a handmade touch to your holiday decor or gift a cute little accessory. Ready to take on a fun and festive challenge? Embark on this magical crochet journey by hopping into this free pattern and crafting your own pair of whimsical elf shoes today!
About the Pattern
These crochet elf shoes offer whimsical detail and structured craftsmanship for adorning 4cm doll feet, perfect for festive themes, collectibles, or imaginative play. Expertly shaped with neat increases, back-and-forth heel construction, and a delicate edging, the pattern balances practicality and enchanting aesthetics. A beaded tip and decorative chain create a signature elfin flourish. The sizing and shaping are specifically tailored for small dolls, ensuring a snug yet comfortable fit. Color changes and careful decreases produce a polished result, ideal for advanced dollmaking projects or creative displays.

Pattern at a Glance
- Foundation & Foot Base: Rounded sole is built up with continuous increases.
- Foot Shaping: Structural rounds sculpt the shoe’s upper and toe with precise increases.
- Heel & Upper: Heel is formed in turning rows, with sequential decreases for curvature and fit.
- Finishing & Edging: Alternating-color edgings with strategic decreases form the contoured lines and ensure a secure fit.
- Final Assembly: Decorative chain loop and a sewn bead complete the whimsical look.
Important Notes
- Use tight, even stitches throughout for a structured, snug fit.
- Read each section carefully; shaping often relies on specific stitch counts at corners and edges.
- Color changes heighten decorative appeal; weave in all ends meticulously for a clean interior.
- When switching from rounds to rows, ensure you turn your work correctly at the end of each pass.
- Edging is crucial for fit and form; follow perimeter stitch guidance closely.
- Final chain loop and bead are optional but provide traditional elf shoe charm.
Difficulty Level
Intermediate: This project involves rounds, turning rows, structured shaping with increases and decreases, color changes, and decorative assembly. Suitable for crocheters confident working in the round and flat, and skilled in stitch placement for miniature accessories.
Supplies Needed
- Primary yarn (for shoe base and heel; sport or fingering weight recommended)
- Contrasting yarns (grey and purple for edgings)
- 2 mm crochet hook
- Small bead (for shoe tip)
- Yarn needle (for sewing and weaving ends)
- Scissors
Size & Measurements
Each completed shoe measures to comfortably fit a doll foot approximately 4 cm long. The overall shape curves slightly upward at the toe for a classic elf slipper effect.
Gauge & Stitch Details
Tight amigurumi-style stitches are essential for small accessories:
- Sample gauge: 10 sc × 10 rows = approx. 3.5 cm × 3.5 cm
- Vary hook/yarn size as needed for fit, but do not compromise fabric density.
Crochet Abbreviations
- mr – magic ring
- sc – single crochet
- inc – increase (2 sc in same stitch)
- dec – single crochet decrease (sc two stitches together)
- ch – chain
- sl st – slip stitch
Special Stitch Guide
- Magic Ring (mr): Create an adjustable loop for working the first round tightly closed.
- Invisible Decrease (dec): Insert hook in front loops of next two stitches and pull through for a less visible decrease.
- Changing from Rounds to Rows: Finish the round, then turn work for back-and-forth rows (remember to chain 1 for turning unless otherwise instructed).
- Edging and Perimeter Stitches: Pay close attention to corner decreases and even stitch distribution for symmetry and fit.
Complete Crochet Pattern
Foundation and Base
- Round 1 (Ring):
- 6 sc in mr (6 sts)
- Round 2:
- inc in each st around (12 sts)
- Round 3:
- 5 sc, inc, 5 sc, inc (14 sts)
- Round 4:
- 6 sc, inc, 6 sc, inc (16 sts)
- Round 5:
- 7 sc, inc, 7 sc, inc (18 sts)
- Round 6:
- 8 sc, inc, 8 sc, inc (20 sts)
- Round 7 (Shaping the Foot):
- (inc, 3 sc) repeat 3 times (15 sc per repeat = 15 sts)
- Round 8:
- sc in each st around (15 sts)
- Round 9:
- (inc, 4 sc) repeat 3 times (18 sts)
- Round 10:
- sc in each st around (18 sts)
- Round 11:
- (inc, 5 sc) repeat 3 times (21 sts)
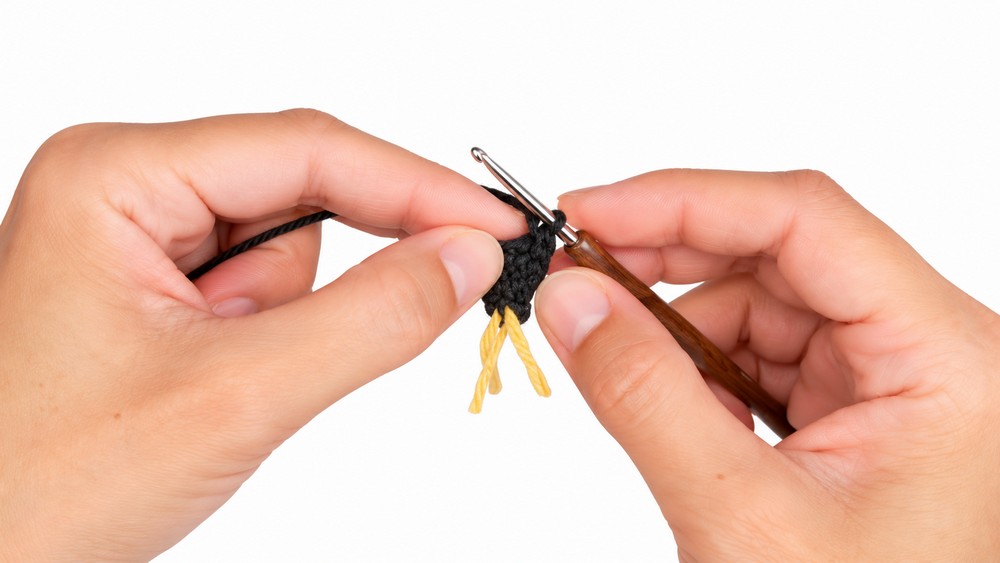
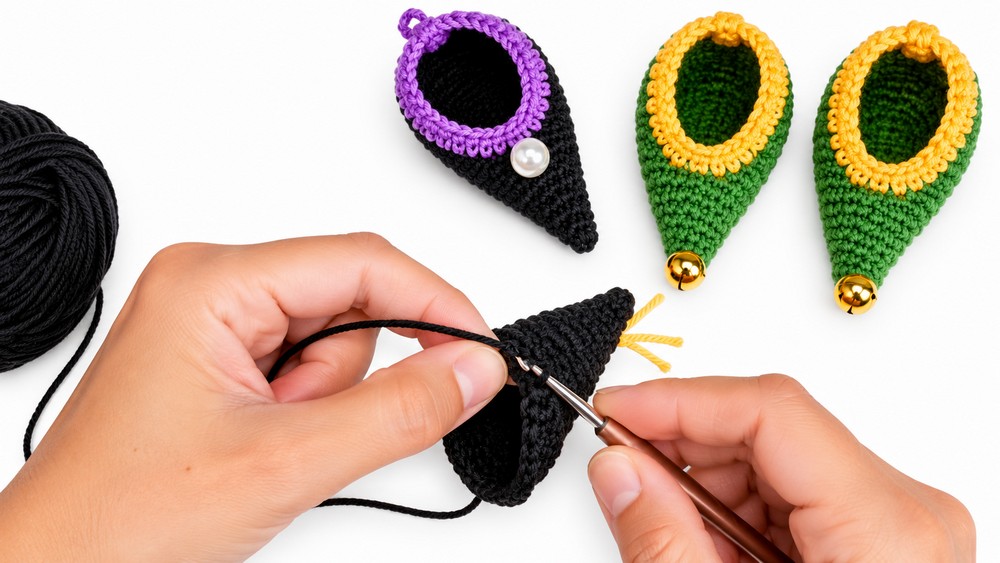
Heel and Upper Construction
- Switch from working in the round to rows:
- Mark the back 16 stitches for the heel (leave 5 sts at the toe unworked).
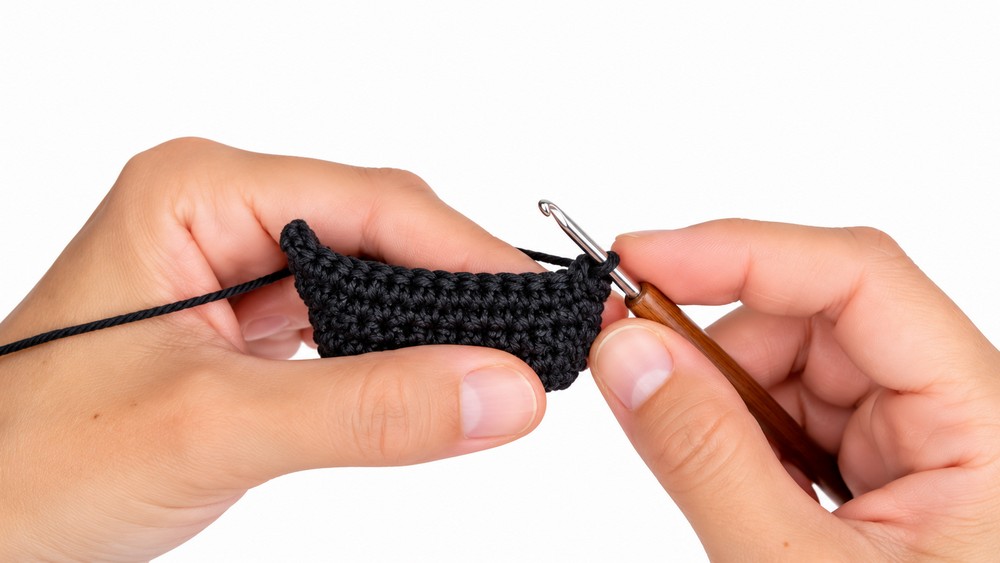
- Rows 1–9: Ch 1 (turning chain), 16 sc, turn work after each row. Repeat for 9 rows for heel height and shaping.
- Decreasing Rows:
- After completing 9 rows, begin heel shaping:
- Row 10: 8 dec (work 2 sc together across row) (8 sts total)
- Row 11: 4 dec (4 sts remain)
- Row 12: 2 dec (2 sts remain)
- Fasten off, leaving a long tail for sewing if needed.
- After completing 9 rows, begin heel shaping:
Finishing and Edging
- Grey Thread Edging:
- Join grey yarn at one heel corner.
- Work 12 sc evenly up the heel edge.
- At the first corner (instep), dec.
- Work 3 sc across the toe/front.
- At the second corner, dec.
- Continue with 14 sc up the opposite side of heel opening.
- Ensure all edges are shaped and snug for the doll foot.
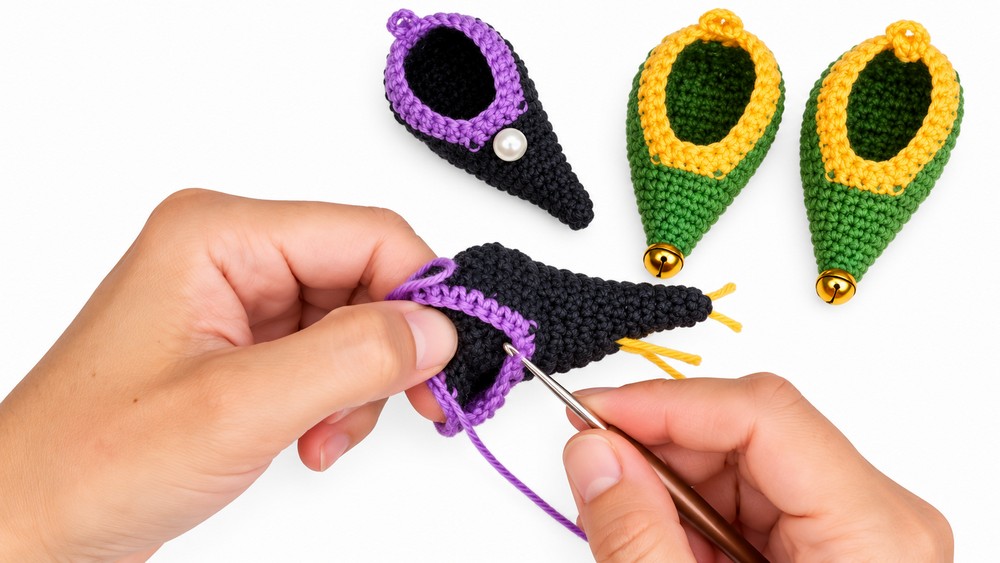
- Purple Thread Edging:
- Switch to purple yarn.
- sc around entire perimeter, following the same path as before.
- Incorporate dec at each corner, as for grey edging, to maintain shaping.
- Distribute stitches evenly to avoid puckering or excess slack.
- Final Assembly:
- For last perimeter row: work 12 sc up one side, corner dec, 3 sc across the toe, corner dec, 14 sc up remaining side.
- At end, ch 5 (create a chain loop), sl st to join; fasten off.
- Sew small bead securely at shoe tip using a yarn needle and thread.
Assembly & Finished Size
After all ends are woven and the bead is attached, the finished shoe will be slightly curled at the toe, with color-accented edging. Test fit on the doll’s foot before fastening the decorative chain, adjusting stitch tension or row count if needed for best proportions. Shoes should appear symmetrical, with firm definition along the sole and upper opening.

Conclusion
The elf shoes described in this pattern are meticulously shaped for character and fit, utilizing dynamic rounds, back-and-forth heel construction, and decorative color changes. A compact design ensures snug placement on small doll feet (approx. 4cm length), while refined edging and whimsical beadwork offer visual delight. Optimal results are achieved through attentive stitch placement, even tension, and careful assembly. These shoes, with their signature upturned tip and color pop, serve as charming footwear for festive dolls or as delightful collectibles in their own right.