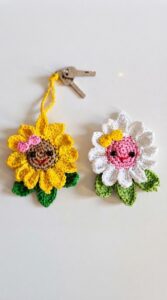
Spread elegant charm with this Crochet Rose pattern, adding delicate petals, refined texture, and graceful beauty to any project.
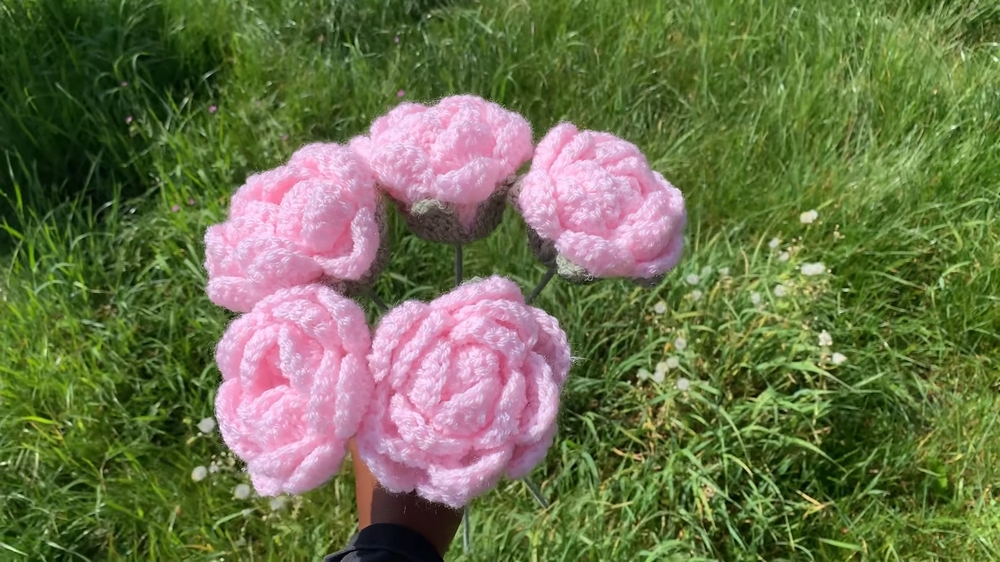
A single bloom can transform a room, and the Crochet Rose captures that quiet elegance with enduring charm. Each rose is meticulously handmade, with layered petals that flow naturally and invite the touch, creating a lifelike presence that brightens any space. Soft yet sturdy yarn gives the rose form and resilience, allowing it to maintain its shape indefinitely while offering a gentle tactile experience. Its rich, subtle hues add warmth and sophistication to vases, tabletop arrangements, shelves, or mantels, bringing a touch of refinement without the need for maintenance.
Bright Crochet Rose Pattern for Cheerful Interiors
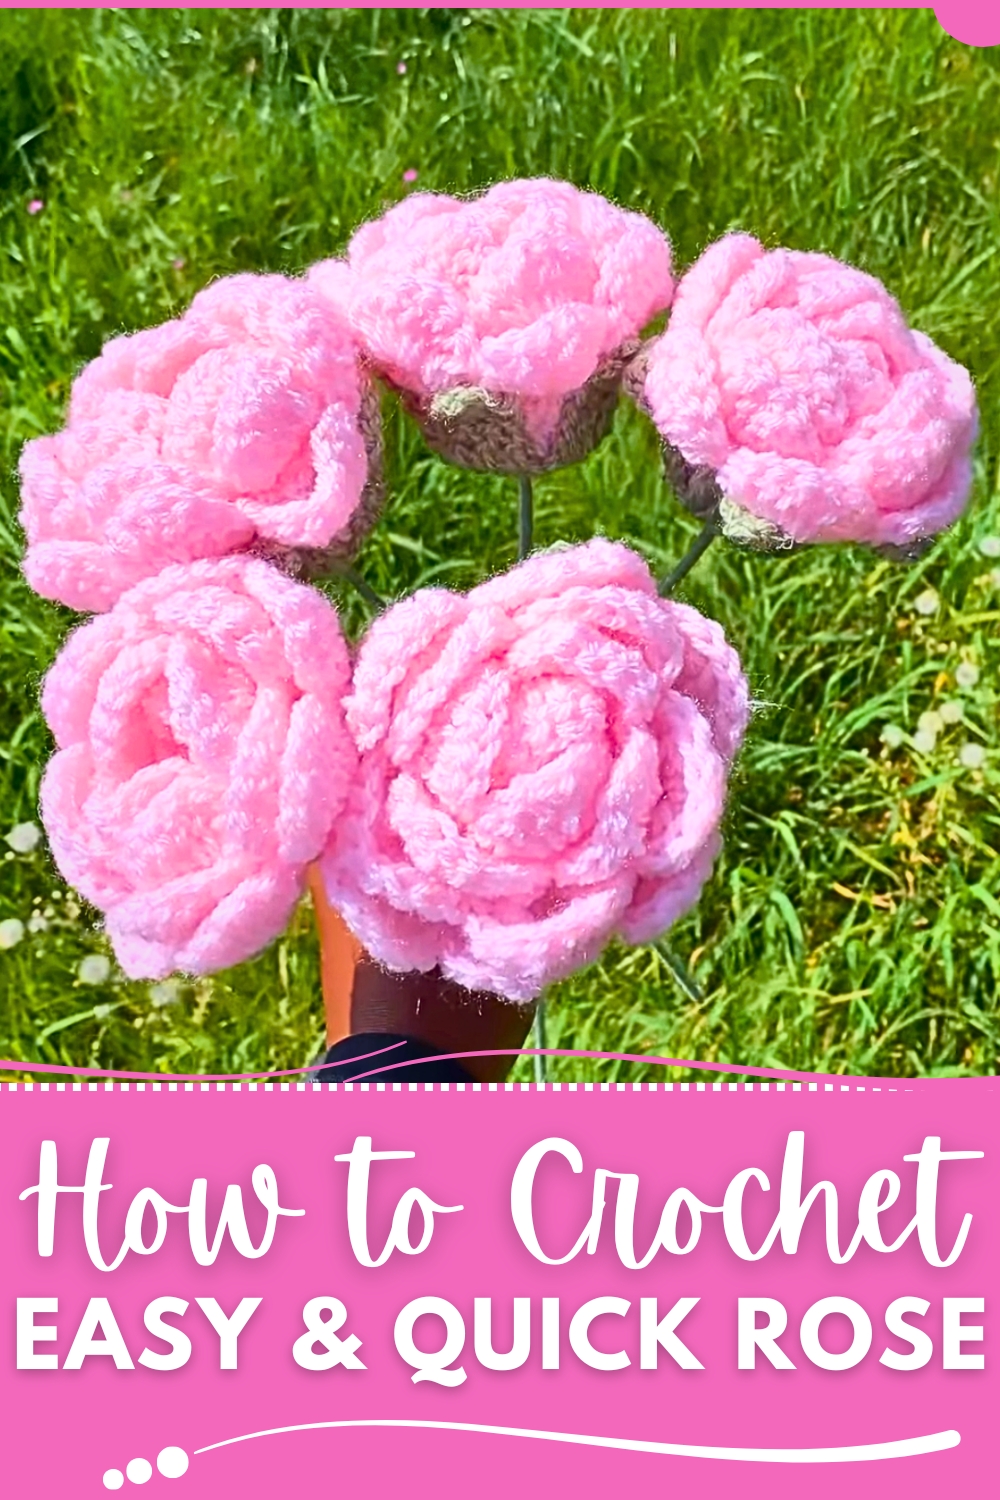
Beyond serving as décor, the Crochet Rose can be incorporated into wreaths, garlands, or seasonal displays, providing versatility for decorative expression. Lightweight and durable, it also makes a thoughtful gift, symbolizing beauty and care that lasts far longer than cut flowers. The intricate texture of each petal draws admiration, highlighting the craftsmanship and attention to detail behind every piece.
Combining practicality with visual appeal, the Crochet Rose adds timeless elegance, color, and personality to interiors, turning everyday corners into graceful displays. Its enduring beauty and versatile use bring both charm and sophistication to homes, celebrating the delicate allure of nature in a way that is both lasting and visually captivating.
Materials Needed
Essential Materials
- Yarn:
- Rose Color: Choose shades like baby pink, red, white, or even unconventional options like blue.
- Leaf and Stem Color: Green yarn (e.g., sage green adds a modern aesthetic).
- Crochet Hook: Match your crochet hook size to the yarn you’re using (pattern recommends a 4mm hook).
- Floral Wire: Plastic-wrapped wire, providing sturdiness to the stem without bending.
- Hot Glue Gun: Use to secure components during assembly. Ensure extra glue sticks are on hand for multiple flowers.
- Scissors: For cutting yarn neatly.
Optional Materials
- Flower Packaging: Clear and brown craft paper for wrapping roses (ideal for gifts or markets).
- Ribbon: Sage green or other colors for decorative bows.
Step-by-Step Instructions
Part 1: Making the Rose Petals
- Starting the Foundation Chain:
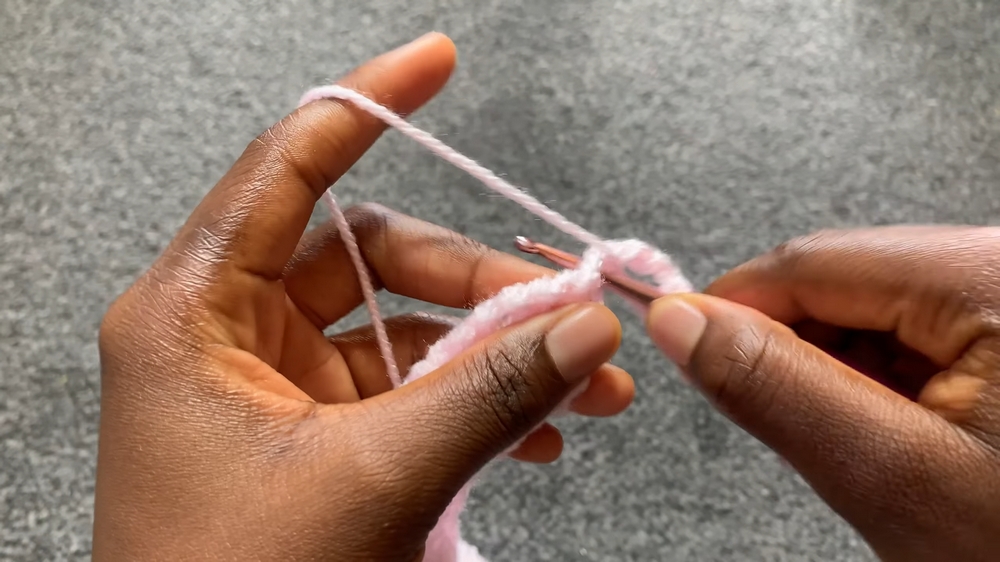
- Create a slip knot and secure it on the crochet hook.
- Chain 52 stitches by yarning over and pulling through. Count the “V” shapes to track chain progress.
- Double Crochet Foundation:
- Yarn over, skip the first stitch, and insert your hook into the second stitch for a double crochet (DC).
- Repeat the process to make double crochets along all 51 chains, ensuring the last chain is not missed.
- V-Stitch Row:
- Chain 5, turn the work, and crochet into the first stitch to create a V gap.
- Skip 2 stitches, make a double crochet into the third stitch, chain 2, and double crochet into the same space.
- Repeat the pattern (skip 2 stitches, DC, chain 2, DC) until you reach the end. Handle the final stitches by skipping only 1 if needed.
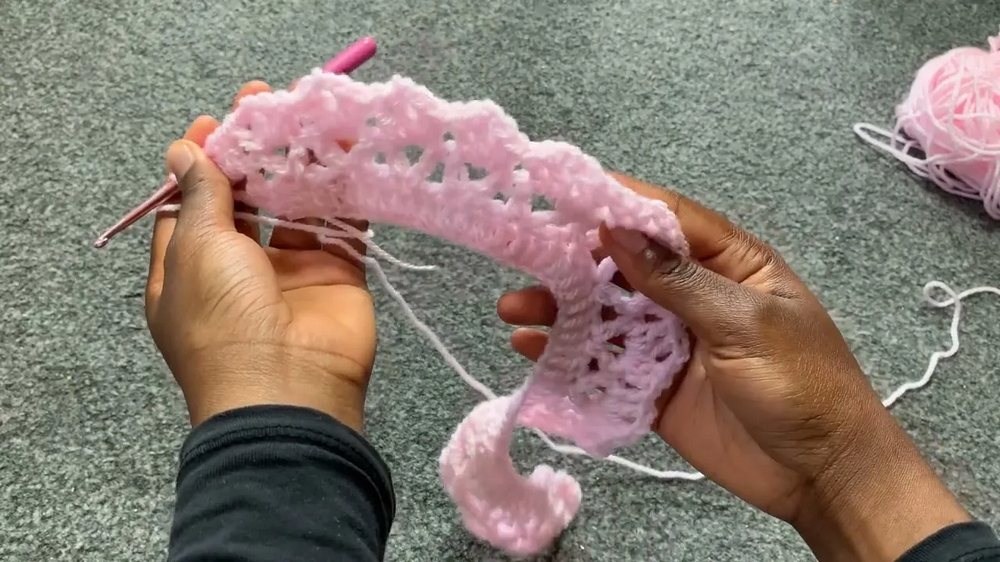
- Expanded V-Stitch Row:
- Chain 2, turn your work, and double crochet into the first gap of the previous row.
- Create an expanded V pattern: 2 DC, chain 2, 2 DC in each V gap across the row.
- Creating Petal Shapes:
- Chain 1, turn your work, and into each large V gap, create 8 double crochets, followed by a slip stitch into the smaller V gap.
- Repeat until the last gap, where you add 13 double crochets (instead of 8). Finish with a slip stitch at the start of the row and tie off.
2: Crafting the Leaves
- Magic Circle:
- Wrap the yarn around your fingers to make an X shape and pull through the loop using the crochet hook. Chain 1 to secure the ring.
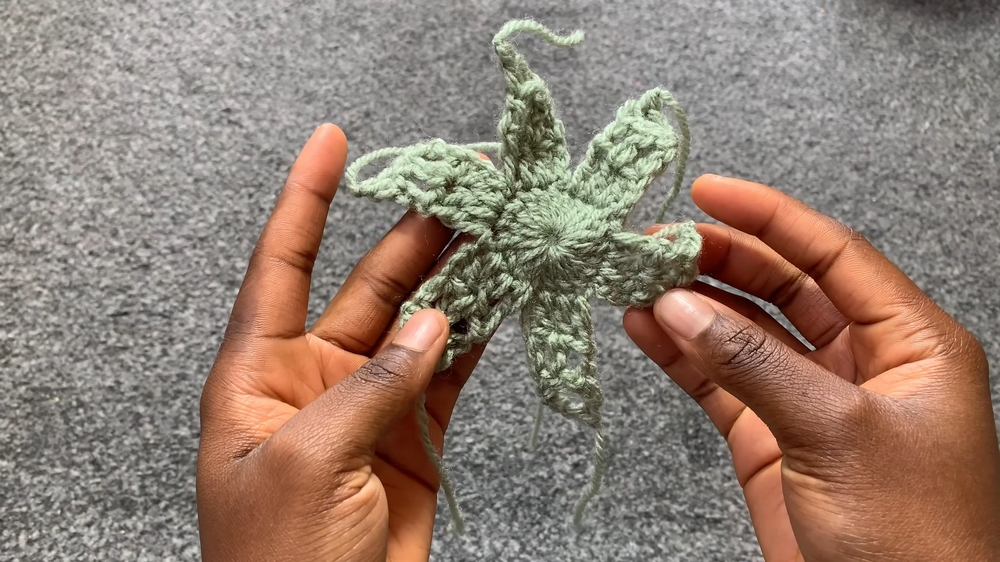
- Add 19 double crochets into the circle, making a total of 20 stitches, including the initial chain. Secure the circle loosely to accommodate the floral wire.
- Leaf Rows:
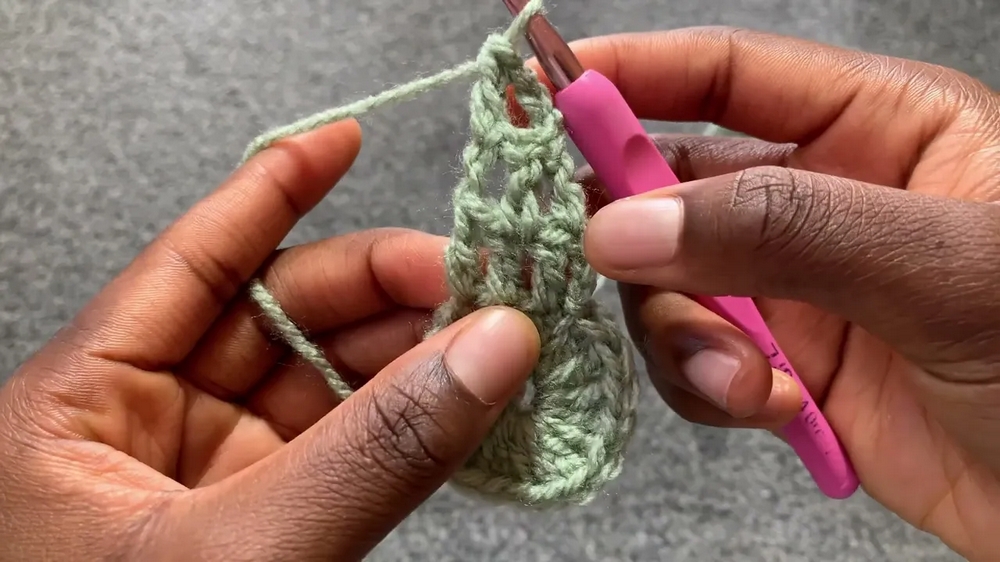
- Row 1: Chain 3, double crochet in the next 3 stitches (forming a total of 4 DCs).
- Row 2: Chain 3, turn your work, and crochet into 2 stitches.
- Row 3: Chain 1, turn your work, and slip stitch to complete the leaf. Tie off.
- Repeat:
- Make 5 leaves around the magic circle’s edge. Note: The tutorial accidentally added 6 leaves but recommends sticking to 5 for better aesthetics.
- Secure the center and tails of loose fibers with small dots of hot glue to ensure durability.
3: Creating the Stem
- Wire Preparation:
- Add a dot of glue to the tip of the floral wire. Attach yarn and begin wrapping tightly around the wire.
- Work in sections, adding glue periodically (beginning, middle, and end) to avoid bumps and secure the yarn.
- Assembly:
- Position the side of the rose with 13 double crochets at the top of the wire. Apply glue to this end and attach the stem securely.
- Roll up the rose, applying glue to stabilize the fold at regular intervals. Ensure alignment at the bottom to achieve a seamless finished look.
- Attach the Leaves:
- Insert wire through the leaf circle and apply glue generously to the base of the rose.
- Press the leaves firmly around the base for a clean finish.
Special Features
- Customizable Design: Options for color, packaging, and ribbon allow for personalization.
- Perfect for Gifts or Markets: The finished roses look professional and are well-suited for spring markets or gifting.
- Enhances Skills: Combines beginner-friendly techniques with intermediate assembly methods (magic circle, double crochet, slip stitch).
Tutor’s Suggestions
- Work Slowly and Comfortably: Take time with each step, especially the double crochet rows, to ensure uniform results.
- Careful with Hot Glue: Avoid burns by allowing hot glue to cool slightly before pressing.
- Stick to 5 Leaves: This number ensures a balanced, natural appearance.
- Practice Makes Perfect: The magic circle might feel fiddly at first, but prior practice will help improve speed and accuracy.
Level of Difficulty
Intermediate: While many steps use basic crochet techniques, the assembly process and creation of petals involve careful attention to detail, making this tutorial slightly challenging for beginners.
Uses
- Decoration: Add roses to vases or arrangements for stunning home décor.
- Gifts: Package them beautifully and gift them to family or friends.
- Crochet Markets: Sell as handmade items, especially during spring or festive season.
- Bouquets: Combine multiple roses and leaves into custom flower bouquets.
Tip
Use a Non-Stick Crochet Mat for Hot Glue Work: This prevents glue from sticking to your work surface and makes assembly cleaner.
Conclusion
Crocheting roses is a rewarding project that combines artistry with practical application. This pattern walks through each step, from crocheting petals and leaves to assembling stems and completing the final design. The finished roses are elegant, professional, and versatile, perfect for giving as gifts, selling at markets, or decorating spaces.