Celebrate the season with this Crochet Christmas Tree Free Pattern and bring a cozy festive accent to shelves, tables, or your favorite holiday corner.
Crochet lovers owe a creative thank you to Xuxu Crochet, whose detailed patterns make festive projects both fun and accessible. One charming example is the Crochet Christmas Tree, a delightful holiday decoration that captures the spirit of the season in yarn form.
Charming Crochet Christmas Tree Free Pattern For Seasonal Table Decor
This project features a small, shaped tree that can range roughly from 6 to 8 inches tall, making it a perfect size to decorate tabletops, mantels, or even as a festive ornament. The tree’s main design includes textured stitches that give it a realistic pine look, often finished with little crocheted or sewn embellishments like tiny beads or stars to mimic decorations.
The Crochet Christmas tree is suitable for those with a beginner to intermediate skill level. It involves basic stitches such as single crochet and double crochet, along with simple increases and decreases to create the triangle shape of the tree layers. The sections are worked separately and then sewn or crocheted together to form the complete tree. Adding details like a star or ornaments is a creative finishing touch.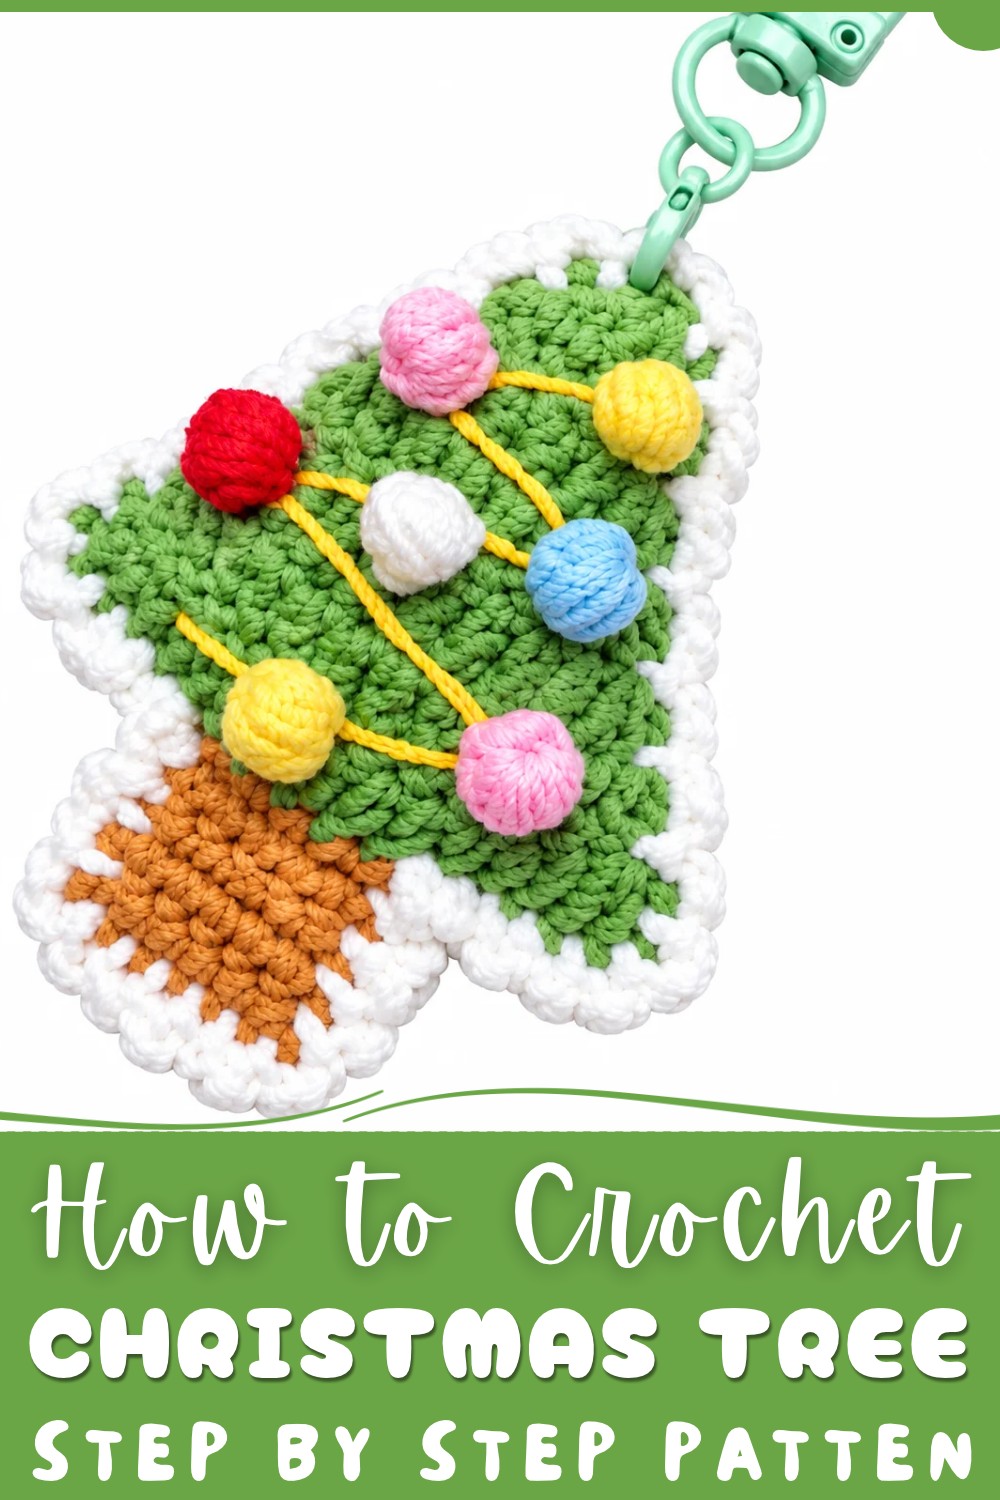
This project is an excellent choice if you want a quick, satisfying holiday crochet that yields a charming piece. It’s straightforward enough to build confidence but allows room for personal touches. Give yourself a bit of festive joy and try this free pattern that brings the holiday spirit right to your hands.
Mini Christmas Tree Keychain Crochet Pattern
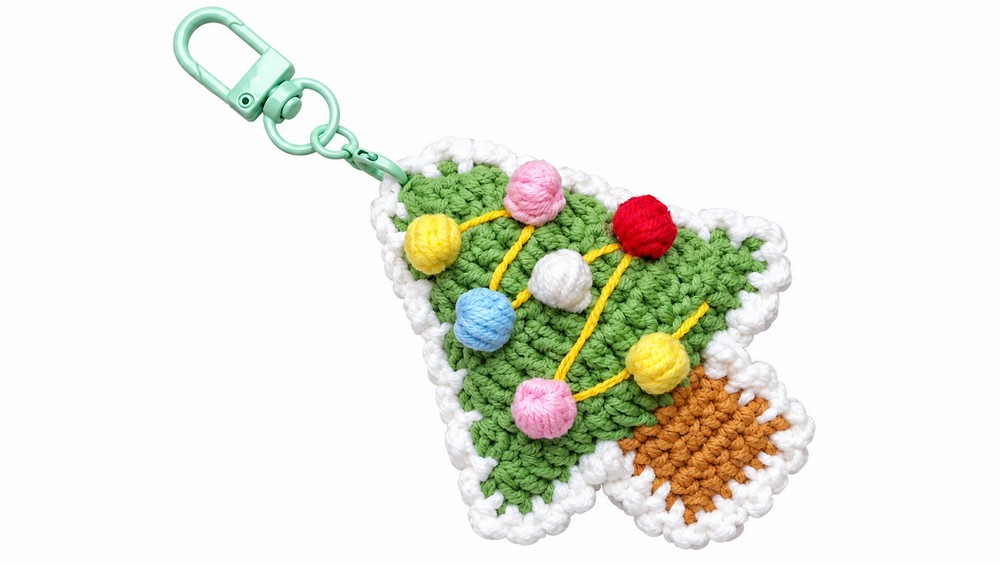
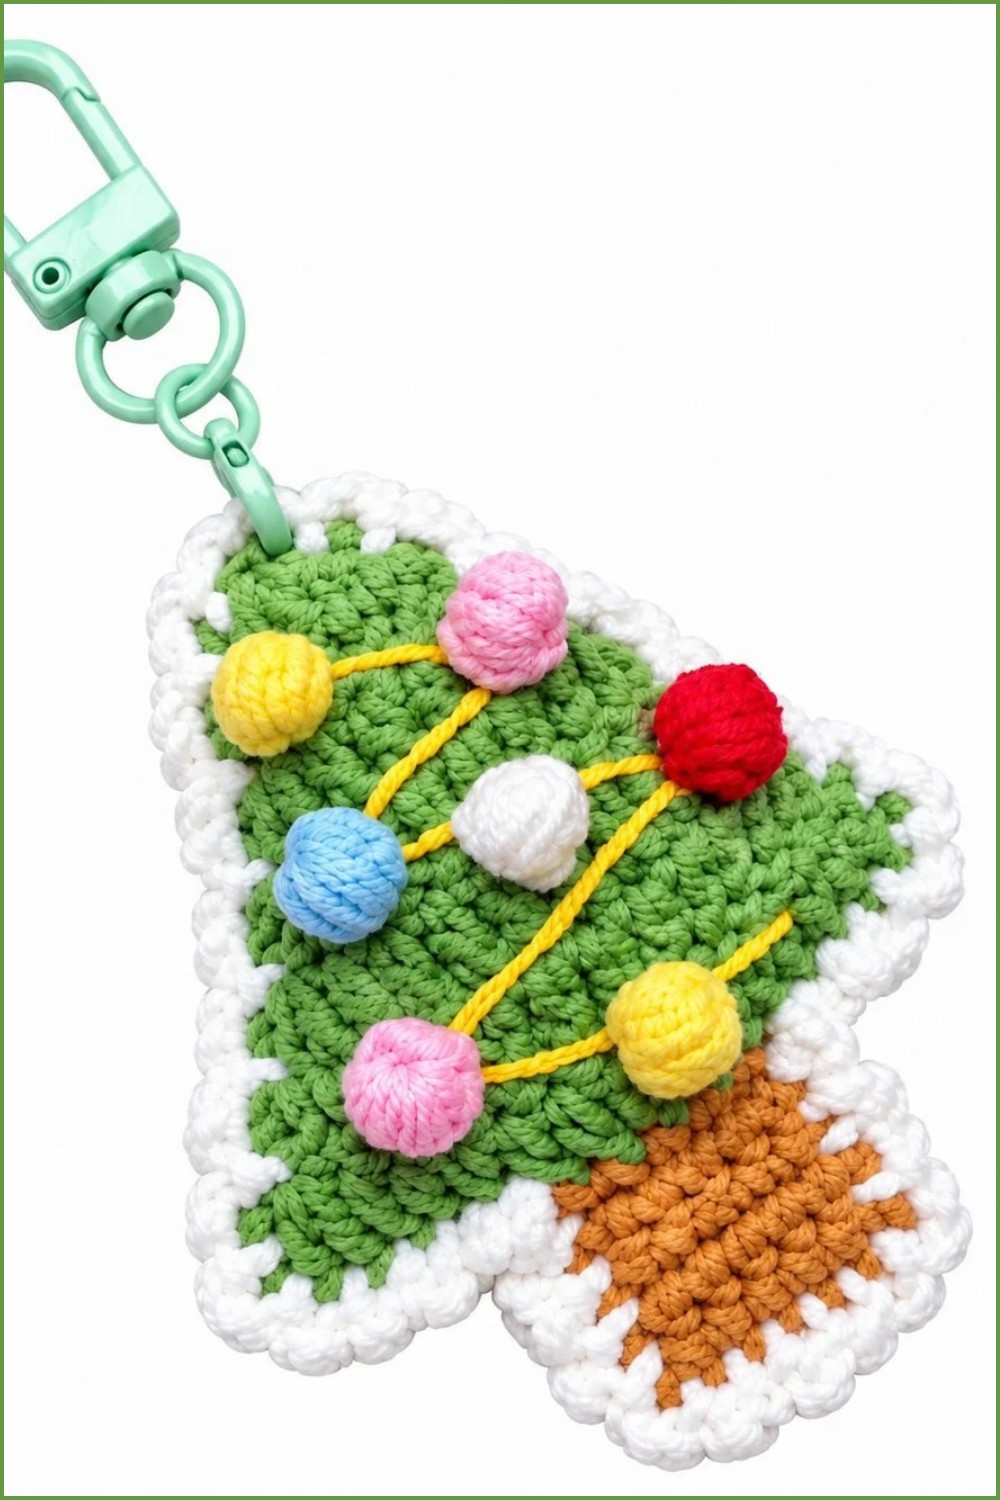
This crochet keychain pattern shapes a festive mini Christmas tree with a classic tiered look, structured tree trunk, and cheerful pom-pom ornaments. Using simple increases and basic stitches, the project is built with two identical panels, joined together with a decorative border and lightly stuffed for three-dimensionality. The pattern concludes with lively pom-pom motifs and a reliable attachment point for a keyring or bag charm. Ideal for personalizing and gifting throughout the holidays, the project highlights quick, effective construction and charming details.
Pattern Basic Points
- Two-Panel Construction: The main tree is worked as two identical panels for easy assembly and a stuffed, plush finish.
- Structured Tree and Trunk: The triangular “leaf” portion increases consistently for natural shaping; a flat trunk section is worked in single crochet for strong contrast and stability.
- Decorative Border: A chain-loop border with slip stitches unites the panels and adds a frosted, whimsical effect.
- Simple Pom-Poms: Custom crocheted mini-pom-poms serve as ornaments, attached after the main form is complete.
- Finishing Touches: Light stuffing creates a rich, three-dimensional, plush feel, while the trunk remains flat for hanging flexibility.
Special Notes
- Each tree requires the creation of two matching panels; work all shaping and color changes identically for both.
- The border must be worked carefully, inserting hook through both layers to ensure full closure before stuffing; insert filling before sealing the last side.
- Pom-poms can be made from various scraps or in multiple colors to individualize each piece.
- Recommended to leave the tree trunk unstuffed for flat, neat hanging.
- The mini-tree is easily customized by varying yarn colors or changing the number of trunk rows for different proportions.
Skill Level
Beginner to Intermediate
Stitches used are basic (double crochet, single crochet, slip stitch) with simple increasing and a single color change for the trunk. The pom-pom (bobble-type) stitch and border improvement make this satisfying for both confident beginners and those seeking decorative practice.
Materials
- DK or light worsted weight yarn in:
- Green (tree body)
- Brown (trunk)
- White (border)
- Various colors for pom-poms
- 2.5mm–3.0mm crochet hook (or size for chosen yarn density)
- Fiberfill/polyester stuffing (small quantity)
- Yarn needle for weaving and assembly
- Scissors
- Sewing needle and strong thread (for keychain)
- Keychain hardware
Measurements
- Tree height: 7–8 cm (excluding keychain ring)
- Tree width (base): 6–7 cm
- Trunk: 1.5–2 cm high, 2–2.5 cm wide
- Pom-poms: 1 cm diameter each
- Finished thickness (with stuffing): 1–1.5 cm
Gauge
Gauge is not critical; use smaller hook for a denser finish. For reference:
- 10 dc = ~4 cm in width
- Finished pieces should match size and shape for tidy assembly.
Stitch Abbreviations
- ch: chain
- sc: single crochet
- dc: double crochet
- sl st: slip stitch
- MR: magic ring
- st(s): stitch(es)
- YO: yarn over
Special Stitches
- Half-Finished Double Crochet: As used in the pom-poms—YO, insert hook into st, YO, draw up loop, YO, pull through two loops only; repeat as needed, then YO and pull through all loops on hook.
- Pom-Pom/Bobble Stitch: Cluster of half-finished dc stitches drawn together for 3D ball effect.
Pattern Instructions
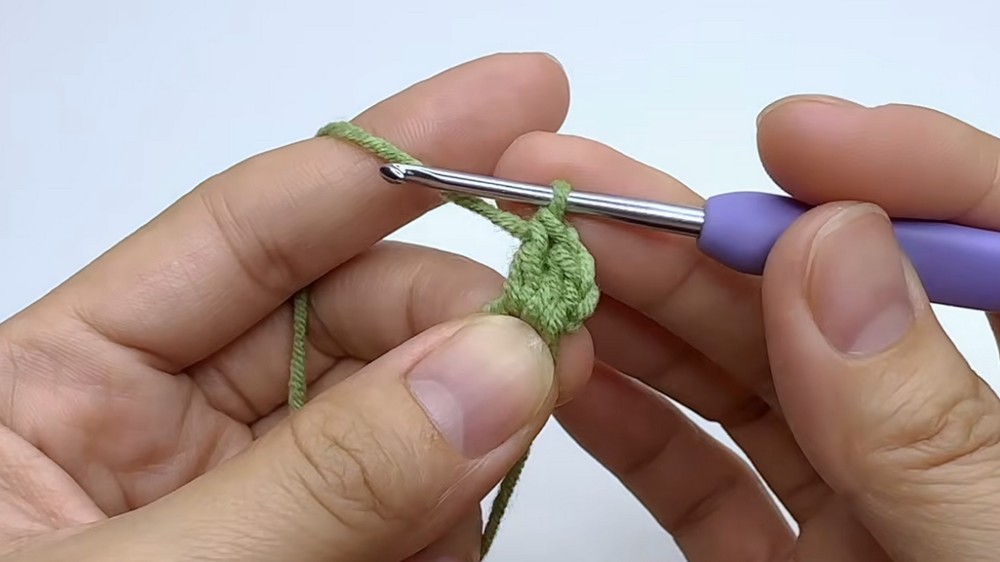
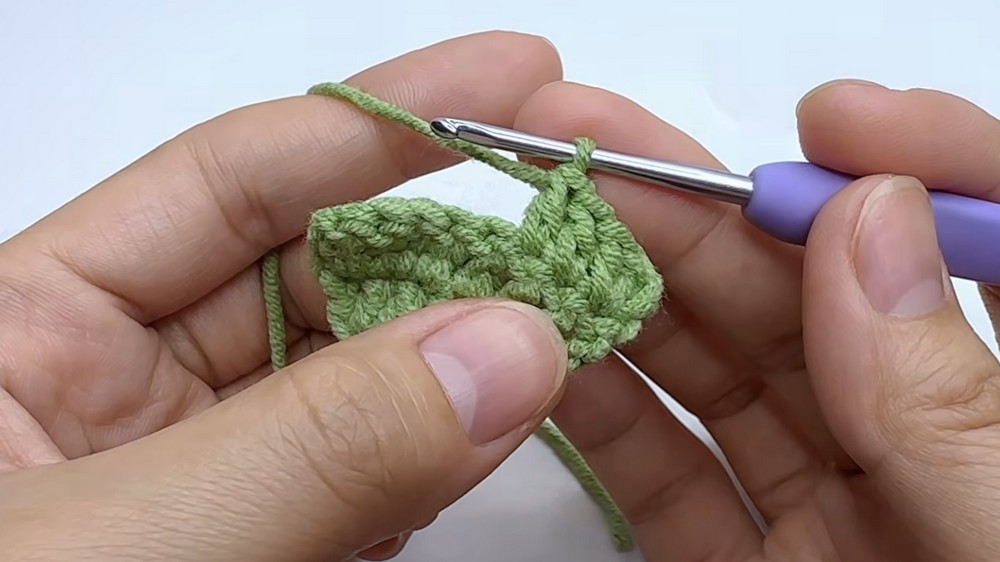
1. Crocheting the Tree Body (Leaf Part)
Repeat this section twice for front and back panels.
- Row 1:
- Form a magic ring with green yarn.
- Ch 2 (counts as first dc), work 4 dc in ring (5 dc total).
- Pull ring tight to close.
- Row 2:
- Ch 2, turn.
- 2 dc in first st, 2 dc in each of next two sts, 2 dc in last st (increase at both ends).
- Row 3:
- Ch 2, turn.
- 2 dc in first st, 4 dc across, 2 dc in last st.
- Row 4:
- Ch 2, turn.
- 2 dc in first st, 6 dc across, 2 dc in last st.
- Row 5:
- Ch 2, turn.
- 2 dc in first st, 8 dc across, 2 dc in last st.
- Row 6:
- Ch 2, turn.
- 2 dc in first st, 10 dc across, 2 dc in last st.
- Row 7:
- Ch 2, turn.
- 2 dc in first st, 12 dc across, 2 dc in last st.
- Ch 1, cut yarn, and fasten off.
2. Crocheting the Trunk
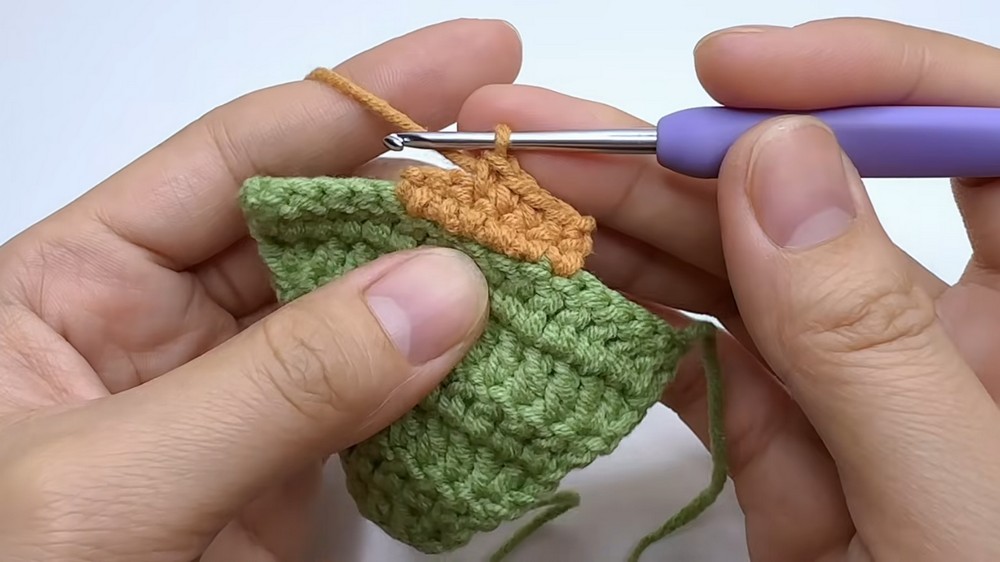
- Take one finished tree panel and attach brown yarn to the 6th stitch from the left (base’s corner).
- Row 1:
- Ch 1, work 6 sc across (using center base stitches for symmetry).
- Rows 2–5:
- Ch 1, turn, 6 sc across.
- Repeat until trunk is 5 rows high.
- Fasten off brown yarn.
- Repeat for the second panel.
3. Assembly and Borders
- Place tree panels together (wrong sides touching; trunks aligned).
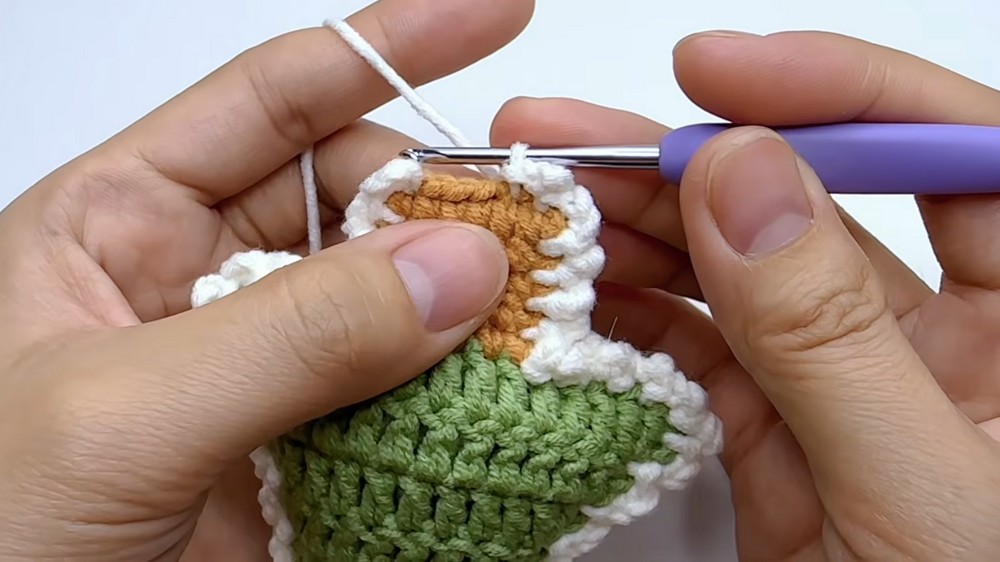
- Attach white yarn at a corner (tree or trunk).
- Border Round:
- Ch 3, sl st in next st.
- Continue [ch 3, sl st in next st] around tree (including around trunk and top point), inserting hook through both layers for seamless joining.
- Pause before completing final side. Using fingertips or a stuffing tool, gently fill the tree leaf section with fiberfill for subtle fullness.
- Continue last section of border to close.
- Fasten off, leaving a tail for possible extra stitches or reinforcement.
4. Decoration (Pom-Poms)
- For each pom-pom:
- Make a magic ring with your desired color.
- Ch 2.
- Work 5 half-finished dc into the ring, leaving the last loop of each on the hook.
- YO, pull through all loops at once.
- Ch 2, sl st into the ring to complete.
- Pull ring tightly closed, knot to secure form.
- Make 3–5 pom-poms in assorted colors.
- Position and attach pom-poms as ornaments on the tree with fabric glue or by sewing with yarn tails.
5. Keychain Finishing
- Insert a tapestry needle with the yarn tail or use sewing thread to attach a jump ring/keychain hardware to the top of the tree (preferably through each panel and secured beneath the white border).
- Weave in all ends securely.
Assembly & Finished Size
The assembled mini tree measures approximately 9–10 cm from top to trunk, with a soft, pillow-like triangle above the flat trunk and a festive scattering of tiny pom-poms. The keychain ring hangs neatly from the top, and the border provides a gentle snowy effect around the green and brown.
Conclusion
With just a small amount of yarn and stuffing, this mini Christmas tree keychain provides quick, festive fun and endless room for personalization. The pattern’s simple double-crochet increases shape the classic pine profile, while structural techniques—bordering, stuffing, trunk construction—ensure durability and a neat finish. Play with pom-pom placement and border color for unique results, gifting potential, or crafting holiday cheer for yourself and others.