Add a pop of charm with this free crochet heart keychain pattern, a fun and easy project that's perfect for spreading joy, gifting, or keeping for yourself.
A small, handmade decor can bring a lot of joy and charm to everyday life. Using the free crochet heart keychain pattern, you can easily create this lovely accessory with just some yarn and a hook. This project is perfect for anyone who enjoys crocheting, whether you are a beginner or have some experience with crochet.
Colorful Free Crochet Heart Keychain Pattern for Keyrings
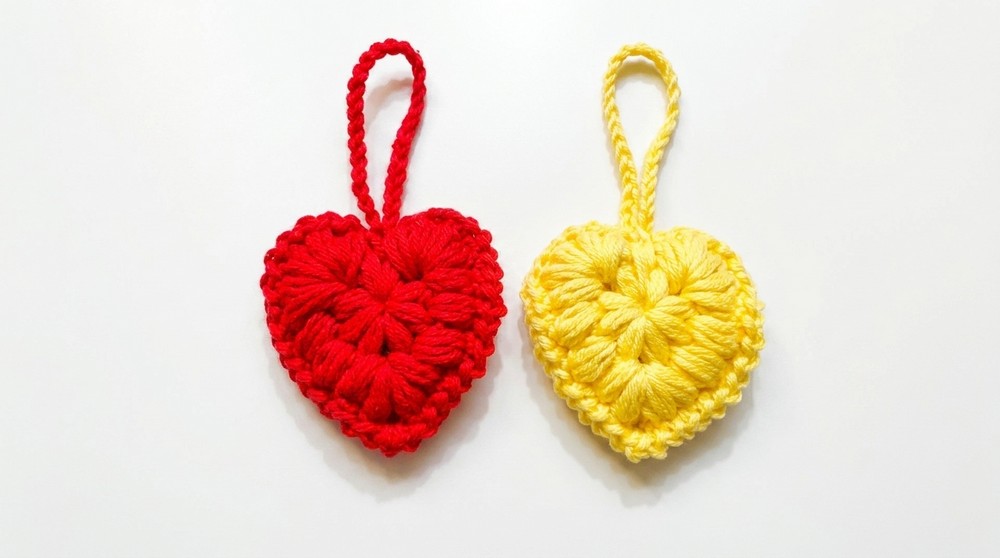
The keychain’s beauty lies in its simple heart shape with smooth, rounded edges that give it a soft and friendly appearance. The texture is gentle and plush because of the yarn and tight stitches, making it nice to hold and touch. Bright colors like red, pink, or white make the heart eye-catching and full of warmth.
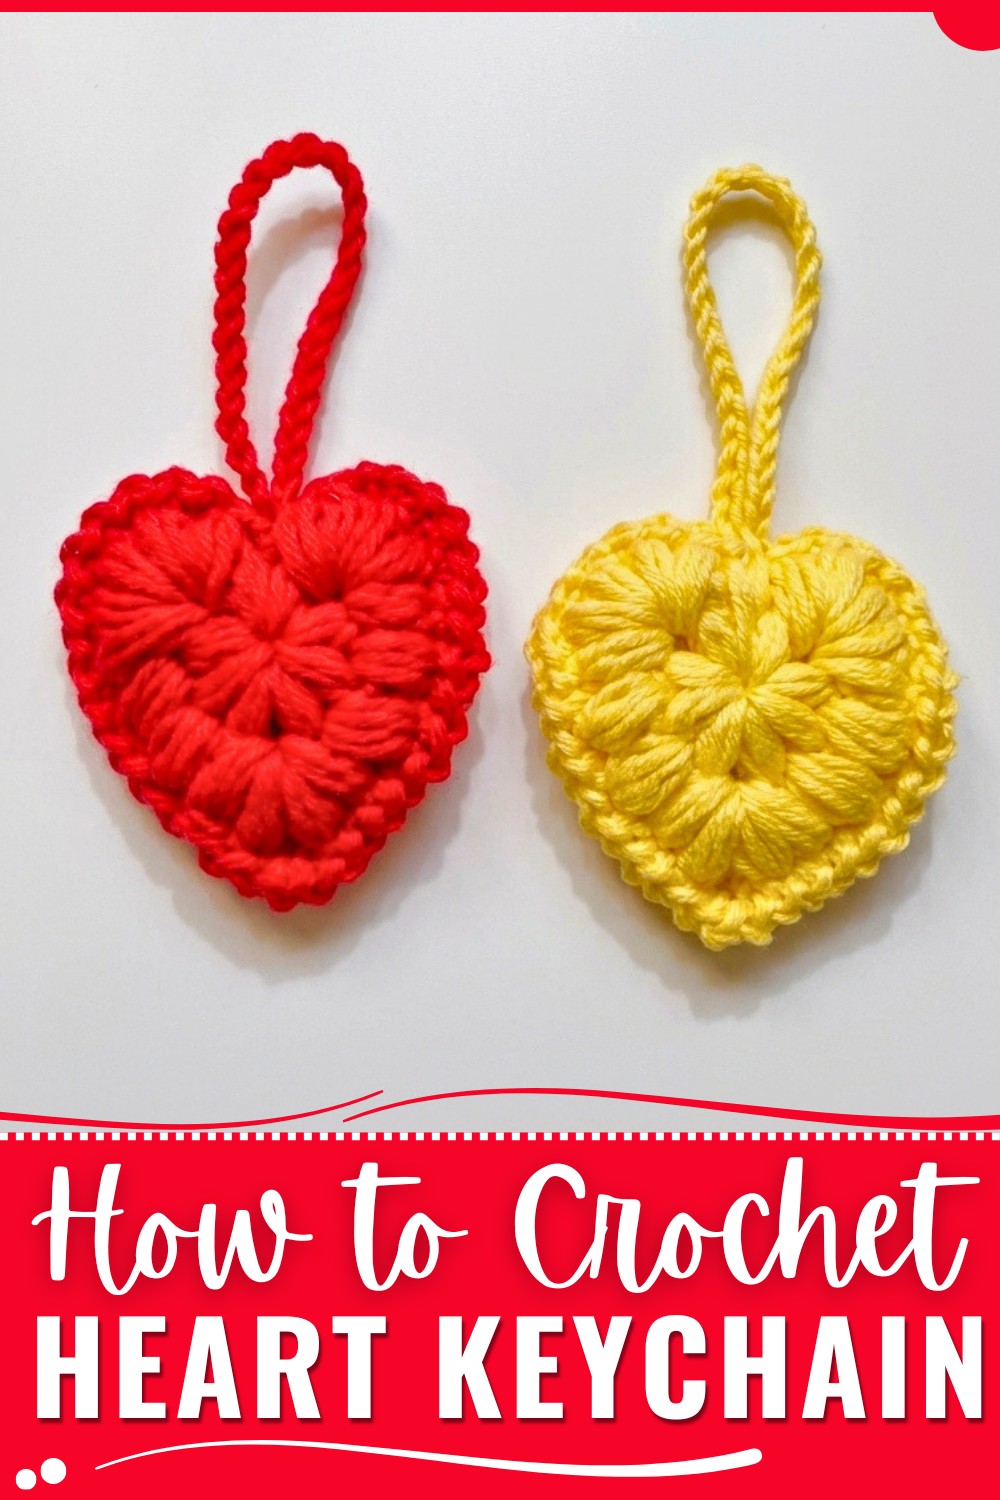
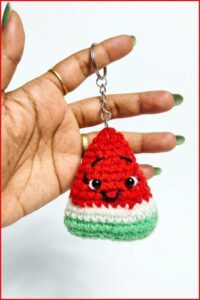
You can use this heart keychain in many ways. It works great for keeping your keys together with a cute touch. It can also be attached to bags, backpacks, or zipper pulls to add a personal and decorative detail. Many people like to gift these small hearts to friends and loved ones as a symbol of care and affection.
The most attractive part of this design is how the soft texture and neat heart shape come together to create something both beautiful and practical. There is a small loop at the top that makes it easy to connect the heart to key rings or clips.
Anyone who wants an easy, quick, and meaningful crochet project will enjoy making this heart keychain. It helps improve your crochet skills while creating a charming item that can be used every day or gifted to brighten someone’s life.
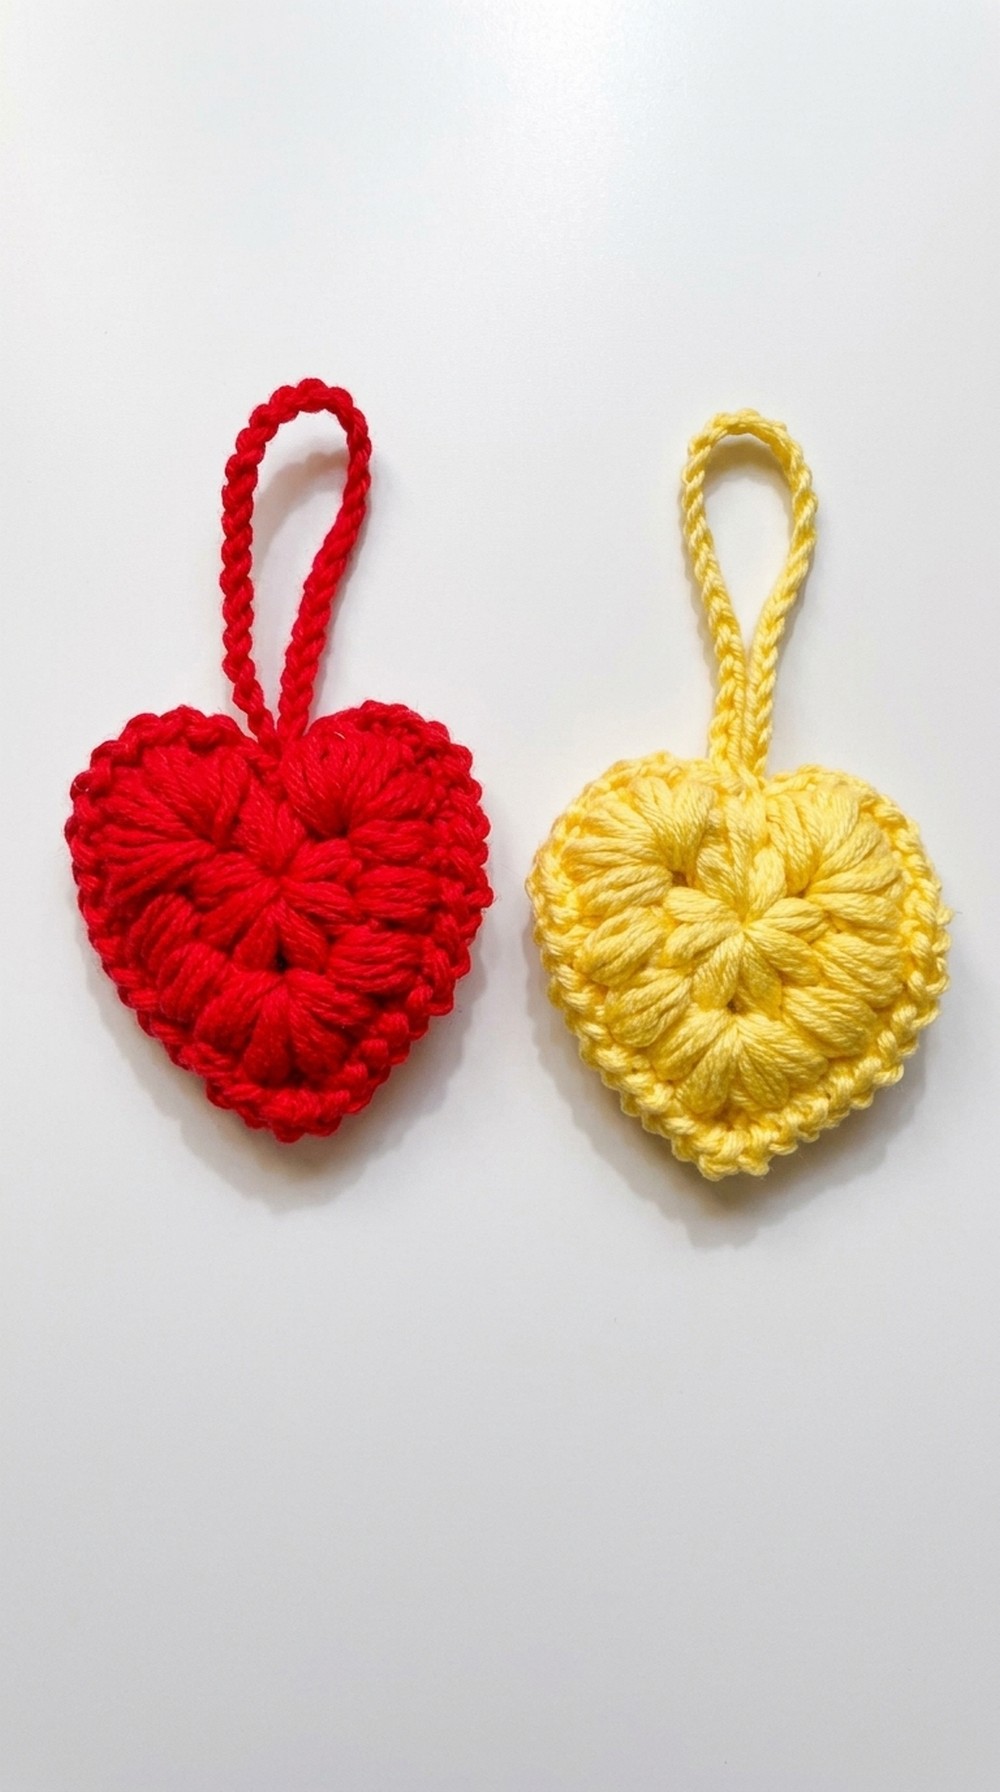
Crochet Puff Stitch Heart Keyring Pattern
Celebrate handmade charm and textured beauty with this classic puff stitch heart keyring. Designed to fit comfortably in your hand or dangle stylishly from your bag or keys, this project brings together modern puff stitches and classic heart shaping. Crafted using 100% cotton yarn and a modest hook, this keepsake is as practical as it is decorative. Perfect for heartfelt gifts, Valentine’s crafts, or a way to practice puff stitches, this pattern will help you create a sturdy, tactile heart, finished elegantly for daily use.
Skill Level & Terminology
- Skill Level:
Confident Beginner to Intermediate.
Basic single and slip stitches are joined by the slightly advanced puff stitch (explained below). - Terminology:
US crochet terms are used throughout this pattern.
Materials & Tools
- Yarn:
100% cotton yarn, light worsted (DK/8-ply) weight, in your choice of color. - Hooks:
3.0 mm crochet hook (adjust to suit your tension and desired heart size). - Additional Tools:
Yarn needle for assembly and weaving in ends
Scissors
Keyring hardware (split ring or lobster clasp)
Gauge
- Gauge is not critical for this small project, but for reference:
- 8 puff stitches in Round 1 should produce a circle about 2.5–3 cm (about 1") across using the specified yarn and hook.
- Adjust hook size if your heart is much smaller/larger, or just proceed for your intended look.
Abbreviations List
| Abbreviation | Meaning |
|---|---|
| ch | Chain |
| sl st | Slip Stitch |
| sc | Single Crochet |
| st(s) | Stitch(es) |
| yo | Yarn Over |
| puff (3yo) | Puff Stitch: 3 yarn overs (7 loops on hook) |
| puff (4yo) | Puff Stitch: 4 yarn overs (9 loops on hook) |
| MR | Magic Ring |
Special Stitch Instructions
- Magic Ring (MR):
Wrap yarn around your fingers to form a ring. Insert hook into loop, draw up a loop, then work stitches as instructed. Tighten by pulling yarn tail. - Puff Stitch (3yo or 4yo):
Yarn over, insert hook in stitch/space, yarn over, pull up a loop (3 loops on hook).
Repeat process 2 times (for 3yo puff = 7 loops total) or 3 times (for 4yo puff = 9 loops total).
Yarn over, pull through all loops, then ch 1 to close puff.
Finished Size
- Heart Motif: Each finished heart (unjoined) is approx. 5–6 cm (2–2.25") across at widest, using DK yarn and 3 mm hook.
- Total Keychain:
~8–9 cm (3.5") tall, including heart and chain-loop for keyring.
The Pattern Itself
Part 1: Make Two Heart Pieces
Round 1 (Heart Center)
- Magic Circle: Begin with a magic ring.
- Ch 1 to secure the ring, then ch 1 more (acts as 1st chain-space).
- Work 8 puff stitches (3yo) into the MR—after each puff, ch 2 before the next puff.
- (Each puff = [yo, insert in ring, yo, pull up loop] x3 for 7 loops, yo, pull through all, ch 2)
- Join with sl st to top of first puff to close the round.
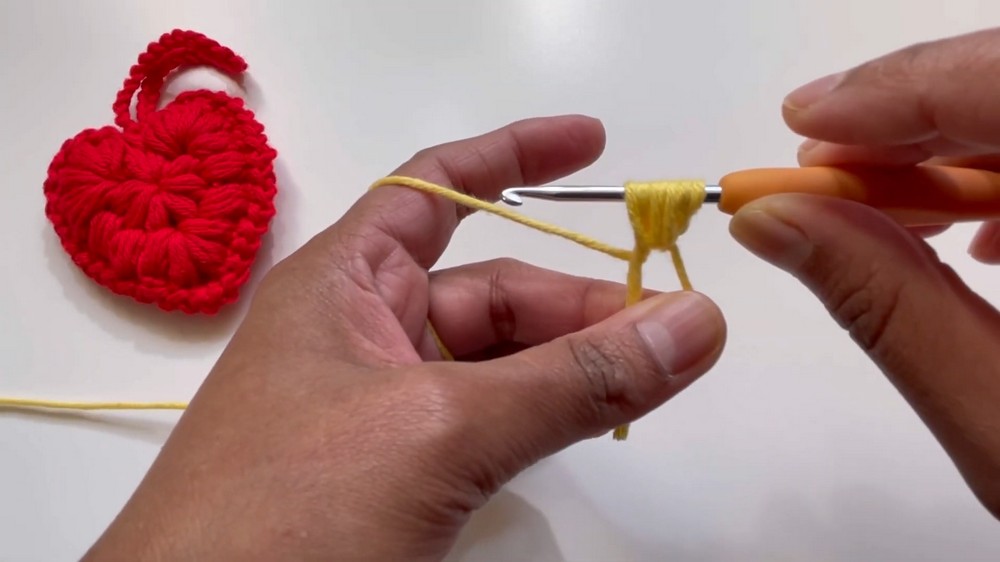
Quick tip: Work 8 puffs separated by “ch 2” into a magic ring, then close with a slip stitch.**
Round 2 (Heart Shaping: Top Curve & Sides)
- Setup: Sl st into next ch-1 sp, then next ch-2 sp.
- Top Curve: In this ch-2 space:
- Work 5 puff st (3yo), with ch-1 between each puff (creates a domed curve at the heart’s top).
- Right Side: Into the next two ch-2 spaces:
- Work 1 puff st (4yo), ch 1 (repeat twice, one for each space).
- Bottom Point: Into next ch-2 space:
- Work 2 puff st (3yo), ch 1, ch 2, 2 puff st (3yo) (all in same space; forms the heart’s lower tip).
- Left Side: Into the next two ch-2 spaces:
- Work 1 puff st (4yo), ch 1 (repeat twice).
- Top Curve (final curve): Into last ch-2 space:
- Work 5 puff st (3yo), ch 1 after each except last.
- Joining: Insert hook into the starting magic circle, pull up a loop through to the front, sl st to close and give heart its shape.
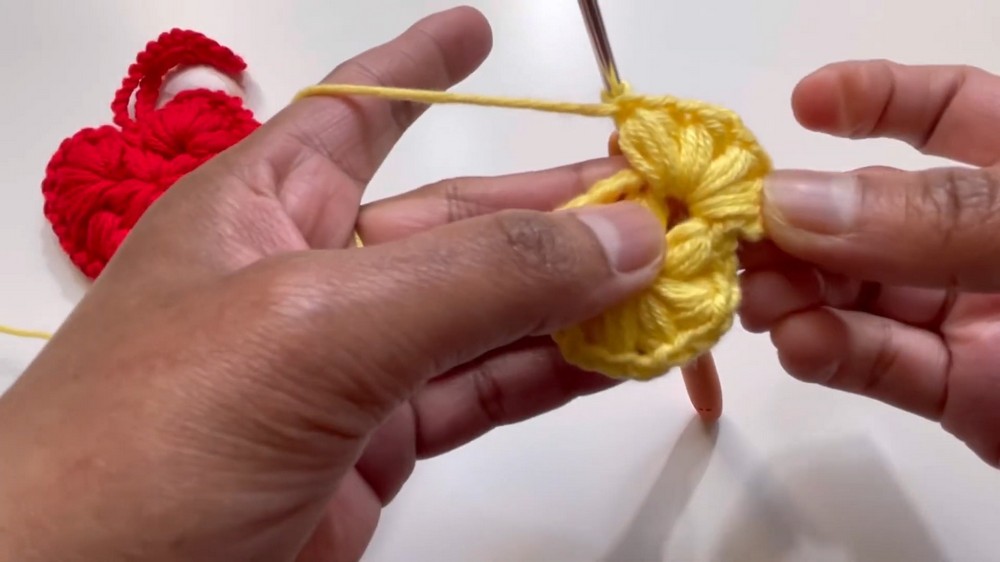
For the heart shape, work 5 puffs on each top curve, longer puffs on the sides, and extra puffs/chains at the bottom tip for a point.
Part 2: Make a Second Heart
- Repeat Rounds 1 and 2 exactly as above to create a matching heart motif.
Just make a second heart piece exactly the same as the first one so you have two.
Assembly & Finishing
- Joining: Hold both hearts back-to-back, lining up the curves and points.
- Attach yarn at any top curve ch-1 space through both layers.
- Work 1 sl st and 1 ch-1 into each space/side through both layers all the way around, joining pieces together firmly.
- At the bottom tip: Work only 2 sl st and 2 ch-1 into the pointed end for a smooth join.
- Finishing: After completing the round, join with sl st to starting point. Do not cut yarn yet.
- Keyring Chain: Ch 30 to form the loop, sl st back to heart to make a hanging loop, fasten off, and weave in all ends securely.
- Attach hardware: Thread chain loop through your keyring or lobster clasp.
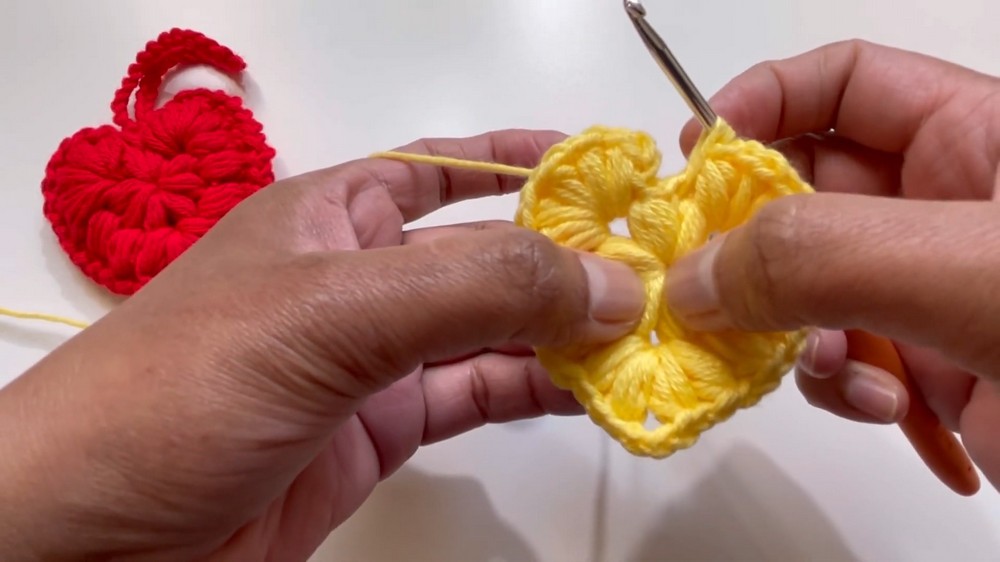
Hold both hearts together and slip stitch/ch-1 all around. Chain 30 at the top before fastening off to make a loop for your keyring.
Assembly & Finishing
Secure all ends: After closing, use the yarn needle to hide and secure ends firmly inside the piece.
Insert keyring: Slide the keyring or clasp through your 30-chain loop to finish.
Optional:
- Add a dab of fiberfill before final stitches if a puffy heart is desired.
- Embroider a name or initials for personalization.
Conclusion
Your puff stitch heart keyring is now complete, a perfect blend of soft texture, sturdy form, and sentimental shape. Whether for a Valentine’s Day message, a charming friendship gift, or daily personal use, this little heart tells a story. By mastering the puff stitch, you’ve added a timeless motif to your crochet repertoire and created something beautiful from just a bit of yarn and time.