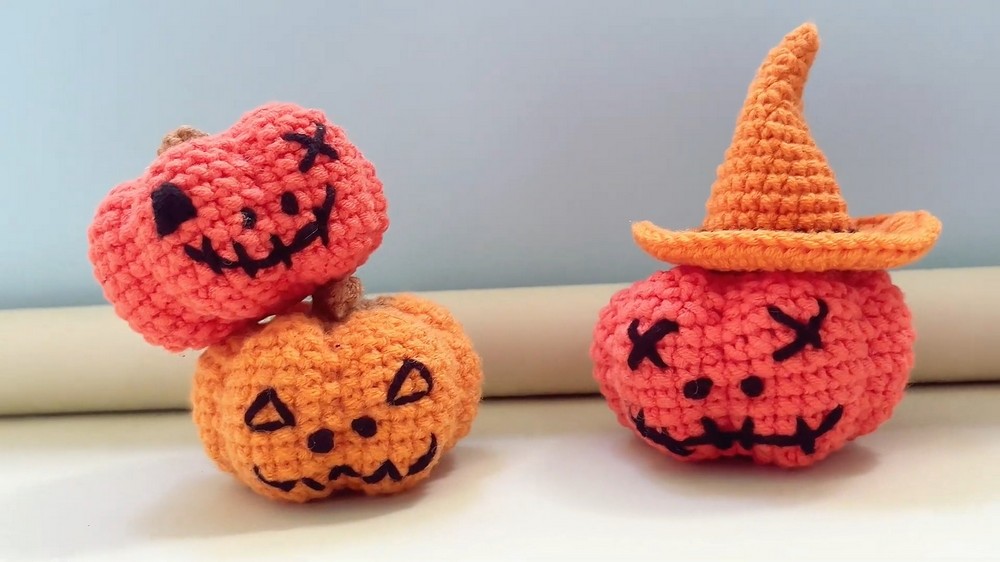
Make a crochet Halloween pumpkin is both fun and easy! This delightful project allows you to create your own adorable pumpkin with orange, brown, and black yarn. You'll start with a magic circle and work your stitches round, adding stuffing as your pumpkin takes shape.
Crochet Halloween Pumpkin

Finally, you'll stitch on a cute face, giving it a charming personality. It's a perfect activity for a cozy evening, ending with a cute pumpkin that's ready to brighten up your Halloween décor. Whether you're new to crochet or an experienced crafter, making this pumpkin is sure to bring smiles and a bit of Halloween spirit into your home.
Materials Needed
- Orange, brown, and black yarn
- Crochet hook
- Stuffing material
- Yarn needle
- Pins for marking
Crochet Pattern

Body of the Pumpkin
- Row 1: Start with a magic ring. Make 8 single crochets into the ring. Pull the ring closed and slip stitch into the first stitch.
- Row 2: Chain 1, then make two single crochets in each stitch around (increase) for a total of 16 stitches. Slip stitch into the first stitch.
- Row 3: Chain 1, make a single crochet in the first stitch, then an increase in the next. Repeat from * to * around. Slip stitch into the first stitch to end the row.
- Row 4: Chain 1, make a single crochet in each of the first two stitches, then an increase. Repeat this pattern around. Slip stitch to end the row.
- Row 5: Chain 1, make one single crochet in each stitch around for a total of 32 single crochets. Slip stitch to end.
- Row 6: Chain 1, single crochet in the next three stitches, then make an increase. Repeat this sequence around. Slip stitch to end.
- Row 7: Chain 1, make one single crochet in each stitch around for a total of 40 single crochets. Slip stitch to end.
- Rows 8 to 14: Repeat row 7.
Shaping the Pumpkin

- Row 15: Chain 1, single crochet in the next three stitches, then make a decrease over the next two stitches. Repeat this pattern around. Slip stitch to end.
- Row 16: Chain 1, make one single crochet in each stitch around for a total of 32 stitches. Slip stitch to end.
- Row 17: Chain 1, single crochet in the next two stitches, then make a decrease over the next two stitches. Repeat this pattern around. Slip stitch to fasten off and cut the yarn.
Stem of the Pumpkin

- Switch to brown yarn. Row 18: Insert your hook, chain 1, make a single crochet in the first stitch, then a decrease over the next two stitches. Repeat around, slip stitch, and begin stuffing the pumpkin.
- Row 19: Chain 1, make a decrease in all stitches around, slip stitch, and chain 1 to fasten off. Leave a long tail for sewing the pumpkin shut.

Finishing Touches

- Using a yarn needle, weave through the front loops of the stitches tightly and tie a secure knot.
- With the same or a contrasting yarn, section the pumpkin into six equal parts using pins as markers. Sew along the marked lines to create the pumpkin segments.
- Use black yarn to embroider eyes, a mouth, and a nose to give your pumpkin a face.