ир игрушек Вяжем игрушки вместе
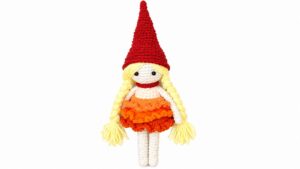
Sprinkle some personality into your creations with this free crochet Businka Doll pattern that’s as adorable as it is fun to make for kids and grown-ups alike!
A beautifully made crochet doll can add a lovely touch to any toy collection. The Free Crochet Businka Doll Pattern is a wonderful choice for anyone who enjoys making small dolls with simple shapes and charming details.
Businka has a sweet face, a small body, and a neat design that gives her a gentle look. Her clothing and tiny features add character, while the soft crochet texture makes her pleasant to look at. You can choose different colors for her outfit to create a style that suits your taste. Soft shades give her a calm look, while bright colors make her more playful and cheerful.
Sweet Businka Doll – Free Crochet Pattern
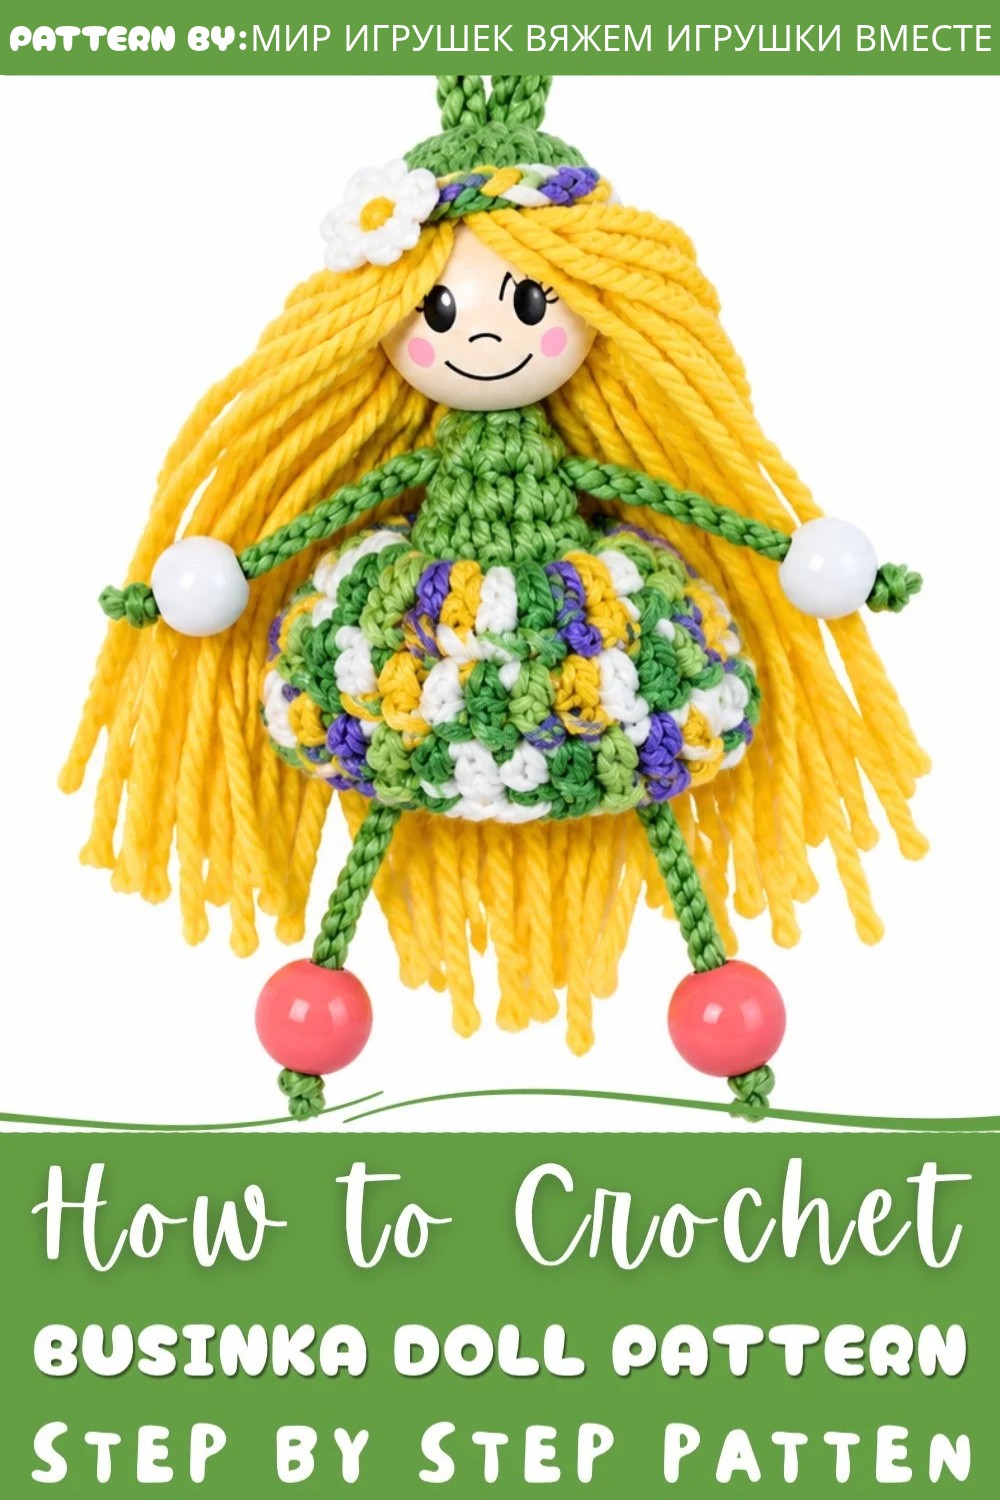
This little doll can be displayed on a bedroom shelf, placed on a desk, or added to a collection of handmade toys. She can also be a thoughtful present for someone who loves dolls and crochet items. Her compact size makes her easy to display in small spaces, while her simple and sweet style helps her stand out among other decorations.
The YouTube channel Мир игрушек Вяжем игрушки вместе offers crochet content for people interested in making dolls like Businka. The video tutorial allows viewers to watch the process and see how the different parts are made. You can pause the video and follow along at your own pace, which can be helpful when working on small details.
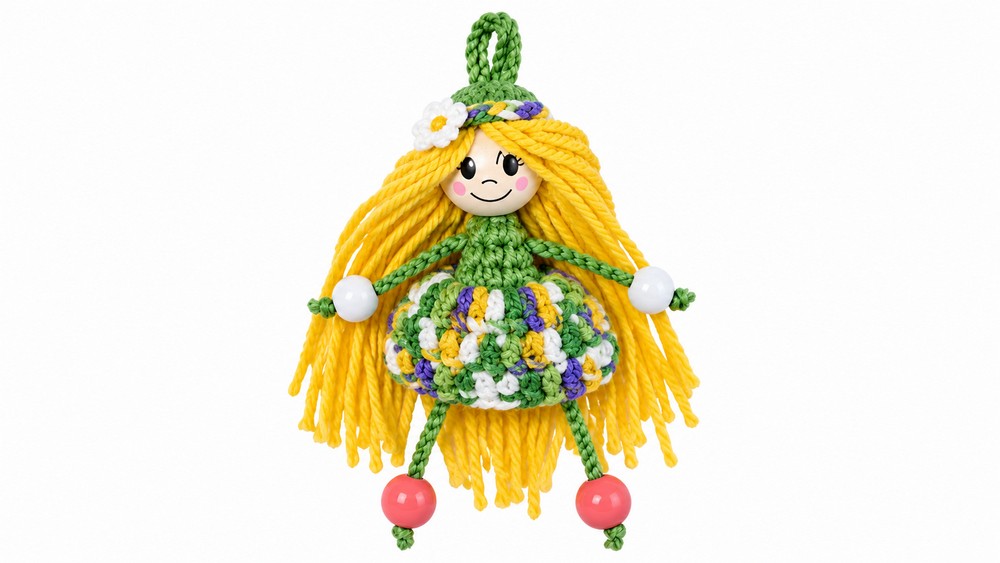
One of the best features of this project is the freedom to personalize the doll. You can change her clothing colors, adjust small details, or make more dolls with different looks. These choices make each finished doll feel unique.
Whether you enjoy making crochet toys or want to add a new project to your collection, Businka is a lovely option. Her neat shape, cute appearance, and simple style make her a rewarding project to work on. With a little time and care, you can make a crochet doll that brings charm to your collection or becomes a special gift for someone you care about.
Crochet 'Businka' Doll Keychain Pattern
This crochet tutorial guides you through creating the delightful 'Businka' doll keychain, characterized by its charming wooden bead head, detailed crochet hair, and colorful skirt. The project combines amigurumi techniques with beadwork for limbs, culminating in a unique handmade accessory perfect for personal use or gifting. Working with fine yarns and a small hook, this doll keychain offers a satisfying and meticulous crafting experience.
Pattern Highlights
- Wooden bead head with a custom crochet wig attached with intricate yarn segments
- Body shaped through rounds with strategic decreases for silhouette
- Colorful variegated skirt crocheted onto the body for flair and texture
- Limbs crafted with yarn chains and accented by beads for hands and feet
- Inclusion of a keychain ring for functional charm and portability
Notes
- The use of a small 1.5 mm hook and fine yarns allows for detailed miniature crochet work.
- The hair is constructed by attaching yarn segments onto a crocheted wig base, offering realistic and flexible styling.
- Decreases are used cleverly to shape the doll's body and skirt attachment points.
- Attaching beads for hands and feet adds a tactile dimension to the limbs.
- Secure assembly using quick-drying glue is essential, especially for affixing the wig to the wooden bead and the keychain ring.
- Yarn ends should be carefully woven to maintain the doll's neat appearance.
Skill Level
Recommended for intermediate crocheters familiar with:
- Magic ring foundations
- Single crochet (SC) and double crochet (DC) stitches
- Working rounds with increases and decreases
- Attaching yarn strands for hair effects
- Using beads in crochet projects
- Basic assembly and finishing techniques
Materials
- Wooden bead (2 cm diameter) with a face painted or drawn on
- Small beads: 4 total (2 for hands, 2 for feet)
- Yarn in:
- Yellow (for hair)
- Green (for the body/base)
- Variegated or sectional yarn (for skirt and trim)
- Crochet hooks:
- 1.5 mm hook (main hook)
- Smaller hook for hair strand attachment
- Fiberfill stuffing
- Quick-drying glue
- Keychain ring
Measurements / Sizing
- Doll height: approximately 8–10 cm including the chain loop (final size slight variations depending on tension and yarn).
- Wooden bead head diameter: 2 cm.
- Hair length: approximately 15 cm strands before trimming.
- Limb lengths: approx. 30–40 chain stitches of yarn with bead adornments.
Gauge and Stitch Pattern
- Gauge is not highly critical due to miniature, decorative nature; however, tension should be tight enough for structural firmness.
- Main stitches: single crochet (SC) for wig, body, and skirt base; double crochet (DC) for skirt rows.
- Hair strands attached individually.
- Body shaping achieved by selective decreases.
Stitch Abbreviations
| Abbreviation | Meaning | Description |
|---|---|---|
| ch | chain | Yarn over, pull through loop |
| sc | single crochet | Insert hook, yarn over, pull through two loops |
| dc | double crochet | Yarn over, hook into stitch, yarn over, pull through two loops twice |
| inc | increase | Two single crochets in one stitch |
| dec | decrease | Crochet two stitches together |
| m.r. | magic ring (magic circle) | Adjustable ring foundation for working stitches into |
Special Stitches
Magic Ring (Magic Circle)
Used for starting the wig and body bases: creates a tight, closed starting round that avoids holes in small amigurumi pieces.
Yarn Hair Attachment
Hair strands are folded in half and secured to the wig foundation by pulling the folded loop through the inner half of stitches using a smaller hook, then pulling the yarn ends through this loop to tether tightly.
The Crochet Pattern!
1. Hair/Wig (Yellow Yarn)
Foundation:
- Start with a magic ring (m.r.).
- Work 6 single crochet (SC) stitches into the ring.
Round 1:
- Work 2 SC in each stitch (12 SC total).
Round 2:
- Work the following around: [2 SC in first stitch, then 1 SC in the next]. Repeat 4 times total (resulting in 16 SC).
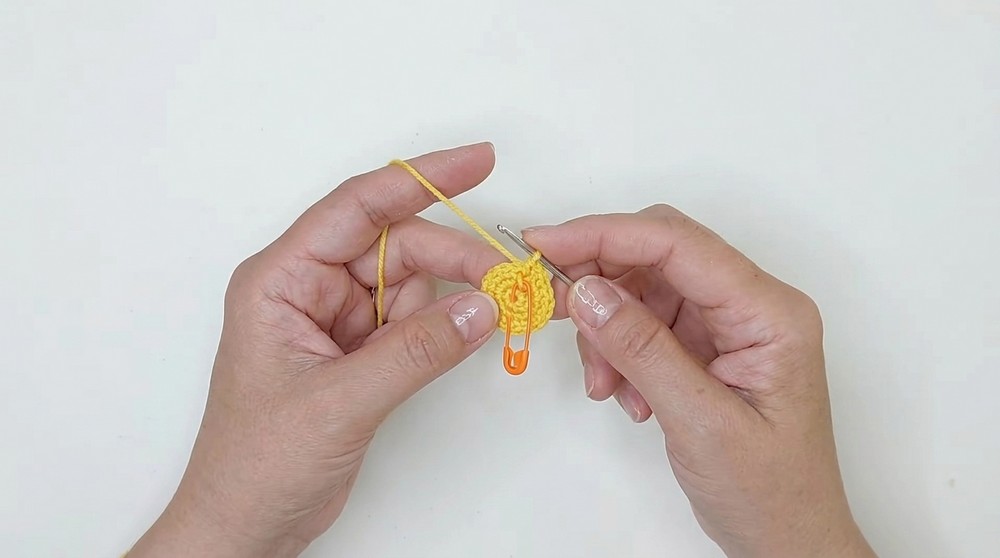
Rounds 3-4:
- Work evenly around with 16 SC per round.
Adding Hair Strands:
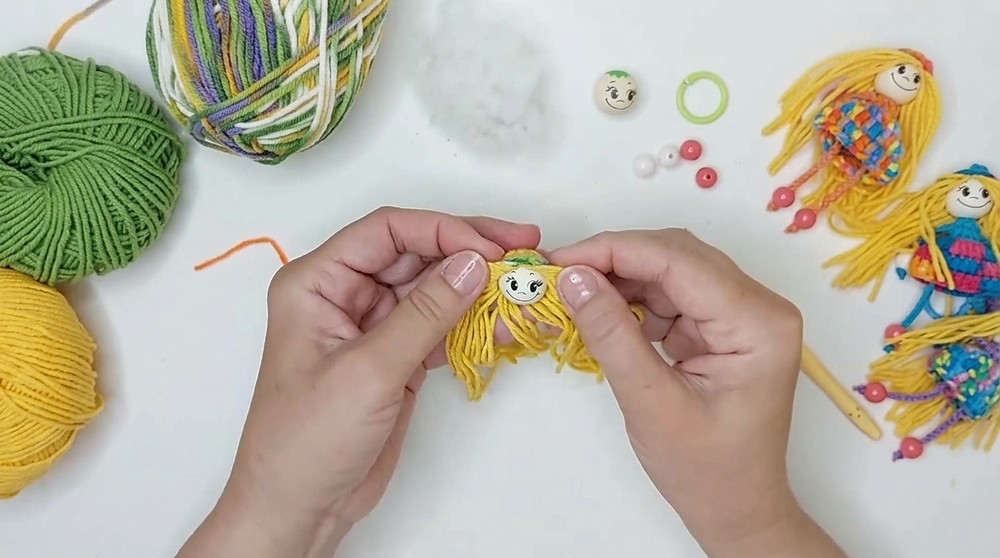
- Cut 16 yarn segments each approx. 15 cm in length.
- Using a smaller hook, attach these strands by pulling yarn through the inner half-loop of the stitches of the wig’s interior, securing each fold by pulling ends through the loop. This creates a full “wig” effect with realistic volume.
Trim/Headband:
- Using variegated yarn, work 16 SC across the remaining front loop stitches on the wig to create a decorative headband or trim.
- Securely glue the completed wig to the wooden bead head, taking care to align for an even fit. Allow to dry completely.
2. Body (Green/Base Yarn)
Foundation:
- Work a magic ring and crochet 6 SC into the ring.
Round 1:
- Work 2 SC in each stitch (12 stitches total).
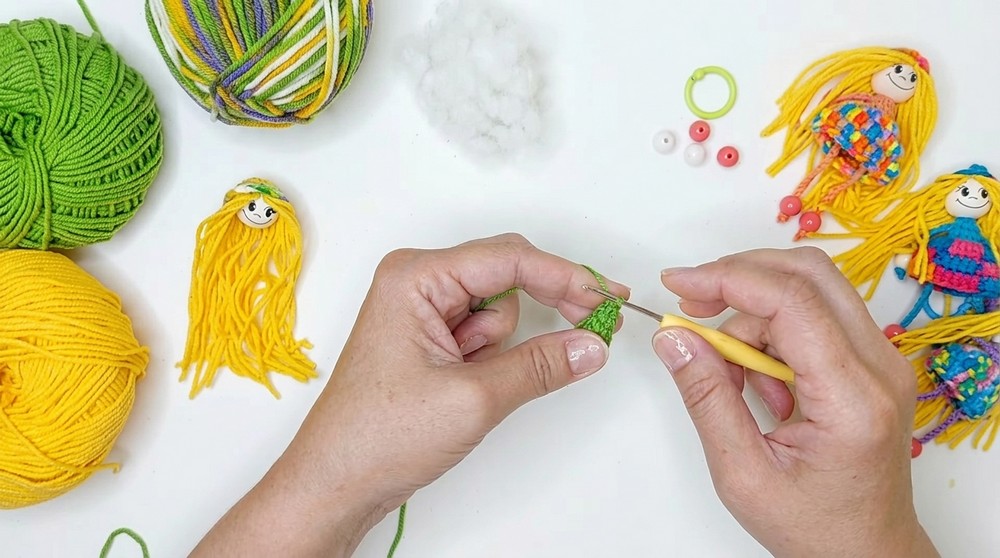
Rounds 2-4:
- Work evenly around with 12 SC per round.
Round 5 (Back loops - shaping):
- Chain 1.
- [1 decrease, 4 SC] repeat twice. This sculpts the body narrowing it tactically.
Round 6:
- Chain 1.
- Work: 1 decrease, 3 SC, 1 decrease, 3 SC.
Round 7:
- Chain 1.
- Work: 1 decrease, 2 SC, 1 decrease, 2 SC.
Round 8:
- Chain 1.
- Work 1 decrease, skip 1 stitch, then decrease again in the next 2 stitches to complete body tapering.
Assembly:
- Chain 50 stitches to form the hanging loop. Attach the end securely to the doll’s body, leaving enough length to function as a keychain loop.
3. Skirt (Variegated Yarn)
Base Attachment:
- Join variegated yarn to the appropriate front loop stitches of the body.
Row 1:
- Work 2 double crochets (DC) into each loop or stitch to form a full, gathered base skirt.
Rows 2-3:
- Work 1 DC in each stitch for two rounds, creating a subtle flared shape.
4. Limbs and Finishing
Legs:
- Chain 40 stitches with the base yarn (green or matching body).
- Gently thread this chain through the lower part of the body where legs are desired.
- Attach small coral-colored beads at the ends of the chains, securing each bead with tight knots for stability and decorative effect.
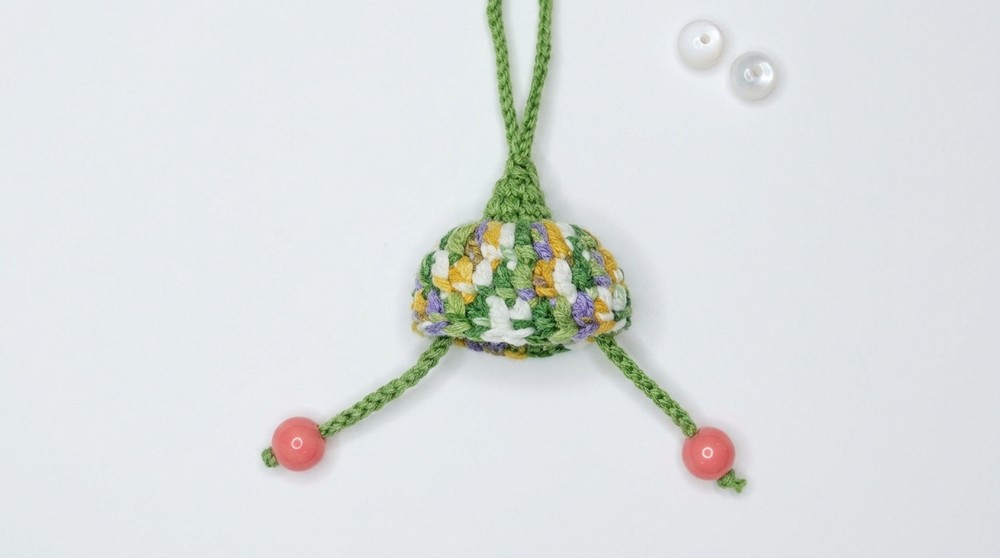
Arms:
- Chain 30 stitches similarly with the base yarn.
- Thread this chain between the 2nd and 3rd rows of the body to designate arm placement.
- Attach small white beads to the ends and knot securely.
Final Assembly:
- Glue the wooden bead head (wig attached) onto the top of the assembled body and loop area.
- Trim the hair strands to desired length and style.
- Attach the keychain ring to the hanging loop end firmly.
Assembly & Finished Size
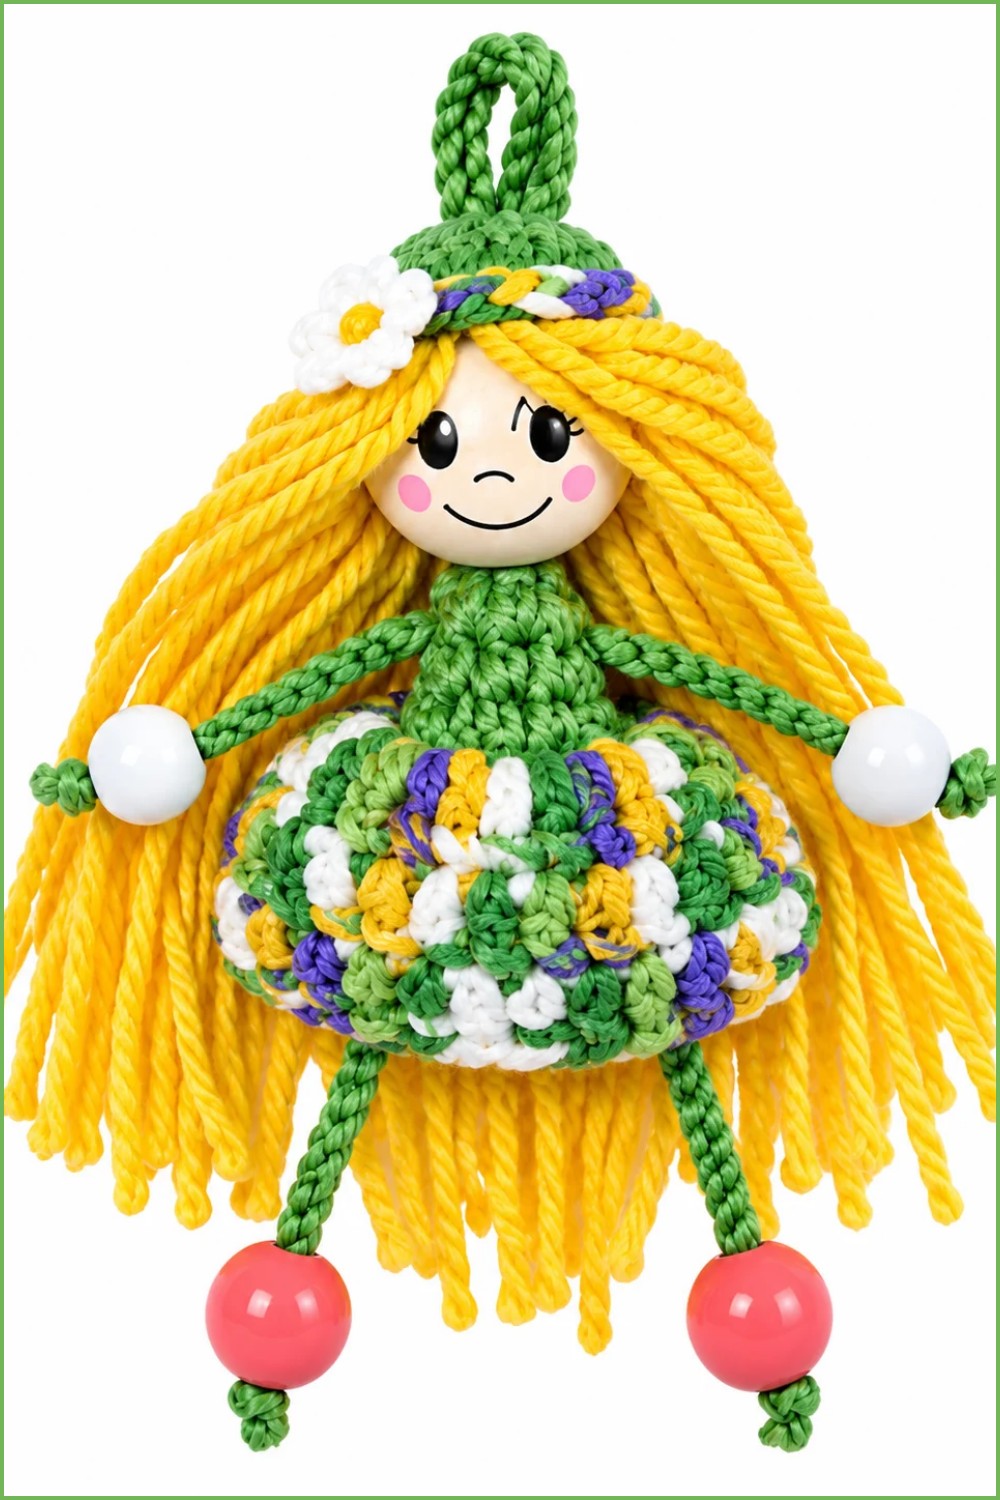
- The finished doll measures approximately 8–10 cm tall including the loop.
- The wooden bead head with wig forms a 2 cm diameter sphere topped with vibrant hair.
- Limbs dangle freely with bead hands and feet, adding playful movement and texture.
- The skirt flares gently providing charming contrast to the green base.
- The sturdy loop facilitates portability on keys, bags, or other accessories.
Conclusion
The ‘Businka’ doll keychain merges miniature crochet artistry with bead embellishments to create a unique and endearing handmade accessory. The project invites crocheters to explore amigurumi shaping, yarn hair attachment techniques, and bead incorporation. Its compact size and functional keychain loop make it an ideal gift or personal embellishment, showcasing detailed craftsmanship within a small form. Enjoy bringing this vibrant little doll to life and carrying a bit of handmade cheer wherever you go.