Infuse seasonal joy using this Free Crochet Christmas Tree Pattern that features intricate details ideal for tabletop decorations and holiday displays.
Christmas decorations feel even more special when they have a soft, handmade touch. A cheerful snowman can bring that feeling to a shelf, table, or holiday display, and the Free Crochet Snowman Pattern from Márcia Souza Crochê offers a cute way to enjoy this winter character in crochet form.
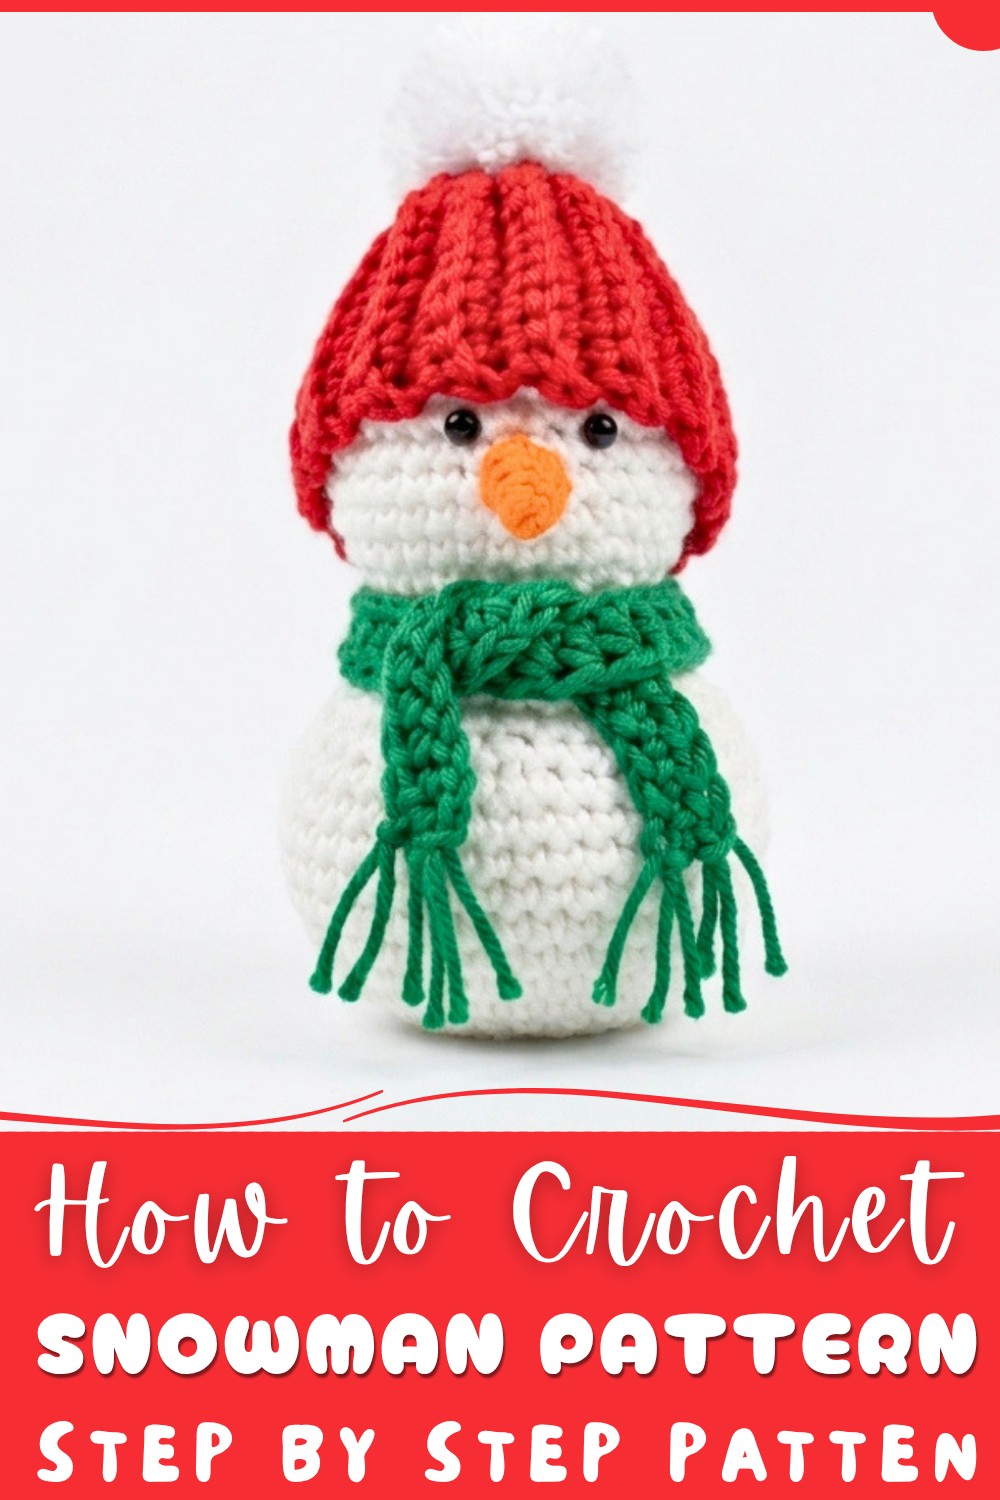
What stands out first is the snowman’s friendly and rounded appearance. Its soft white look gives it the feel of a little winter friend, while its small size makes it easy to place almost anywhere. It can sit beside Christmas decorations, brighten a mantel, or become part of a festive centerpiece. The simple shape also gives it a sweet and clean style that works well in both modern and traditional holiday settings.
Snowman Free Crochet Pattern for Seasonal Fun
Winter colors can add even more personality to the finished piece. Classic white with red and green details can create a familiar Christmas mood, while blue, silver, or pastel shades can give the snowman a softer look. A few personal touches can also make each one feel different. This makes the project fun for anyone who enjoys adding their own style to seasonal decorations.
For those who enjoy seasonal crochet, Márcia Souza Crochê shares this charming idea through its YouTube channel. The project can be a pleasant addition to a collection of Christmas decorations and can be brought out whenever the holiday season arrives.
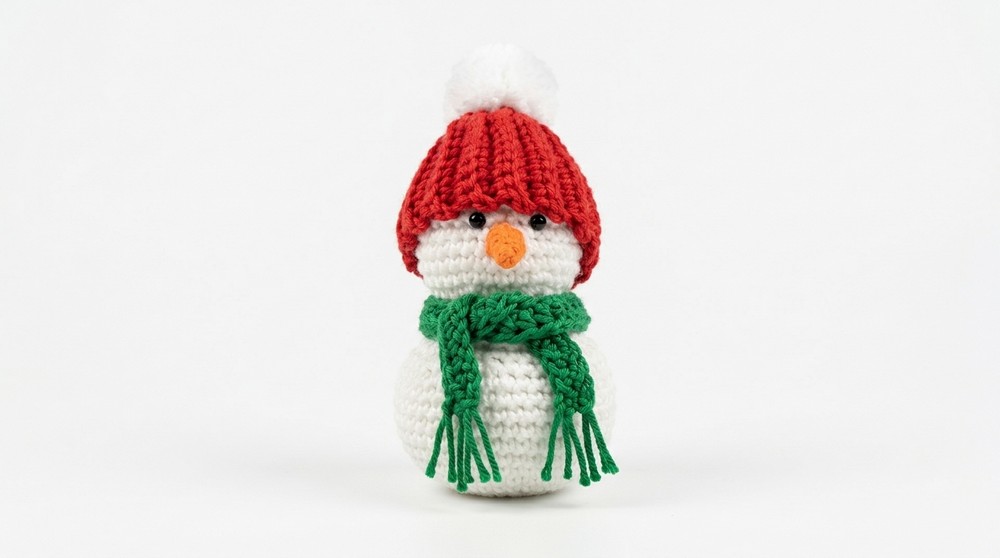
The snowman also has a lovely gifting value. Give it to a friend, family member, teacher, or someone who enjoys winter décor. It can be placed in a gift basket, added to a Christmas package, or presented as a small festive surprise. Its cute appearance makes it suitable for both children and grown-ups.
More than just a holiday ornament, this crochet snowman can become a warm reminder of Christmas time. Its cheerful character, compact shape, and cozy handmade feel make it a lovely decoration for bringing seasonal joy into any home.
Crochet Snowman Pattern – Beginner Friendly Guide
This charming crochet snowman stands approximately 13 cm tall and makes a lovely holiday decoration. It uses basic amigurumi techniques such as magic ring, single crochet, and simple increases and decreases. This step-by-step pattern is written clearly to help beginners follow along confidently and create a festive craft.
Pattern Highlights
- Classic amigurumi construction for smooth round shapes
- Simple shaping with increases and decreases
- Ribbed textured hat using back loop only stitches
- Half double crochet scarf with decorative fringe
- Detailed facial features: sewn eyes, rolled carrot nose, pompom hat top
- Finished size: approx. 13 cm tall
Materials
- White, orange, red, and green amigurumi yarn
- 2.5 mm crochet hook
- Tapestry needle
- Fiberfill stuffing
- Stitch markers (optional, helpful to mark rounds)
- Black beads (for eyes)
- Fabric glue
- White wool (for pompom)
Abbreviations & Stitches To Know
| Abbreviation | Meaning |
|---|---|
| ch | Chain |
| sc | Single crochet |
| hdc | Half double crochet |
| inc | Increase (2 single crochet stitches in the same stitch) |
| dec | Decrease (single crochet 2 stitches together) |
| sl st | Slip stitch |
Special Techniques
Magic Ring
Make an adjustable loop with the yarn, crochet your stitches into this loop, then pull the end tight to close the ring neatly—this forms the start of round shapes without holes.
Back Loop Only Stitch (for ribbed effect)
When working a single crochet (or any stitch), insert your hook only under the back loop of the stitch instead of both loops. This creates a raised ridge, giving a ribbed texture perfect for the hat.
Step-by-Step Pattern
1. Body Construction
Round 1:
- Create a magic ring.
- Crochet 6 single crochet (sc) stitches into the ring. Pull tight to close.
Round 2:
- Increase (inc) in every stitch: work 2 sc in each stitch (total 12 sc).
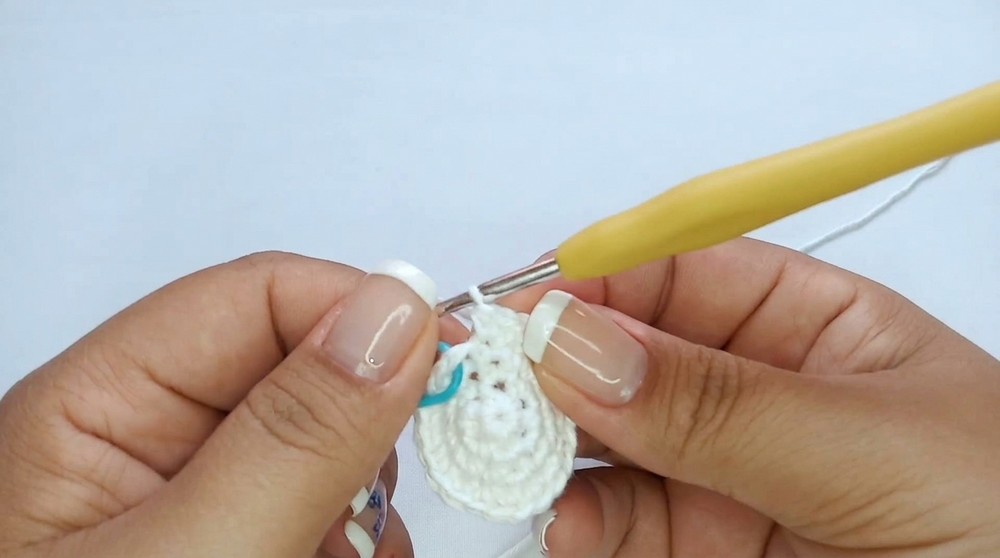
Round 3 and following:
- Follow increasing rounds by placing 1 sc in each stitch, then an increase spaced evenly (example: 5 sc, 1 inc repeat).
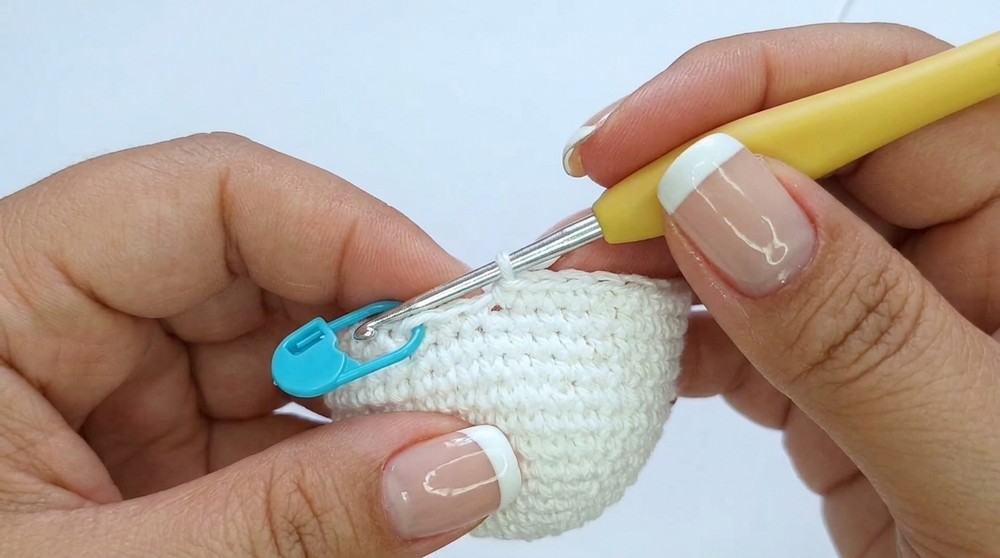
- Continue increasing like this each round until you reach the size for the widest part of the body.
Body Height:
- Crochet 5 rounds of even single crochet (1 sc in each stitch, no increases or decreases). This builds the height of the body.
Decreasing rounds:
- Start decreasing symmetrically by working 2 sc, 1 decrease (dec) repeat around to taper the body towards the neck.
Neck:
- Crochet 2 rounds of even single crochet stitches without increasing or decreasing for a clean neck finish.
2. Head Construction
Start increasing:
- For the head, work rounds increasing stitch count gradually:
- 1 sc in regular stitch, then 1 increase (inc),
- Followed by rounds of 2 sc + 1 inc, 3 sc + 1 inc, up to 4 sc + 1 inc.
Head Height:
- Crochet 3 rounds of even single crochet without changes to build head length.
Decreasing rounds:
- Stuff the body firmly with fiberfill before closing the neck area.
- Work symmetrical decreases gradually to shape the head, reducing stitches as you go.
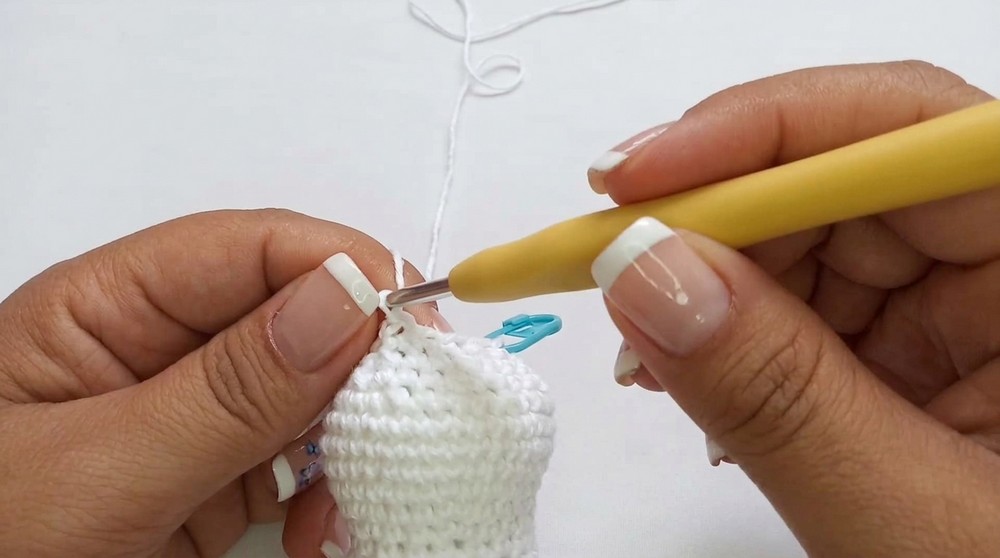
Final closure:
- Use tapestry needle to weave through the last stitches and pull tight to close the top securely.
3. Scarf
- Chain 50 stitches (ch 50).
- Skip first 2 chains, then work half double crochet (hdc) into each remaining chain to the end. This creates a soft scarf texture.
- To add fringe, cut short yarn lengths and attach by knotting them onto each end of the scarf.
4. Hat
- Chain 12 stitches (ch 12) to start the hat width.
- Crochet rows of 11 single crochet (sc), working in back loops only to get a ribbed effect — insert your hook only under the back loop of each stitch.
- Continue for about 30 rows or until the hat wraps fully around the head.
- Join the ends of the rectangle and use a tapestry needle to gather the top, forming a rounded hat shape.
5. Finishing Details
Pompom:
- Wrap white wool yarn around a fork several times.
- Tie yarn tightly in the center, remove from fork,
- Trim the loops evenly to create a neat fluffy pompom.
Eyes:
- Sew black beads securely onto the head as eyes using thin sewing thread.
Nose:
- Chain 5 stitches (ch 5).
- Work 4 single crochet (sc) stitches along the chain.
- Turn and crochet back along the chain to shape a small triangle.
- Roll the triangle tightly to form the carrot nose shape.
- Attach to the center of the face with fabric glue.
Assembly:
- Glue the hat in place over the head snugly.
- Arrange the scarf around the neck and secure in place.
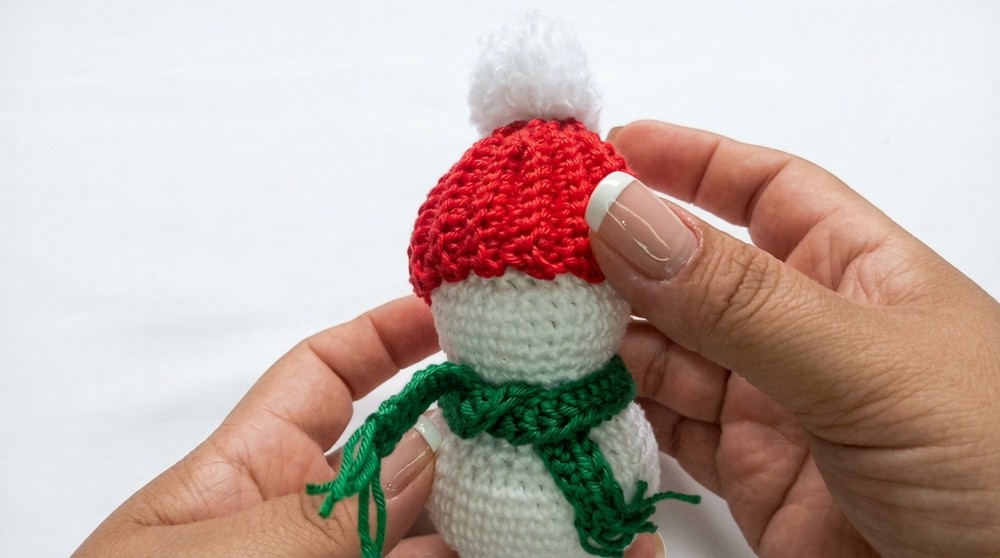
Assembly & Finished Size
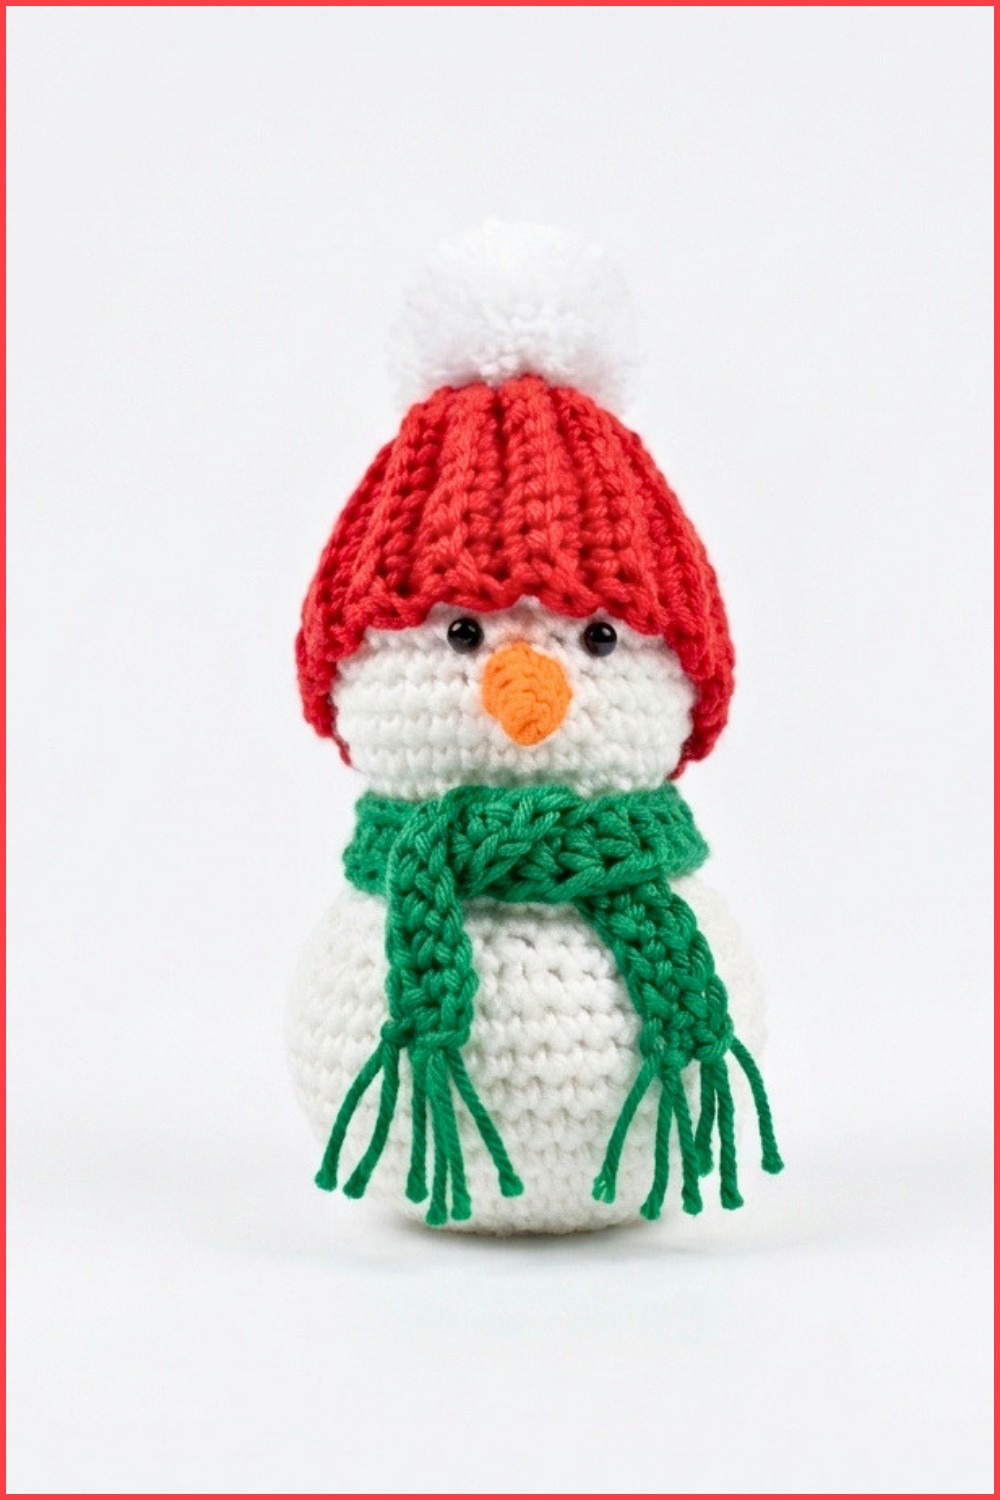
- The completed snowman stands approximately 13 cm tall.
- The ribbed hat fits snugly on the head, topped with a soft white pompom.
- The half double crochet scarf adds warmth and detail, with fringe finishing it nicely.
- Black bead eyes and a rolled carrot nose give the snowman personality.
- The body and head are softly stuffed for shape and durability.
Conclusion
This beginner-friendly crochet snowman project combines simple shapes and basic stitches with charming finishing touches to create a festive decoration perfect for winter. By carefully increasing and decreasing stitches, shaping the body and head becomes easy and intuitive. The ribbed hat and textured scarf use straightforward techniques that add depth without complexity. With patient stitching and attention to detail, even beginners can produce a delightful snowman that brings cozy holiday spirit into any space.