Say Thanks & Support: Мир игрушек Вяжем игрушки вместе
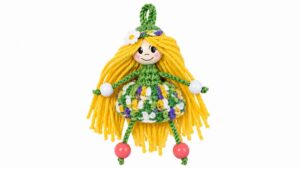
Add a touch of fantasy to your collection with this free crochet Fairy Girl pattern that’s sweet, fun, and perfect for gifting or decorating.
The Free Crochet Fairy Girl Pattern is a delightful project for crochet lovers who enjoy designing charming creations. This pattern allows you to crochet a whimsical fairy doll that’s perfect for gifting, decorating, or simply adding to your handmade collection. It combines creativity with functionality, making it ideal as a thoughtful present or an enchanting decoration for a child’s room, a shelf, or even a holiday display.
The fairy girl is beautifully designed with intricate details that bring her to life. Her delicate wings, flowing dress, and cheerful expression add a magical feel to the finished item. The texture of the crochet stitches gives it a soft and comforting touch, while the doll’s small size makes it easy to display anywhere. Its dreamy shape, charming features, and customizable colors make the design stand out and feel truly unique.
Free Crochet Fairy Girl Pattern That Feels Like Magic
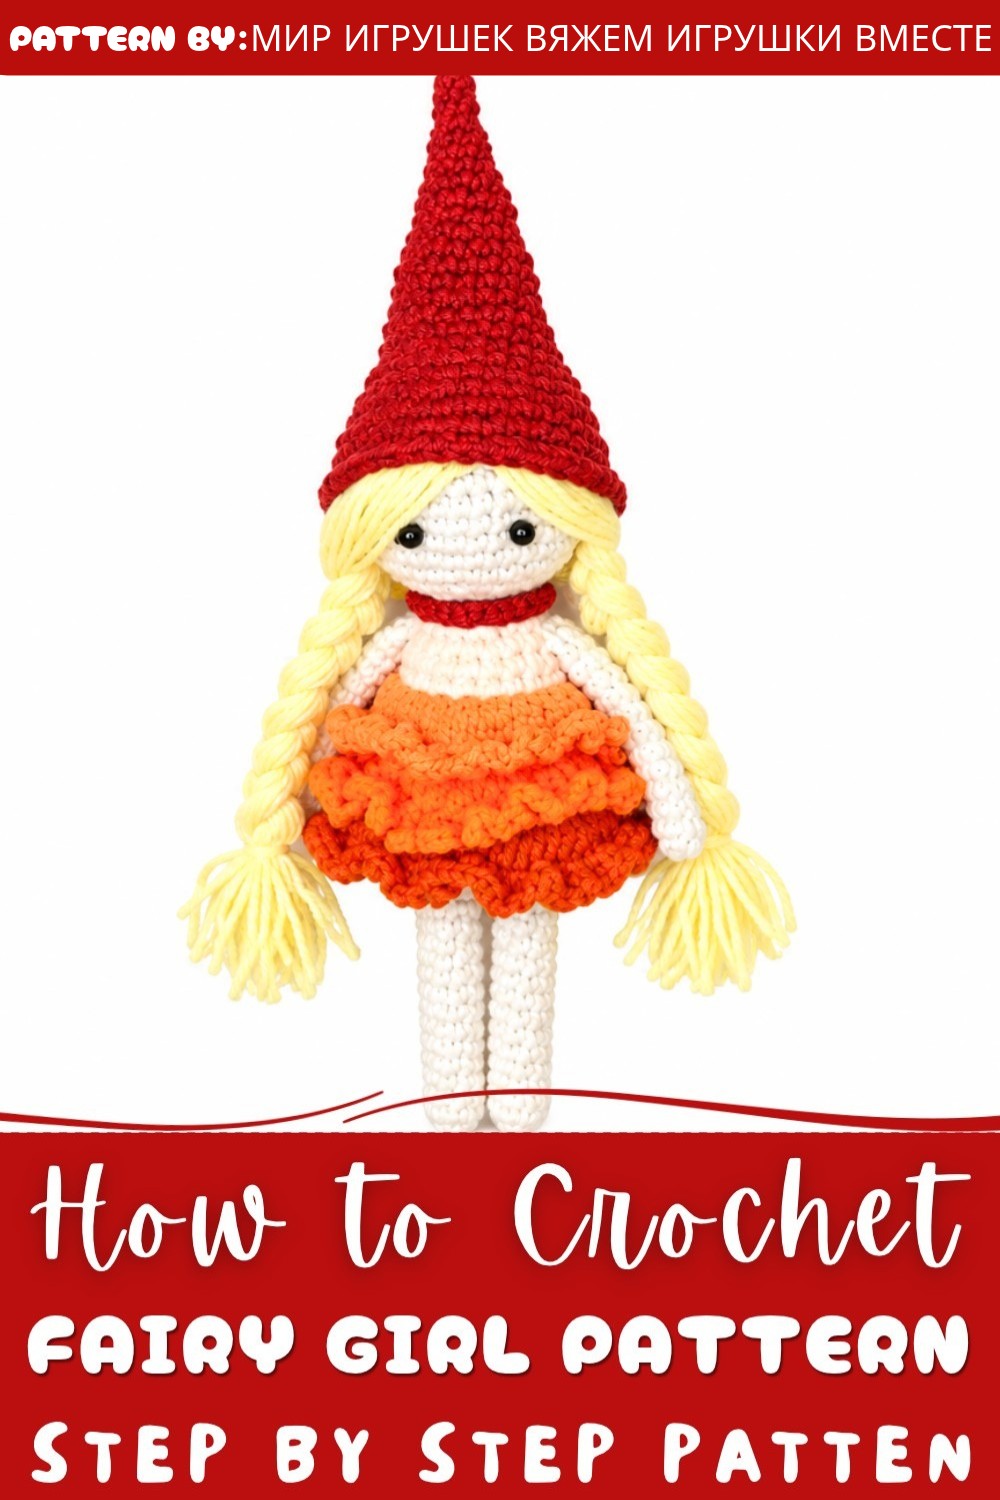
About The Channel: The video tutorial for the Free Crochet Fairy Girl Pattern is provided by Мир игрушек Вяжем игрушки вместе. Their detailed instructions make this project fun and simple to follow, even for beginners.
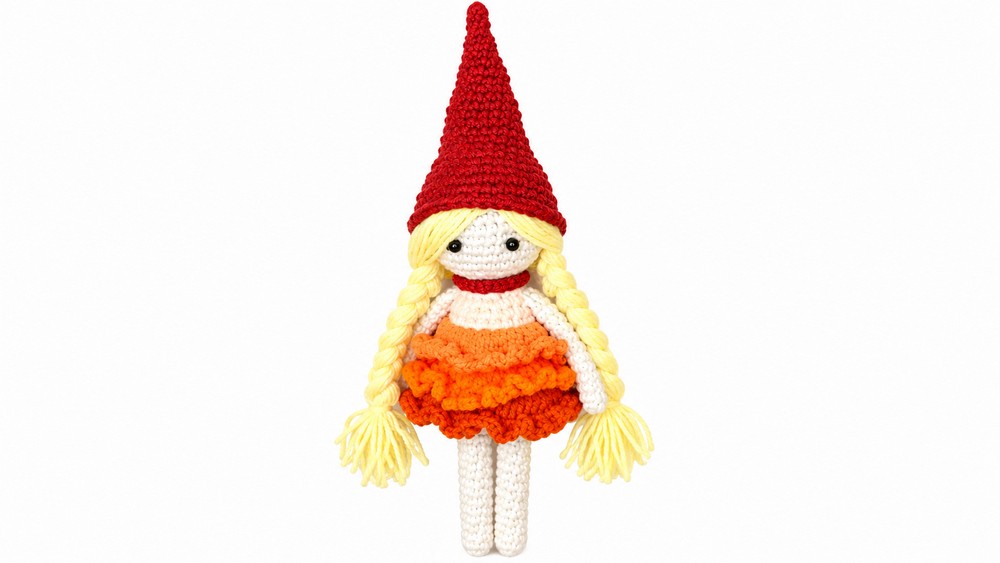
This pattern isn’t just about making a doll—it’s about creating a heartfelt piece of art that carries personal value. Whether it’s for a loved one, a child, or as a keepsake for yourself, this fairy girl is guaranteed to bring a smile to anyone's face.
Crochet 22 cm Tall Fairy Doll Pattern
This tutorial details the creation of a charming 22 cm tall fairy doll, perfect for gifting or display. Utilizing YarnArt Jeans and a 2 mm hook, this project combines precise amigurumi techniques with textured finishing touches such as ruffled skirts and a delicate hat with yarn hair. Crochet enthusiasts will appreciate the intricate shaping of limbs, layered ruffles, and the attachment of fine bead eyes for an expressive, whimsical appearance.
Pattern Highlights
- Detailed stepwise construction of limbs (arms and legs) with color changes.
- Body shaping includes increases and strategic back-loop decreases for structure.
- Three-layer ruffled skirt built using double crochet (DC) and chain loops.
- Comprehensive head shaping with increases and decreases to create roundness.
- Hat crocheted with increasing rounds; yarn hair attached with latch-hook method.
- Finishing touches include crocheted braids and attachment of bead eyes for realism.
Notes
- Yarn color changes are integral to achieving realistic boots, legs, and skin tones.
- The body is shaped using back-loop-only single crochet rounds to add subtle dimensionality.
- Ruffles require working into only front loops left from previous rounds, demanding close attention to stitch location.
- The latch-hook method for hair attachment creates volume and natural flow.
- Attaching bead eyes between specific rounds improves facial proportion.
- Stuff the doll firmly with hollowfiber filler for shape retention.
Skill Level
Recommended for intermediate to advanced crocheters familiar with:
- Magic ring foundations and continuous rounds
- Single crochet (SC), double crochet (DC), increases, decreases, and back loop crocheting
- Color changes within rounds
- Hair attachment via latch-hook technique
- Working with fine yarns and small hooks for detailed amigurumi
- Sewing and attaching small parts (arms, hair, eyes) precisely
Materials
- Yarn: YarnArt Jeans in various colors for body, boots, dress ruffles, and hair
- Crochet hook: 2 mm
- Hollowfiber stuffing (fiberfill)
- Black beads for eyes
- Needle and thread for sewing parts and attaching beads
Measurements / Sizing
- Finished doll height: approximately 22 cm from feet to hat tip
- Arms approximately 5 cm long, legs approx. 10 cm long (including boots portion)
- Head diameter approx. 5 to 6 cm in widest part
- Skirt ruffles span about 5 cm in length layered over body
Gauge and Stitch Pattern
- Gauge is flexible but maintain consistent tension to ensure proportions are stable.
- Main stitch is single crochet (SC) in rounds, with double crochet (DC) used for skirt ruffles.
- Back loop single crochet rounds add structural shaping to the body.
Stitch Abbreviations
| Abbreviation | Meaning |
|---|---|
| ch | chain |
| sc | single crochet |
| dc | double crochet |
| inc | increase (2 SC in one stitch) |
| dec | decrease (crochet 2 stitches together) |
| sl st | slip stitch |
| m.r. | magic ring (circle) |
Special Stitches
Latch-Hook Hair Attachment
Individual yarn segments are tied onto the crochet fabric by pulling the folded yarn loop through a stitch, then pulling the yarn ends through this loop forming a secure knot, creating an effect of flowing hair.
The Crochet Pattern!
1. Arms (Make Two)
Foundation:
- Create a magic ring.
- Work 6 SC stitches into the ring.
Body:
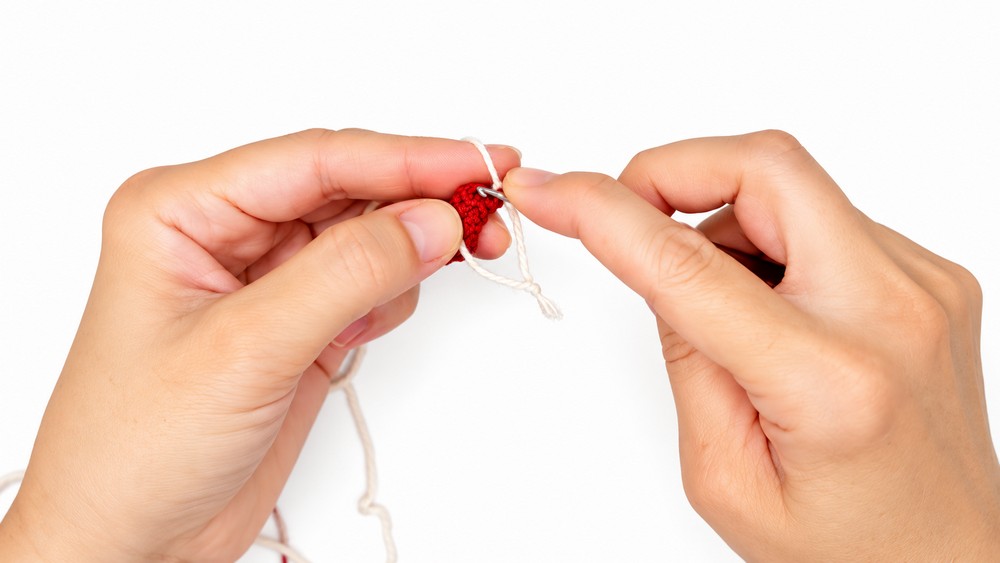
- Work 15 rows of 6 SC each, creating a slender tubular arm shape.
Closure:
- Flatten the tube and work 3 SC stitches through both layers at the top opening to close the arm neatly. Fasten off and weave ends.
2. Legs (Make Two)
Boots Section:
- Create a magic ring.
- Work 6 SC into the ring.
- Work 4 rows of 6 SC each using boot color yarn.
Leg Section:
- Change to leg color yarn.
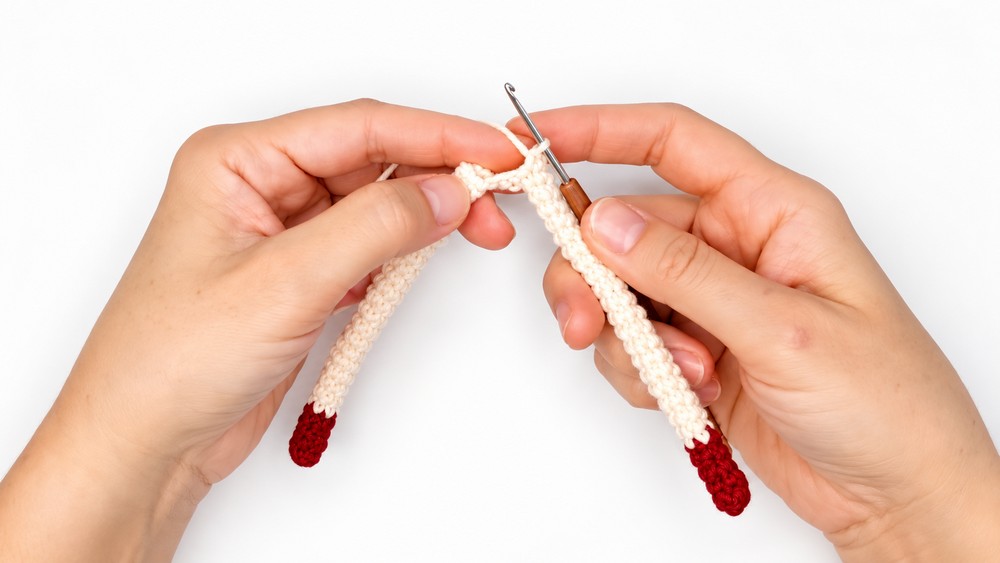
- Work 20 rows of 6 SC each, extending the leg length.
Fasten off and leave yarn tail for assembly.
3. Connecting Legs & Body
Joining Legs:
- Attach legs by crocheting chains between them — chain 3 stitches to connect.
Body Foundation:
- Work around the joined legs evenly to create the body base with 18 stitches total.
Increase Round:
- Work the following pattern: (1 SC, 1 increase) repeat 9 times, increasing stitch count to 27.
Body Shaping:
- Work 2 rounds with 27 SC stitches each.
Tapering Rounds:
- Using back loops only, decrease from 27 to 24 stitches, then to 21 stitches in successive rounds — maintain firm tension for shaping.
4. Skirt Ruffles
Front Loop Foundation:
- Work into the front loops left during the body shaping rounds.
Ruffle Layers (Make 3):
- Using double crochet (DC) work ruffles in three layers.
- Incorporate chain-5 loops to add volume and texture to each ruffle layer.
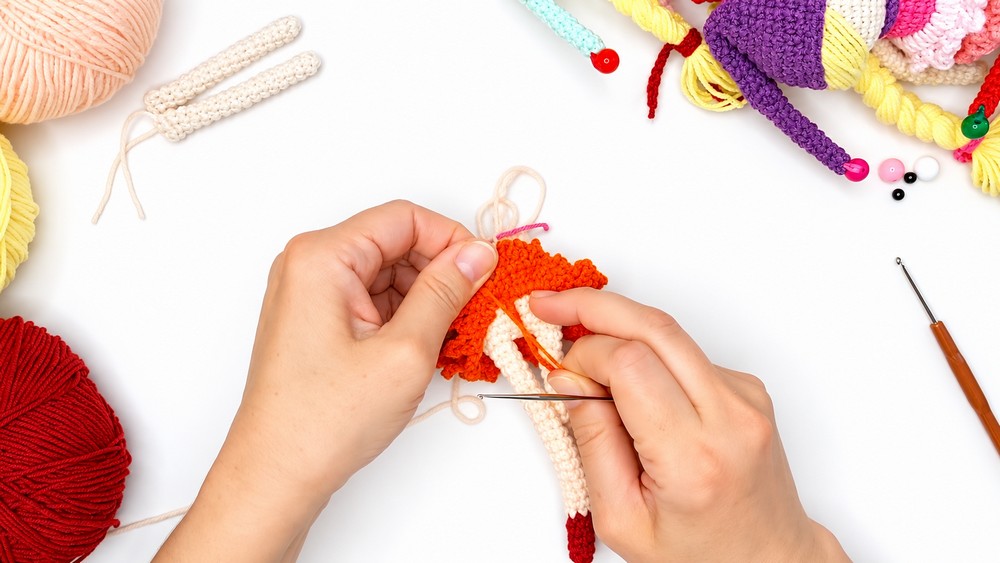
The progressive layering creates a flouncy, fairy-like skirt.
5. Attaching Arms & Upper Body
Arm Attachment:
- Sew the two arms securely to the sides of the body.
Upper Body Shaping:
- Work a decrease round to reduce stitch count to 14, tailoring the waistline before the head attachment.
6. Head
Foundation & Increase Rounds:
- Change yarn to skin tone.
- Increase from 14 to 28 SC stitches by working appropriate increase rows.
- Further increase to 35 stitches to form head breadth.
Shape Head:
- Work 6 rows of even 35 SC (42:33).
Decrease Rounds:
- Using decreases, reduce stitches gradually until the head is closed neatly (44:21 - 52:28).
- Stuff firmly during shaping for roundness.
7. Hat & Hair
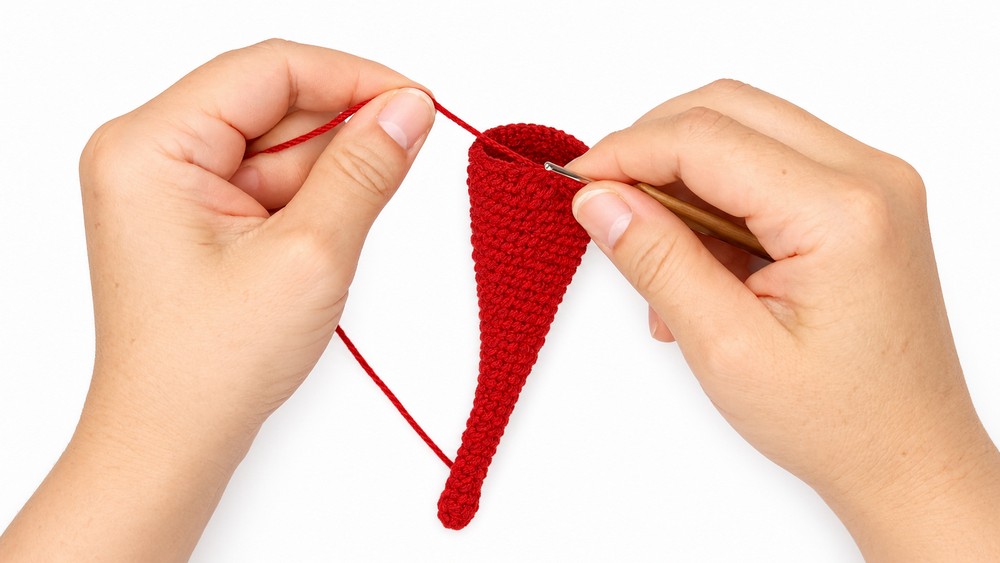
Hat Construction:
- Start hat with a magic ring.
- Increase gradually, working rounds to reach 39 stitches forming the brim and top (54:00 - 1:02:00).
Hair Attachment:
- Cut yarn segments for hair length.
- Attach strands onto hat brim stitches using the latch-hook method (1:04:00).
Bead Attachment:
- Secure a bead to the hat tip for decorative flourish (1:06:40).
Sewing Hat:
- Attach the finished hat securely to the top of the doll’s head.
8. Finishing Details
Braiding Hair:
- Use crocheted ties to braid attached hair strands, creating elegant style.
Attach Eyes:
- Sew black bead eyes between rows 3 and 4 of the head (1:17:30), giving the fairy an expressive gaze.
Assembly & Finished Size
- After stitching, stuff all body parts firmly with hollowfiber filling for shape retention.
- Sew arms and hat securely in place.
- Attach and braid hair carefully with ties.
- Attach bead eyes with needle and thread precisely to maintain face proportion.
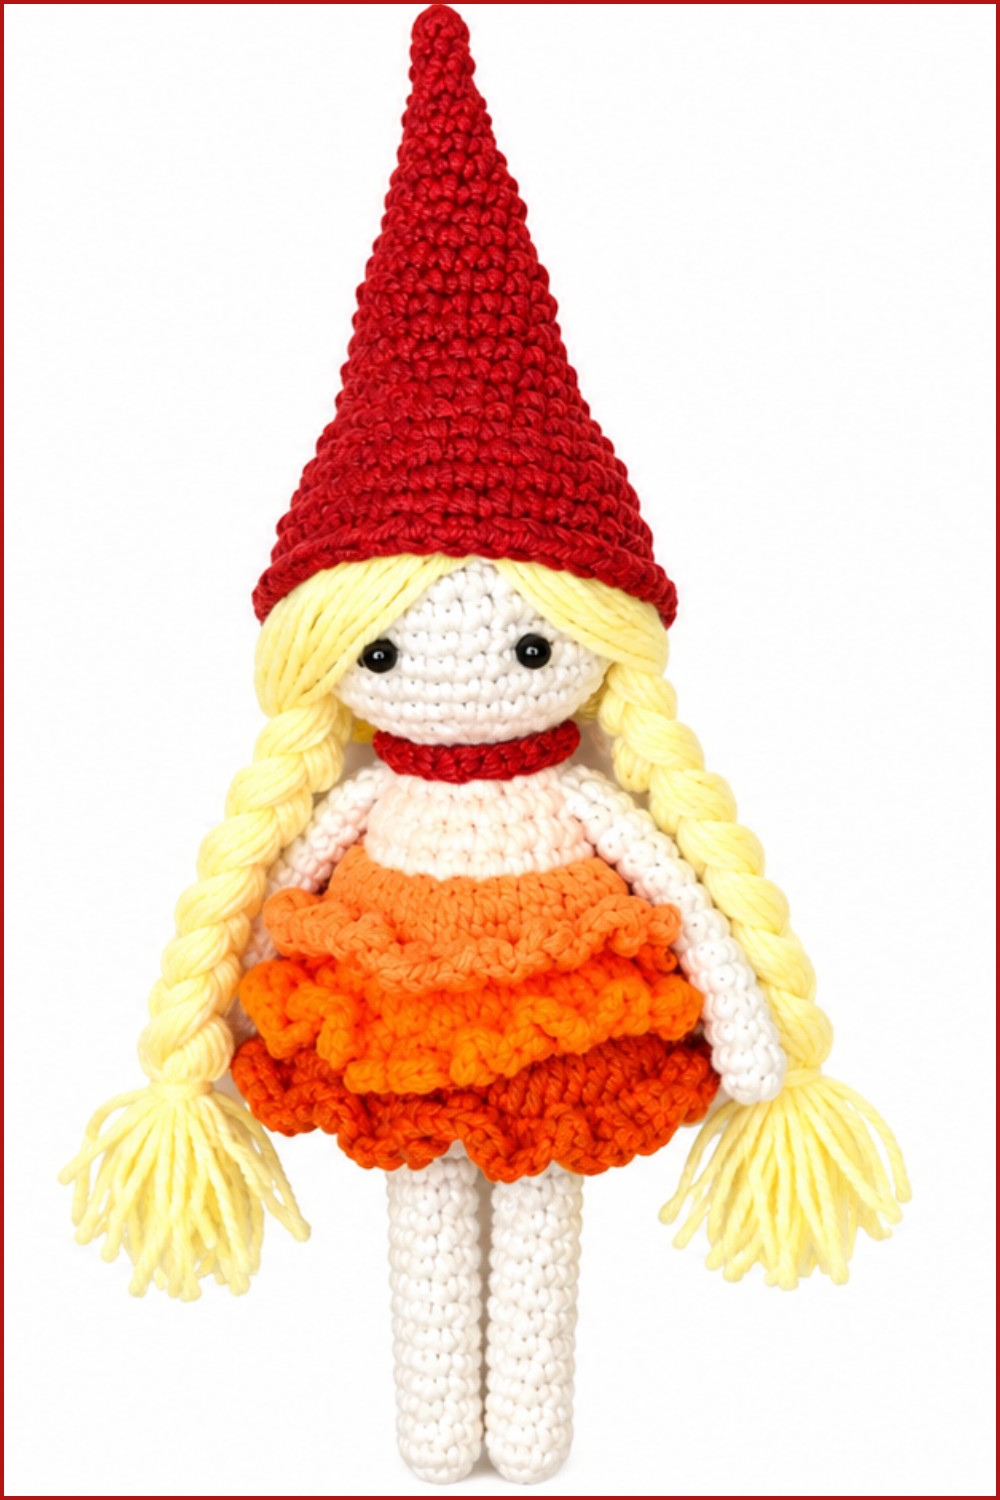
- The completed fairy stands approximately 22 cm tall, with delicate layered skirts and a detailed hat.
Conclusion
The 22 cm fairy doll offers an engaging mix of amigurumi crafting techniques, taking crocheters from simple tubular limbs through to intricate skirt ruffles and creative hair attachments. Employing fine tension and detailed finishing, this doll embodies whimsy and grace, making a wonderful gift or personal collectible.
The clear, stepwise approach enables crocheters to build confidence in shaping, layering, and assembly, as well as incorporating embellishments like bead eyes and hair braids. With patience and care, you will produce a stunning fairy doll that showcases your craftsmanship beautifully.