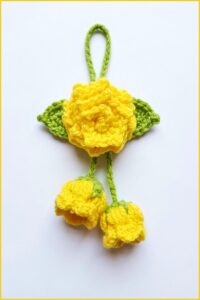
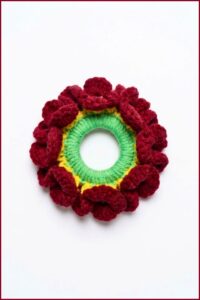
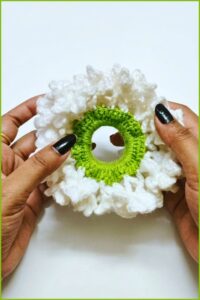
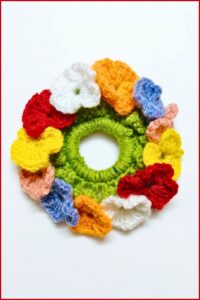
Add seasonal warmth to your coffee break by choosing this free crochet pumpkin coaster pattern that blends soft texture with autumn-inspired flair.
Looking to add a fun and useful item to your home? You will enjoy making the Free Crochet Pumpkin Coaster Pattern. This is a small crochet piece that helps protect your table from hot drinks and spills. If you want to learn how to crochet this lovely pumpkin coaster step by step, you can visit the YouTube channel called Márcia Souza Crochê. She shows easy ways to create beautiful crochet projects for beginners and experts.
The pumpkin coaster is super cute and perfect for fall decorations. It looks like a tiny pumpkin with a round shape and a little stem on top. The colors are usually bright orange, which makes it feel cozy and warm.
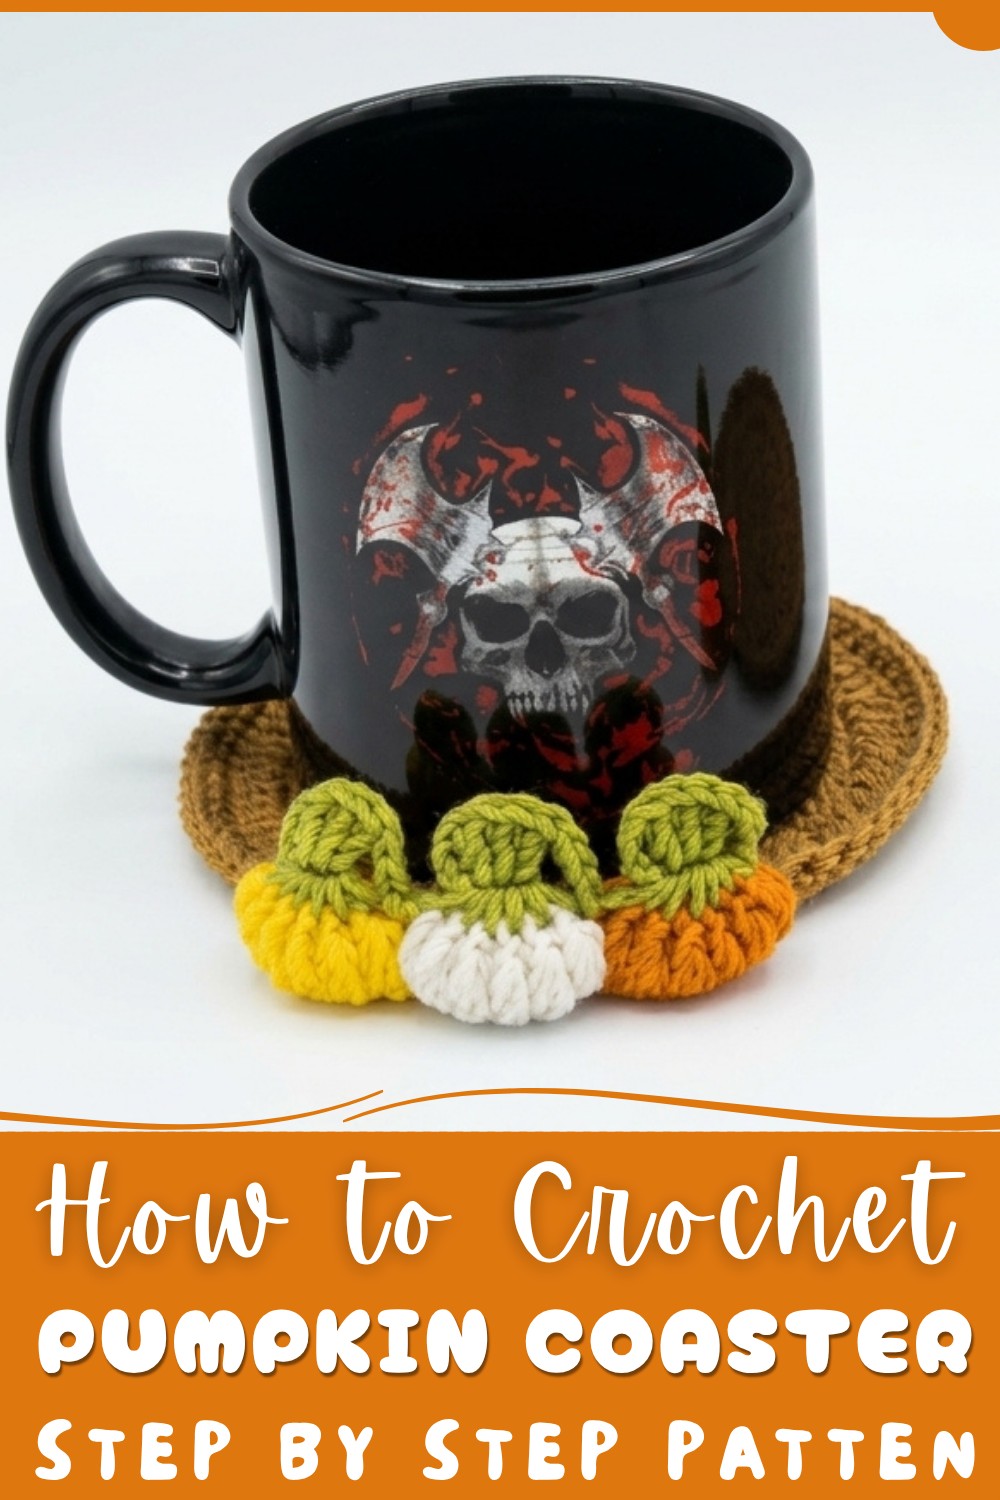
Cochet Pumpkin Coaster Free Pattern for Autumn Nights
The texture of the coaster is soft but strong enough to hold cups and mugs without slipping. Its simple style adds a nice touch to any kitchen or living room, making your table look welcoming and festive. Besides being pretty, this coaster is very helpful. It protects your furniture from heat and water damage, so your tables stay clean and safe. You can use it daily or keep it out for holidays like Halloween and Thanksgiving to add some seasonal charm. The crochet stitches give it a lovely handmade look that many people enjoy.
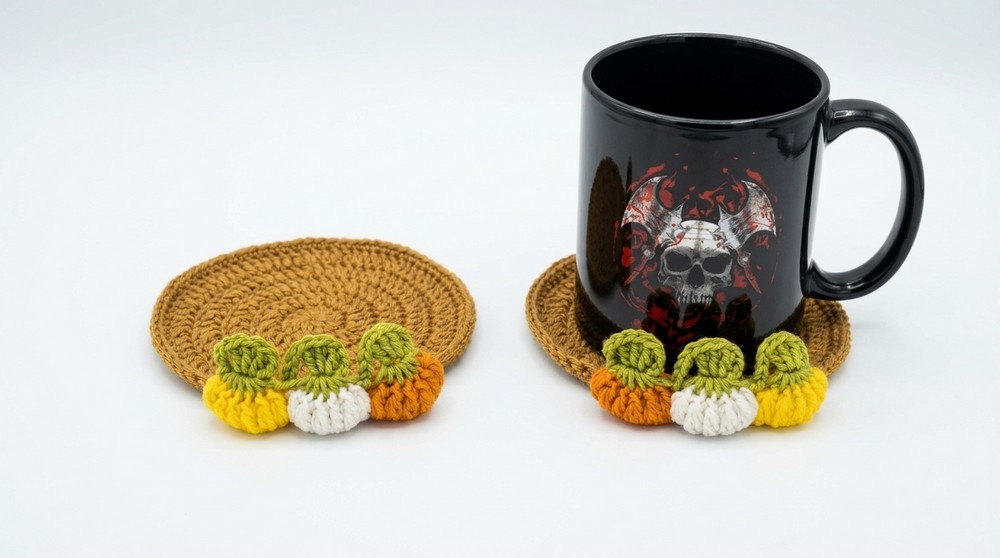
This Free Crochet Pumpkin Coaster Pattern is a fun and quick project you can finish in a short time. It’s also a great gift idea for friends and family who love home decoration or handmade project. Making these coasters is an easy way to bring some warmth and brightness into your home!
Mini Crochet Pumpkin Coaster Step-by-Step Pattern
Welcome to this easy-to-follow tutorial to make a mini crochet pumpkin coaster — perfect for Halloween or fall décor! This coaster doubles as a cozy mug holder and adds a cute seasonal touch to your table. It measures about 12 cm in diameter and is lightweight, making it both functional and decorative. This pattern uses simple stitches and includes textured puff stitches to replicate the look of pumpkins.
Quick Overview of the Pattern
- Start with a circular base worked in rounds with single crochet and increases.
- Create looped straps around the edge to form pumpkin sections.
- Add puff stitch decorations on each loop to mimic pumpkin texture.
- Make three mini pumpkins in three different colors on the loops.
- Finish with neat weaving and optional glue fixes for durability.
Notes
- Use a 3.0 mm crochet hook and amigurumi yarn for a firm finish.
- Chains made at the start of rounds are for height only and not counted as stitches.
- Maintain even tension; this ensures the coaster lies flat.
- Puff stitches require pulling up multiple loops on the hook—practice once before starting.
- Thread ends should be woven carefully inside the piece to keep it tidy.
Skill Level
Suitable for confident beginners and intermediate crocheters.
You should be comfortable with:
- Single crochet (SC)
- Chain stitch (CH)
- Slip stitch (SL ST)
- Increases (INC)
- Puff stitch (explained below)
- Magic ring (MR) technique
Materials
- Amigurumi yarn in:
- Base color: Dulce de Leche (light brown)
- Pumpkin colors: Orange, Canary Yellow, Natural Beige
- Leaf/Stem: Pistachio Green
- Crochet hook size: 3.0 mm
- Small scissors
- Yarn needle for weaving in ends
- Optional: glue to secure thread ends
Measurements / Sizing
- Finished coaster diameter: ~12 cm (about 4.7 inches)
- Weight: approximately 15 grams
Gauge
- Not critical but keep consistent tension for smooth rounds and flat base.
- Puff stitches create a raised texture with 4 loops pulled through on the hook.
Stitch Abbreviations
- SC = Single Crochet
- CH = Chain
- SL ST = Slip Stitch
- INC = Increase (2 SC in one stitch)
- MR = Magic Ring
- Puff Stitch = Explained under Special Stitches
Special Stitches
Magic Ring (MR)
Create a loop with yarn and crochet stitches inside it; then pull tight to close without a hole.
Puff Stitch (4 loops)
- Yarn over, insert hook into stitch, yarn over, pull loop through (3 loops on hook).
- Repeat 3 more times into same stitch to have 9 loops on hook.
- Yarn over, pull through all loops, chain 1 to secure.
The Crochet Pattern!
Base Circle
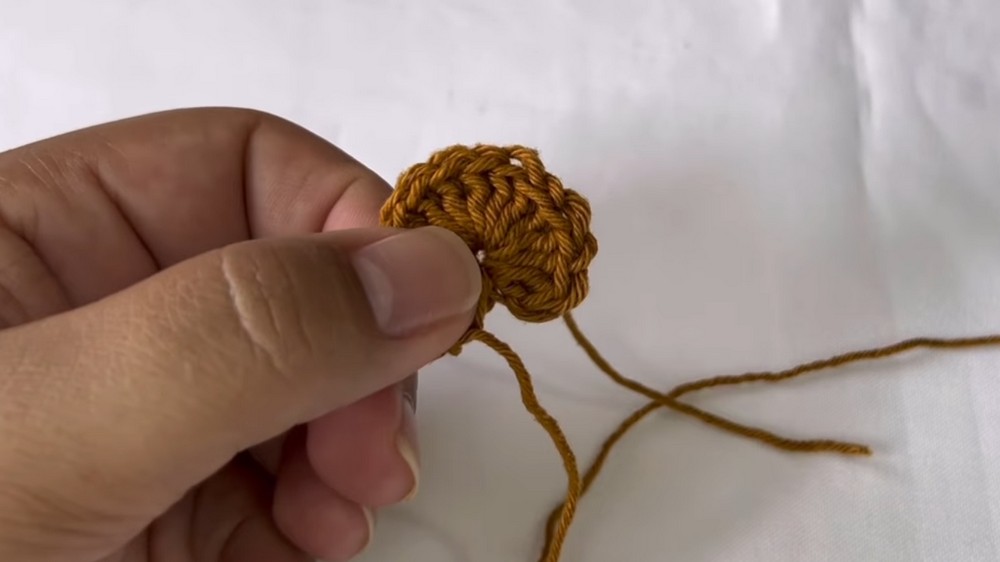
- Round 1:
- Start with a Magic Ring (MR).
- Chain 1 (does not count as a stitch).
- Work 15 SC into the MR.
- Pull the ring tight to close.
- Join with a SL ST to the first SC.
- Round 2:
- Chain 2 (counts as first SC height).
- INC in every stitch (2 SC in each).
- Total: 30 SC
- Join with SL ST.
- Round 3:
- Chain 2 (height).
- 2 SC in first stitch (INC), then 1 SC in next stitch — repeat around.
- Total: 45 SC
- Join with SL ST.
- Round 4:
- Chain 2 (height).
- 3 SC in separate stitches, then 2 SC in one stitch (INC) — repeat around.
- Total: 60 SC
- Join with SL ST.
- Round 5:
- Chain 2.
- Single crochet into each stitch around.
- Total: 60 SC
- Join with SL ST.
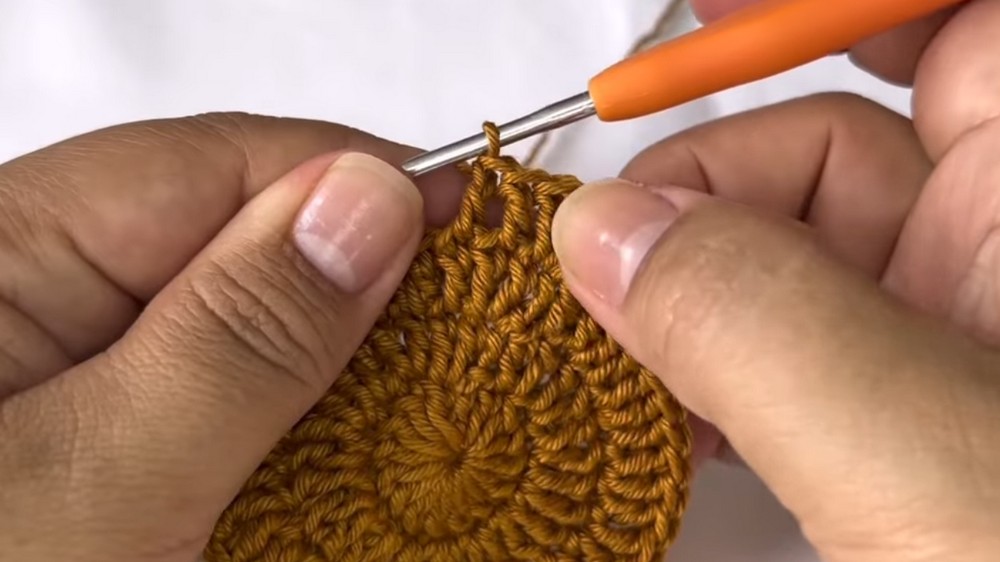
Creating Pumpkin Loops (Straps)
- Round 6:
- Chain 5, skip 4 stitches on base, SL ST in next stitch — repeat 3 times to form 3 loops evenly spaced.
- These loops will hold the mini pumpkins.
- Finish with SL ST to join.
- Crochet a row of SC along base circle and loop bases to secure and tidy.
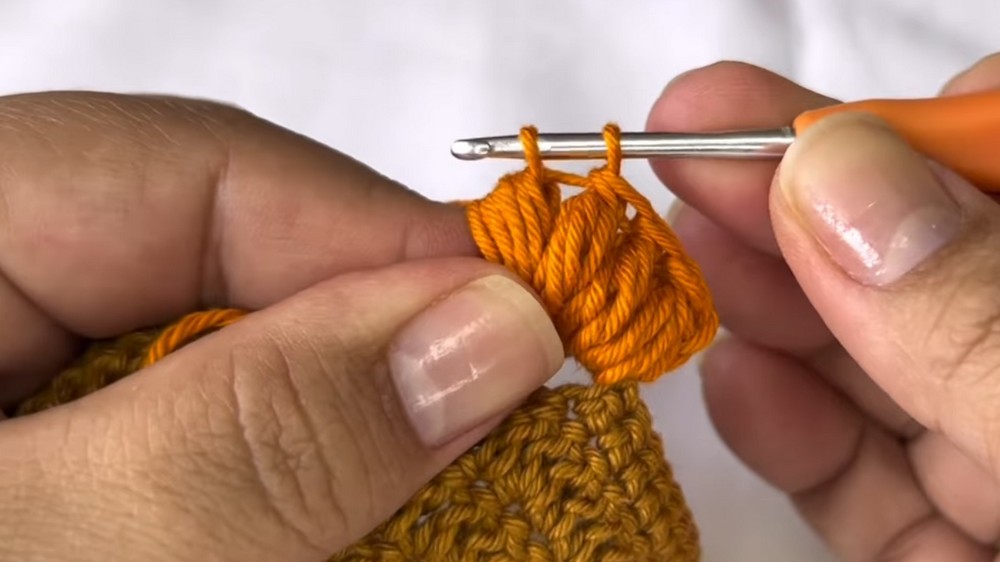
Puff Stitch Decoration on Each Loop
- Attach pumpkin color yarn to base of first loop (orange for first pumpkin).
- On each loop:
- Chain 2 (height).
- Make 6 Puff Stitches spaced evenly on loop:
- Insert hook into the loop, yarn over, pull up 4 loops, yarn over, pull through all loops, chain 1 to complete each puff stitch.
- Chain 2, SL ST to join at base of loop.
- Repeat for each pumpkin loop using different colors:
- Second loop with Natural Beige
- Third loop with Canary Yellow
Optional: Neatening and Finishing
- Carefully weave in all yarn tails on the backside with a yarn needle.
- Add a drop of glue on ends to prevent unraveling if needed.
- Turn the coaster inside out when working on loops so the base stays flat and neat.
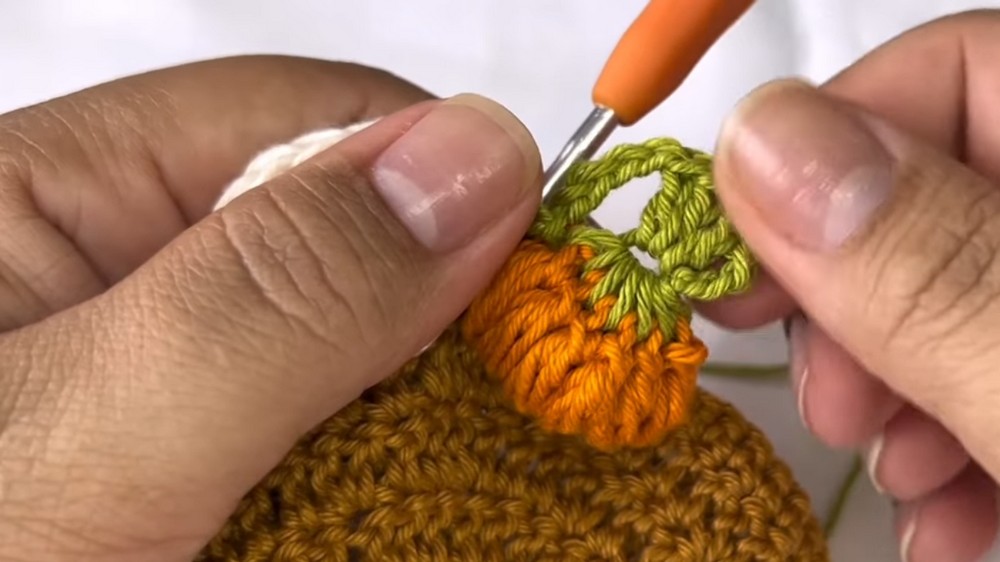
Assembly & Finished Size
- The finished mini pumpkin coaster measures roughly 12 cm (4.7 inches) in diameter.
- Weight is approximately 15 grams, lightweight enough to handle comfortably.
- The soft puff stitches create a bumpy pumpkin surface, and the loops provide a charming dimensional effect.
- The coaster is perfect for protecting tables while adding a festive autumn look.
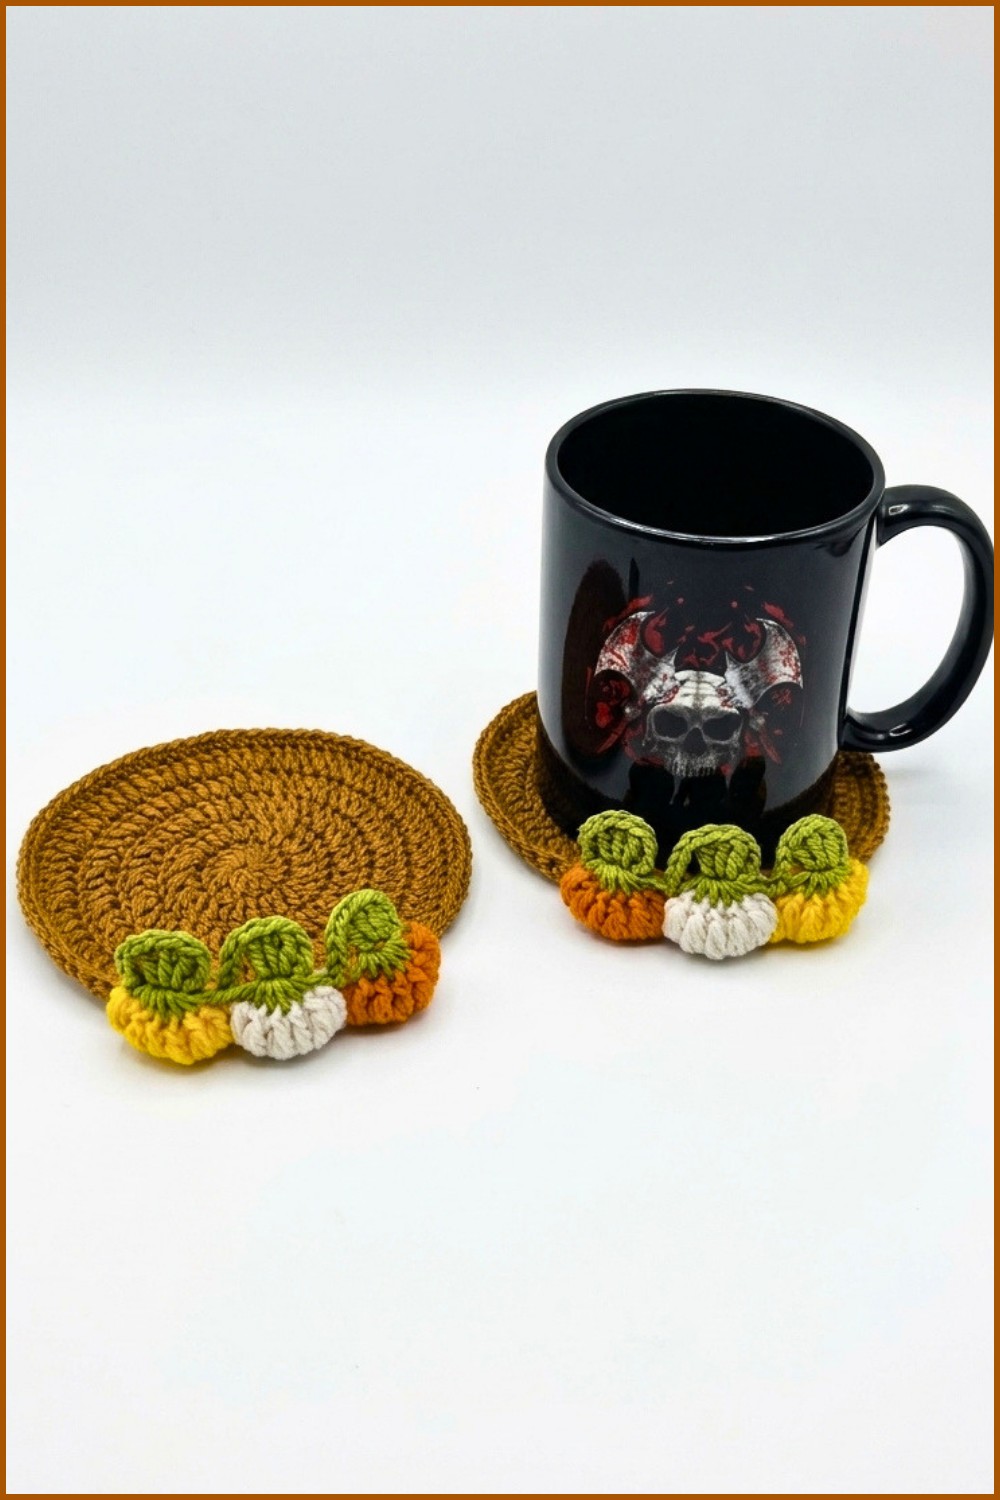
Conclusion
Congratulations on completing your mini crochet pumpkin coaster! This project introduced you to working in rounds, increasing, and the decorative puff stitch—all while creating a practical and delightful seasonal accessory. By following these clear, beginner-friendly steps, you can now recreate this coaster for yourself, gift it to loved ones, or customize it with your favorite colors and sizes. The combination of sturdy base, adorable pumpkin loops, and textured puff stitches produces a warm and inviting piece that's both functional and decorative.