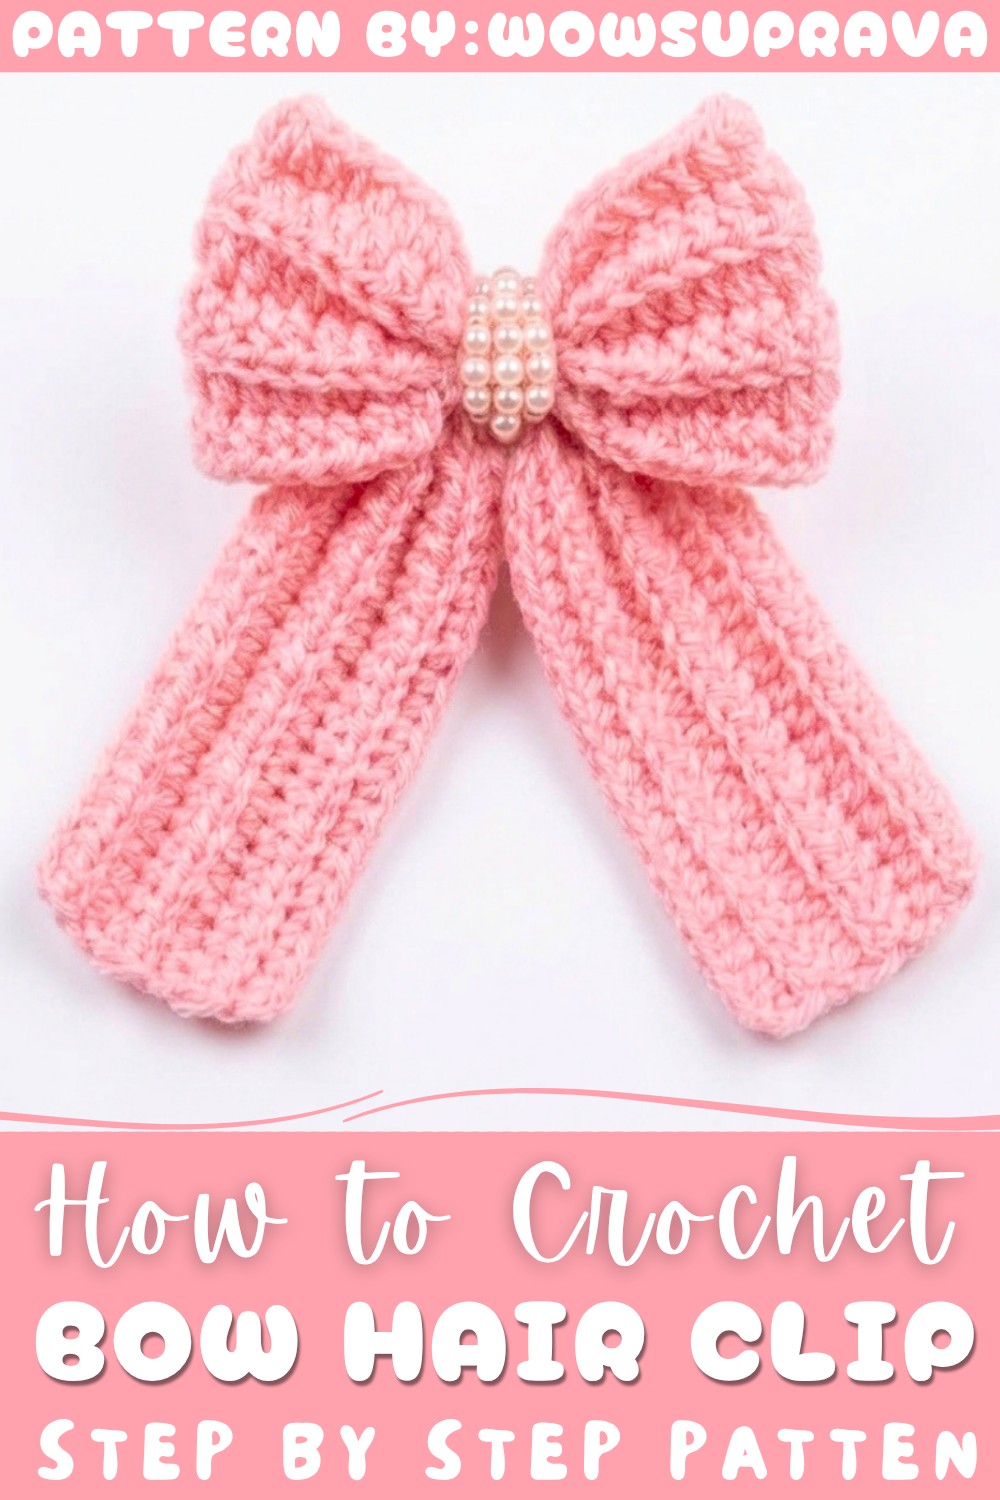
Brighten up any hairstyle effortlessly with this free crochet bow hair clip pattern that adds a touch of charm and elegance to your daily look.
A bow hair clip is a pretty little hair accessory that adds a cute touch to any look. The Free crochet Bow Hair Clip Pattern from WOWSUPRAVA is a lovely project for making a soft and stylish clip with a handmade feel.
The bow has a sweet shape with neat loops and a center that brings the whole look together. Its crochet texture gives it a soft, cozy feel, while the small size keeps it light and easy to wear. The simple bow style can look beautiful in bright, pastel, or classic colors.
Free Bow Hair Clip Crochet Pattern You’ll Love to Make
This hair clip is useful for many everyday looks. It can hold a small section of hair or add a pretty detail to a ponytail or bun. The bow can also be used on a bag, gift box, or other items as a small decoration. Its simple design makes it easy to match with different outfits and styles.
The project is also a fun choice for people who enjoy making small crochet accessories. The video gives a clear look at the bow design and helps bring this charming idea to life. Its cute shape and soft finish make it a piece that can be enjoyed by both children and adults.
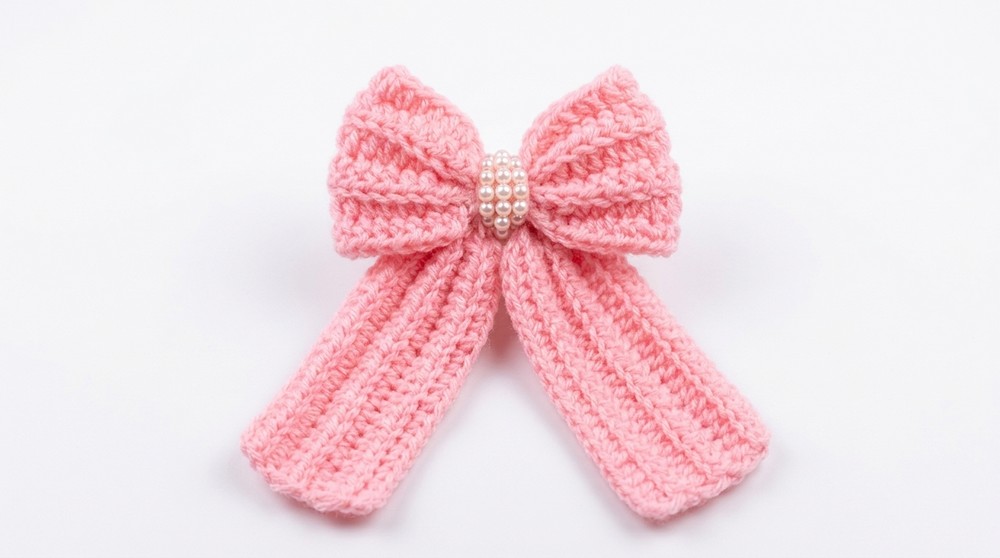
A crochet bow hair clip can also make a sweet gift for a friend, daughter, sister, or someone who loves pretty hair pieces. Make one in a favorite color for a personal touch, or make several shades for a small collection. It is useful, cute, and easy to carry, making it a lovely handmade accessory for many occasions.
Elegant Crochet Bow Pattern
This crochet tutorial shows how to craft an elegant bow using simple stitches and a straightforward technique. Perfect as a decorative accessory for hair, gifts, or clothing, this bow is created with 2-ply yarn and a 3 mm crochet hook. The pattern combines textured half double crochet and slip stitch sections worked into the back bumps of the foundation chain to produce a charming fabric band that folds and cinches neatly into a bow shape. Optionally, a pearl or bead center can be attached for enhanced elegance.
Quick Overview Of Pattern
- Foundation chain of 89 stitches
- Multiple textured sections using half double crochet (HDC) and slip stitches
- Worked primarily into the back bumps of the chain for a distinctive textured effect
- Six rows worked in back loops only (BLO) to create subtle ribbing
- Final assembly involves folding, cinching, and optionally decorating with a central bead or pearl
Notes
- This pattern uses the smallest size 3 mm crochet hook and 2-ply weight yarn to produce a firm yet pliable fabric.
- Working into the back bumps of the foundation chain requires careful stitch placement to maintain a tidy edge.
- The combination of HDC and slip stitches creates an appealing texture and compressibility, aiding the bow’s shape formation.
- Back loop only (BLO) technique on subsequent rows enhances fabric flexibility and structure.
- Yarn ends are left long for finishing and securing the bow shape through wrapping and sewing.
- The final bow size can be adjusted by altering chain count proportionally or using different yarn/hook sizes.
Skill Level
Suitable for beginner to intermediate crocheters who are familiar with:
- Making foundation chains
- Working half double crochet (HDC) and slip stitches
- Identifying and working into the back bumps of chains
- Working stitches in the back loop only (BLO) for texture variation
- Basic finishing techniques including sewing and attaching embellishments
Materials
- 2-ply weight yarn; the tutorial uses a pink shade (approximately 50 grams)
- 3 mm crochet hook
- Tapestry needle or yarn needle for finishing
- Optional pearl or bead for bow center decoration
- Scissors
Measurements / Sizing
- Finished flat bow measures approximately 15.5 cm (width) × 5 cm (height)
- Thickness is determined by yarn type and tension; the fabric has moderate bulk due to textured stitches and layered rows.
- This size fits well as a hair accessory or decorative applique.
Gauge and Stitch Pattern
- Gauge is flexible; consistency in tension is more important than exact stitch size.
- Primary stitches: Half Double Crochet (HDC) and Slip Stitch (sl st)
- Foundation work is done in the back bumps of the foundation chain to create a textured base.
- Rows 2 through 6 use the Back Loop Only (BLO) technique for subtle vertical ribs.
Stitch Abbreviations
| Abbreviation | Meaning |
|---|---|
| ch | Chain |
| HDC | Half Double Crochet |
| sl st | Slip Stitch |
| BLO | Back Loop Only (crochet into back loop of stitch) |
Special Stitches
Working Into Back Bumps of Foundation Chain
- Instead of working into the usual top two loops of each chain stitch, insert the hook under the small bump located on the back side of the chain. This creates a slightly raised ridge on the fabric surface.
Back Loop Only (BLO)
- When working into both loops is standard, inserting the hook only through the back loop of each stitch forms a ribbed texture and allows more fabric flexibility.
The Crochet Pattern!
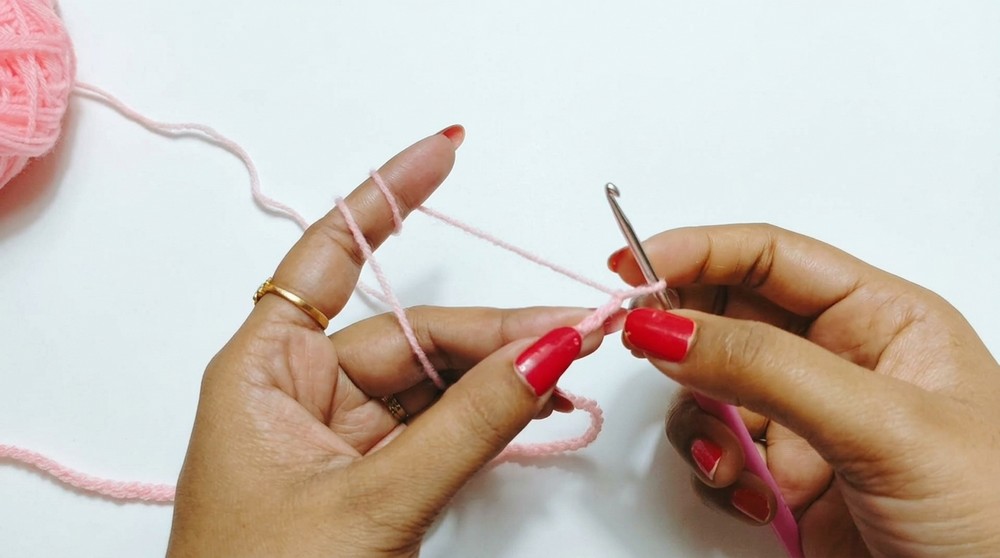
Step 1: Foundation Chain
- Begin by making a slip knot on your hook.
- Chain 89 stitches to create the foundation chain for the bow.
Step 2: Row 1 – Textured Half Double Crochet and Slip Stitch Sequence
- Skip the first 2 chains from the hook (these do not count as stitches).
- Work into the back bumps of the chains throughout the row for texture.
- Work 19 half double crochet (HDC) stitches into the back bumps. Each stitch inserts under the back bump rather than both loops.
- Next, crochet 6 slip stitches (sl st), continuing into the back bumps. The slip stitches create a contrasting flat band.
- Crochet 15 HDC stitches (back bumps) following the slip stitches.
- Work 6 slip stitches after this HDC section.
- Crochet another 15 HDC stitches.
- Work 6 slip stitches again.
- Finally, complete the row with 20 HDC stitches until you reach the end of the foundation chain.
- This completes Row 1 and creates an alternating pattern of textured and flat sections across the fabric.
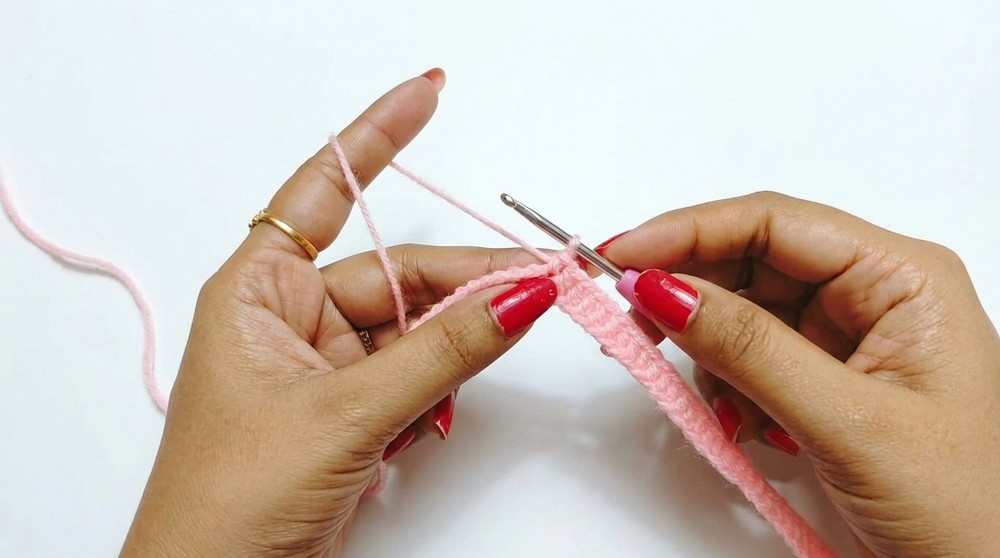
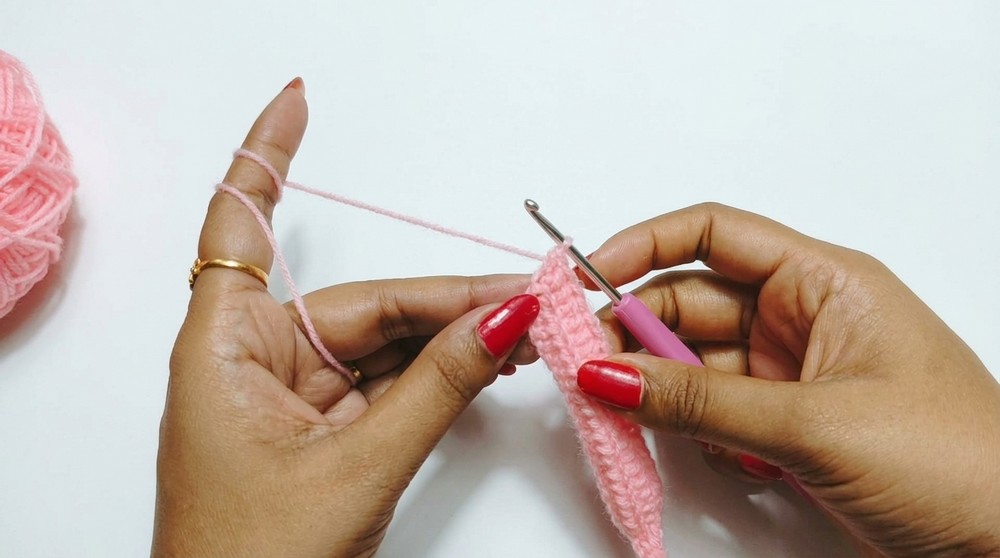
Step 3: Rows 2 to 6 – Back Loop Only Repeat of Pattern
- Chain 1 at the end of Row 1 and turn your work.
- For Rows 2 through 6, work all stitches into the back loop only (BLO) to build vertical ribbing for added structure and flexibility.
- Repeat the sequence established in Row 1:
- 20 HDC,
- 6 slip stitches,
- 15 HDC,
- 6 slip stitches,
- 15 HDC,
- 6 slip stitches,
- 20 HDC,
all worked into the BLO.
- This consistent ribbing and stitch variation on the fabric’s back loops add textural interest and helps the bow hold shape when folded.
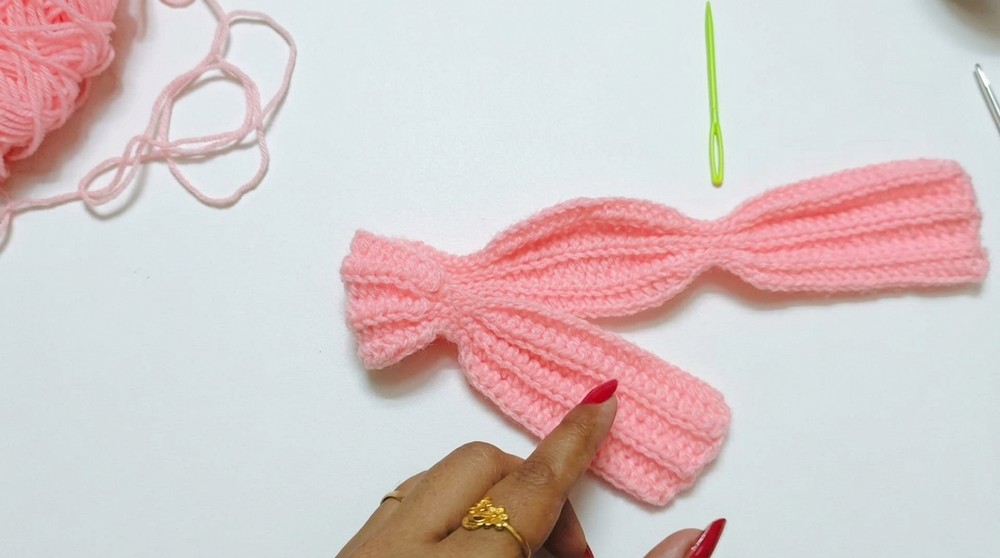
Step 4: Finishing the Piece
- After completing 6 rows of the described pattern, chain 1 and cut your yarn, leaving a long tail for finishing.
- Thread this yarn tail through the stitches to secure and prevent unraveling. Tighten and knot securely.
- Fold your rectangular piece in the center to form a classic bow shape by bringing the long edges towards the center, overlapping them slightly if desired.
- Using the remaining yarn tail, wrap tightly around the middle of the folded piece several times to cinch and secure the bow shape.
- Tie off at the back side and trim any excess yarn.
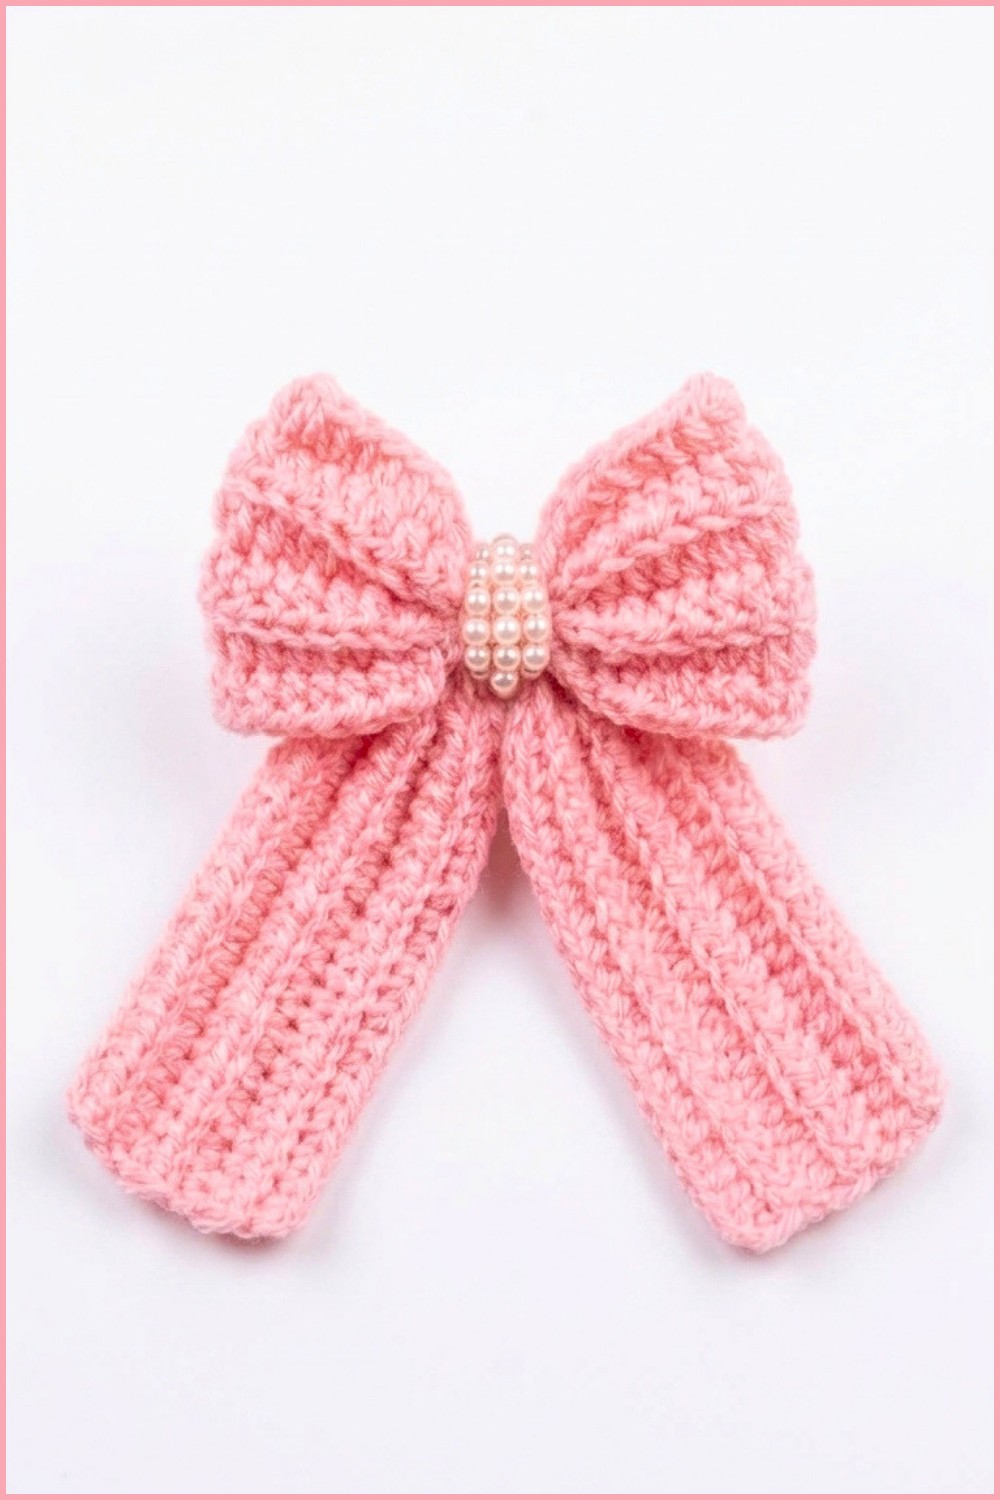
- Optionally, sew or glue a pearl or decorative bead at the center of the bow to add elegance.
Assembly & Finished Size
Once cinched and secured, the bow measures approximately 15.5 cm wide by 5 cm tall, creating a flattering finish for wearing in hair or decorating clothing and gifts. The well-defined texture alternates between soft ridges of half double crochet and smooth slip stitch bands, enhancing the floral-inspired shape and tactile appeal. The optional pearl center provides a polished decorative touch.
Conclusion
This elegant crochet bow showcases how simple stitches, when placed thoughtfully, create an appealing and versatile accessory. By working predominantly in the back bumps of a long foundation chain paired with alternating half double crochet and slip stitch sections, the fabric gains texture and structure conducive to shaping. Employing the back loop only technique further enriches the material with vertical ribbing and flexibility, key for forming and holding the bow's three-dimensional form. The finishing process—folding, tightly wrapping, and optionally embellishing with a pearl—elevates this humble crochet piece into a charming, refined accent suitable for many occasions. This project is ideal for beginners to intermediates ready to explore stitch placement variations and creative finishing.