Easy Crochet One Piece Slippers Tutorial
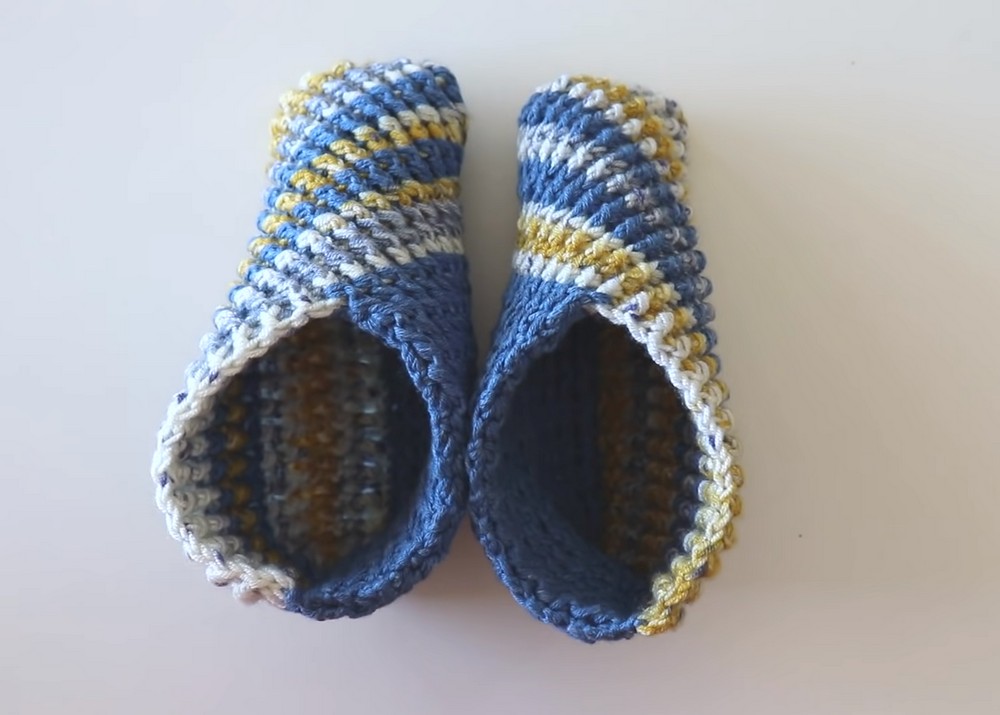
This Easy Crochet One Piece Slippers tutorial teaches how to create comfortable, stylish slippers. This guide will instruct you on a unique project requiring only one crocheted piece per slipper, making them simple and fun. They will suit various foot sizes, with flexible sizing, ranging from EU 36-39, US 5.5-7.5, UK 3.5-5.5 & AU 5.5-7.5. The tutorial also highlights using multiple colors and patterns to create a snug, fitted finish.
Making of Crochet One Piece Slippers
Here, you can find all the necessary materials and a summary of how to make Slippers.
Materials Required:
- A 3.5 mm crochet hook
- Category 3 yarn (approximately 100 grams should suffice)
- Stylecraft Bambino prints or any similar yarn in your preferred color
- A yarn needle
- Scissors
Pattern Summary
The Foundation:
Commence with a slip knot, followed by chaining 56. The initial row will consist entirely of half-double crochets. At the end of the first row, chain two and turn.
The Texture:
Continue with front post and back post half double crochets. This alternating pattern adds a textured ribbing effect to your slippers and is repeated across all subsequent rows.
Color Transitioning:
After the first nine rows, transition into a new color, but do not cut the initial yarn. Work two rows with the new color, then alternate with the old yarn for two more rows. This pattern of two-row color stripes continues, contributing to the aesthetic appeal of the slippers.
Shaping the Slipper:
Once you have completed four rows with the multicolor yarn, you will work half of the stitches (27 out of 54) to shape the part covering the top of the foot.
Finishing Touches:
After an adequate number of rows to allow the slipper to close comfortably over your foot (19 rows are suggested), finish off the second part of the slipper. You will then combine the two parts with careful stitching to create one seamless piece.
Final Steps:
With the slippers formed, the last sewing measure secures and shapes the footwear. The yarn’s tail end is woven discreetly to complete the project.
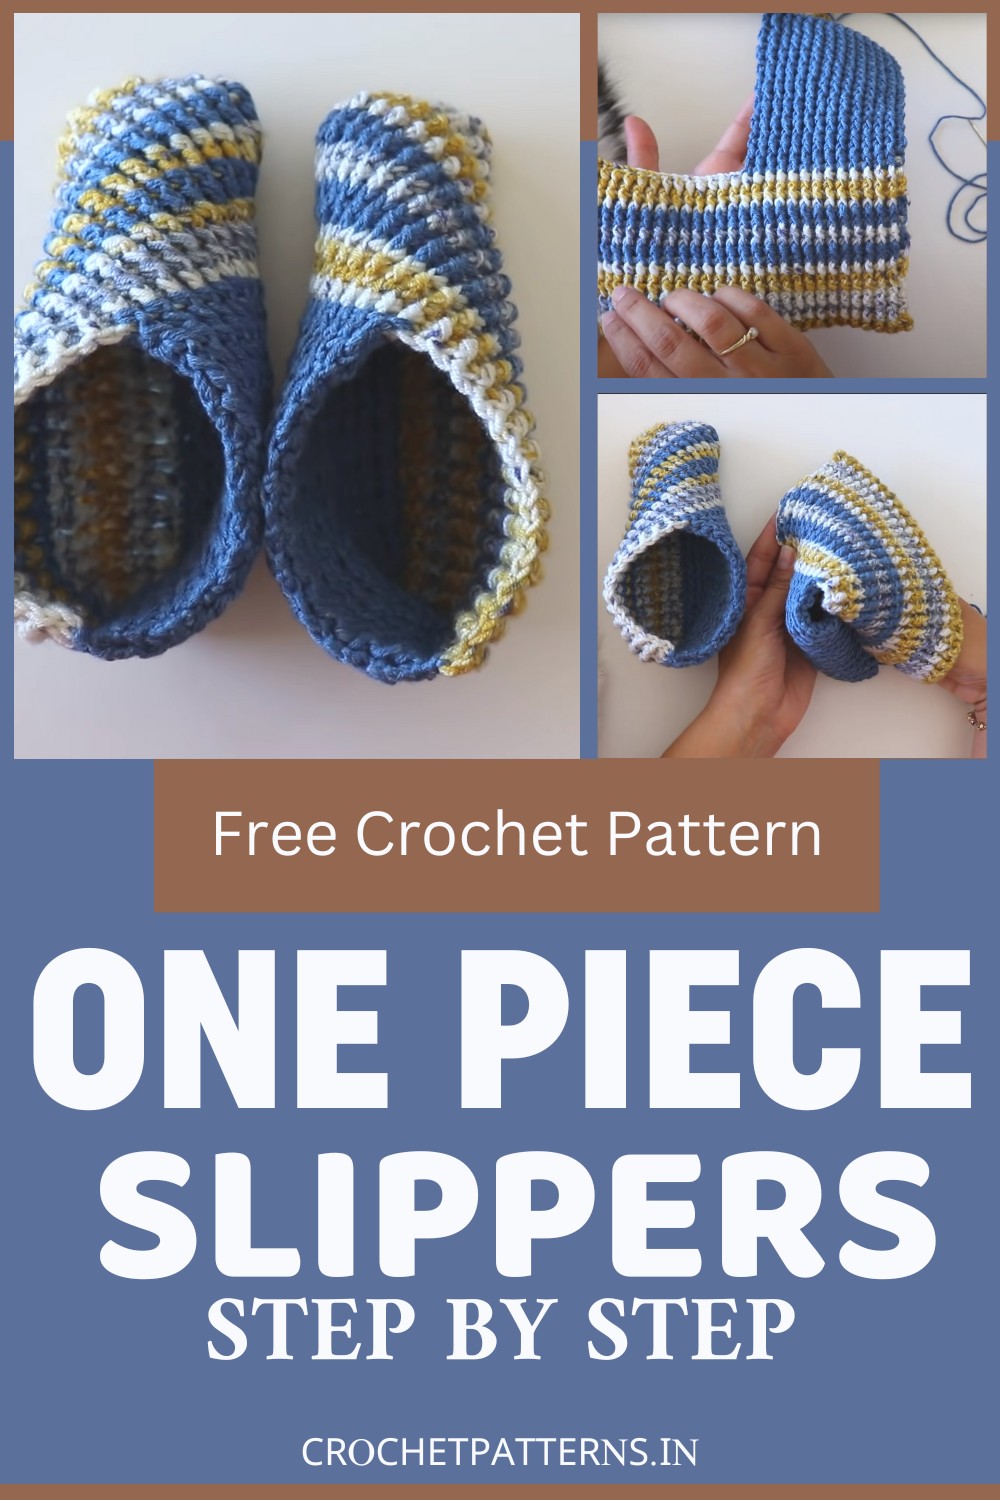
Video Tutorial:

