Easy Crochet Oak Leaves Tutorial
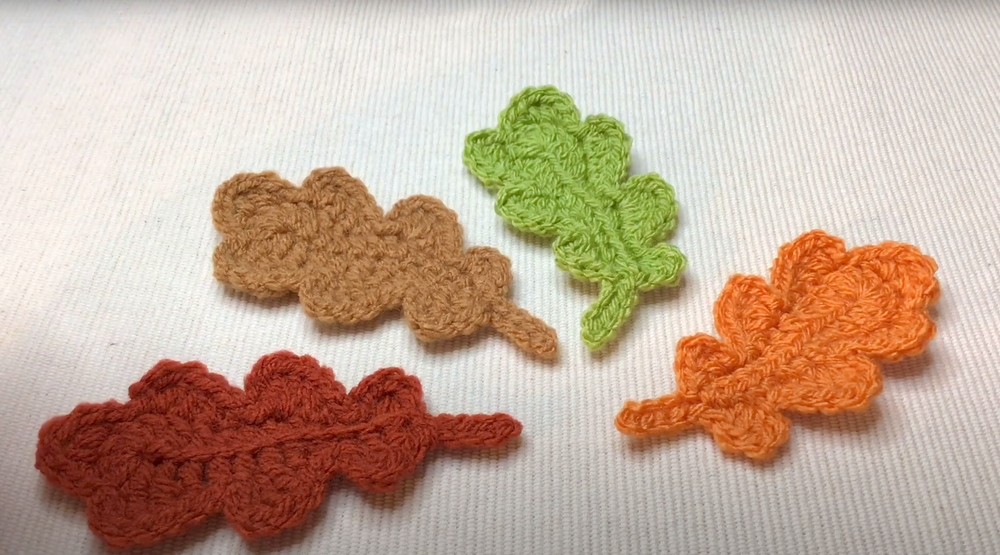
This simple tutorial teaches how to crochet delightful oak leaves that are great for autumn decorations. These leaves are perfect for decorating wreaths, garlands, or complementing pumpkin displays, and they make an excellent stash-busting project. You will use DK weight yarn and a 4.5mm hook to create these leaves in just two rounds, and their distinct, ridged texture and versatility make them a perfect addition to any decor.
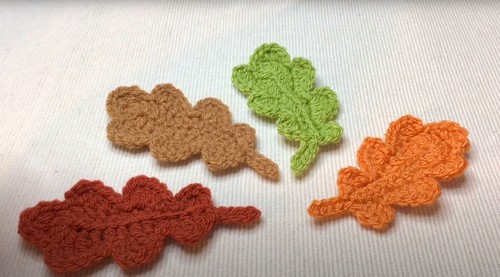
Making of Crochet Oak Leaf
Here, you can find all the necessary materials and a summary of how to make Oak Leaf.
Materials Required
- DK Weight Yarn in a burnt orange color or any autumnal shade you choose.
- 4.5mm Crochet Hook (up from the usual 4mm for DK yarn to make the stitches larger and more visible).
- Scissors for cutting the yarn.
- Darning Needle for weaving in your ends.
Pattern Summary
Starting Off
Begin with a slip knot on your crochet hook and chain 12. This forms the foundation of your oak leaf. Work the initial stitches into the back loops of these chains to create a textured ridge down the center of the leaf, starting with UK double crochets (US single crochets).
Shaping the Leaf
The leaf pattern is beautifully simple, utilizing just two rounds to form its shape. After the foundation round, you construct the oak leaf’s unique shape and texture. Increase the stitch variety as you move along the chain, transitioning from UK double crochets to UK half trebles and then to UK trebles (US single, half double, and double crochets), creating a natural leaf silhouette. Work six UK trebles in the last chain to round the corner, then mirror your stitches back to complete the leaf’s outline.
Adding the Stalk
For the final touch, a chain of six is added for the stalk, finished with slip stitches back down to the leaf body, embodying the delicate stem of an oak leaf.
Finishing Touches
To finish, weave in your ends with a darning needle and cut the yarn, leaving a tail if necessary for attaching the leaf to wreaths, garlands, or any other seasonal decorations you choose.
Video Tutorial:


