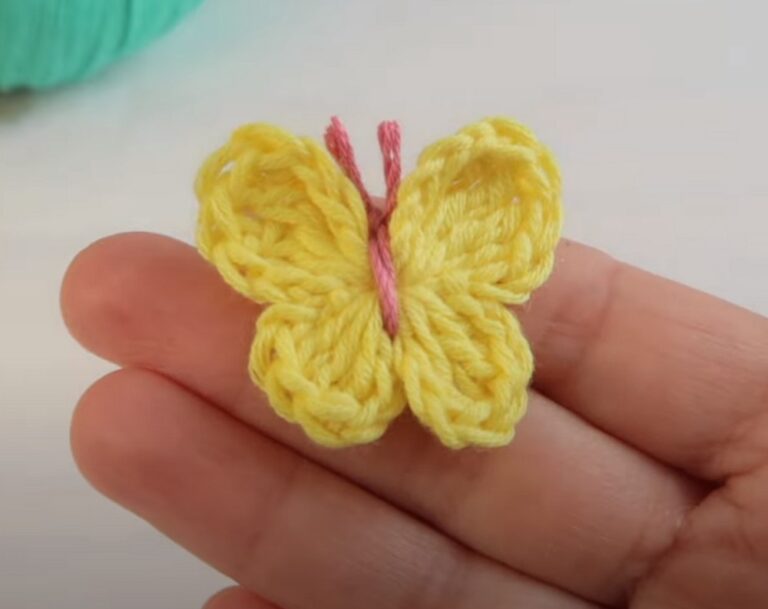
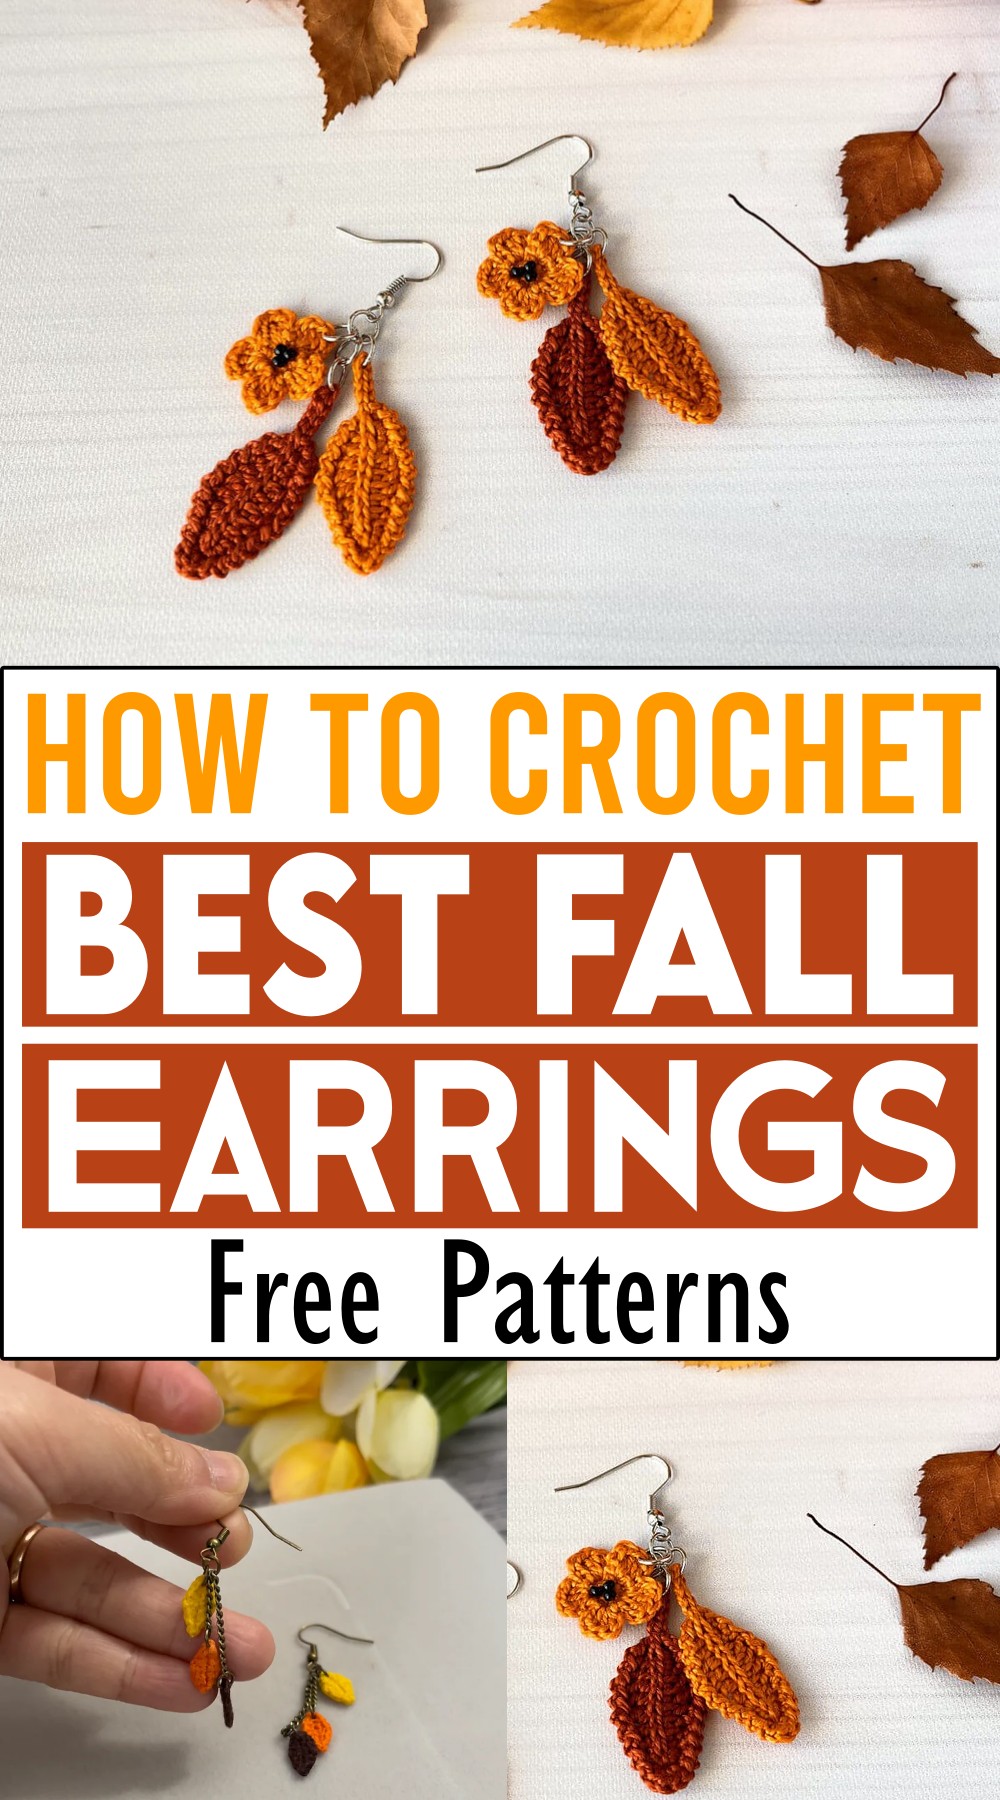
How To Crochet Fall Earrings To Enjoy Autumn Vibe
Hey, crocheters! You’re going to love making these adorable crochet fall earrings. They look so cute and perfect for the season, with a super sweet look that’s sure to get compliments. The pattern we’ve got for you is super easy to follow, and it’s a lot of fun to see your earrings come together. The finished earrings are soft to the touch and just charming – making them a fantastic new piece to add to your collection. So be ready to crochet some lovely earrings that’ll make your autumn outfits extra special!
How To Crochet Fall Earrings
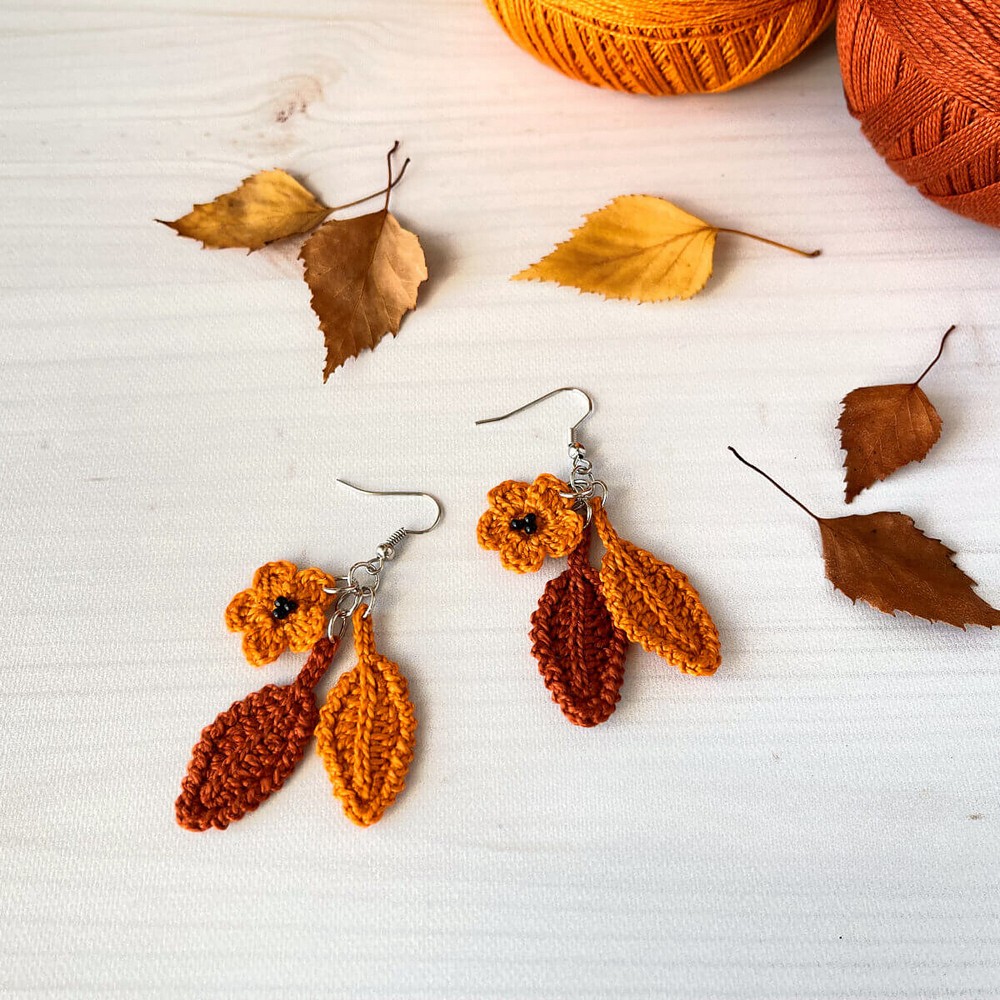
Crochet Fall Earrings
These Crochet Fall Earrings are the epitome of autumnal charm. The intricate stitching captures the essence of fall with vibrant orange and rich brown hues. The addition of tiny black beads gives the earrings a touch of elegance, with each leaf and flower exuding a warmth and coziness that resonates with the season. They’re not just pieces of jewelry but a crafty celebration of the changing colors of nature. These earrings are a perfect accessory to bring a bit of fall’s splendor to any outfit, giving a handmade and personal touch to your style that’s sure to garner compliments.
Materials:
- Knit Picks Curio crochet cotton thread size #10, colors – Clementine and Copper
- Crochet hook US size 6/1.8 mm
- Flat-nose pliers
- Earring hooks – 2
- 10/0 black seed beads, or beads of your choice – 6
- Jump rings (4 mm) – 10
- Bead needle
- Matching sewing thread
- Tapestry needle
- Spray starch
Abbreviations:
- Ch – chain
- SC – single crochet
- HDC – half double crochet
- DC – double crochet
- Sl St – slip stitch
- St (Sts) – stitch (stitches)
- Rnd – round
Skill Level:
- Easy
Finished Size:
- The crochet earrings are about 2-1/2” long.
Instructions:
Leaf (make 2 in different colors):
- Ch 9.
- Rnd 1: SC in 2nd Ch from hook, HDC in next Ch, DC in each of next 3 Chs, HDC in each of next 2 Chs, working under 2 loops – 5 SC in last Ch (top). Working on the opposite side of the Ch, HDC in each of the next 2 Chs, DC in each of the next 3 Chs, HDC in the next Ch, and 3 SC in the last Ch (bottom). Sl St in first St to join.
- Rnd 2: Ch 1, Sl St in next St – repeat until you reach the tip stitch, Ch 1, (SC+HDC+SC) in tip St, repeat * to * to the end of the round. Do not cut off.
- Make a stem: Ch 5, Sl St in 2nd Ch from the hook, and in each of the next 3 Chs, Sl St into the same St where Ch 5 started. Do not cut off; make a center ridge.
Center Ridge:
- Made in surface slip stitch technique. After you make the last Sl St, you have a loop on your hook on the right side and working yarn on the wrong side. Work along the foundation chain with 1 St for each Ch. Insert your hook from the right side to the wrong side through the Ch of the foundation chain, yarn over on the wrong side. Draw the yarn overloop through to the right side. Pull the yarn over through the loop on your hook (surface slip stitch made).
- Fasten off and weave in the ends.
Flower:
- Start with a magic ring, Ch 1.
- Rnd 1: 10 SC in the ring, Sl St to first St to join.
- Rnd 2: [Ch 2, 3 DC in same St, Ch 2, Sl St in same St, skip one St, Sl St in the next St] 5 times. Fasten off.
- Using a bead needle and matching sewing thread, embellish the flower with three black seed beads.
Finishing:
- Stiffen all pieces as desired.
Assembling:
- Use flat-nose pliers to open and close jump rings.
- Open the first jump ring and slip it under two strands on the top of the flower petal, then close the jump ring.
- Open the next jump ring and slip it under two strands at the end of the first leaf stem, then close it.
- Open the next jump ring and slip it under two strands at the end of the second leaf stem; add one more jump ring to make this leaf longer, then close it.
- Open the next jump ring and add it to the ear wire. While the jump ring is open, slip onto the flower and two leaves, then close it.
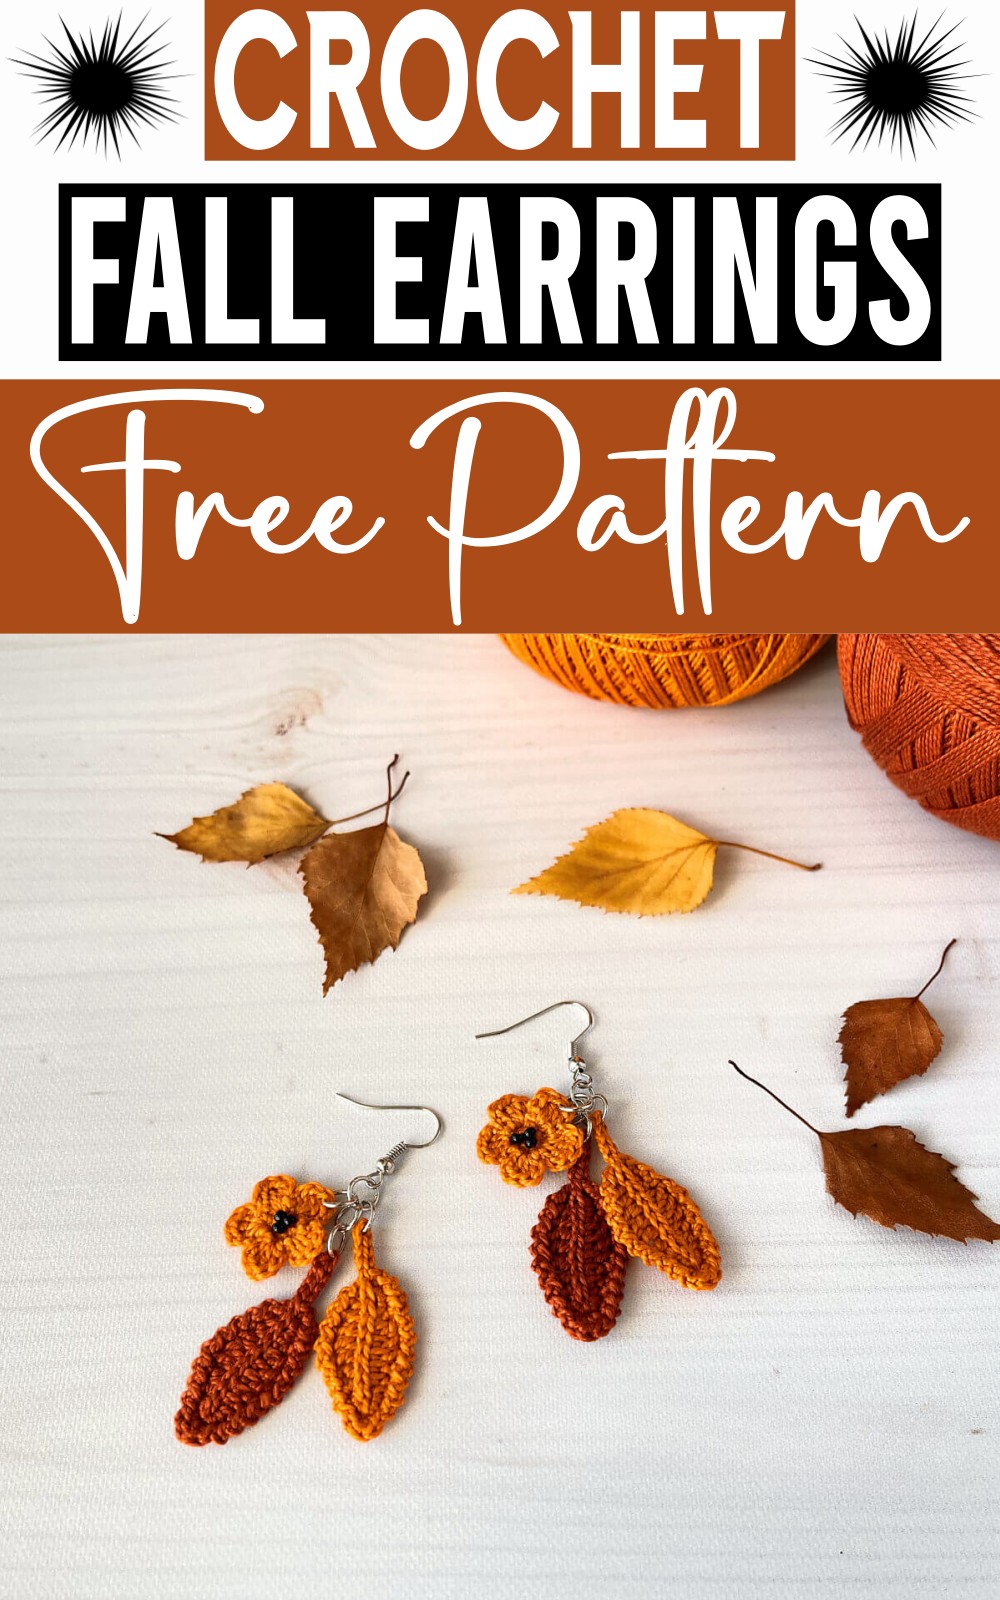
Crochet Fall Leaves Earrings
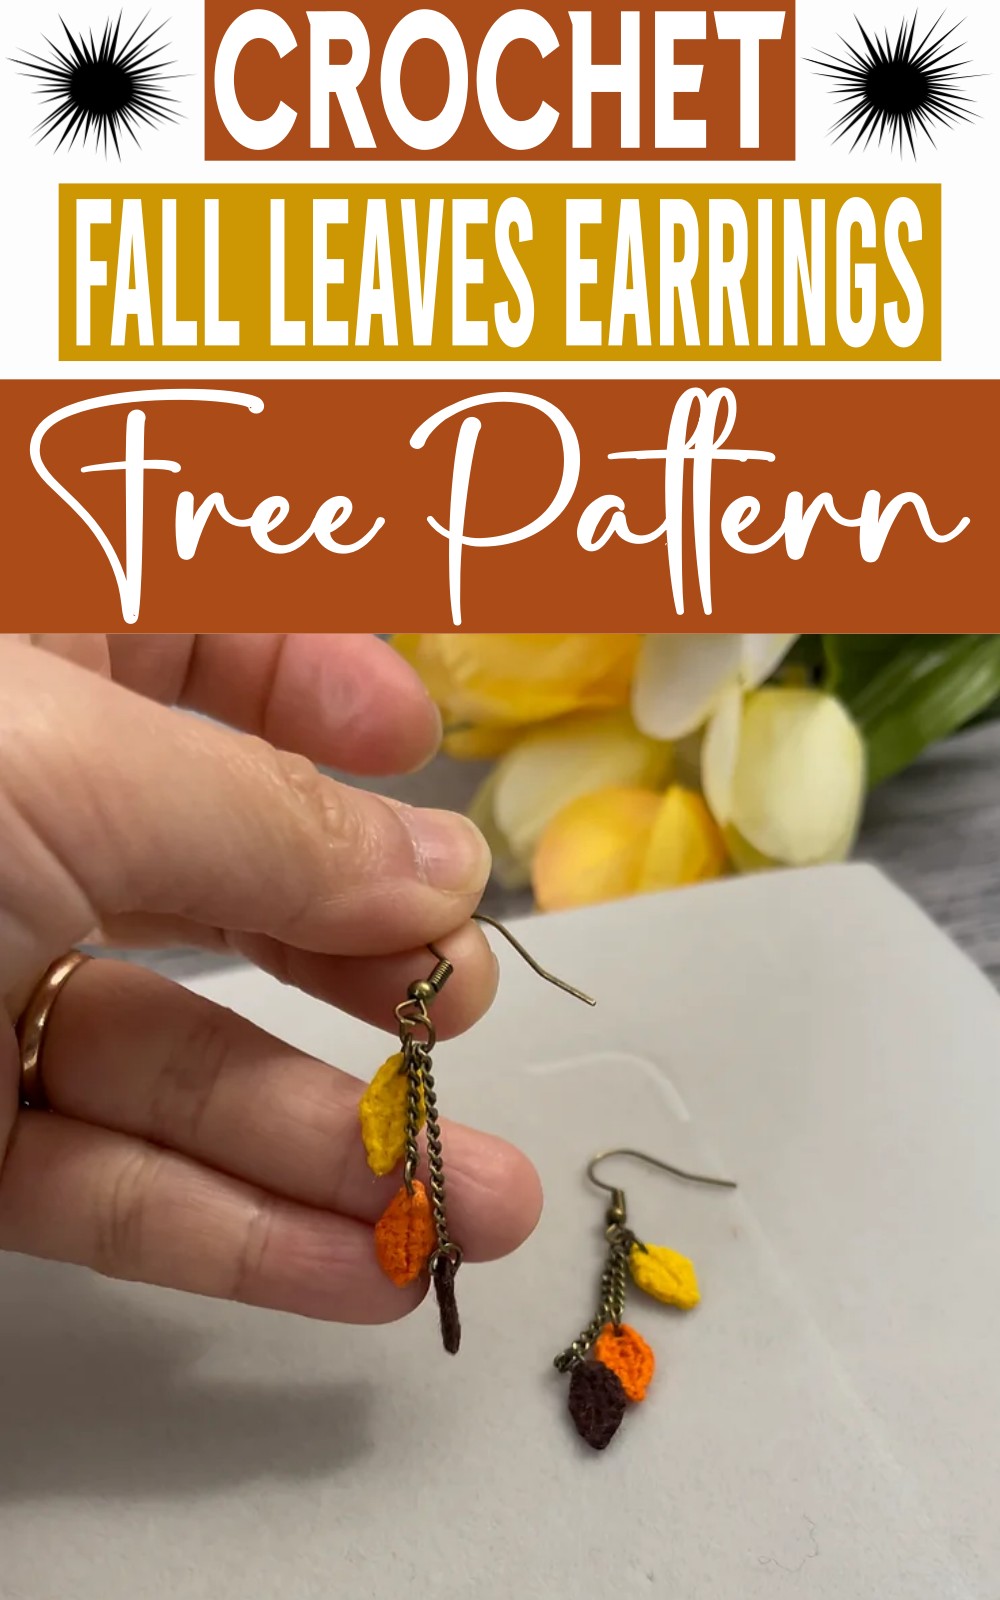
This crochet fall leaves earrings pattern truly is a gem. The beautifully detailed instructions make it a delight to follow while the creativity imbued into each step results in an exceptionally charming creation. The pattern is marvelously accessible, even for those who may be new to the art of crocheting. Moreover, the versatility it offers allows you to easily customize it, ensuring you end up with unique earrings that carry a touch of autumn cheer wherever they go.
Materials Needed:
- Crochet hook size No.10 / 0.75 mm
- Cotton yarn
- Aleene’s Fabric Stiffener
- Jewelry chain
- Jump ring
- Earrings hook
Crochet Pattern:
- Chain 8: Begin by making a chain of 8 stitches.
- Start the Leaf Pattern:
- Slip stitch (slst) in the 2nd chain from the hook.
- Single crochet (sc) in the next chain.
- Half double crochet (hdc) in the following chain.
- Double crochet (dc) in the next chain.
- Half double crochet (hdc) in the next chain.
- Single crochet (sc) in the following chain.
- Slip stitch (slst) in the last chain, then chain 1.
- Working on the Opposite Side:
- Continuing along the opposite side of the foundation chain:
- Slip stitch (slst) in the next chain.
- Single crochet (sc) in the next chain.
- Half double crochet (hdc) in the following chain.
- Double crochet (dc) in the next chain.
- Half double crochet (hdc) in the next chain.
- Single crochet (sc) in the following chain.
- Slip stitch (slst) in the last chain, then chain 1.
- Finish by fastening off and weaving in the ends.
Blocking / Stiffening the Leaves:
- Dilute Aleene’s Fabric Stiffener with water at a 50/50 ratio, then apply it to your crochet leaves to stiffen them. Remove any excess moisture and let them dry overnight.
Assembling the Earrings:
- Cut the jewelry chain into 4 pieces:
- 2 pieces of 1 cm length.
- 2 pieces of 2 cm length.
- Use the jump rings to attach the chains and the leaves to the earring hooks in your desired arrangement.
- Your earrings are now ready to wear!
Remember to customize your earrings based on your preferred color of yarn, the length of the chain for varying the drop length of the leaves, and any additional embellishments you’d like to add.