
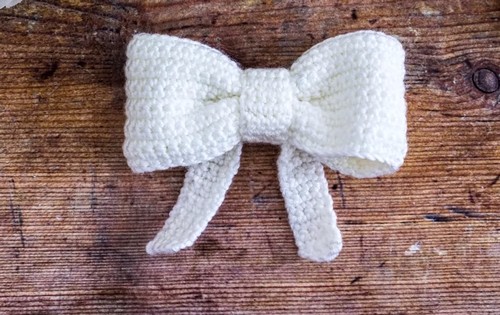
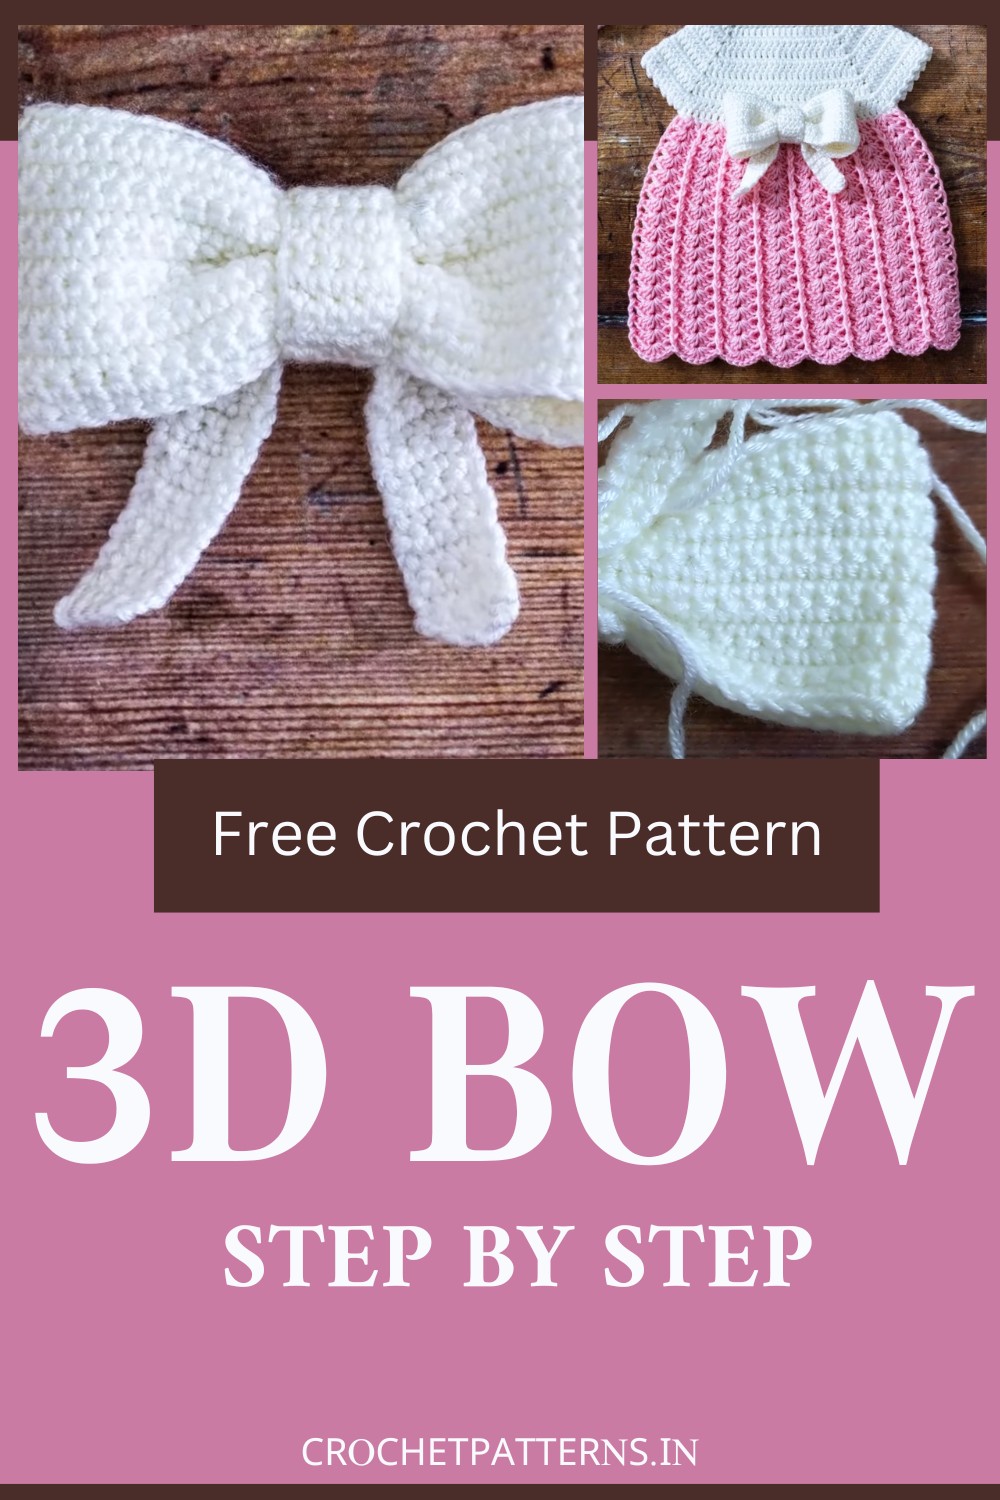
Bows serve as a prominent symbol of cuteness, innocence, and elegance. From adorable gifts to fashionable hair accessories, bows have the versatility to enhance the charm in almost anything. Now, imagine weaving these appealing bows using the crochet technique! This engaging activity provides an opportunity to create personalized bows and instills the satisfaction of creating something from scratch. The final product, a beautifully crocheted 3D bow, is praiseworthy and a beautiful addition to your DIY accessory collection. Grab some yarn and a crochet hook and unlock limitless fun and creativity.
Materials:
- Light worsted category 3 double-knit yarn
- Crochet hook (size 3 mm)
- Scissors
- Tapestry needle
- Stitch markers (optional)
Step by step Pattern (Summary)
- Make a chain of 54 stitches.
- Row 1: Single crochet into the second chain from the hook and then single crochet into each of the next 52 chains.
- Row 2: Chain 1, turn, then single crochet into the first stitch and then single crochet into each of the next 52 stitches. Repeat rows 2 to 13 (12 total rows).
- Cut yarn, leaving a long tail for weaving in the ends. Fasten off.
- Fold the rectangle in half and whip stitch the two sides together.
Sew the seam together using a whip stitch. Tie the two ends together in a knot and weave the ends into the inside of the bow.
Center section:
- Chain 6 stitches.
- Single crochet into the second chain from the hook, then single crochet into each of the next 4 chains.
- Row 2: Chain 1, turn, then single crochet into the first stitch and then single crochet into each of the next 4 stitches. Repeat rows 2 to 13 (12 total rows).
- Cut yarn, leaving a long tail for sewing the center section around the bow. Fasten off and weave the tail into the back of the work.
Legs:
- Chain 5 stitches.
- Single crochet into the second chain from the hook, then single crochet into each of the next 3 chains.
- Row 2: Turn, then single crochet into the first stitch and then single crochet into each of the next 3 stitches. Repeat rows 3 to 36 (34 total rows).
- Cut yarn and fasten off. Weave in the ends.
Assembly:
- Fold the legs of the bow in half and set them aside.
- Thread the yarn tail through a tapestry needle.
- Grab both ends of the main part of the bow, pushing them together in the middle. Wrap a piece of yarn around the center of the bow and tie a knot to secure it.
- Place the legs of the bow behind the center of the bow.
- Wrap the center section around the middle of the bow, then bring the two sides together and whip-stitch them together.
- Cut one of the yarn tails.
- Fluff out the bow by placing your thumb on each end and gently pulling.
We strongly encourage you to watch the video tutorial below for a thorough step-by-step guide on creating this three-dimensional beauty. Whether you're a novice looking to learn new techniques or an experienced crocheter searching for inspiration, this tutorial has something for everyone.
Video Tutorial:


