
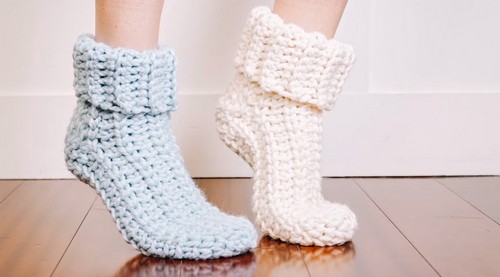
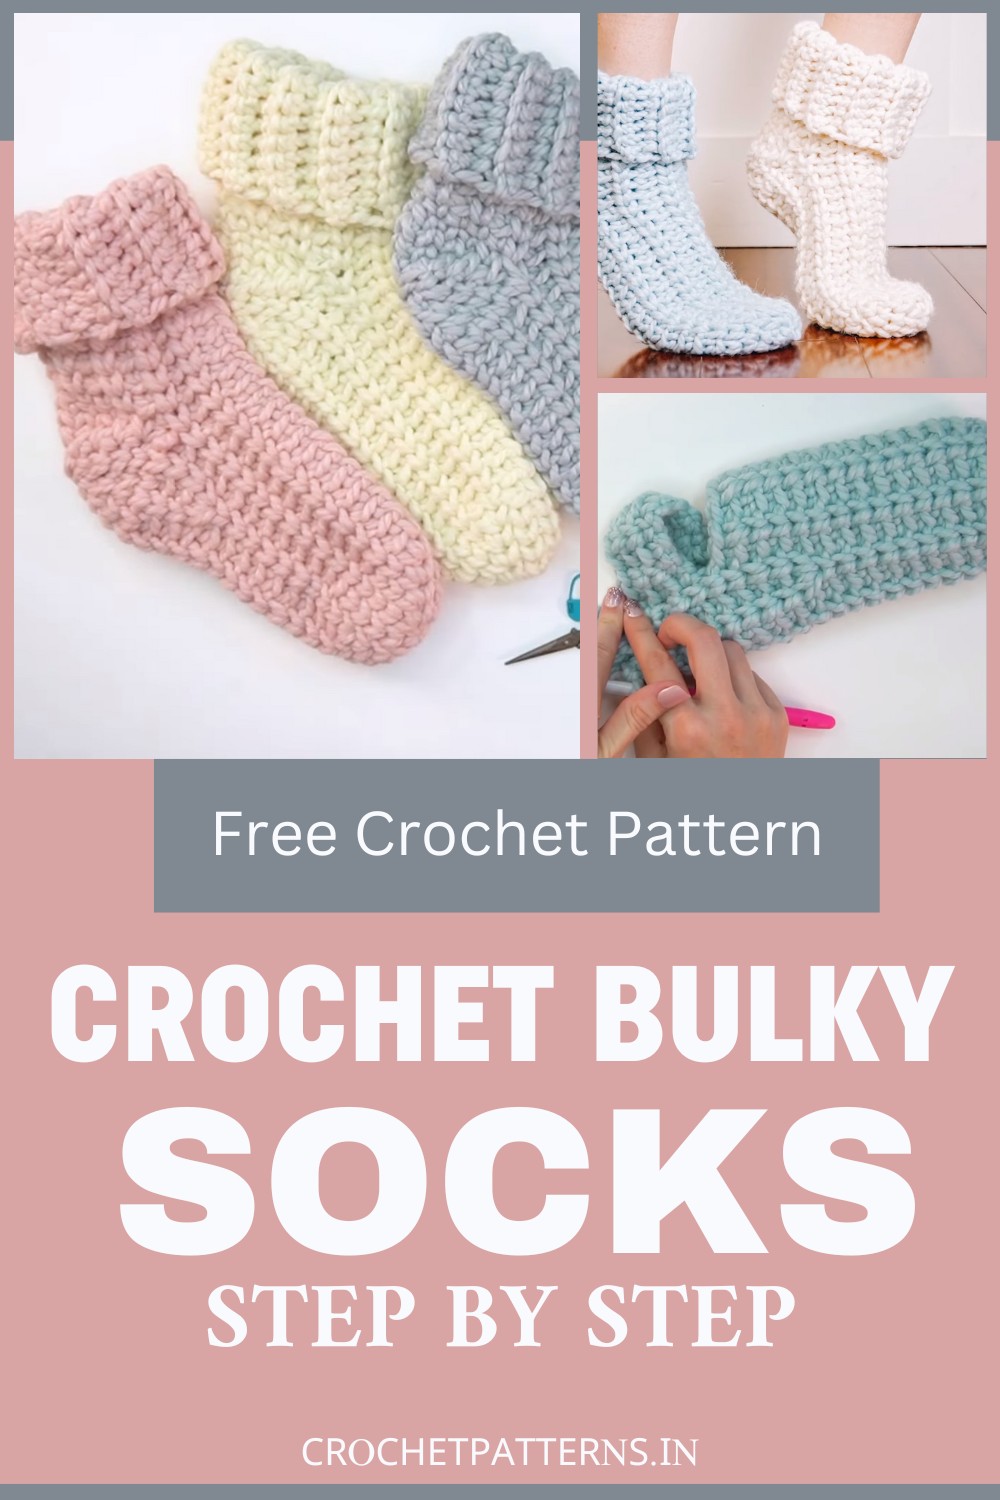
The Crochet Bulky Socks Tutorial offers a step-by-step guide on creating super cozy and squishy slipper socks. You can customize sizes and colors using Wool-Ease Thick and Quick yarn and increase or decrease patterns for an optimal fit. This tutorial is perfect for enhancing your crochet skills while crafting an excellent gift or addition to your winter wardrobe. With this pattern, not only will you stay warm, but you'll also acquire a stylish and fun-to-make accessory.
Making of Crochet Bulky Socks
Here, you can find all the necessary materials and a summary of how to make Bulky Socks.
Materials Required:
- Two Wool-Ease Thick & Quick (Super Bulky) skeins from Lion Brand Yarn (80% Acrylic and 20% Wool).
- Crochet hooks in two sizes
- 9mm hook (also known as M/N)
- 8mm hook (also known as L)
- Scissors
- Two stitch markers (preferably the large clover ones suitable for bulky yarn)
Initiating The Sock Toe with a Magic Ring
Kickstart your project with a magic ring technique known for its advantageous adjustability. Place six loose single crochets in the ring, setting the groundwork for your sock's toe area.
Making Use of Split Single Crochet for a Knit-Like Appearance
To give your sock a knitted feel, leverage split single crochet stitches. Working these stitches and progressing through rounds broadens the toe's span, catering to distinct foot-widths.
Creating the Instep and Customizing Fit
As the toe section concludes, the pattern shifts attention to the instep. By modifying the stitch pattern here, an aesthetically appealing texture flourishes on the sock's top part, pre-heel. Instructions to adjust fit through increases or decreases are highlighted, ensuring that the sock comfortably accommodates a spectrum of foot sizes.
Crafting the Upper Part and Ribbed Cuff with a Smaller Hook
Moving to the upper part of the sock, an 8mm crochet hook replaces the 9mm one. The smaller hook aids in the formation of a snug, ribbed cuff, purposefully preventing the cozy sock from slipping off.
Constructing a Well-Fitting Heel
The final part is the heel construction, wherein decreases in stitches shape a well-constructed heel cup. The heel design ensures the sock fits perfectly, encompassing your foot in warmth and comfort.
Finalize Your Slipper Sock with Seam Closure Techniques
After completing your handmade slipper sock, it's time to give it a polished finish using a seamless closure technique. This process adds a refined touch to your cozy footwear item and allows you to customize the size, color, and yarn, improving your skills and creating a unique pair of socks.
Video Tutorial:


