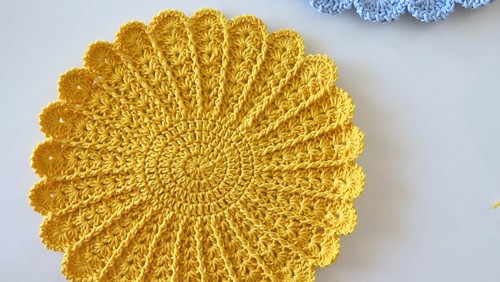
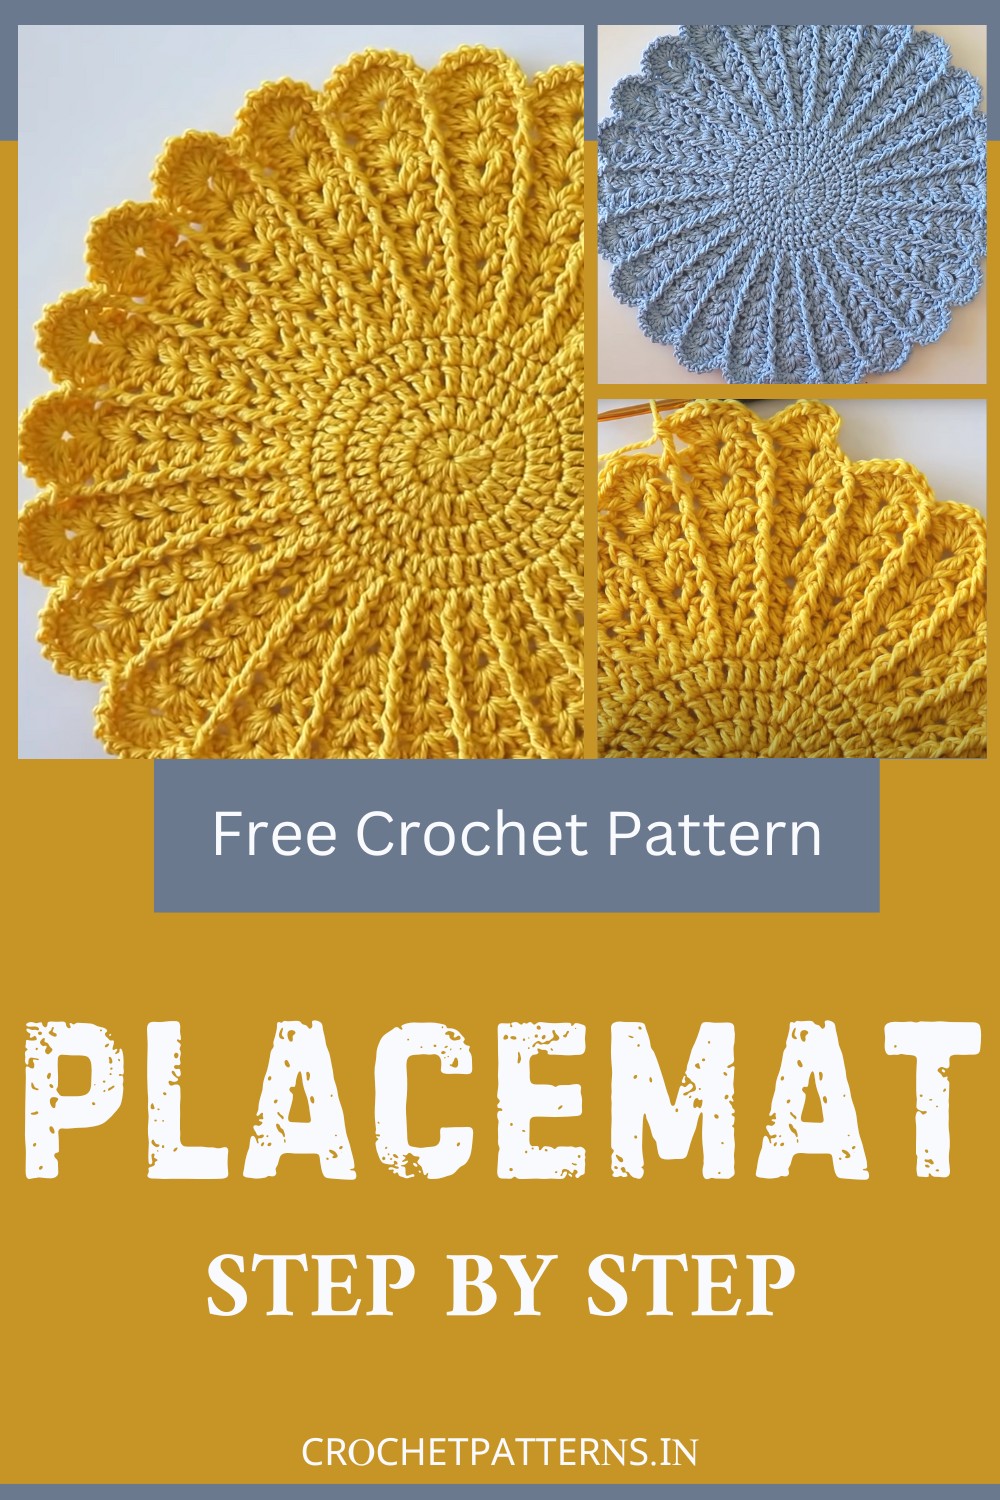
Placemats, a delightful addition to any dining table, play a dual role; they protect our tables from spills and stains and add an artistic flair, making meals much more enjoyable. Now imagine the charm of the Crochet Placemat Pattern we brought today, entirely handmade with a unique shell stitch pattern and cozy, soft texture. With dimensions of 30 by 39 centimeters (about 15.5 inches in length), it’s a perfect size for any table setting. It uses a single color in a soothing tone, but you can also experiment with the multicolor or go with the color according to the setting or theme. Visit the entire step-by-step pattern and a video tutorial below and start making this crochet room accessory today!
Making Your Crochet Placemat
Materials:
- Cotton macrame yarn or any cotton yarn of your choice
- Crochet hook size 3.5mm or 4mm, depending on the thickness of your yarn
Abbreviations:
- ch: chain
- sl st: slip stitch
- dc: double crochet
- fpdc: front post double crochet
- sp: space
Step by step Pattern
- Starting ring:
- Option 1: Make a magic ring.
- Option 2: ch 4, sl st into the first ch to form a ring.
- Round 1:
- Ch 3 (counts as the first dc).
- Make 11 dc into the ring, so you have 12 dc, including the starting ch 3.
- Join with a sl st to the top of the ch 3.
- Round 2:
- Ch 2 (counts as the first dc).
- 1 dc into the same stitch.
- Make 2 dc in each stitch around.
- Sl st to join to the second dc (top of the starting ch 2).
- You should have 24 dc at the end of this round.
- Round 3:
- Ch 2, dc in the same stitch.
- 1 dc in the next stitch, 2 dc in the following stitch. Repeat from * to * around.
- Sl st to join as before.
- Round 4:
- Ch 2, dc in the same stitch.
- 1 dc in each of the next two stitches, 2 dc in the next stitch. Repeat from * to * around.
- Sl st to join.
- Round 5 and Beyond:
- Continue the established increase pattern (increasing by 12 stitches per round) until the base is as large as you desire for your placemat.
- First Shell Row:
- Ch 3 (count as dc).
- 2 dc in the same sp, ch 1.
- Skip next dc, fpdc around the next dc, ch 1, skip next dc, 2 dc in next dc. Repeat from * to * around.
- Sl st to join between the two dc.
- Second Shell Row:
- Repeat the Shell pattern for three more rows.
- Increasing Shell Rows:
- For the next shell row, increase by adding more dc to the shells. For instance, instead of 2 dc, ch 1, 2 dc, transition to making 3 dc, ch 1, 3 dc in each shell space.
- Final Two Rows:
- Create a more solid border by working a sequence of 8 dc in the ch-1 sp followed by an fpdc around the post stitch from the row below.
- The very last row consists of a combination of slip stitches and chain ones to create a tidy edge.
To complete the placemat:
- Weave in any remaining ends with a yarn needle.
- Block the placemat to your desired dimensions for a professional finish.
Designer: @SirinsCrochet