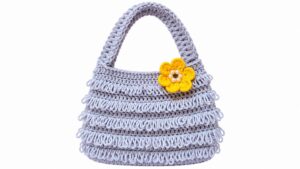
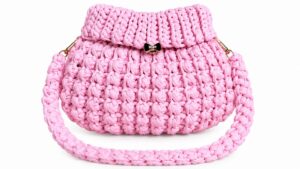
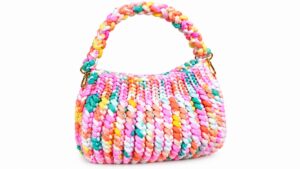
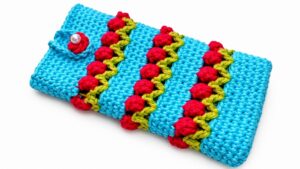
Walking through a bustling market or heading to a casual coffee date, carrying a handmade bag that perfectly represents your style and creativity. Crochet handbag patterns offer the opportunity to craft unique, functional accessories that stand out in any crowd. With endless styles, from roomy totes for everyday essentials to chic crossbody bags great for on-the-go moments, you can customize colors, textures, and sizes to match your wardrobe effortlessly.

Not only are these bags eco-friendly and versatile, but they also make personalized gifts that charm everyone. Pair your crochet handbag with jeans for a relaxed look or a summer dress for a boho vibe. The beauty lies in its practicality, creativity, and adaptability, bringing both fashion and function together seamlessly.
Must-Try Crochet Handbag Pattern for Every Style
Materials
- Yarn: 100% acrylic yarn
- Main Color: Retro Red
- Secondary Color: White
- Hook Size: 3.5mm crochet hook
- Notions:
- Tape measure
- Stitch markers
- Scissors
- Yarn (or tapestry) needle
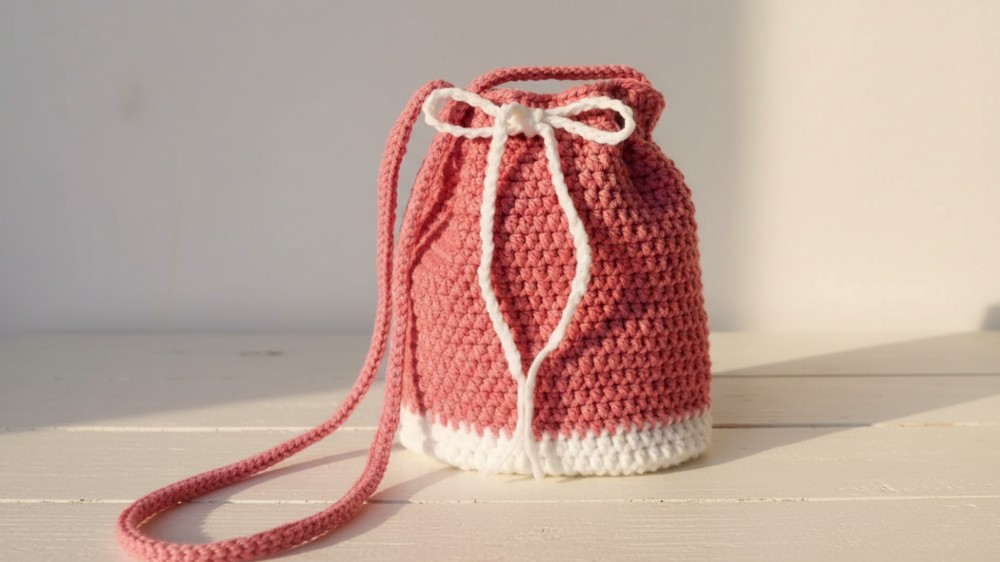
Crochet Grocery Bag Pattern
Skill Level: Intermediate
This pattern involves constructing a base and creating height with half double crochet stitches, incorporating increases along the way. It is suitable for crocheters who have experience working in rounds and adding seamless patterns.
Key Abbreviations
- ch = Chain
- hdc = Half Double Crochet
- sl st = Slip Stitch
- st(s) = Stitch(es)
- sp = Space
Special Notes
- The bag is worked in continuous rounds for a seamless finish—no slip stitches are used for joining rounds after the base unless specified.
- Always use a stitch marker to keep track of the first stitch of each round.
- Adjust the bag’s height by adding or subtracting rounds in the body.
- The cord can be customized longer or thicker to suit your personal preference.
Pattern Instructions
1. Base Foundation
- Create a slip knot and place it on your hook.
- Chain 14 (adjust according to size preference, approximately 10 cm long).
- Row 1:
- Work 1 hdc in the 13th chain (second to last).
- In the same chain, work another hdc (increase).
- Work 1 hdc in each chain across until reaching the last chain.
- At the last chain work 4 hdc (increase to curve around to the opposite side).
- Rotate your work and continue working hdc in each chain along the bottom side, until reaching the very first chain.
- For the last chain, work 2 hdc in the same stitch to complete this round.
- Use a sl st to join the round.
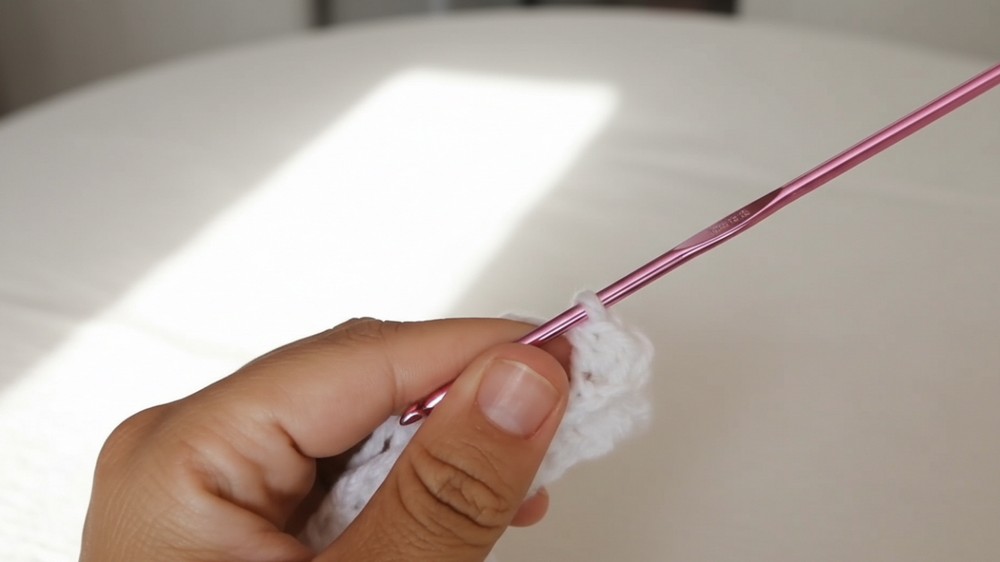
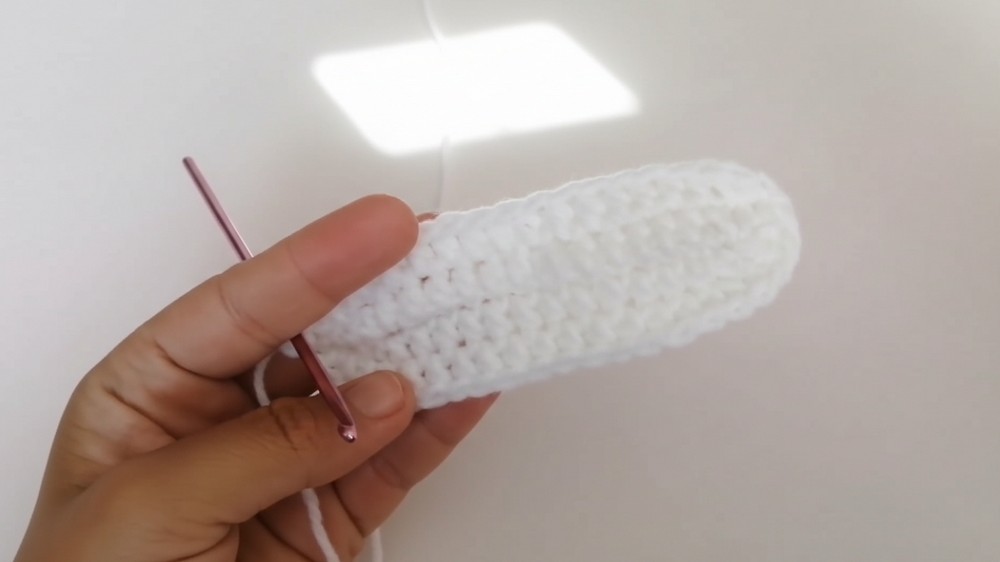
2. Building the Base
Repeat the process below to extend the base:
- Round 2:
- Start with 1 ch.
- In the first stitch, work 2 hdc in the same space (increase).
- Continue working 1 hdc in each stitch around the flat section.
- When you reach the curved side, work 2 hdc in each stitch in the curve section to maintain the oval shape.
- Finish the round with a sl st.
- Continue working in the established pattern (increase at curved sections) until the base measures 15 cm.

3. Creating the Bag Body
Once the base is complete, begin working the body of the bag. This section uses continuous rounds (do not join with slip stitches).
- Round 1:
- Without chaining, begin directly in the first stitch by working 1 hdc in each stitch around the bag.
- Mark the first stitch with a stitch marker to indicate the starting stitch.
- Repeat the same pattern for approximately 25 rounds, or until the bag reaches your desired height.
- For this bag, the body measures 22-25 cm tall.
- Adjust the length by adding or subtracting rounds of hdc.

4. Adding the Drawstring Band
- Switch to the secondary color (white) to create a decorative drawstring.
- Create a slip knot, leaving a 3-inch tail.
- Work chains until the length measures 70 cm (adjust based on preference).
- Fasten off and weave in the thread using a tapestry needle.
To insert the drawstring:
- Fold the chain in half to locate the midpoint.
- Start weaving the chain through the third row of stitches from the top of the bag. Weave over 2 stitches, then under 1 stitch, repeating until it’s threaded around the whole bag.
- Pull the chain slightly tight and tie it in a bow.

5. Creating the Shoulder Strap
- Using the main color (lilac), create a slip knot.
- Work chains until the length measures 100 cm (extend to 110 cm for a longer strap).
- Work 1 slip stitch in each chain to thicken the strap. Repeat this step to create more layers if desired.
- Fasten off, leaving a long tail.
Attach the strap to the bag:
- Using the yarn needle, sew each strap end securely to the top sides of the bag (just under the drawstring band). Ensure symmetry for balanced wear.
Conclusion
Congratulations! You have completed your stylish crochet grocery bag. This lightweight and eco-friendly bag is perfect for errands, farmer’s markets, or as a unique gift. The added drawstring and shoulder strap provide both functionality and charm.
Pattern Correction
- Base foundation stitch counts: If your stitch count is off while creating the oval base, ensure you are increasing evenly along the curved edges.
- Continuous rounds: If the stitch marker moves, recount stitches to ensure the rows are uniform.
Tips
- Yarn substitution: You can use cotton yarn if you prefer a more sturdy bag.
- Cord thickness: For a thicker strap or drawstring, add more slip stitch rows.
- Customization: Experiment with colors for stripes or patterns in the body of the bag.