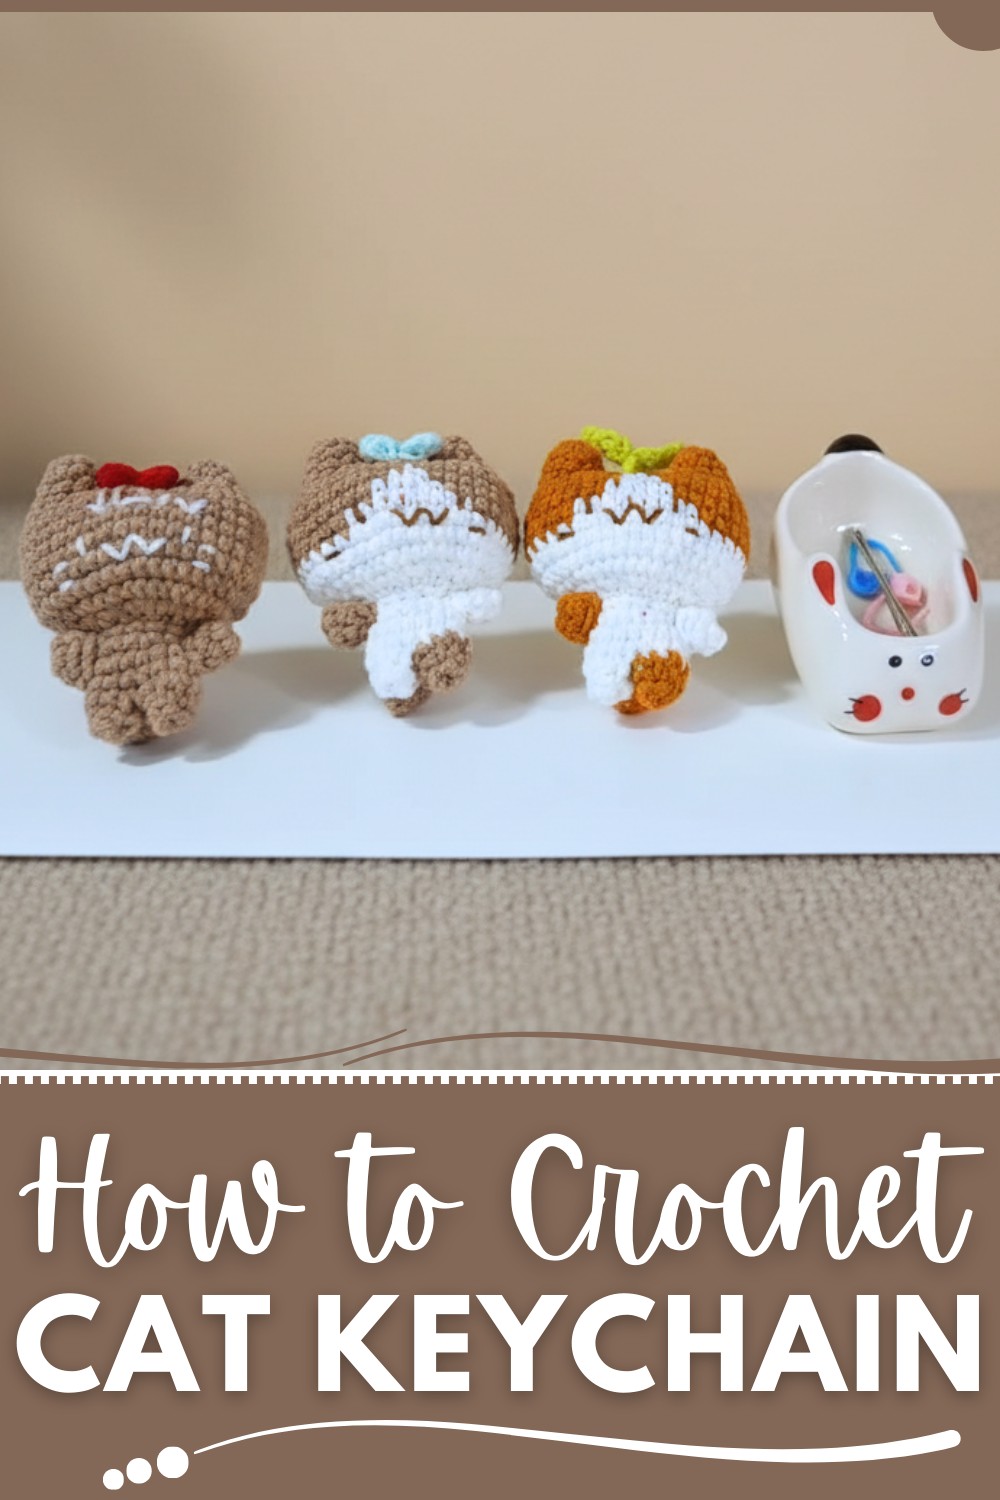
Charming Crochet Cat Keychain in Just a Few Steps
Materials Needed
- Yarn:
- Color of Choice for the Cat’s Body (for your choice).
- Contrasting Color for Legs, Arms, or Details (for your choice).
- Crochet Hook:
- Size 2.5 mm crochet hook.
- Accessories/Additional Supplies:
- Stuffing: Polyester fiberfill for stuffing the head, body, and limbs.
- Stitch Markers: To mark the starting point of each round.
- Yarn Needle (Sewing Needle): For attaching parts and embroidering the face.
- Scissors.
Big-Headed Crochet Cat: Step-by-Step Pattern
Let's create this adorable big-headed crochet cat! Perfect as a gift, decoration, or toy, this project is beginner to intermediate-friendly and works up beautifully with detailed steps and a little bit of patience. Follow the instructions below to crochet your cute companion.
Key Notes Before You Begin
- Gauge: Gauge is not critical for this project. However, ensure your stitches are tight enough to avoid gaps where the stuffing can show.
- Work in Rounds: The entire project is worked in continuous rounds unless otherwise indicated. Use a stitch marker to keep track of the beginning of each round.
- Abbreviations:
- SC: Single crochet.
- INC: Increase (2 SC into the same stitch).
- DEC: Decrease (single crochet two stitches together).
- STS: Stitches.
- Stuff as You Go: Add stuffing gradually for clean shaping.
Finished Size
- Approximately 10-12 cm tall using a 2.5 mm hook and 4-ply yarn.
- You can make the cat larger or smaller by adjusting the yarn thickness and hook size.
Pattern Instructions
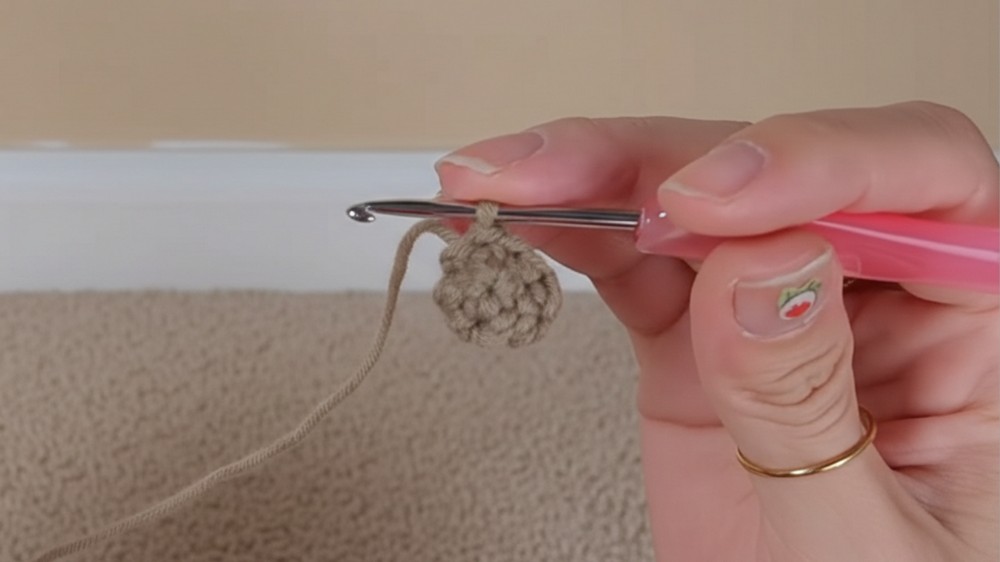
Step 1: Crochet the Cat Ears (Make 2)
- Create a magic ring.
- Round 1: Crochet 5 SC into the magic ring. Pull the ring tight.
- Total Stitches: 5 SC.
- Round 2:
- Chain 1.
- 1 SC, 1 INC (2 SC into the same stitch). Repeat 2 times.
- End with 1 SC.
- Total Stitches: 7 SC.
- Slip stitch into the first SC to close the round, and fasten off, leaving a long tail for sewing.
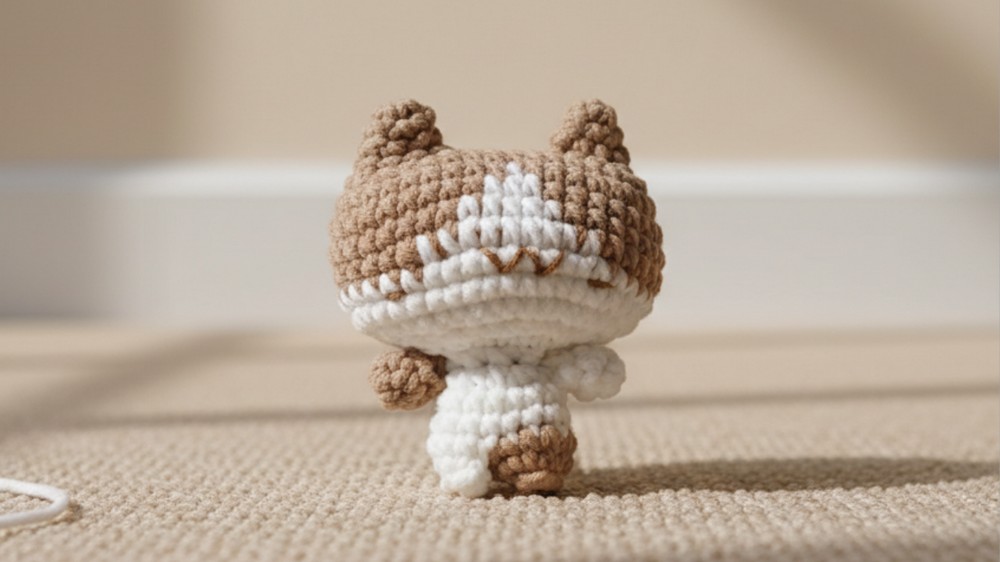
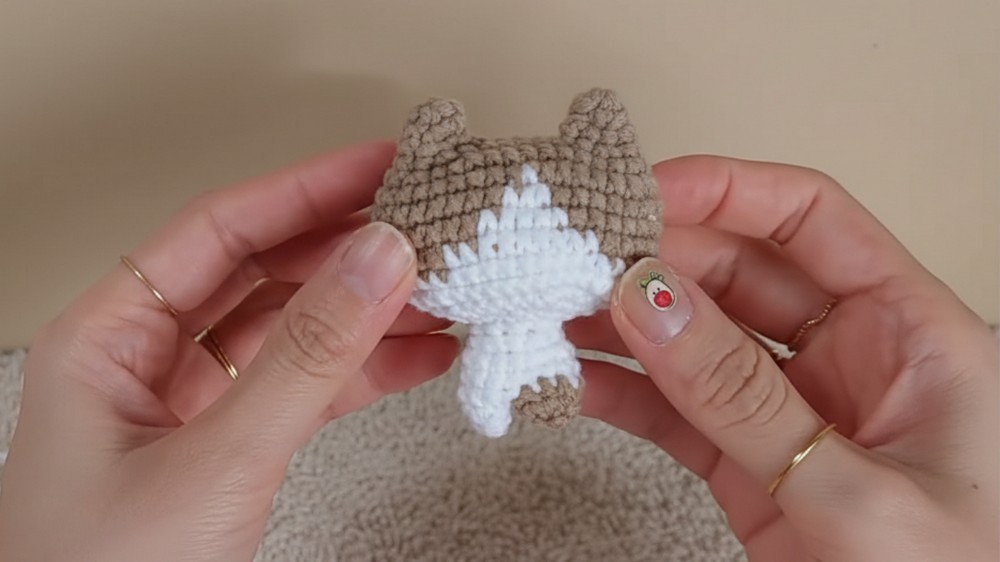
Step 2: Crochet the Cat Head
- Attach the Two Ears:
- After completing both ears, crochet 5 chains. Connect the two ears by slip stitching into the join (space between rows of the ear structure).
- Head Formation:
- Chain 1 after joining.
- Crochet into each ear and chain:
- SC into next stitch, INC. Repeat 3 times.
- SC 5 stitches along the chain. (Repeat this at both sides of the chain.)
- Continue Following the Head Pattern Provided:
- Work the increase rows as per the pattern directions to shape the cat’s head.
- Stuff the Head Fully: Add stuffing as the head nears completion.
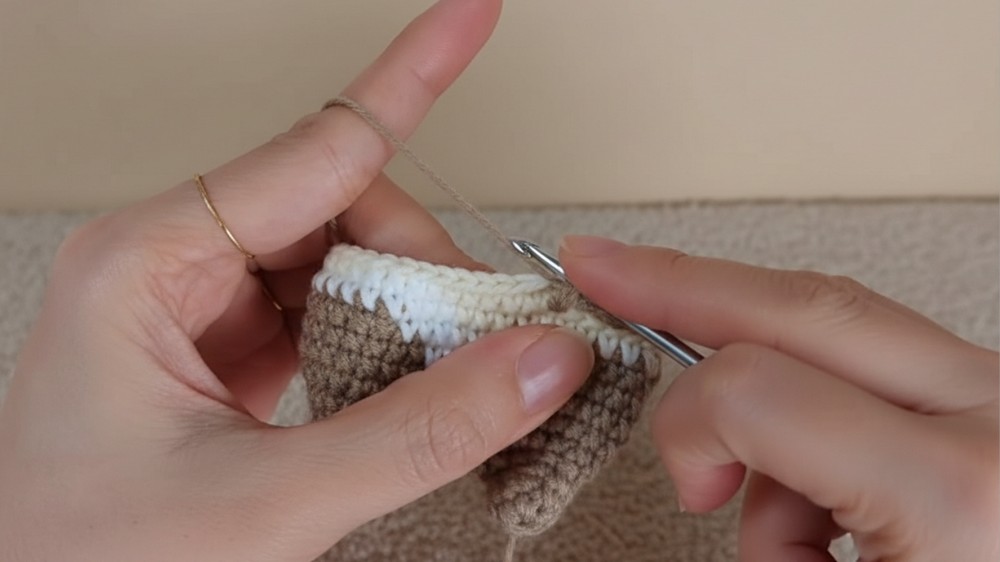
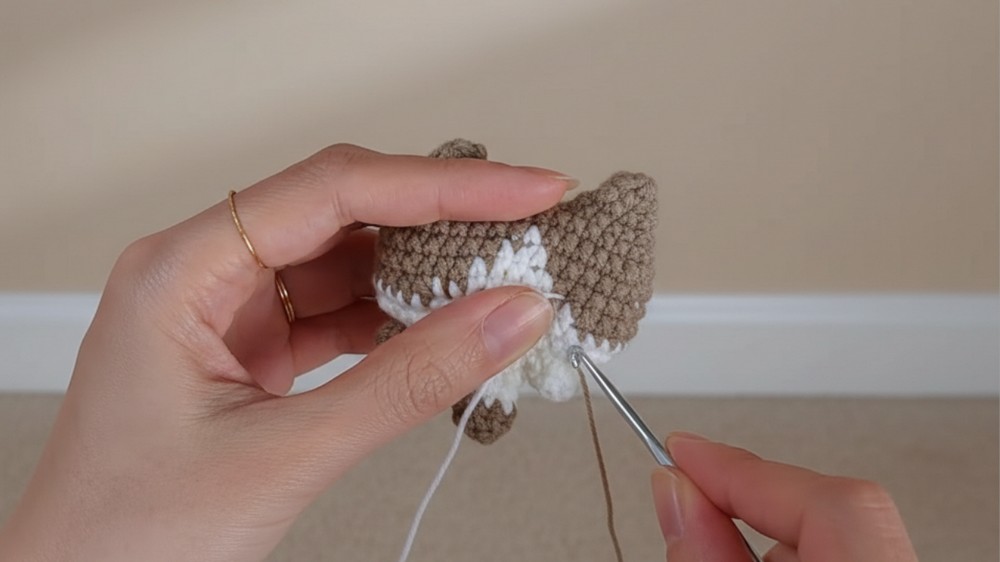
Step 3: Body Formation
- From the base of the head, begin crocheting the cat's body.
- Follow the Screen Pattern: Work increases and decreases as needed to shape a slightly cylindrical body.
- Gradually add stuffing to the body as it forms.
- Aim for a firm and smooth finish.
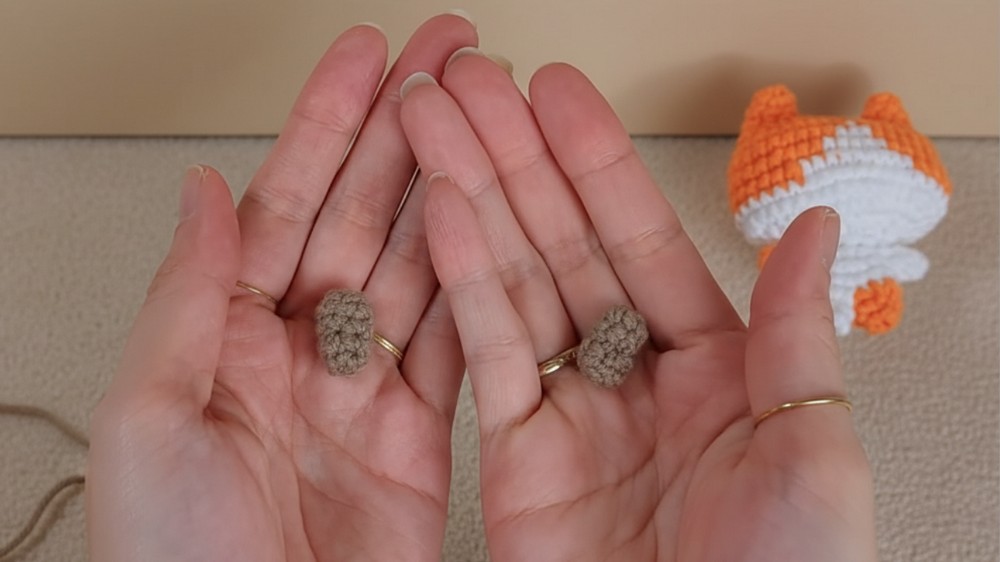
Step 4: Crochet the Cat Legs (Make 2)
- Start with 14 Stitches:
- Divide the 14 stitches from the bottom of the body into two equal parts (7 stitches each) to form two legs.
- Crochet 7 SC to form a leg. Close into a circle with a slip stitch.
- Continue Working in Rounds to extend the length of the leg.
- Follow the same steps for the other leg, switching to a second color if desired.
Step 5: Crochet the Cat Arms (Make 2)
- Create a magic ring and crochet 5 SC into the ring.
- Round 2: Work 5 SC, keeping the arm small and rounded.
- Finish off and stuff lightly before attaching it to the body.
Step 6: Embroider the Face
- Use black yarn or embroidery thread to add the eyes, nose, and mouth:
- Choose a "kawaii" style by spacing eyes far apart and creating a small, rounded triangle for the nose with a gently curved line for the mouth.
- Add decorative details with embroidery:
- Blush: Use pink thread or yarn for embroidered "blush" patches on the cheeks.
- Stripes: Embroider light stripes or spots for a unique cat pattern.
Final Assembly
- Sew Ears to the Head: Position both ears proportionally at the top.
- Attach Head to Body: Use the yarn needle to securely sew the stuffed head to the top of the body.
- Attach Arms and Legs: Sew the arms halfway down the body and the legs at the bottom.
- Finalize Embellishments and Adjustments: Ensure all pieces are securely attached, and the stuffing is evenly distributed.
Customization Ideas
- Color Variations:
- Use different colors for the body, head, and limbs to create unique cats (e.g., a tuxedo black-and-white cat or a tabby striped cat).
- Add stripes, spots, or a solid color to the body and head for realistic cat breeds.
- Size Variations:
- Increase the hook size and use bulkier yarn to create larger cats.
- Use finer thread and a smaller hook for a miniature version.
- Extra Accessories:
- Attach tiny crocheted bow ties, flowers, or collars for a decorative touch.
- Create a small mouse or ball of yarn as an accessory for the cat to "play" with.
Tips for Success
- Use Stitch Markers: Keep track of your starting point on every round to maintain symmetry.
- Stuff Firmly but Carefully: Avoid overstuffing to prevent gaps in your stitches.
- Adjust the Tension: Keep your stitches tight to avoid visible stuffing but not overly tight to make it hard to crochet.
- Plan Face Placement Before Embroidering: Visualize and lightly mark the face with pins or stitching before committing to embroidery.
Conclusion
Congratulations! Your big-headed crochet cat is complete. This charming amigurumi project showcases a cute, oversized head design paired with a sturdy body and detailed finishing. Perfect for gifting, collecting, or simply showing off your crochet talents.
Important Remarks
- Final Look: The adorable cat features a bold, oversized head with symmetrical ears, a simple body, and playful arms and legs. Add personality by customizing the face or patterns.
- Care Instructions: Spot clean with a damp cloth if needed. Avoid soaking to maintain shape and durability.
Optional Add-Ons
- Accessories: A small backpack, mini hat, or scarf can be crocheted to complement the design.
- Seasonal Themes: Add festive details such as a Santa hat for Christmas, bunny ears for Easter, etc.
- Matching Companions: Create multiples of the cat in various sizes or add other animals to the collection for a themed set!