Chilly evenings call for comfort, and nothing feels better than slipping into soft, handmade slippers. A crochet house slipper pattern offers warmth and practicality, perfect for relaxing at home or adding style to lounging outfits. Customizable with different yarn weights, textures, and colors, this slipper suit anyone’s preference, from cozy neutrals to cheerful shades.
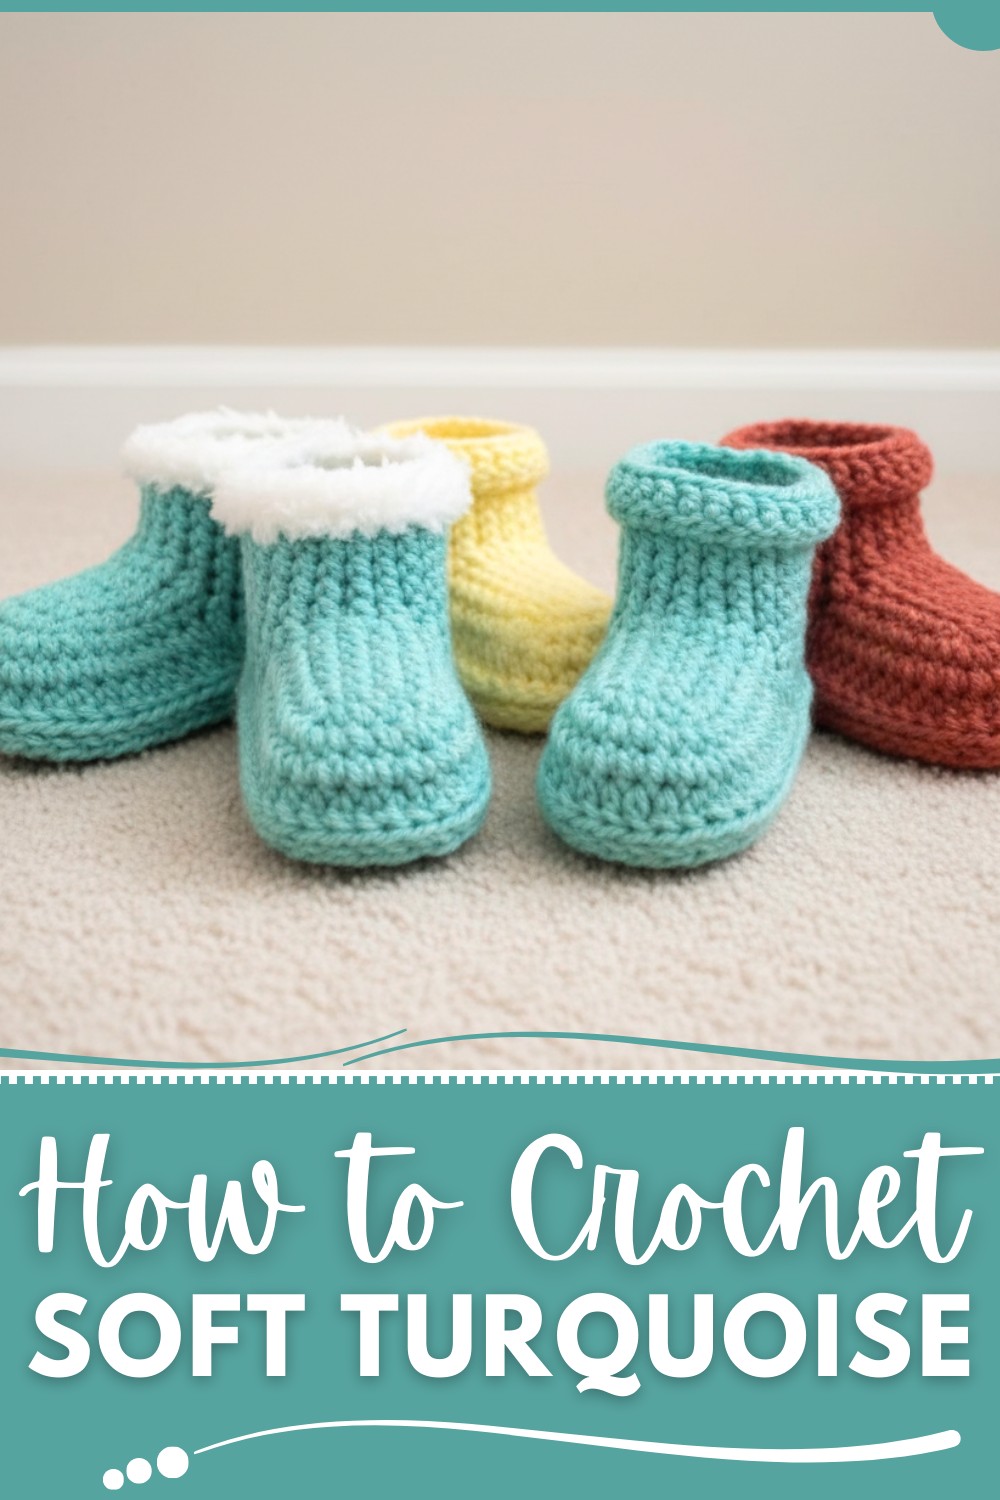
Use it with pajamas or a favorite cardigan for a coordinated, snug look. This is not only functional but also thoughtful gifts that show care and creativity, all while helping you unwind through a simple yet rewarding project. With soft soles and a tailored fit, crochet slipper bring the comfort of handmade elegance, making them a versatile and timeless addition to your wardrobe or gift options.
Creative Crochet House Slipper Pattern for Personal Styling
Gauge
- Gauge depends on your choice of yarn and hook size.
- Bulky Yarn (#5): Regular width measured 9.5 inches with 6 mm hook.
- Medium Weight Yarn (#4): Smaller sizing achieved at 5 inches with 4 mm hook.
- Tension Recommendation: Ensure the toe circle lays flat before continuing; adjust tension or hook size if necessary.
Materials Needed
- Yarn:
- Bulky Yarn (#5) — ~100 grams (3.5 oz) per slipper for the regular width.
- Medium Weight Yarn (#4) — slightly less yarn for smaller slippers.
- Crochet Hook:
- 6 mm (Bulky Yarn).
- 4 mm (Medium Weight Yarn).
- Measuring Tape.
- Scissors.
- Darning/Tapestry Needle.
- Optional: Anti-slip sole grips or craft paint for soles.
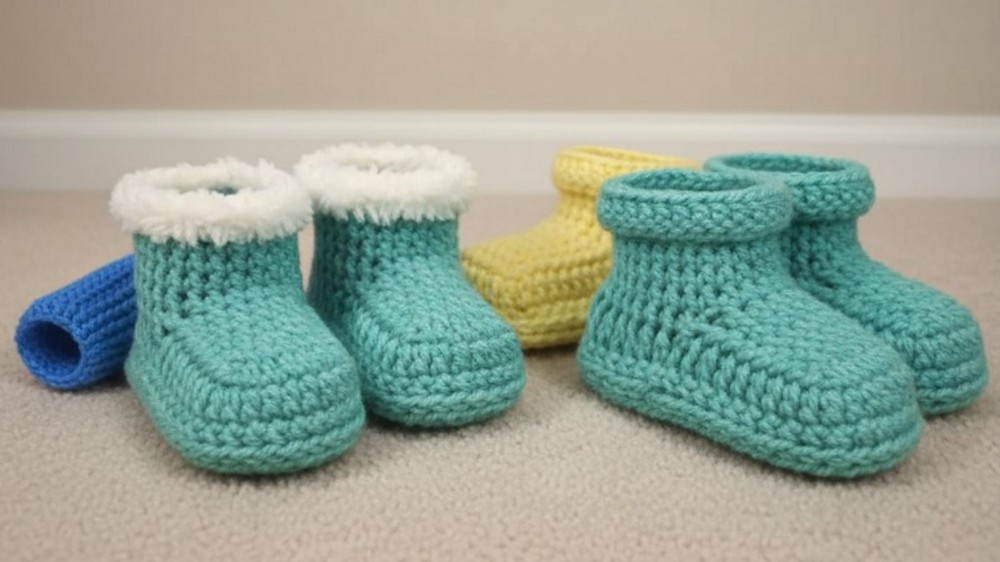
Detailed Crochet House Slipper Pattern
This step-by-step guide will help you recreate cozy crochet house slippers that are adjustable and can be made for narrow, regular, wide, or extra-wide widths. Follow along for detailed instructions, materials needed, gauge info, customization options, and tips for an enhanced crocheting experience.
Finished Size
- The sizing is adjustable depending on yarn choice, hook size, and the width variation you follow:
- Regular Width: 9.5 inches (24 cm) long, approximately 4 inches (10 cm) wide.
- Narrow Width: 7 inches (18 cm) long, approximately 3 inches (8 cm) wide.
- Wide Width: ~11 inches (27 cm) long, 5 inches (13 cm) wide.
- Extra-Wide Width: Close to 5 inches (13 cm) wide across the top.
Feel free to customize the slipper length and ankle height by adjusting the number of rows.
Special Techniques
- Magic Circle (Ring): Create a loop to start the slipper toe and build your crocheted base from there.
- Front Post Double Crochet (FPDC): Go around the post of the stitch from front to back, bringing the post forward.
- Back Post Double Crochet (BPDC): Wrap the stitch around the post from behind, pushing the post backward.
- Double Crochet Decrease: Combine two stitches into one for shaping (FPDC and BPDC decreases detailed below).
- Invisible Finish: Finish the last stitch neatly by joining invisibly for a polished look.
Pattern Instructions
Toe Portion
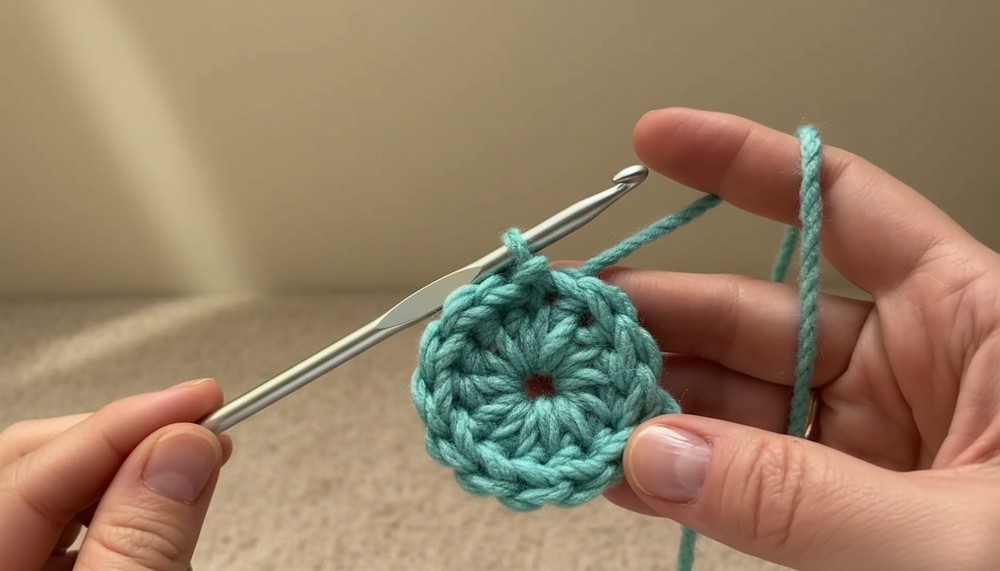
- Start with Magic Circle:
- Create a loop and chain 1.
- Place 13 double crochet (DC) into the circle.
- Pull snug and slip stitch to join in the top of the first DC.
- Round 2:
- Chain 1 and place 2 DC in each stitch around.
- At the end, you should have 26 stitches.
- Slip stitch to join.
- Round 3 (Starting FPDC and BPDC Pattern):
- Chain 1. These stitches establish the foundation for the slipper's top, sides, and sole.
- Top: Place 7 FPDC around the next 7 posts.
- Sides: 3 BPDC, followed by 3 FPDC.
- Bottom: 7 BPDC stitches.
- Sides (Repeat): 3 FPDC followed by 3 BPDC.
- Slip stitch to join.
- Repeating Round 3:
- Repeat Round 3 until the desired length for your foot is reached.
- For example: Regular width may need 12 rounds in total, measuring 5.5 inches (14 cm).
- Repeat Round 3 until the desired length for your foot is reached.
Side Rows
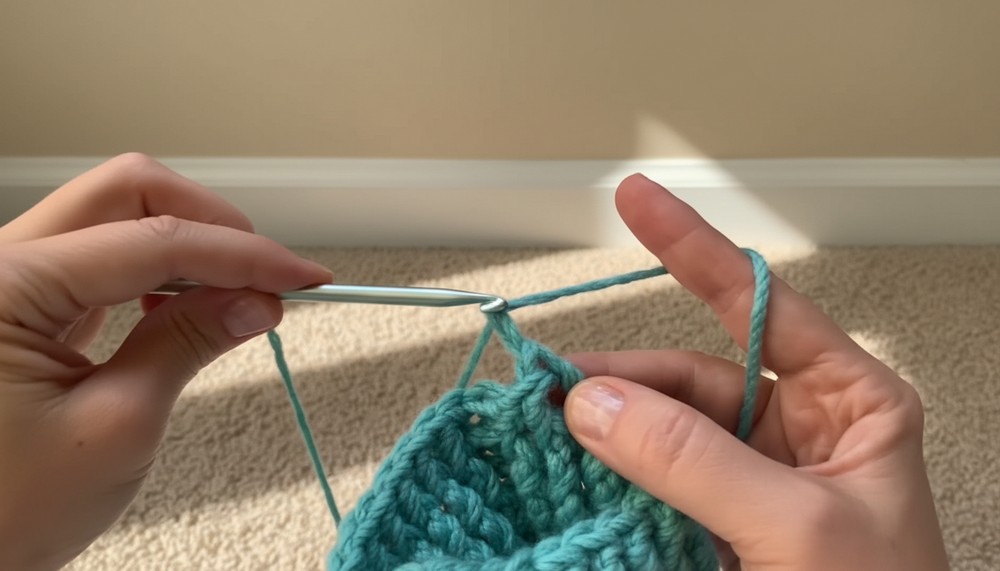
Once you reach your preferred toe portion length:
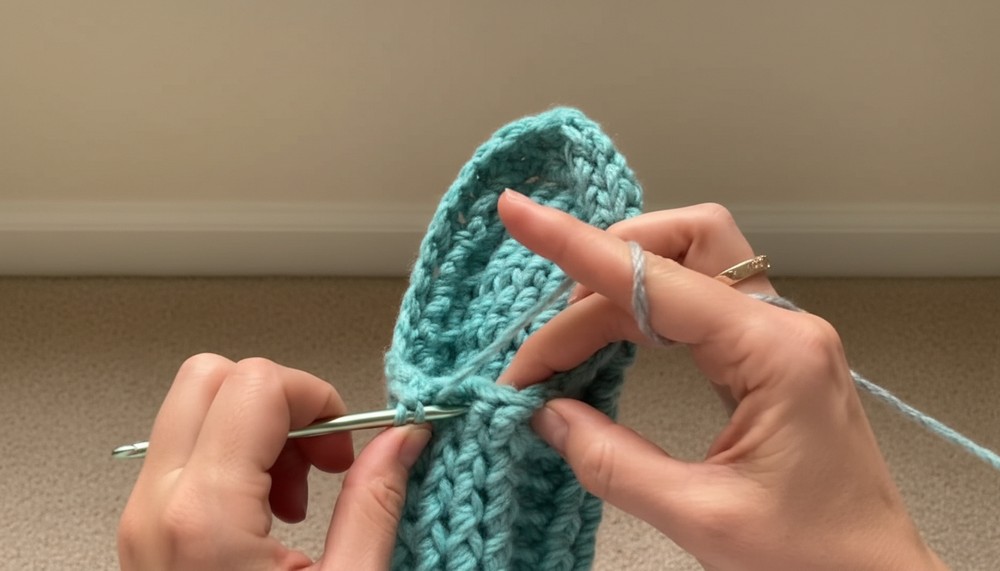
- Row 1:
- Do not chain; turn your work and slip stitch over one stitch.
- Chain 2 (counts as the first DC).
- Following stitch pattern from toe:
- Top: 2 FPDC, then 3 BPDC.
- Bottom: 7 FPDC stitches.
- Sides: Follow FPDC/BPDC rhythm for shaping.
- Slip stitch to finish the row.
- Rows 2-5: Repeat Rows alternately:
- Row 2 follows BPDC, FPDC alternations as needed.
- Row 3 is a repeat of Row 1.
- Repeat until desired ankle height.
Heel Shaping
To close the heel:
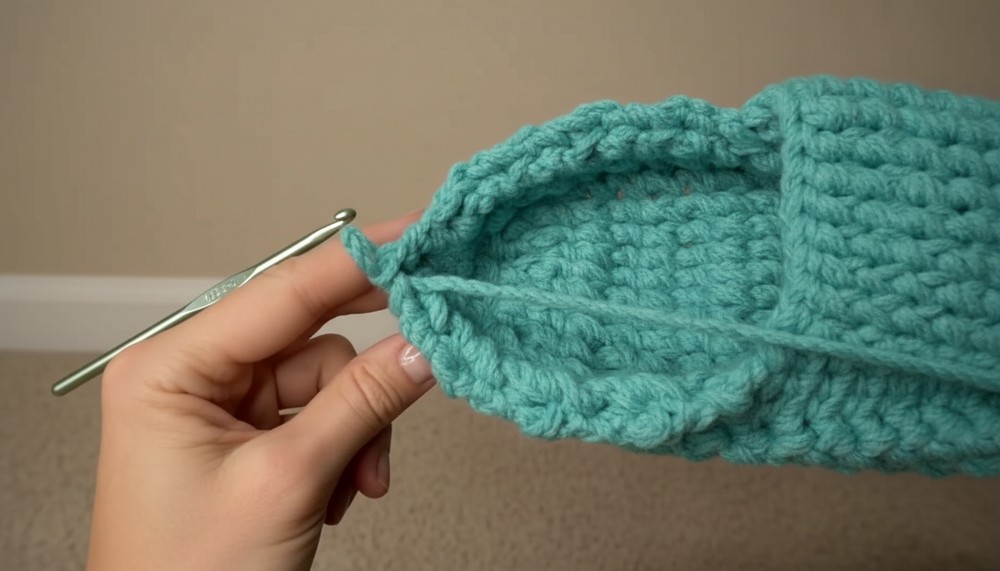
- Row 6:
- Chain 2 and turn.
- Begin decreases based on stitch pattern:
- FPDC Decrease: Combine two FP stitches into one.
- BPDC Decrease: Combine two BP stitches into one as per pattern instructions.
- Gradually reduce stitches across rows.
- Rows 7-10:
- Continue decreasing as follows:
- Reduce FPDC/BPDC sections until the heel forms.
- Row 10 creates a neat close by finishing the last decrease and slip stitching.
- Continue decreasing as follows:
Ankle Portion (Optional Cuff)
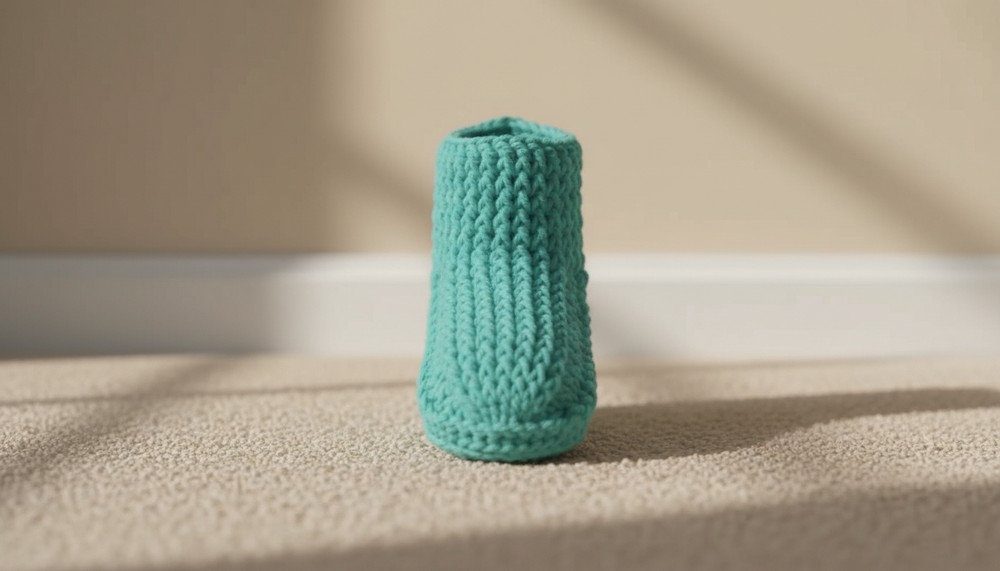
- Customize the ankle portion with additional rows of FPDC to achieve preferred height.
- For a decorative finish:
- Add Reverse Single Crochet (optional) or switch to another yarn color to achieve contrast.
- Optionally roll down extra rows for a "rolled cuff" style.
Customization Ideas
- Yarn Color:
- Use different colors for the main slipper body and cuff for added flair.
- Textured Finish:
- Add reverse single crochet or a puff stitch edge to jazz up the ankle portion.
- Grippy Soles:
- Apply anti-slip silicone pads or craft paint dots to the soles for added grip on slippery floors.
Tips
- Sizing Adjustments:
- Add/subtract rounds in the toe portion for length.
- For a tighter fit, consider using lighter weight yarn and a smaller hook.
- Counting Rows:
- Label rows on paper for easier tracking.
- Minimizing Sewing:
- Weave ends neatly and avoid leaving loose yarn tails.
Conclusion
This versatile crochet house slipper pattern offers comfort, customization, and beautiful texture. Perfect for beginners looking to experiment with post stitches, or for seasoned crocheters seeking an easy yet functional project.
Keep experimenting with yarn weights, colors, and added features (rolled cuffs, grippers) to personalize the design for your loved ones or even as thoughtful handmade gifts.