Provide a second chance for injured wildlife with this Crochet Wildlife Nest Pattern, designed to create snug, durable, and safe little nests.
Across the globe, thousands of rescued animals find themselves in need of warmth and comfort as they heal. For these delicate creatures, a soft, snug crochet wildlife nest can serve as a safe haven. The structure features a sturdy base and gently sloping sides that suit birds, small mammals, and other creatures, providing a cozy spot for rest while preventing the little ones from rolling out. With sizes tailored to different species and specific guidelines to ensure safety, these nests are truly designed with animal welfare in mind.
Crochet Wildlife Nest

Simplest Crochet Wildlife Rescue Nest
This step-by-step pattern is designed for crocheters interested in creating wildlife rescue nests to assist animals in need. These nests are ideal for housing sick, injured, or orphaned animals. The pattern is simple enough for beginners and serves as a good refresher for those with prior experience. It emphasizes the use of specific materials and following precise dimensions to meet rescue groups' requirements.
Materials Needed
- Yarn:
- 2 skeins of 100% acrylic worsted weight yarn (Category 4, such as Red Heart Super Saver).
- Ensure the yarn is machine washable, dryable, and non-fuzzy. Avoid specialty yarns like homespun or sparkly options.
- Crochet Hook: Size H-8 (5 mm).
- Accessories:
- Stitch markers (safety pins, scrap yarn, or specific markers work well).
- Darning needle (large-eye tapestry needle) for weaving in ends.
- Scissors.
- Measuring Tools:
- A ruler or measuring tape.

Stitch Abbreviations
- ch: Chain
- sc: Single Crochet
- st(s): Stitch(es)
- inc: Increase (2 single crochets in the same stitch)
- sl st: Slip Stitch
(US crochet terms are used in this pattern.)
Size Specifications
Follow the chart provided in the video:
- Base diameter: 3.5 inches (9 cm).
- Side height: 3.5 inches (9 cm).
- (Optional folded-over height: Approximately 1.75 inches (4.5 cm).)
Instructions
1. Start the Base
The base is worked in a continuous spiral. Use 2 strands of yarn held together.
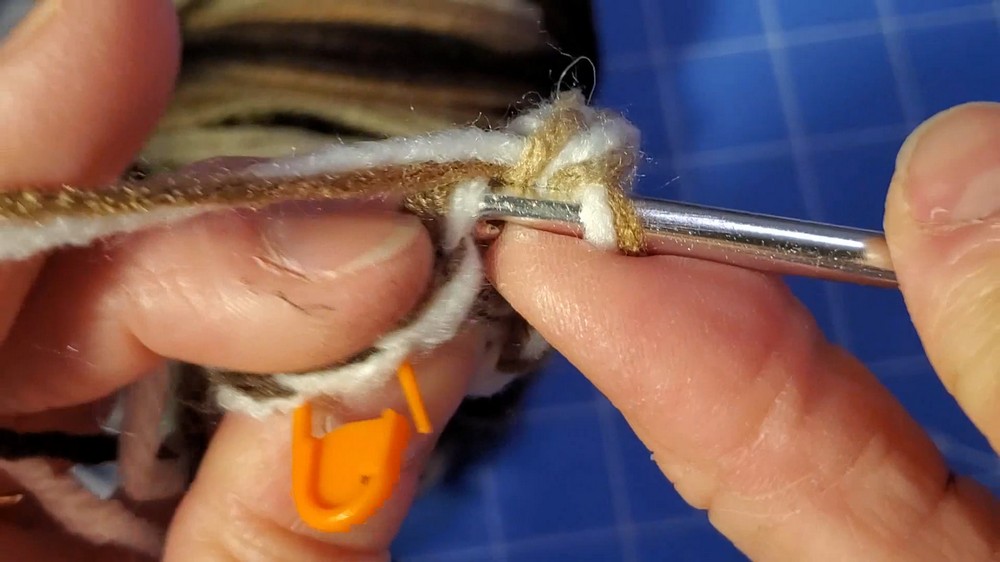
- Start with a magic circle or chain loop (if preferred):
- For a magic circle, begin with 6 single crochets into the circle.
- If you don’t use a magic circle:
- Make a slip knot and chain 3.
- Slip stitch into the first chain to form a small loop.
- Work 6 single crochets into the loop.
- Round 1: Increase - 2 SC in each stitch.
- Place a stitch marker in the first stitch to identify the start of the round.
- Work 2 SC into each stitch (total: 12 stitches).
- Round 2: Add Increases - [1 SC, 1 inc] repeat.
- Work 1 SC in the first stitch, then 2 SC (an increase) in the next stitch. Repeat around (total: 18 stitches).
- Round 3: Add Increases - [2 SC, 1 inc] repeat.
- SC in the first two stitches, then 2 SC (increase) in the next stitch. Repeat around (total: 24 stitches).
- Continue flattening the base as you go.
- Round 4: Increase Further - [3 SC, 1 inc] repeat.
- SC in the first three stitches, then 2 SC (increase) in the next stitch. Repeat (total: 30 stitches).
- Continue Increasing:
- In subsequent rounds, add 1 stitch between each increase (e.g., Round 5: [4 SC, 1 inc], Round 6: [5 SC, 1 inc]) until your base reaches 3.5 inches in diameter.
- If the base starts curling, ensure you’re using enough stitches. If it ripples, you’ve added too many stitches.
- Slip Stitch to Finish the Base.
- Once the base has the correct diameter, finish off the spiral with a slip stitch.

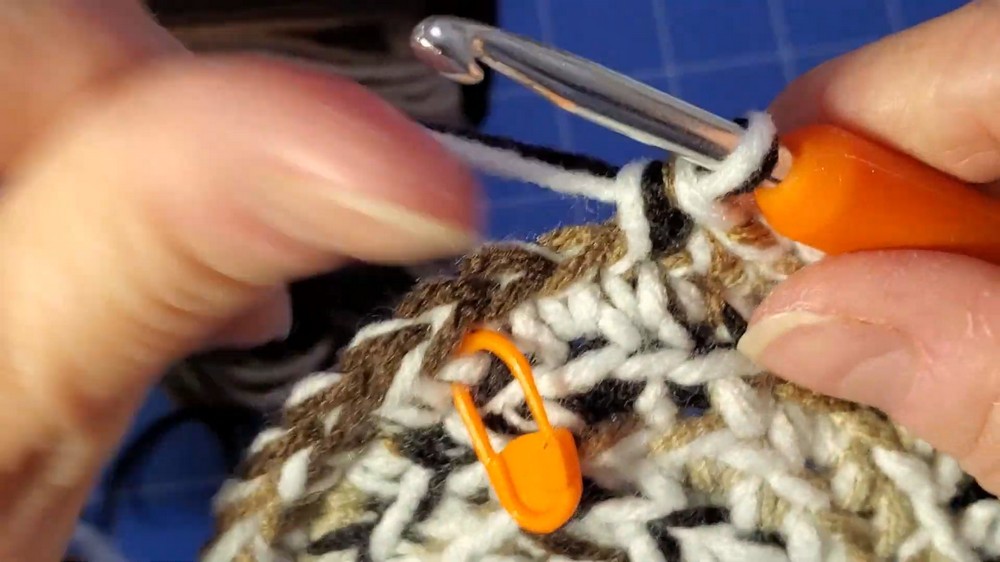
2. Build the Sides
- Work one round of single crochet into the back loop only.
This creates a ridge at the bottom of the basket, giving it a stable base. - Continue Single Crocheting Normally.
- In subsequent rounds, single crochet into both loops of each stitch.
- No increases are made in the sides.
- Use a stitch marker to track the end of each round.
- Keep Crocheting Until the Nest Reaches the Desired Height.
- Crochet around and around until the sides measure 3.5 inches tall, measuring from the base.
3. Finish the Nest
- Slip Stitch and Fasten Off.
- Once the sides are complete, finish the last stitch with a slip stitch into the next stitch, then cut the yarn, leaving a 6-8 inch tail.
- Pull the yarn tail through the last loop and tighten to secure.
- Weave in the Ends.
- Use a darning needle to weave the ending tail and the starting tail into the crochet fabric. This will hide loose ends and further secure the nest.
- If necessary, use the darning needle to close the small hole in the center of the base.
- Shape the Basket.
- Stretch and mold the sides and base into the desired shape. Flatten the base and ensure the sides stand upright.

Conclusion
You’ve now completed a wildlife rescue nest! These nests are perfect for housing small critters and offer warmth and protection. Remember:
- Follow the size specifications to ensure compatibility with rescue groups’ needs.
- Avoid pet hair or contaminants when crafting the nests.
- Always double-check with your chosen organization before sending your nests; many groups have specific requirements.
Thank you for helping wildlife in need!