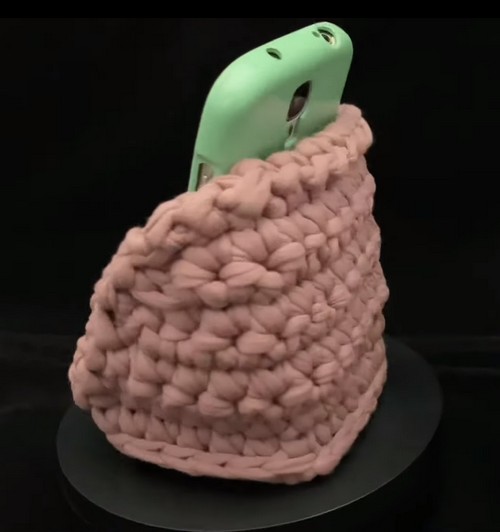
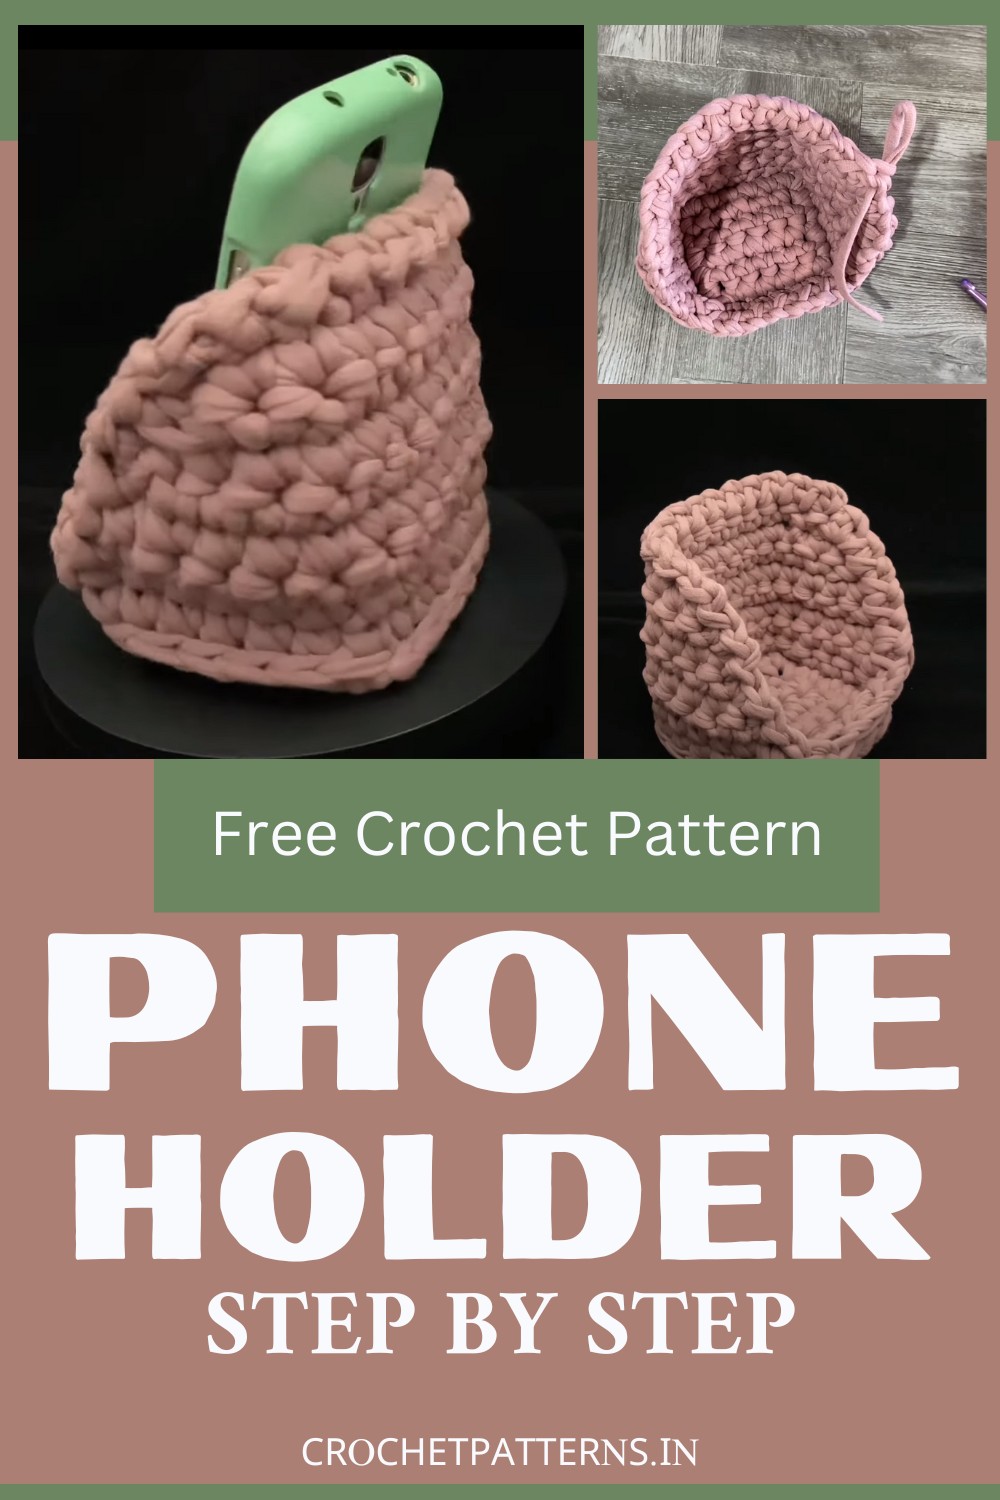
Let's make a cute and practical design, a cozy little place for your phone to reside,using this simple crochet pattern. The pattern will give you all sorts of information for choosing the right materials and step-by-step visual and written aids. Designed to host a phone upright, the crochet phone holder is perfect for hands-free operation, enabling video calls, movie watching and more. It uses non-stretchy t-shirt yarn and has a firm and sturdy design. Featuring a unique diagonal shape with an enhanced border to prevent the phone from slipping out, its appearance is complemented by the textured crochet finish, making it both practical and stylish.
Making Your Crochet Phone Holder
Materials
- T-shirt Yarn
- Crochet Hook (6.5mm)
- Stitch Markers
Step by step Pattern
Making the Base
1th Step: Set Up Chain
- Start by chaining seven stitches.
2th Step: Row Creation
- Create five rows, each with six Single Crochet (SC). Use stitch markers to mark your first stitch.
Step 3: Work On the Border
Create a border around your work:
- Start with a corner: work a SC, Chain 1 (CH 1), and then work a SC in the same space.
- Make three SC stitches along the side.
- Work the next corner like the first.
- Stitch four SC along the next side.
- Continue around till you complete the border with four corners and sides filled SC stitches.
Step 4: Create a Loop
- Remove your hook, extend your current loop, insert the hook in the first stitch, and pull the loop through.
Creating the Holder Walls
5th Step: First Row of Walls
- Start with another border of Slip Stitches (SL ST) until you have 26 SL ST all around.
6th Step: Second Row of Walls
- Work Single Crochet (SC) stitches in each slip stitch.
7th Step: Working With The Box
- Now, work on only three sides of the box.
Step 8: Decreases
- Between the rows of normal stitches, you need to decrease by skipping a stitch at both the start and end of your rows.
9th Step: Pattern Continuation
- Continue this pattern with one normal row and one decreased row till you reach the required height of your phone holder.
Final Touches
10th Step: Last Row
- The last row should end with a decrease, leaving you with 13 stitches.
Step 11: Creating the Holder Border
- Make a border around your holder with a pattern of CH 1, SL ST.
12th Step: Finishing
- Cut your yarn, fasten off, and weave in the ends.
Congratulations! You have now finished your crochet cell phone holder. Insert your phone to test the fit. The edges should hold the cell phone without it falling out.
Video Tutorial: